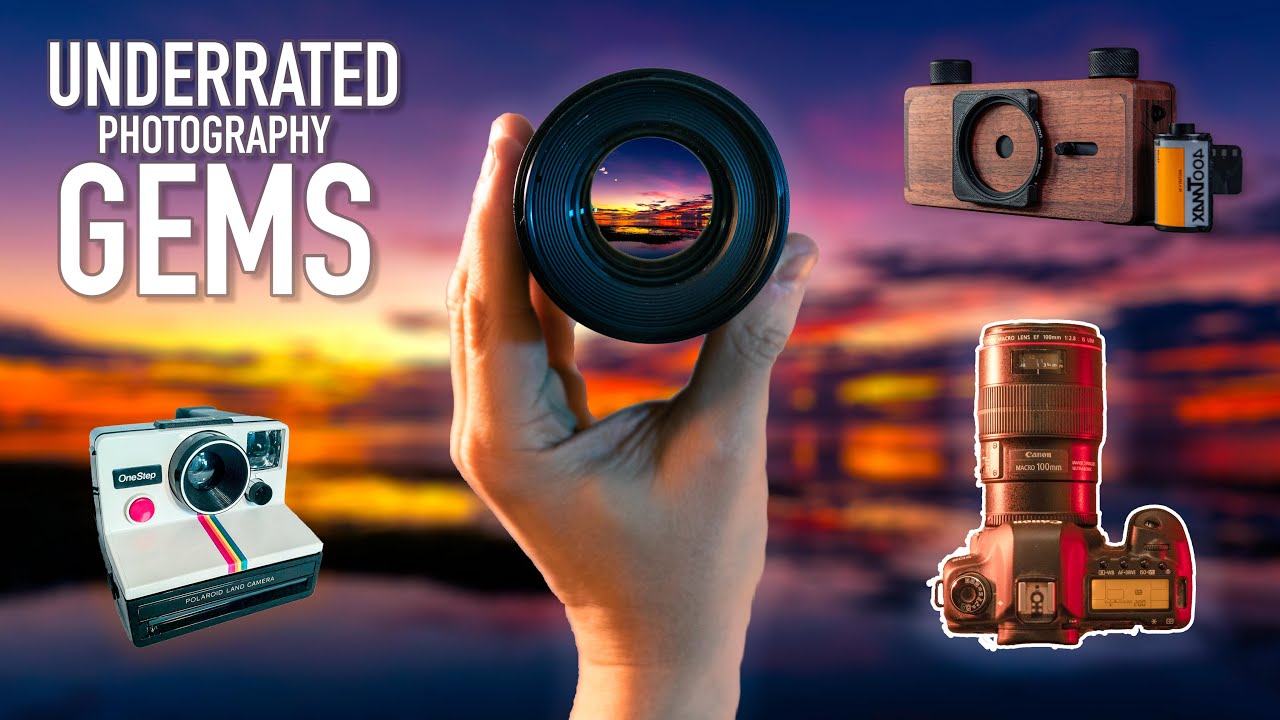
I’ve said it before and I’ll keep saying it: the gear that sits in your bag between the expensive stuff is often what actually makes the shot. The $8 reflector. The magnetic LED panel. The cheap phone mount you grabbed on a whim. That’s the category of tool I’ve been obsessed with since I started shooting, and it’s exactly why a recent video from First Man Photography caught my attention and kept it. Watch the full tutorial on YouTube
In this First Man Photography tutorial, the creator walks through 10 underrated, budget-friendly photography tools worth adding to your kit. It’s not a list of incremental upgrades for people with $5,000 camera bags. It’s the kind of gear rundown that would have saved me three months of frustration when I was starting out with a $300 camera kit and figuring out how to make it punch above its weight. The framing here matters: these aren’t consolation prizes for people who can’t afford better. They’re tools that working photographers actually use.
What I want to do is pull out the most actionable items from that video and give you enough context to act on them, with my own take layered in where it counts.
Step 1: Consider Pinhole Photography as a Creative Reset
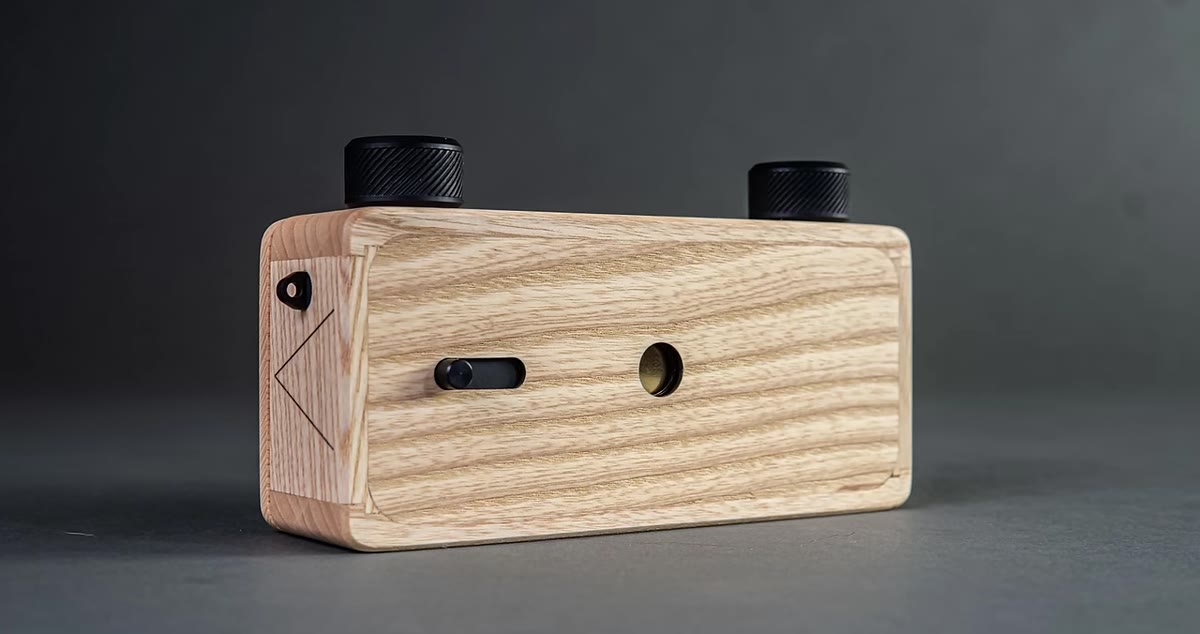 Pinhole camera held up to camera, soft dreamy image result shown
Pinhole cameras strip photography down to its actual physics: light passes through a tiny hole and lands on a light-sensitive surface. No lens required. The result is soft, ethereal images with an almost infinite depth of field, and they push you to think about light, time, and composition in a completely different way than shooting with a modern camera does.
Pinhole camera held up to camera, soft dreamy image result shown
Pinhole cameras strip photography down to its actual physics: light passes through a tiny hole and lands on a light-sensitive surface. No lens required. The result is soft, ethereal images with an almost infinite depth of field, and they push you to think about light, time, and composition in a completely different way than shooting with a modern camera does.
You can DIY one with a tin can, a piece of photographic paper, and a needle. The image comes out as a negative, which you can scan and invert in Photoshop. If you’d rather skip the craft project, there are handmade options like the ones from Reality So Subtle (a one-person operation out of France) or the wooden cameras from Ono Pinhole, both of which are worth looking at. This isn’t a novelty. The tutorial includes a large print from a pinhole photographer that genuinely holds up at scale.
Step 2: Add a Portable LED Panel to Your Everyday Kit
 Small LED panel attached to vlog rig, being used outdoors at sunset
A small, constant LED light solves problems that a flash can’t, mainly because you see exactly what you’re getting before you press the shutter. No guessing. No test shots. You compose with the light already in frame and adjust from there. The tutorial specifically highlights the Aperture MC panels, which offer full RGB color control and adjustable color temperature, plus a magnet on the back and a standard tripod mount on the bottom.
Small LED panel attached to vlog rig, being used outdoors at sunset
A small, constant LED light solves problems that a flash can’t, mainly because you see exactly what you’re getting before you press the shutter. No guessing. No test shots. You compose with the light already in frame and adjust from there. The tutorial specifically highlights the Aperture MC panels, which offer full RGB color control and adjustable color temperature, plus a magnet on the back and a standard tripod mount on the bottom.
These things are genuinely multi-purpose. Use them for video, product photography, macro work in the field, or adding a kick of light to a selfie for a thumbnail. The tutorial also mentions attaching smaller LED cubes, like Lume Cubes, to a drone for light painting. I’ve used a similar setup for nighttime macro shots in low-light conditions where a flash would have flattened everything. Constant light gives you control.
Step 3: Build Out Your Bag with Small Photography Trinkets
 Spring-loaded phone tripod mount being attached to standard tripod
This is the category I spend the most time on, honestly. The tutorial groups several small accessories together, and that framing is right. None of these items justify a dedicated video, but collectively they make a real difference in what you can do with existing gear.
Spring-loaded phone tripod mount being attached to standard tripod
This is the category I spend the most time on, honestly. The tutorial groups several small accessories together, and that framing is right. None of these items justify a dedicated video, but collectively they make a real difference in what you can do with existing gear.
The standout here is a spring-loaded phone tripod mount, which keeps your phone secure and works with any standard tripod. As phone cameras continue to close the gap with dedicated cameras, this is a smarter buy than people give it credit for. The tutorial also brings up reflectors, which deserve their own conversation: a basic 5-in-1 reflector under $20 is one of the highest-leverage tools you can carry. I’ve written about a $12 Amazon reflector that replaced a $200 brand-name product in my kit, and the response told me I wasn’t the only one who’d been overpaying.
Step 4: Think About Analog Tools as a Deliberate Slowdown
 Large pinhole print being held up, showing soft tones and fine detail
One theme running through the pinhole section that deserves its own step is the value of slowing down your process. Pinhole photography forces long exposures and careful composition. There’s no burst mode. There’s no instant review. You commit to a shot and wait for the result, which changes how you think about every frame.
Large pinhole print being held up, showing soft tones and fine detail
One theme running through the pinhole section that deserves its own step is the value of slowing down your process. Pinhole photography forces long exposures and careful composition. There’s no burst mode. There’s no instant review. You commit to a shot and wait for the result, which changes how you think about every frame.
If you’ve been feeling creatively stuck, this kind of constraint is often the fastest way out. It’s not about the gear being “better.” It’s about the gear forcing you to engage differently. Plenty of high-level photographers keep film or analog tools in rotation specifically for this reason, not nostalgia.
Step 5: Use LED Lighting for Landscape and Nighttime Work
 LED light used to illuminate landscape scene at night, warm accent light visible
The tutorial mentions using LED panels to light nighttime landscapes, referencing work the creator assisted on for the National Trust. This is an underused application. Most photographers think of portable LEDs as studio or video tools, but a small, powerful panel can add foreground detail in a long-exposure landscape shot without the color cast problems you sometimes get from a flash.
LED light used to illuminate landscape scene at night, warm accent light visible
The tutorial mentions using LED panels to light nighttime landscapes, referencing work the creator assisted on for the National Trust. This is an underused application. Most photographers think of portable LEDs as studio or video tools, but a small, powerful panel can add foreground detail in a long-exposure landscape shot without the color cast problems you sometimes get from a flash.
The key is positioning and intensity. You’re not trying to overpower the ambient light. You’re filling in shadow areas or accenting a specific subject, a rock, a tree, a piece of architecture. Try a color temperature between 3200K and 4000K for warm night scenes, and keep the panel far enough back that the light falls off naturally before it hits your horizon.
My Take: The Gear You Skip Is Usually the Gear You Need
I’ve bought five tripods under $50 just to find the one worth recommending. I’ve tested more budget lenses than I can count. The pattern I keep seeing is that the accessories people dismiss as “cheap filler” are often where the real creative leverage is hiding. A $15 LED panel won’t replace a Profoto, but it’ll do things in the field that a Profoto can’t touch.
The pinhole camera point from this tutorial stuck with me because it’s the opposite of the usual gear conversation. Instead of asking “what’s the best version of this tool,” you’re asking “what happens when I remove the tool entirely and go back to fundamentals.” That question is worth asking at least once a year, regardless of what you’re currently shooting with.
The single most important takeaway from this tutorial is this: budget gear works best when you’re using it to solve a specific creative problem, not just to save money. Buy the LED panel because you want to light a scene. Buy the pinhole camera because you want to slow down. The framing changes what you get out of it.
Watch the full tutorial on YouTube to see all 10 picks with the creator’s own examples and context.
Comments
Leave a Comment