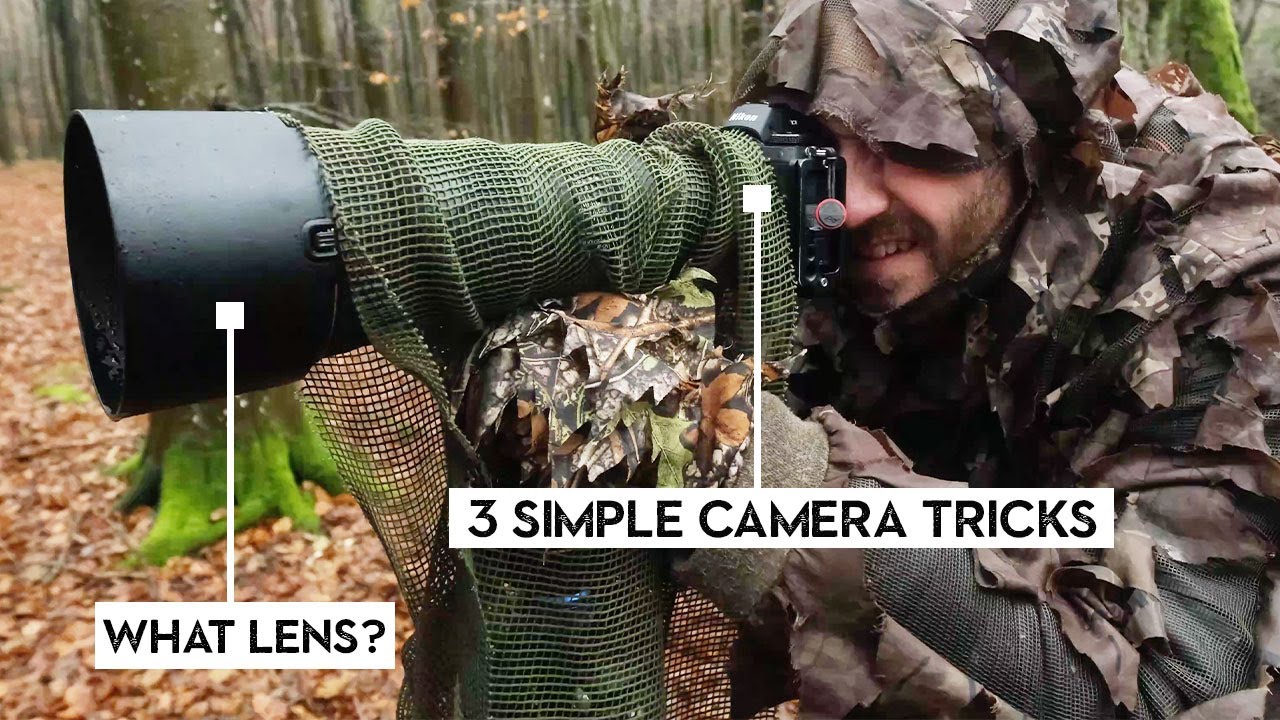
I shoot mostly landscapes. Cityscapes, mountain trails around Colorado, the occasional golden-hour field that makes my Instagram followers forget I mostly post budget gear breakdowns. Wildlife has always felt like a different sport entirely, one that requires patience I don’t have and glass I can’t afford. So when I watched Nigel Danson, a landscape photographer known for his disciplined, deliberate style, throw himself into a full wildlife shoot in the woods, I expected to learn some autofocus tricks and move on. What I actually got was a framework that reframed how I think about light, failure, and subject behavior, regardless of what I’m pointing a camera at.
Watch the full tutorial on YouTube
In this Nigel Danson tutorial, he heads into the forest with experienced wildlife photographer Morton, chasing roe deer and red deer in low woodland light. He gets humbled fast. But the lessons he pulls out of that humbling are the kind of thing photography YouTube rarely talks about honestly, because honest means admitting you blew the shot.
Step 1: Treat the Location Like a Subject, Not a Backdrop
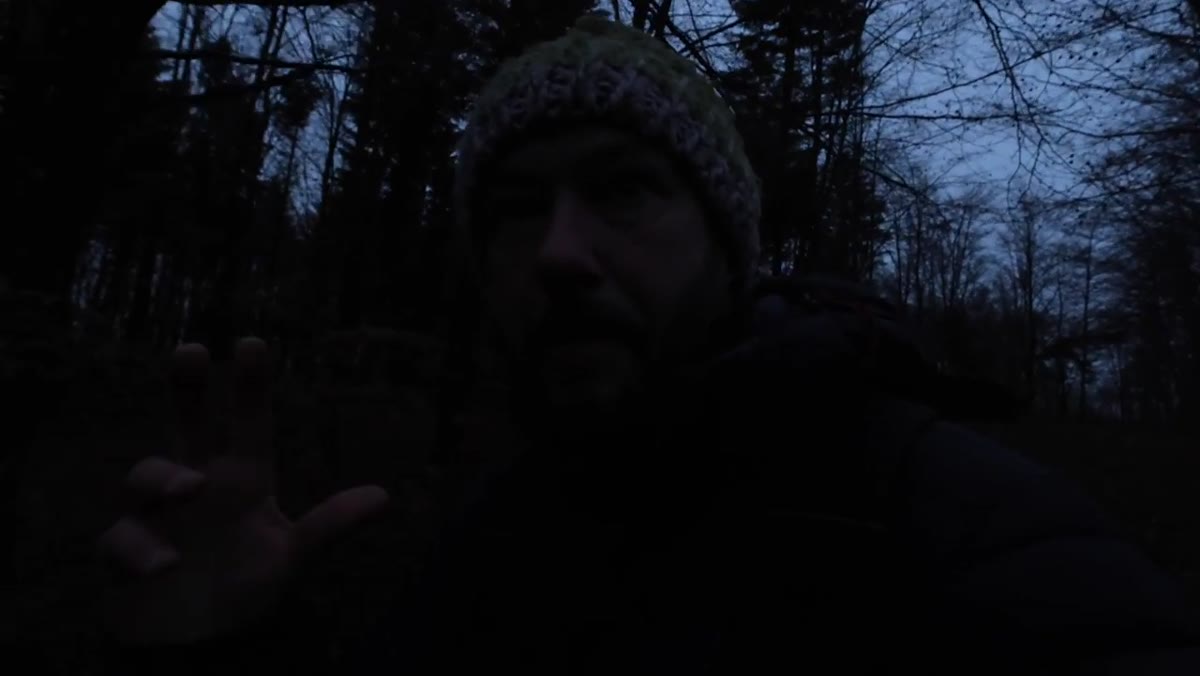 Nigel and companion entering a narrow woodland opening
Before you ever raise the camera, Danson and Morton scout the entry point carefully. They’re not just walking into the woods, they’re choosing a specific narrow gap that gives them a controlled approach with minimal noise and scent disturbance. The idea is to pre-visualize where animals might move and position yourself so the background and light are already working before the subject appears.
Nigel and companion entering a narrow woodland opening
Before you ever raise the camera, Danson and Morton scout the entry point carefully. They’re not just walking into the woods, they’re choosing a specific narrow gap that gives them a controlled approach with minimal noise and scent disturbance. The idea is to pre-visualize where animals might move and position yourself so the background and light are already working before the subject appears.
For landscape shooters, this translates directly. You don’t wait until you’re at the viewpoint to think about composition. You scout sightlines, wind direction, and where the light will land. Danson frames it as finding a spot you can return to, whether you get the shot this session or not. That low-pressure return mindset removes the desperation that makes you rush your framing.
Step 2: Read Wind Direction Before You Set Up
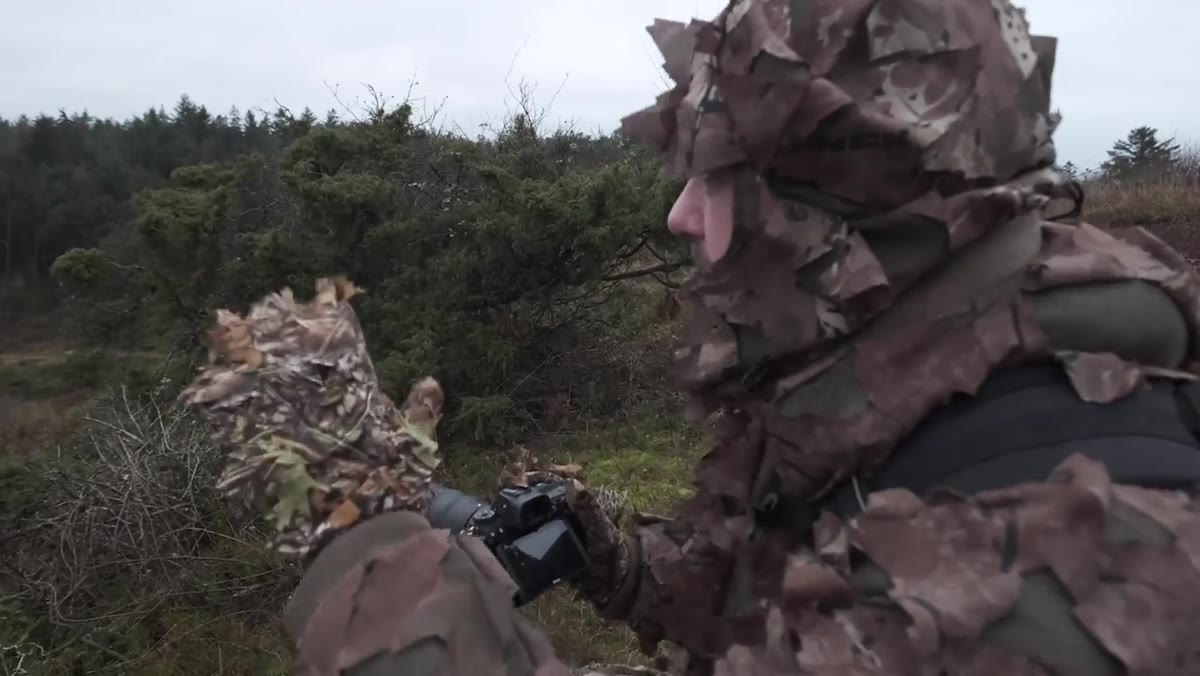 Danson gesturing toward wind direction in the forest
Danson and Morton spend real time talking about wind. Not weather-app wind, but the actual micro-current moving through the trees at ground level. They reposition based on it, because deer will smell them long before they see them. Getting downwind isn’t a pro tip you do once. It’s a constant recalibration as you move through the location.
Danson gesturing toward wind direction in the forest
Danson and Morton spend real time talking about wind. Not weather-app wind, but the actual micro-current moving through the trees at ground level. They reposition based on it, because deer will smell them long before they see them. Getting downwind isn’t a pro tip you do once. It’s a constant recalibration as you move through the location.
The camera lesson here is about controlling variables you can’t fix in post. Photographers who rush setups get soft images, bad horizon lines, and missed moments because they didn’t account for conditions before they raised the viewfinder. Danson’s habit of stopping, checking the wind, and repositioning is the same muscle as checking your histogram before a long exposure or testing your white balance before golden hour hits.
Step 3: Capture Behavior, Not Just Presence
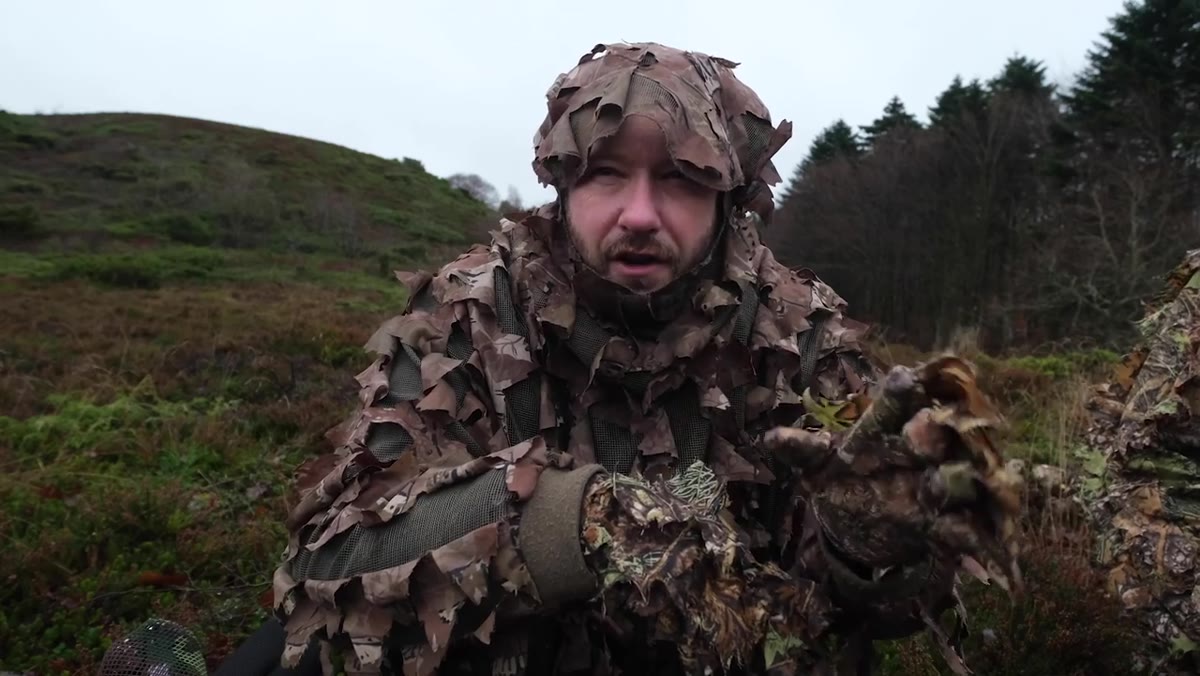 Danson discussing catching animals “off guard”
This is the one that hit me hardest. Danson makes the point that the goal in wildlife photography isn’t just to document that an animal exists in a frame. It’s to catch a moment of unguarded behavior, something that feels true rather than posed. The second a deer locks eyes with the camera, the shot changes. You’ve become part of the scene.
Danson discussing catching animals “off guard”
This is the one that hit me hardest. Danson makes the point that the goal in wildlife photography isn’t just to document that an animal exists in a frame. It’s to catch a moment of unguarded behavior, something that feels true rather than posed. The second a deer locks eyes with the camera, the shot changes. You’ve become part of the scene.
He draws a direct line to landscape photography here, and it’s sharp. He says he thinks of weather as the behavior of a landscape. He’s not just photographing a mountain, he’s photographing how mist moves through a valley or how a storm interacts with a ridgeline. That framing turns static scenes into dynamic ones. If you’re not asking “what is this scene doing right now,” you’re probably missing the actual photograph.
Step 4: Fail Completely and Write It Down
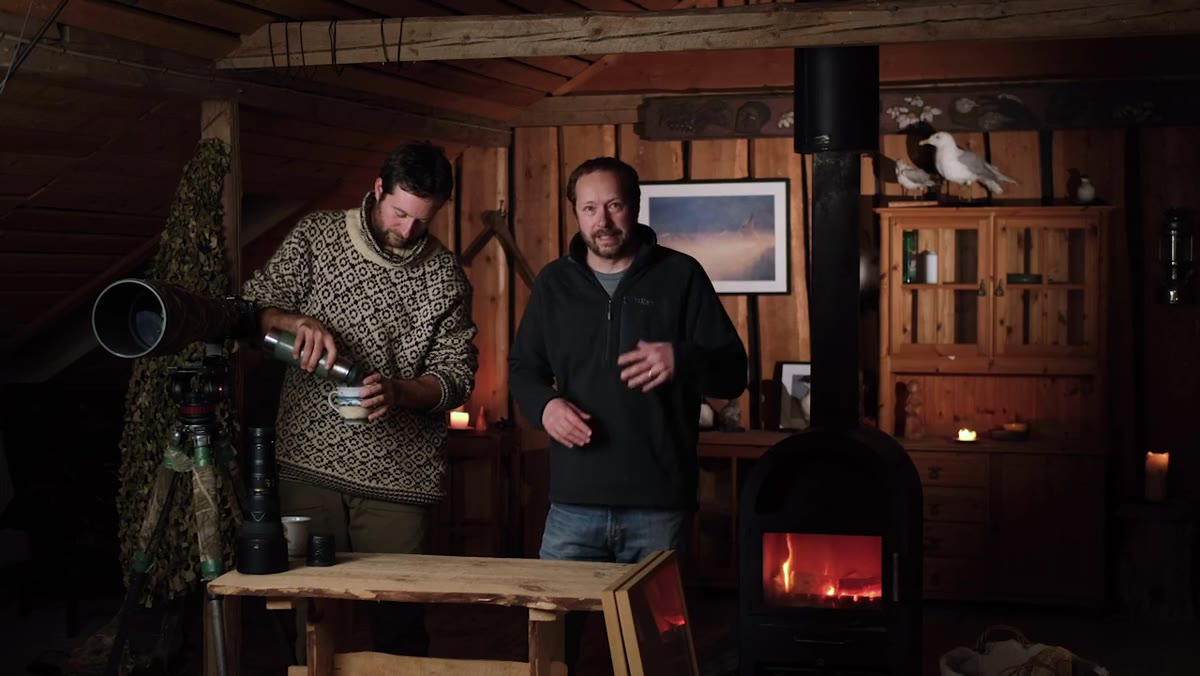 Danson back at the fire, describing his missed shots
Back at the fire after the morning session, Danson holds up what he got: an out-of-focus shot of the back end of a roe deer. That’s it. Morton was pointing out a red deer and Danson missed it entirely. Rather than gloss over this or skip to his better shots, he breaks down exactly what went wrong, positioning, timing, the wind shift that scattered the deer before he could compose.
Danson back at the fire, describing his missed shots
Back at the fire after the morning session, Danson holds up what he got: an out-of-focus shot of the back end of a roe deer. That’s it. Morton was pointing out a red deer and Danson missed it entirely. Rather than gloss over this or skip to his better shots, he breaks down exactly what went wrong, positioning, timing, the wind shift that scattered the deer before he could compose.
This step is less about technique and more about process. Keeping a mental or physical log of what failed and why is how you stop repeating the same mistakes across different shoots. I keep a notes file on my phone where I log blown shots with a one-line reason. “Rushed shutter selection.” “Wrong AF mode for the light.” It sounds tedious. It’s actually the fastest way to improve.
Step 5: Let Cross-Genre Shooting Reset Your Eye
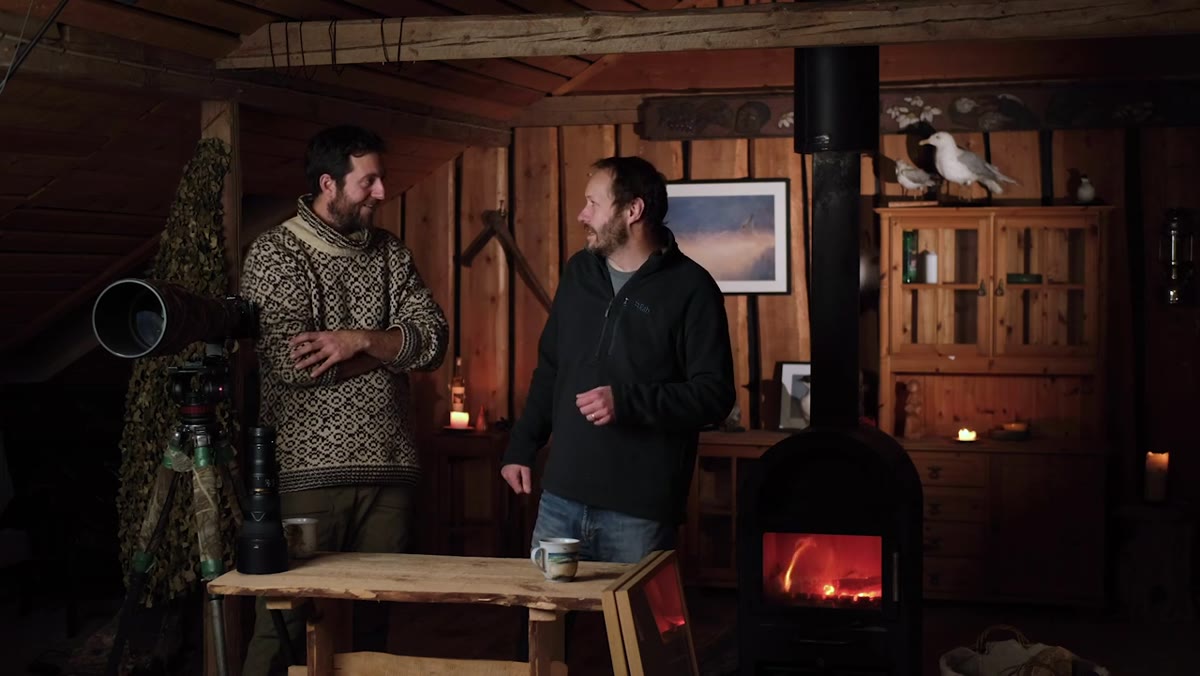 Danson noticing beautiful beech woodland while focused on deer
Near the end of the morning, Danson notices he’s walking through stunning beech woodland, and he almost missed it because he was tunnel-visioned on deer. When he looked back at his footage later, the woodland itself was a landscape shot he hadn’t taken intentionally. The act of hunting one subject had sharpened his awareness of everything else in the frame.
Danson noticing beautiful beech woodland while focused on deer
Near the end of the morning, Danson notices he’s walking through stunning beech woodland, and he almost missed it because he was tunnel-visioned on deer. When he looked back at his footage later, the woodland itself was a landscape shot he hadn’t taken intentionally. The act of hunting one subject had sharpened his awareness of everything else in the frame.
This is a genuinely useful trick: shooting a genre you’re not comfortable with forces you to slow down and pay attention differently. You’re no longer running your usual mental checklist. Everything is slightly unfamiliar, so you actually look. Danson came back from a wildlife session thinking more carefully about weather behavior in his landscape work. That kind of cross-pollination is hard to manufacture, but stepping outside your default genre is a reliable way to trigger it.
What I’d Add From My Own Experience
Danson doesn’t talk much about gear in this video, which I respect. But since this is a gear site, I’ll fill that gap. The biggest technical barrier for budget shooters crossing into wildlife is autofocus speed, and the honest answer is that modern mid-range mirrorless bodies handle it better than people expect. I’ve tested cameras in the $700-$900 range that track moving subjects with enough reliability for casual wildlife work. You don’t need the $3,000 flagship.
What you do need is a long-enough focal length to give animals space, and that’s where budget shopping gets interesting. The used telephoto market right now has solid options in the 100-400mm range that won’t require a second mortgage. Pair that with a mid-range body and Danson’s approach, patient, location-aware, behavior-focused, and you’re not actually that far behind someone with pro gear. I’ve done the blind tests. The gap is smaller than the marketing suggests.
The single most important thing Danson models in this video is that failure isn’t a detour on the way to good photography. It’s the actual path. He got an out-of-focus deer butt and called the morning productive because he understood what went wrong and why the woodland still moved him. That’s the standard worth chasing.
Watch the full tutorial on YouTube
Comments
Leave a Comment