
Every year around the holidays I end up down a rabbit hole of gear guides that are basically just sponsored lists for cameras nobody can actually afford. So when I caught the KelbyOne speed-play holiday gear guide with Scott Kelby, Erik Kuna, and Terry White, I paid attention. These are working photographers, not influencers chasing affiliate checks on $3,000 bodies. What struck me immediately was how budget-friendly most of their picks were. We’re talking $29 to $259. That’s the kind of range I’ve been covering for years, and it’s the range where the interesting decisions actually happen.
Watch the full tutorial on YouTube
I started in photography with a $300 kit and had to make every dollar count. That discipline never really left me, even as my gear has slowly upgraded. So when I see a panel of experienced photographers recommending a pancake lens that costs less than a tank of gas, or a magnetic LED light you can grab for under $30, I want to dig into the why. Below is my breakdown of the key picks from the video, in the order they cover them, plus my own take on each one.
Step 1: Consider a Prime Pancake Lens Before Your Next Trip
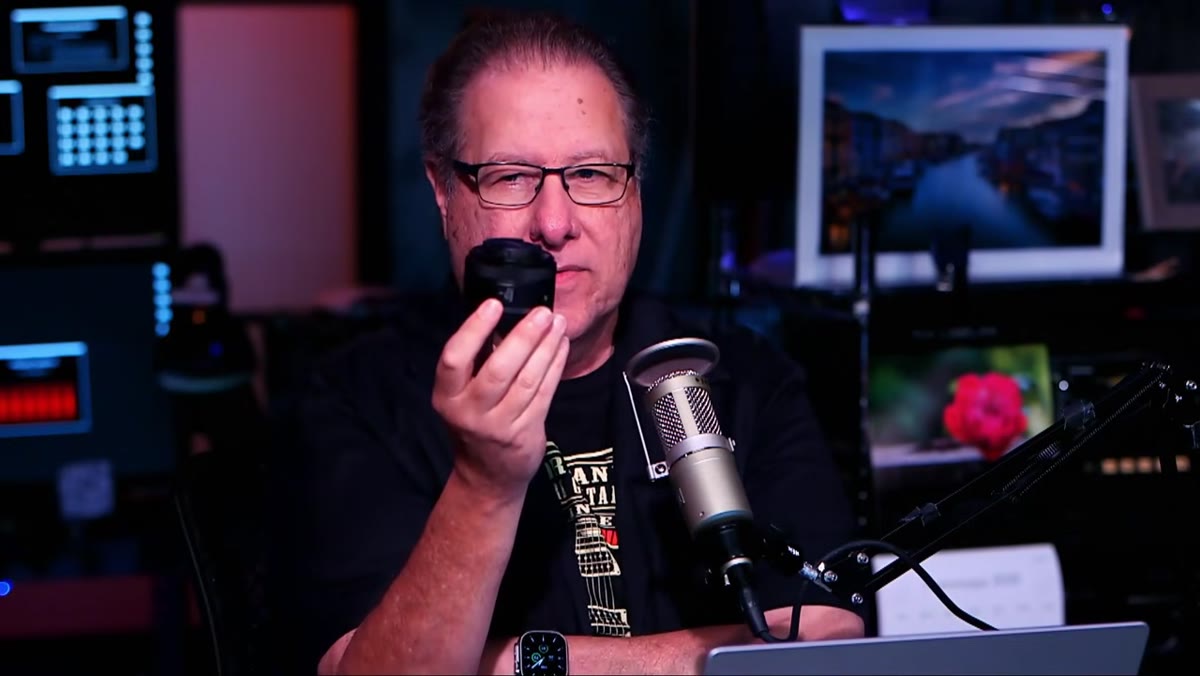 Scott Kelby holding a tiny Canon 16mm f2.8 lens
The first pick out of the gate is the Canon 16mm f/2.8 pancake lens, priced right around $259. Kelby mentions he had been traveling with a 14-35mm zoom but realized he was almost always shooting at the wide end anyway. That’s the exact logic I walk through in my own spreadsheet when I’m testing budget lenses: if your zoom lives at one focal length, a prime will almost always be sharper, lighter, and cheaper. At roughly the weight of a lens cap, this thing is genuinely pocket-sized, and the sharpness reportedly holds up. If you’re a Canon RF shooter who does travel or street photography, this one is worth serious consideration before buying another zoom.
Scott Kelby holding a tiny Canon 16mm f2.8 lens
The first pick out of the gate is the Canon 16mm f/2.8 pancake lens, priced right around $259. Kelby mentions he had been traveling with a 14-35mm zoom but realized he was almost always shooting at the wide end anyway. That’s the exact logic I walk through in my own spreadsheet when I’m testing budget lenses: if your zoom lives at one focal length, a prime will almost always be sharper, lighter, and cheaper. At roughly the weight of a lens cap, this thing is genuinely pocket-sized, and the sharpness reportedly holds up. If you’re a Canon RF shooter who does travel or street photography, this one is worth serious consideration before buying another zoom.
Step 2: Add a Small Adjustable LED Light to Your Kit
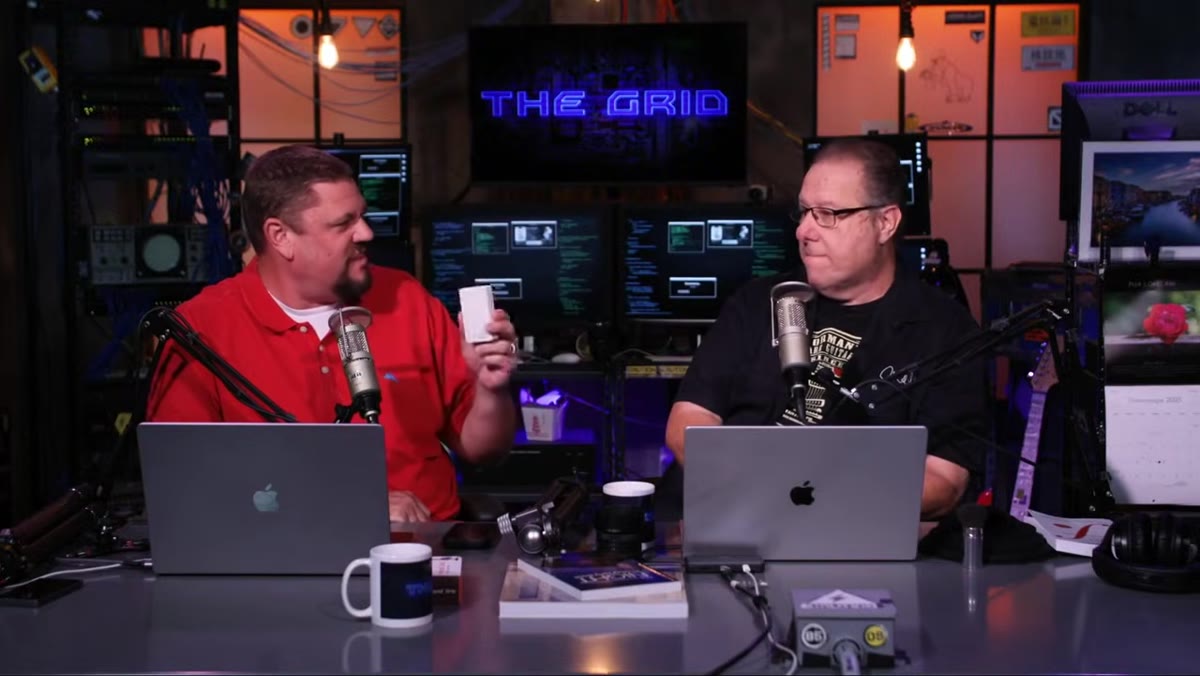 Small Lume Cube LED light held up to camera
The second recommendation is a compact adjustable LED panel, with the Lume Cube mentioned as the anchor pick at around $50. The key feature here isn’t just brightness. It’s the ability to dial in color temperature, shifting from warm to cool depending on your scene. Kelby frames this as a versatile tool beyond just night photography. You can use it as a kicker light in portraits, add fill to a dark interior, or get into light painting without spending serious money on a lighting rig. If $50 feels steep, the panel also mentions Ulanzi as a brand making comparable lights at lower price points.
Small Lume Cube LED light held up to camera
The second recommendation is a compact adjustable LED panel, with the Lume Cube mentioned as the anchor pick at around $50. The key feature here isn’t just brightness. It’s the ability to dial in color temperature, shifting from warm to cool depending on your scene. Kelby frames this as a versatile tool beyond just night photography. You can use it as a kicker light in portraits, add fill to a dark interior, or get into light painting without spending serious money on a lighting rig. If $50 feels steep, the panel also mentions Ulanzi as a brand making comparable lights at lower price points.
Step 3: Look at Ulanzi as a Budget Alternative for LED Lighting
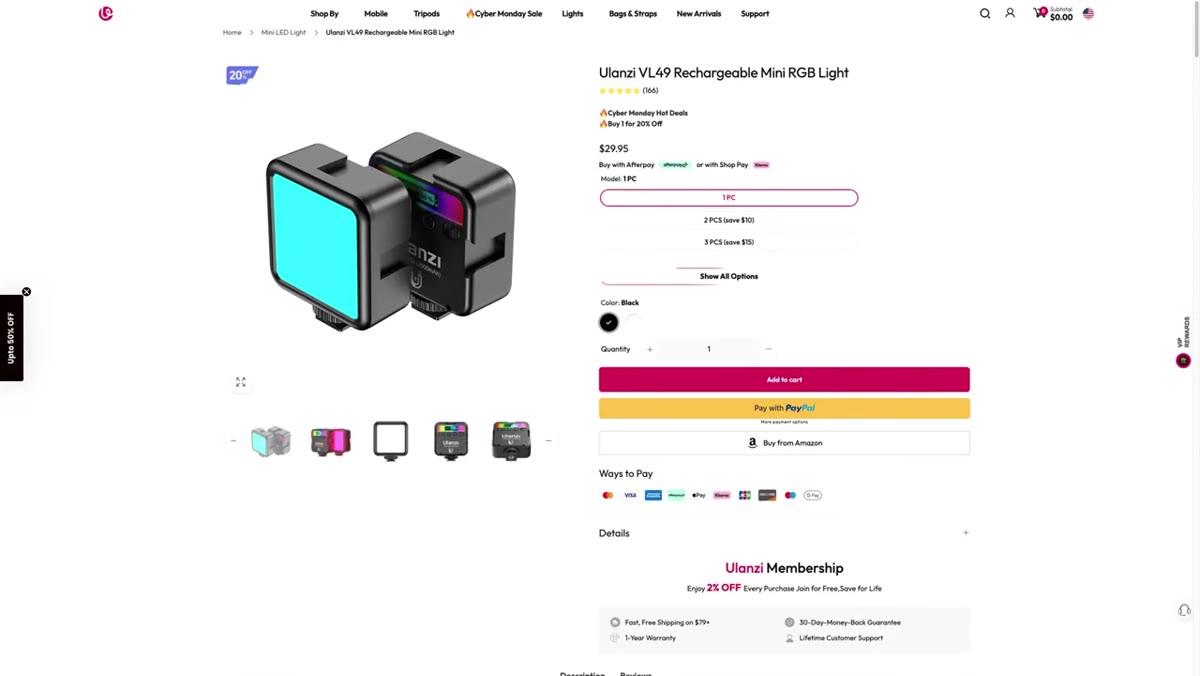 Ulanzi LED lights shown being used inside a vehicle
The Ulanzi lights get their own spotlight here because they come in at around $29 and are magnetic, which is genuinely useful. Magnetic attachment means you can stick them to a car door, a metal shelf, or any ferrous surface without clamps or adapters. The video includes an actual shot taken inside a car using these lights, and the results are solid for the price. My usual approach with budget gear is to buy one, test it hard, and report back. Based on what’s shown in this video, the Ulanzi lights look like a legitimate alternative to name-brand options at nearly half the cost. Worth a trial run.
Ulanzi LED lights shown being used inside a vehicle
The Ulanzi lights get their own spotlight here because they come in at around $29 and are magnetic, which is genuinely useful. Magnetic attachment means you can stick them to a car door, a metal shelf, or any ferrous surface without clamps or adapters. The video includes an actual shot taken inside a car using these lights, and the results are solid for the price. My usual approach with budget gear is to buy one, test it hard, and report back. Based on what’s shown in this video, the Ulanzi lights look like a legitimate alternative to name-brand options at nearly half the cost. Worth a trial run.
Step 4: Use a Rubber Lens Hood to Eliminate Glass Reflections
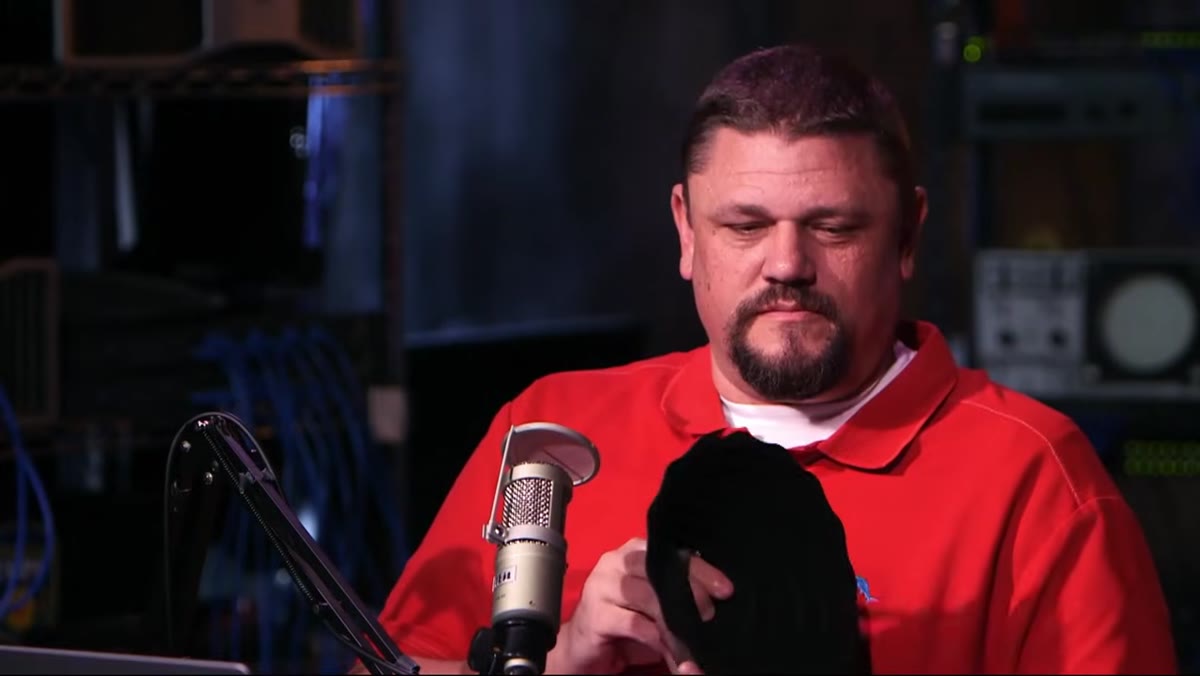 Rubber lens hood pressed against a window to eliminate glare
This one caught me off guard because it solves a problem I’ve fought with for years. A rubber lens hood, specifically designed for shooting through glass, presses against the window and creates a seal that blocks reflections and internal glare. Kelby describes using one inside the London Eye capsule and getting shots that looked like they were taken from an open-air platform. The mechanism is simple: no air gap between the lens and the glass means no reflection plane for light to bounce off. These hoods are inexpensive, foldable, and fit in a jacket pocket. If you shoot in aquariums, observatories, tall buildings, or from inside moving vehicles, this is a non-negotiable addition to your bag.
Rubber lens hood pressed against a window to eliminate glare
This one caught me off guard because it solves a problem I’ve fought with for years. A rubber lens hood, specifically designed for shooting through glass, presses against the window and creates a seal that blocks reflections and internal glare. Kelby describes using one inside the London Eye capsule and getting shots that looked like they were taken from an open-air platform. The mechanism is simple: no air gap between the lens and the glass means no reflection plane for light to bounce off. These hoods are inexpensive, foldable, and fit in a jacket pocket. If you shoot in aquariums, observatories, tall buildings, or from inside moving vehicles, this is a non-negotiable addition to your bag.
Step 5: Test the Hood’s Range of Motion Before You Commit to a Shot
 Camera rotating left and right against window with hood attached
One detail that gets glossed over but matters in practice: the rubber construction lets you rotate the camera left and right while still maintaining contact with the glass. This means you’re not locked into one framing once the hood is touching the surface. You can pan slightly, adjust your angle, and recompose without lifting the lens and reintroducing reflections. Kelby specifically points this out, and it’s the kind of real-world usability note that only comes from actually using a product in the field. When I evaluate accessories, this is the stuff I look for. Not spec sheets. How does it behave when you’re actually shooting?
Camera rotating left and right against window with hood attached
One detail that gets glossed over but matters in practice: the rubber construction lets you rotate the camera left and right while still maintaining contact with the glass. This means you’re not locked into one framing once the hood is touching the surface. You can pan slightly, adjust your angle, and recompose without lifting the lens and reintroducing reflections. Kelby specifically points this out, and it’s the kind of real-world usability note that only comes from actually using a product in the field. When I evaluate accessories, this is the stuff I look for. Not spec sheets. How does it behave when you’re actually shooting?
My Take: The Spreadsheet Test
I’ve run a lot of budget gear through my own comparison process over the years, and the items in this guide pass the first filter immediately: they solve real, specific problems rather than adding complexity. The pancake lens addresses the zoom-I-never-use problem. The LED lights address the always-too-dark problem. The rubber hood addresses the I-can’t-shoot-through-glass problem.
What I’d add from my own experience is this: the rubber lens hood in particular is the kind of accessory that photographers dismiss until they see the results side by side. I’ve done blind comparisons at local meetups where people genuinely couldn’t distinguish a cheap-lens shot from an expensive one. The same principle applies here. Nobody looking at your final image knows whether the reflection was blocked by a $15 rubber ring or a $300 UV filter setup. They just see whether the shot worked.
If you’re shopping for a photographer this holiday season and you don’t know their exact gear setup, the LED light is the safest bet. It’s almost universally useful, the price is low enough to feel like a fun extra rather than a big commitment, and the color temperature control makes it legitimately versatile across genres.
The single most important takeaway from this whole guide is one the panel keeps returning to without saying it directly: the best gear is the gear you actually bring. A pancake lens that fits in your pocket will take more photos than a zoom that stays in the car. A $29 magnetic light you toss in your bag beats a $300 strobe you left at home. Buy small. Buy light. Shoot more.
Watch the full tutorial on YouTube to see Kelby, Kuna, and White run through all their picks with real sample images and hands-on demonstrations.
Comments
Leave a Comment