I’ve built this whole corner of the internet on one idea: the gear you choose matters less than whether it fits the way you actually shoot. But that doesn’t mean all lenses are created equal. There’s a big difference between gear that works and gear that works for you — right focal length, right budget, right use case. That’s a harder call than any spec sheet can make for you.
In this First Man Photography tutorial, Adam walks through his personal top five lenses across a range of focal lengths and genres, then drops a bonus sixth pick at the end. Watch the full tutorial on YouTube. What makes this video useful isn’t the list itself — it’s the reasoning. Adam shoots Canon, shoots primarily landscape, and is honest about where each lens falls short. That kind of opinionated, grounded perspective is exactly what I try to bring to my own reviews, so I wanted to break this down step by step for anyone trying to build a smarter kit without blowing their budget.
The lens question comes up constantly in my inbox. People want to know what to buy next, and most of the time the answer depends entirely on what they’re trying to shoot. Adam’s framework here gives you a way to think through that, not just a shopping list.
Step 1: Start with Your Genre, Not Your Budget
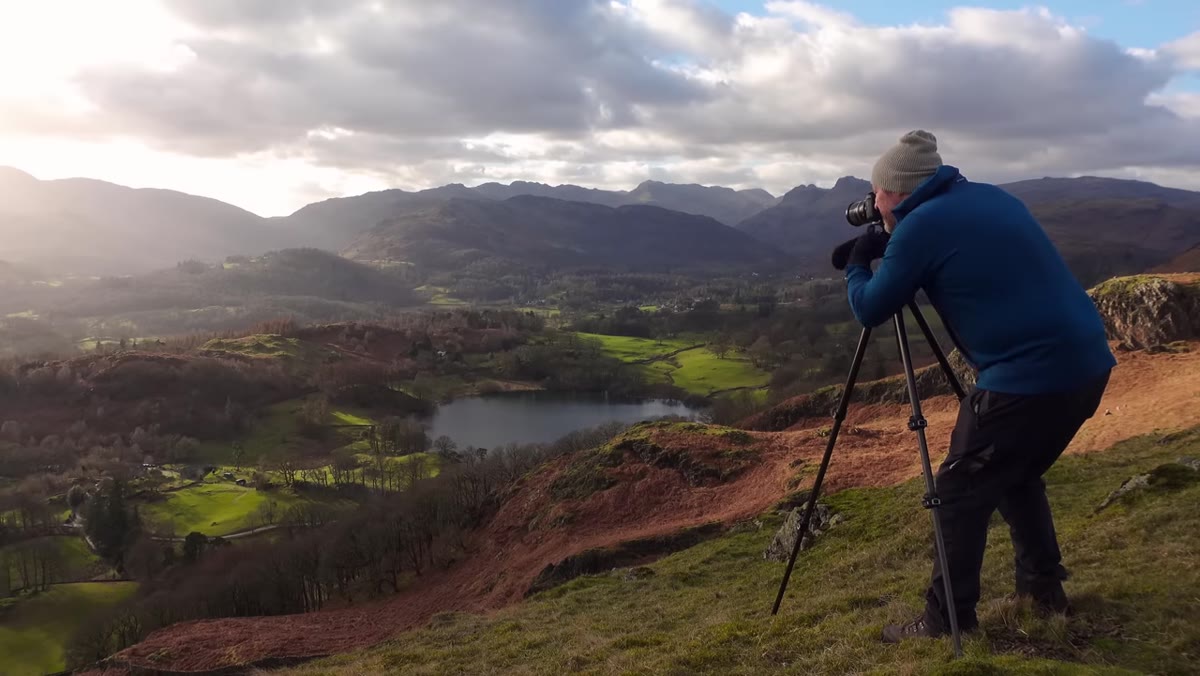 Adam explaining that focal length should match your shooting needs
Before Adam names a single lens, he makes the point that the right focal length is the one that fits your subject and your shooting style. That sounds obvious, but it’s easy to buy a lens because it’s on sale or because someone on a forum recommended it, without stopping to ask whether it actually matches how you work.
Adam explaining that focal length should match your shooting needs
Before Adam names a single lens, he makes the point that the right focal length is the one that fits your subject and your shooting style. That sounds obvious, but it’s easy to buy a lens because it’s on sale or because someone on a forum recommended it, without stopping to ask whether it actually matches how you work.
His advice is to think about what you shoot most, then work backward to the focal length that serves that subject. A landscape photographer and a portrait photographer have almost no overlap in their ideal kit. If you’re trying to build a versatile bag on a budget, understanding that distinction will save you from buying a lens that just sits on your shelf.
Step 2: Understand the Trade-offs of a Telephoto Zoom for Wildlife
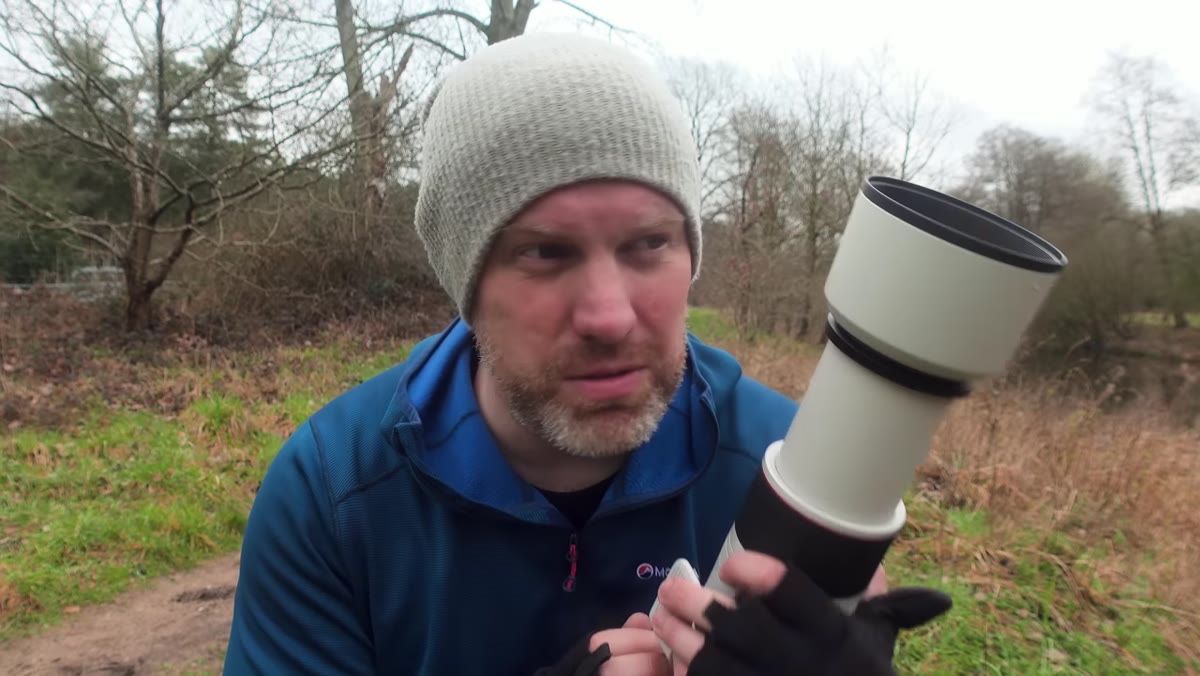 Canon RF 100-500mm lens shown in Adam’s hands outdoors
Adam’s first featured lens is the Canon RF 100-500mm zoom, which he tested during a wildlife outing trying to photograph otters along a river. He’s candid about the experience: two days of walking miles and coming back with nothing. Wildlife photography demands patience that most of us aren’t wired for. But the lens itself impressed him enough that he’s considering replacing his usual 70-200mm with it.
Canon RF 100-500mm lens shown in Adam’s hands outdoors
Adam’s first featured lens is the Canon RF 100-500mm zoom, which he tested during a wildlife outing trying to photograph otters along a river. He’s candid about the experience: two days of walking miles and coming back with nothing. Wildlife photography demands patience that most of us aren’t wired for. But the lens itself impressed him enough that he’s considering replacing his usual 70-200mm with it.
The key trade-off to understand with a lens like this is aperture. At 500mm, the maximum aperture is f/7.1. That’s not wide. In low light, you’ll be pushing ISO higher than you might like. Adam shot a wagtail at ISO 2500 and was happy with the results, largely because the Canon R5’s noise handling is genuinely strong. If you’re pairing this kind of lens with an older or lower-end body, factor that in. The image stabilization on this lens is also worth noting. He was shooting handheld at 500mm and getting keepers. That’s not something you can take for granted at that focal length.
Step 3: Know What an 85mm Prime Is Actually Good For
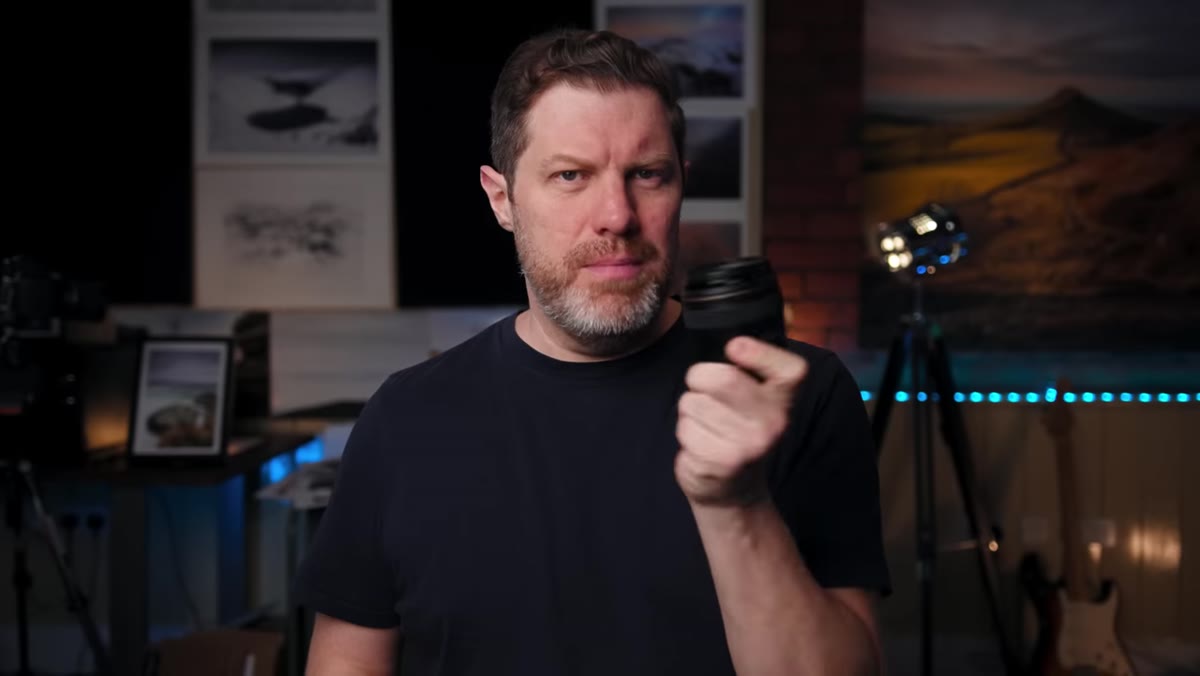 85mm prime lens shown, Adam discussing portrait and landscape use cases
The 85mm prime is where the video shifts into more accessible territory, price-wise. Adam picks up a version that runs around £200 and is honest about its limitations upfront: the build quality is plasticky, the minimum focusing distance is longer than you’d want, and on a cropped sensor body it becomes genuinely awkward to use indoors.
85mm prime lens shown, Adam discussing portrait and landscape use cases
The 85mm prime is where the video shifts into more accessible territory, price-wise. Adam picks up a version that runs around £200 and is honest about its limitations upfront: the build quality is plasticky, the minimum focusing distance is longer than you’d want, and on a cropped sensor body it becomes genuinely awkward to use indoors.
Where it earns its keep is portraits. At f/1.8, the background separation is flattering, the rendering is smooth, and the compression at 85mm is just right for head-and-shoulder framing. Adam notes he’s used it for landscapes too, with success, but portraits are its natural home. If you’re primarily a portrait shooter and you’re not ready to spend on an L-series lens, an 85mm f/1.8 in this price range is one of the better value plays in photography. Just be honest with yourself about whether you shoot in spaces where that focal length gives you enough room to work.
Step 4: Let Prime Lenses Push Your Creativity
 Adam discussing how limitations of prime lenses foster creativity
One of the more useful points Adam makes is about the creative effect of shooting with a prime. When you can’t zoom, you move. When you move, you find angles you wouldn’t have bothered with if you could just twist a ring. I’ve seen this work firsthand. Some of my sharpest, most intentional shots have come from sessions where I deliberately left the zoom at home.
Adam discussing how limitations of prime lenses foster creativity
One of the more useful points Adam makes is about the creative effect of shooting with a prime. When you can’t zoom, you move. When you move, you find angles you wouldn’t have bothered with if you could just twist a ring. I’ve seen this work firsthand. Some of my sharpest, most intentional shots have come from sessions where I deliberately left the zoom at home.
This isn’t nostalgia for old gear. It’s a practical workflow tip. If you’re in a creative rut, spend a weekend with a single prime and see what happens. The limitation isn’t a bug. It forces decisions that zoom shooting lets you defer.
Step 5: Match the Lens to Your Shooting Conditions, Not Just Your Subject
 Adam discussing bright light conditions as ideal for the f/7.1 aperture limit
A thread that runs through Adam’s whole breakdown is the importance of shooting conditions. The 100-500mm at f/7.1 wants bright light. The 85mm at f/1.8 shines in controlled or soft light. Every lens has a sweet spot, and knowing yours means you stop fighting your gear.
Adam discussing bright light conditions as ideal for the f/7.1 aperture limit
A thread that runs through Adam’s whole breakdown is the importance of shooting conditions. The 100-500mm at f/7.1 wants bright light. The 85mm at f/1.8 shines in controlled or soft light. Every lens has a sweet spot, and knowing yours means you stop fighting your gear.
Before buying any lens, it’s worth asking: where do I actually take most of my photos? Outdoors in daylight? In dim reception halls at events? In a home studio? The answer changes the calculus on aperture, stabilization, and focal length more than any review will.
What I’d Add from My Own Testing
I’ve built a spreadsheet comparing nearly every budget lens I’ve tested over the past few years, and the pattern I keep seeing matches what Adam describes: the biggest gains don’t come from spending more, they come from buying the right focal length for the way you already shoot.
The one thing I’d push back on slightly is the framing around the RF 100-500mm as a replacement for a 70-200mm. For most photographers who aren’t primarily doing wildlife, the 70-200mm range is where you’ll live. Stretching to 500mm is a specialized capability, and that f/7.1 ceiling is a real constraint in anything but good light. If your budget allows only one telephoto, think hard about how often you’re actually going to need 400mm or 500mm before you commit.
The single most important thing I took from Adam’s tutorial is this: buy for the genre you shoot most, not the genre you aspire to shoot someday. A versatile kit built around your actual subjects will serve you better than an impressive-sounding setup that doesn’t match your real shooting life.
Watch the full tutorial on YouTube to see Adam’s complete list, including the surprise sixth lens he holds back until the end. It’s worth sticking around for.
Comments
Leave a Comment