I’ll be straight with you: I’m suspicious of gear lists. Most of them are just wishlists dressed up as advice, full of $3,000 lenses that nobody asking the question can actually afford. So when I watched Adam’s recent video over at First Man Photography, I wasn’t expecting much. What I got instead was a genuinely honest breakdown of five things he’s actually used, not just unboxed, over the past year or more. No filler. No affiliate padding. Just a working photographer explaining what moved the needle for him.
Watch the full tutorial on YouTube
The thing that caught my attention early was his framing around purchasing philosophy. He talked about getting off a treadmill of constant, low-quality buying and shifting toward fewer, more deliberate purchases. That hit close to home. I’ve been guilty of buying cheap tripod after cheap tripod, testing each one, and moving on. At some point the habit becomes the problem. Adam’s list is built around the opposite idea: things that compound in value the longer you use them. Here’s how he breaks it down.
Step 1: Understand Why Printing Changes How You Shoot
 Adam explaining the value of seeing photography as physical artwork
Before he even names a printer, Adam makes a philosophical case for printing that’s worth sitting with. His argument is that treating prints as physical artwork, rather than files that happen to get printed, completely reframes the cost question. A painter buys brushes and canvas. A photographer buys ink and paper. When you accept that cost as part of the creative process rather than a penalty, you also start being more selective about what you shoot and what you decide is worth printing. That selectivity, according to Adam, was responsible for the biggest improvement in his photography over a decade. That’s not a small claim, and he backs it up by pointing to his own wall of printed work.
Adam explaining the value of seeing photography as physical artwork
Before he even names a printer, Adam makes a philosophical case for printing that’s worth sitting with. His argument is that treating prints as physical artwork, rather than files that happen to get printed, completely reframes the cost question. A painter buys brushes and canvas. A photographer buys ink and paper. When you accept that cost as part of the creative process rather than a penalty, you also start being more selective about what you shoot and what you decide is worth printing. That selectivity, according to Adam, was responsible for the biggest improvement in his photography over a decade. That’s not a small claim, and he backs it up by pointing to his own wall of printed work.
Step 2: Start With the Canon Pro 10s If You’re on a Budget
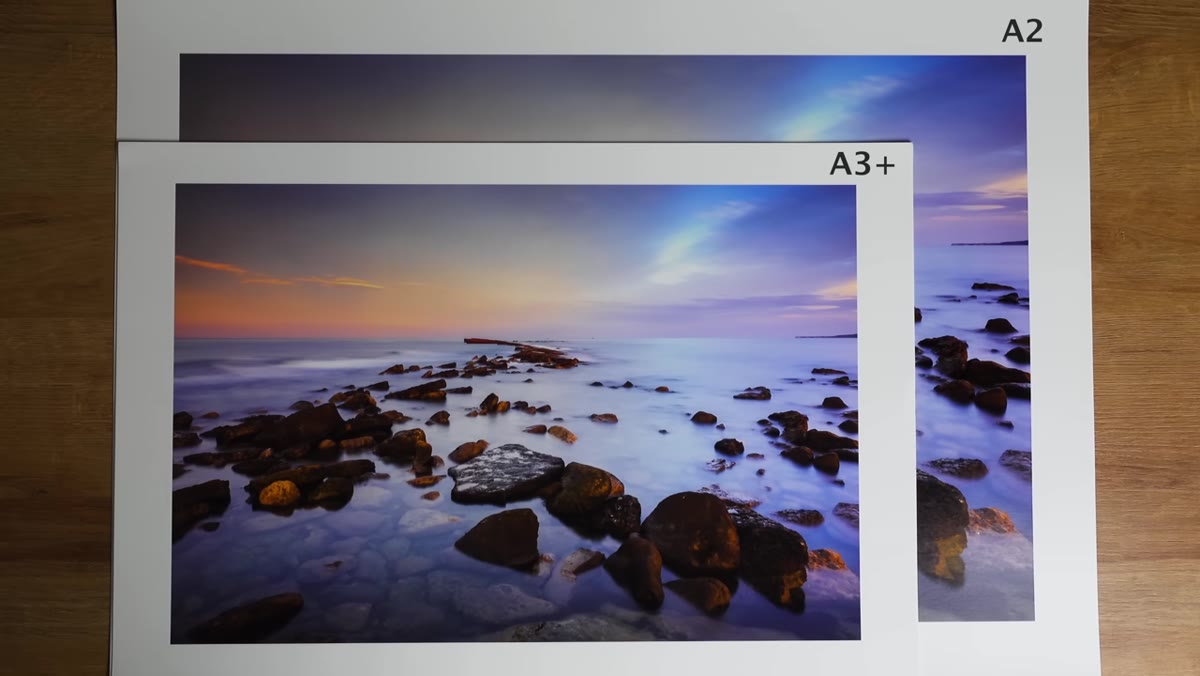 Canon Pro 10s printer shown on desk, A3+ print beside it
The Canon Pro 10s is Adam’s entry point recommendation, and the current used market price is the real story here. He was surprised to find these going secondhand for just over 100 pounds, which converts to roughly $125 USD. For that price you’re getting a 10-ink A3+ printer that includes a chroma optimizer, a dedicated ink that improves color vibrancy and print longevity. Adam has sold prints made on this machine with full confidence in the output quality. If you’re testing the waters on home printing without committing to a flagship setup, this is the machine he’d point you toward first.
Canon Pro 10s printer shown on desk, A3+ print beside it
The Canon Pro 10s is Adam’s entry point recommendation, and the current used market price is the real story here. He was surprised to find these going secondhand for just over 100 pounds, which converts to roughly $125 USD. For that price you’re getting a 10-ink A3+ printer that includes a chroma optimizer, a dedicated ink that improves color vibrancy and print longevity. Adam has sold prints made on this machine with full confidence in the output quality. If you’re testing the waters on home printing without committing to a flagship setup, this is the machine he’d point you toward first.
Step 3: Consider the Canon Pro 300 If You’re Starting Fresh Today
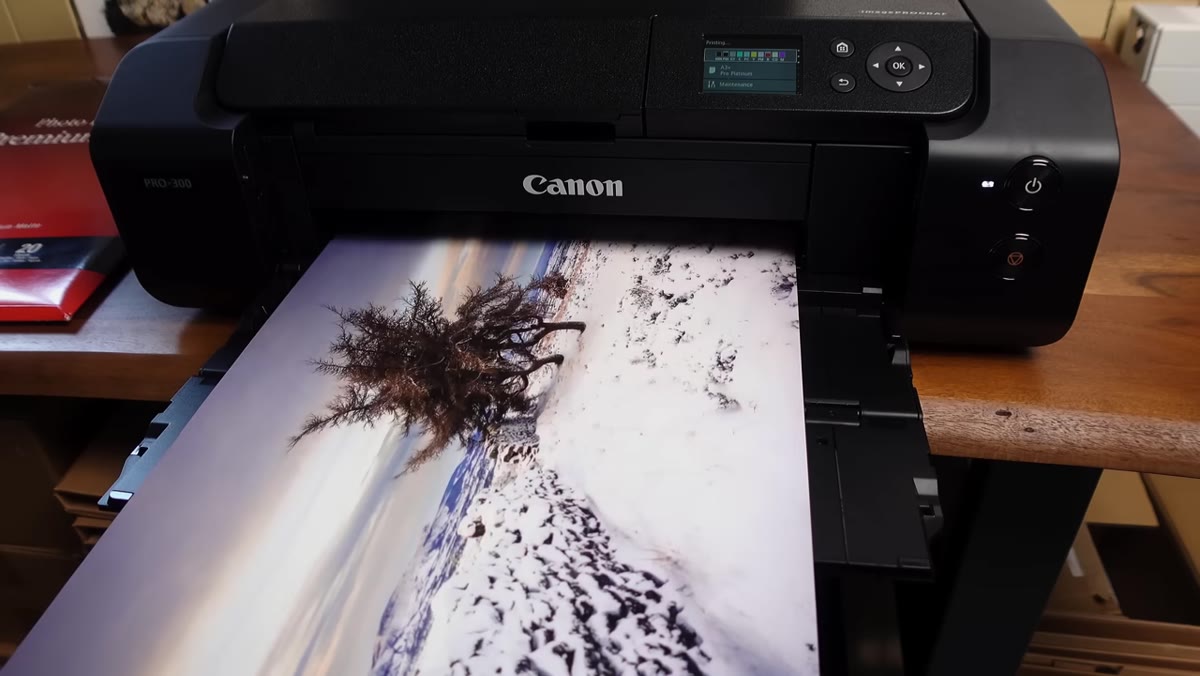 Canon Pro 300 sitting next to the Pro 10s for size comparison
The Pro 300 is Adam’s current recommendation for anyone building a printing setup from scratch. It produces the same A3+ print size as the 10s but in a physically smaller body, which matters if your workspace is tight. More importantly, it uses Canon’s Lucia Pro inks, the same ink system found in Canon’s professional top-tier printers. Adam received this unit directly from Canon and has covered it in more depth in a dedicated video, but the short version here is: if the Pro 10s is the smart budget pick, the Pro 300 is the smart long-term pick. The jump in ink quality is meaningful for anyone planning to sell prints or display them seriously.
Canon Pro 300 sitting next to the Pro 10s for size comparison
The Pro 300 is Adam’s current recommendation for anyone building a printing setup from scratch. It produces the same A3+ print size as the 10s but in a physically smaller body, which matters if your workspace is tight. More importantly, it uses Canon’s Lucia Pro inks, the same ink system found in Canon’s professional top-tier printers. Adam received this unit directly from Canon and has covered it in more depth in a dedicated video, but the short version here is: if the Pro 10s is the smart budget pick, the Pro 300 is the smart long-term pick. The jump in ink quality is meaningful for anyone planning to sell prints or display them seriously.
Step 4: Go Big With the Canon Pro 1000 When You’re Ready to Sell Prints
 Canon Pro 1000 with large A2 print being examined
This is Adam’s daily driver and has been for nearly three years. The Pro 1000 steps up to A2 printing, which is a significant size jump from A3+. If you’ve ever held an A2 print, you know it commands a room. Adam uses this machine for all the prints he sells and for the work he hangs on his own walls. A recent firmware update also unlocked panoramic printing, which he covered separately. The Pro 1000 is the most expensive of the three options and is clearly aimed at photographers who are already selling or who have a serious commitment to large-format output. But it’s worth knowing about even if you’re not there yet, because understanding the ceiling helps you plan the path.
Canon Pro 1000 with large A2 print being examined
This is Adam’s daily driver and has been for nearly three years. The Pro 1000 steps up to A2 printing, which is a significant size jump from A3+. If you’ve ever held an A2 print, you know it commands a room. Adam uses this machine for all the prints he sells and for the work he hangs on his own walls. A recent firmware update also unlocked panoramic printing, which he covered separately. The Pro 1000 is the most expensive of the three options and is clearly aimed at photographers who are already selling or who have a serious commitment to large-format output. But it’s worth knowing about even if you’re not there yet, because understanding the ceiling helps you plan the path.
Step 5: Add a Solar Power Station for Off-Grid Shooting
 Jackery Solar Generator 500 with solar panel displayed outdoors
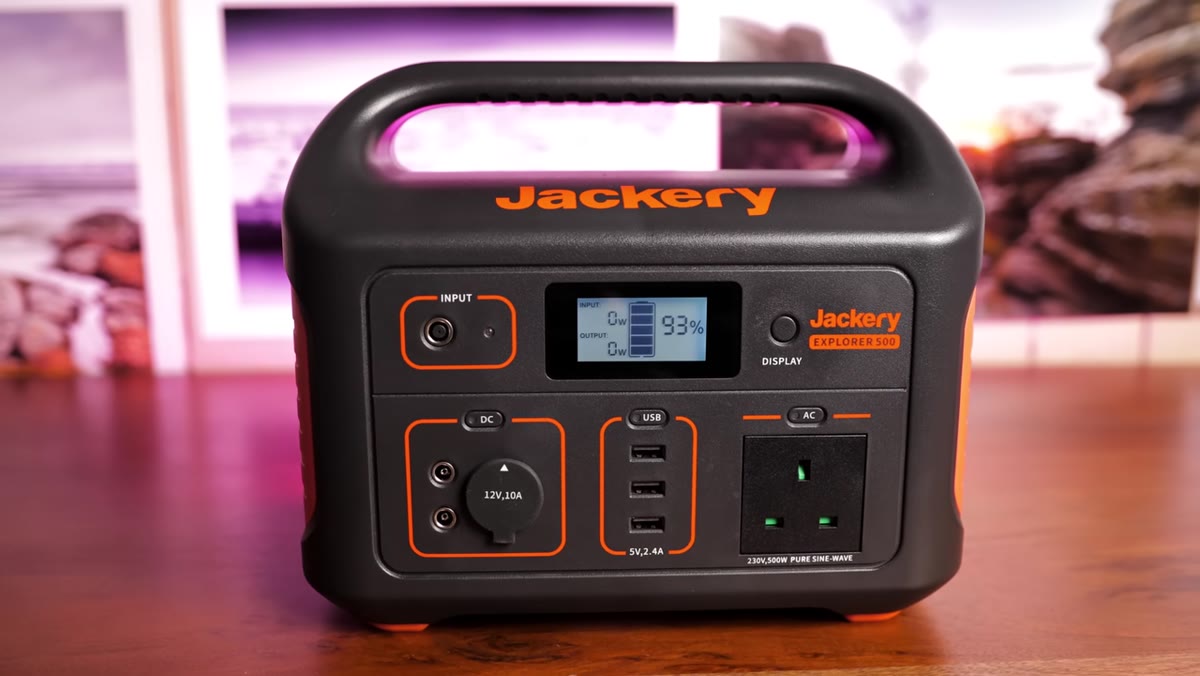
This is where the list takes a turn away from strictly photographic gear, and it’s the smarter move for it. Adam recommends the Jackery Solar Generator 500 for anyone doing camping or off-grid location shoots. The key feature isn’t the battery capacity itself. It’s the AC power outlet. Most battery banks and car power solutions only give you USB or 12V DC output, which limits you to charging phones and camera batteries. An AC outlet means you can run a laptop for editing, power LED panels, or even run a small cooler on a family camping trip. Pair that with the included 100-watt solar panel and you have a genuinely self-sufficient power setup. Adam says this changed his camping workflow more than almost anything else on the list.
Jackery Solar Generator 500 with solar panel displayed outdoors
This is where the list takes a turn away from strictly photographic gear, and it’s the smarter move for it. Adam recommends the Jackery Solar Generator 500 for anyone doing camping or off-grid location shoots. The key feature isn’t the battery capacity itself. It’s the AC power outlet. Most battery banks and car power solutions only give you USB or 12V DC output, which limits you to charging phones and camera batteries. An AC outlet means you can run a laptop for editing, power LED panels, or even run a small cooler on a family camping trip. Pair that with the included 100-watt solar panel and you have a genuinely self-sufficient power setup. Adam says this changed his camping workflow more than almost anything else on the list.
What I’d Add From My Own Testing
Adam’s printing argument is the one I want to double down on, because I think it gets undersold even in his own video. The cost-per-print math looks scary until you compare it against what labs charge for large-format output. I ran the numbers on a comparable A2 print from a local lab versus home printing on a Pro 1000-tier machine. Once you’re past the first 40 or 50 prints, home printing is cheaper per sheet, and you have complete control over color calibration. For anyone already selling prints, that control is worth real money. The upfront cost on the hardware is real, but the Pro 10s at current used prices makes the entry point low enough that the break-even comes faster than you’d think.
The gear in this video isn’t flashy. There’s no mirrorless body, no exotic prime lens, no $600 filter system. That’s exactly why it’s worth paying attention to. A printer you use every week and a power station that lets you stay in the field longer will improve your photography in ways that a marginal camera upgrade simply won’t.
Watch the full tutorial on YouTube to see the gear in action and get Adam’s full take on each item, including print quality comparisons you really need to see on video.
Comments
Leave a Comment