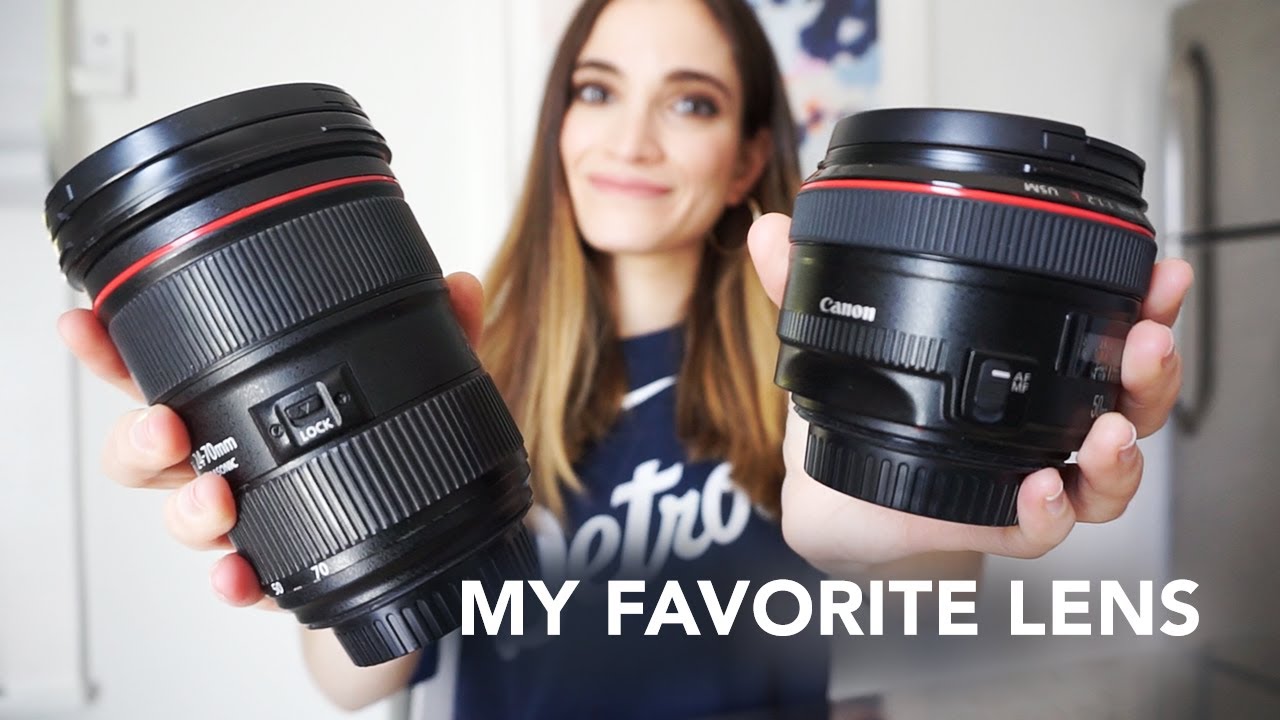
I spent an embarrassing amount of time in my early shooting days locked into a single prime lens. One focal length, one perspective, one way of working a scene. It felt like creative discipline at the time. Looking back, it was just stubbornness dressed up as a philosophy. The moment I actually started matching my glass to the demands of the shoot rather than my personal comfort zone, my hit rate on keepers jumped dramatically. That mental shift is exactly what I saw play out in a recent Jessica Kobeissi tutorial, where she breaks down the two Canon lenses she brought to a Los Angeles shoot and explains why her long-time favorite got quietly demoted. Watch the full tutorial on YouTube
What I appreciate about Kobeissi’s take is that it isn’t abstract. She shoots fashion. She has agency clients. She works in tight two-hour windows with multiple outfit changes. Those constraints are real, and they make her lens preferences mean something. This isn’t a lab test or a spec sheet debate. It’s a working professional explaining why her workflow forced her hand, and the reasoning translates cleanly for anyone shooting events, editorial content, or anything else where speed and range matter more than pixel-peeping at maximum aperture.
Step 1: Know What You’re Actually Shooting Before You Grab a Lens
 Jessica explaining her most-asked question about lenses
Before Kobeissi even gets into the lenses themselves, she anchors the whole conversation in her specific genre: fashion photography. That context is doing a lot of work. A portrait photographer in a controlled studio environment and a fashion shooter working outdoor locations have very different needs, even if both of them are photographing people. The takeaway here is to start every gear decision with a genre-first question. What does this shoot actually require? Full-body coverage? Fast transitions? Weird angles that show the whole outfit? Your answer should drive your lens choice, not habit or brand loyalty.
Step 2: Understand Why the 24-70mm Works for Fast, Multi-Look Shoots
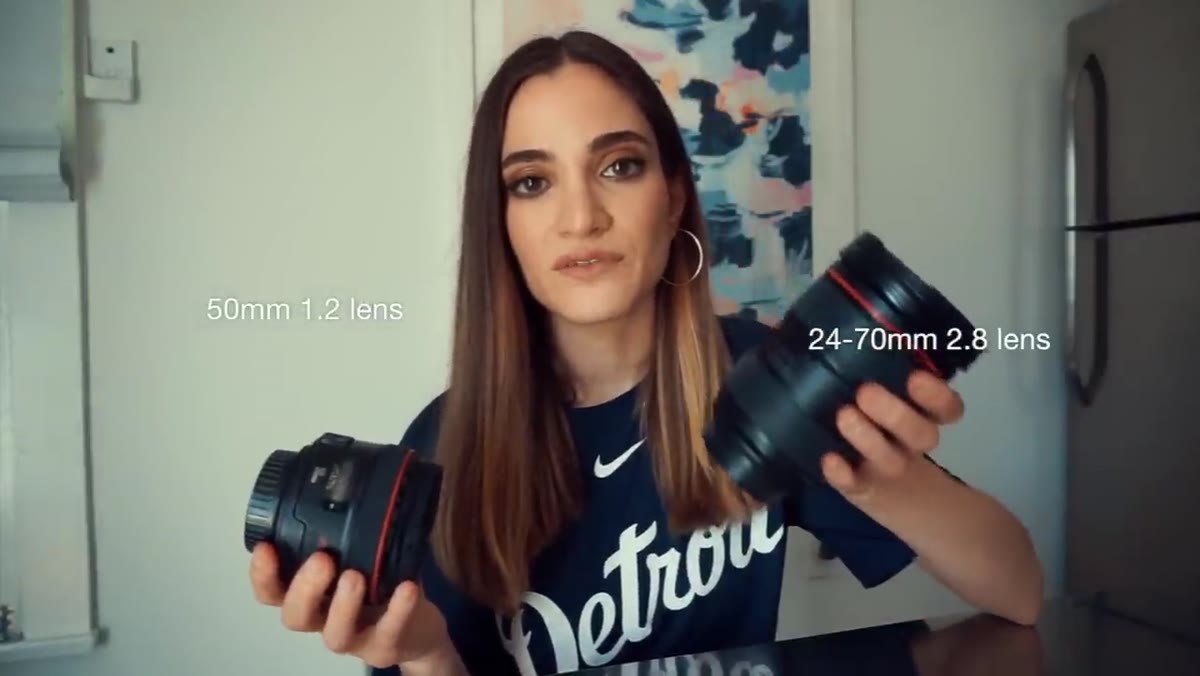 Jessica holding and discussing the Canon 24-70mm lens
Kobeissi brought two lenses to LA: the Canon 50mm f/1.2 and the Canon 24-70mm f/2.8. The 24-70mm has become her current go-to, and she’s clear about why. The zoom range lets her capture a tight headshot and then pull back to a full street-style frame without physically repositioning herself or swapping glass. When you’re moving through locations quickly and working with models who are doing the same, that flexibility is not a luxury. It’s a time-saver that compounds across an entire shoot. If you’re handling two outfits in roughly an hour each, every minute you spend shuffling positions or fumbling with lens changes is a minute you’re not shooting.
Step 3: Recognize What the 50mm f/1.2 Is Actually Good For
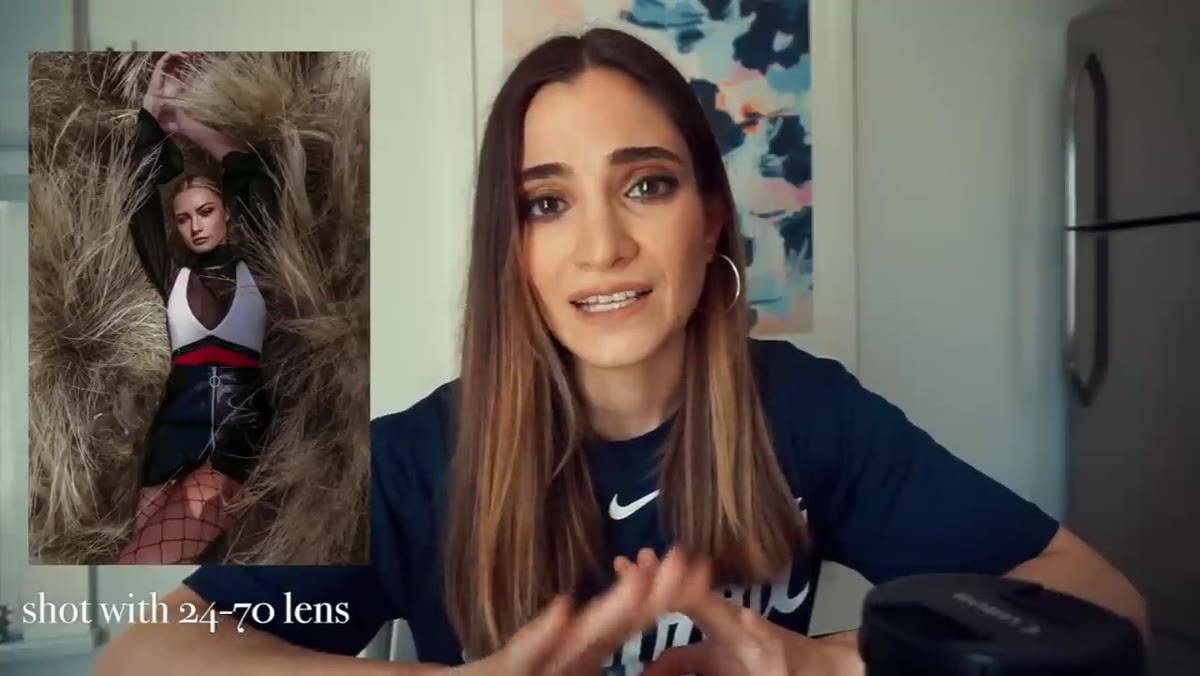 Jessica holding the 50mm f/1.2 and describing its strengths
She doesn’t throw the 50mm under the bus. She’s careful to say it remains one of her favorite lenses, just not the right tool for this particular context. The 50mm f/1.2 earns its reputation in portrait work. The rendering at wide apertures is beautiful, the compression feels natural, and it handles full-body shots without distortion issues. Where it becomes limiting is when you need to move fast and cover a range of compositions without repositioning. A fixed focal length means your feet become your zoom ring, which is fine when you have control over your environment and plenty of time. On a location shoot with changing light and a schedule, that physical back-and-forth adds friction.
Step 4: Stop Stressing Over the f/1.2 vs. f/1.4 Aperture Gap
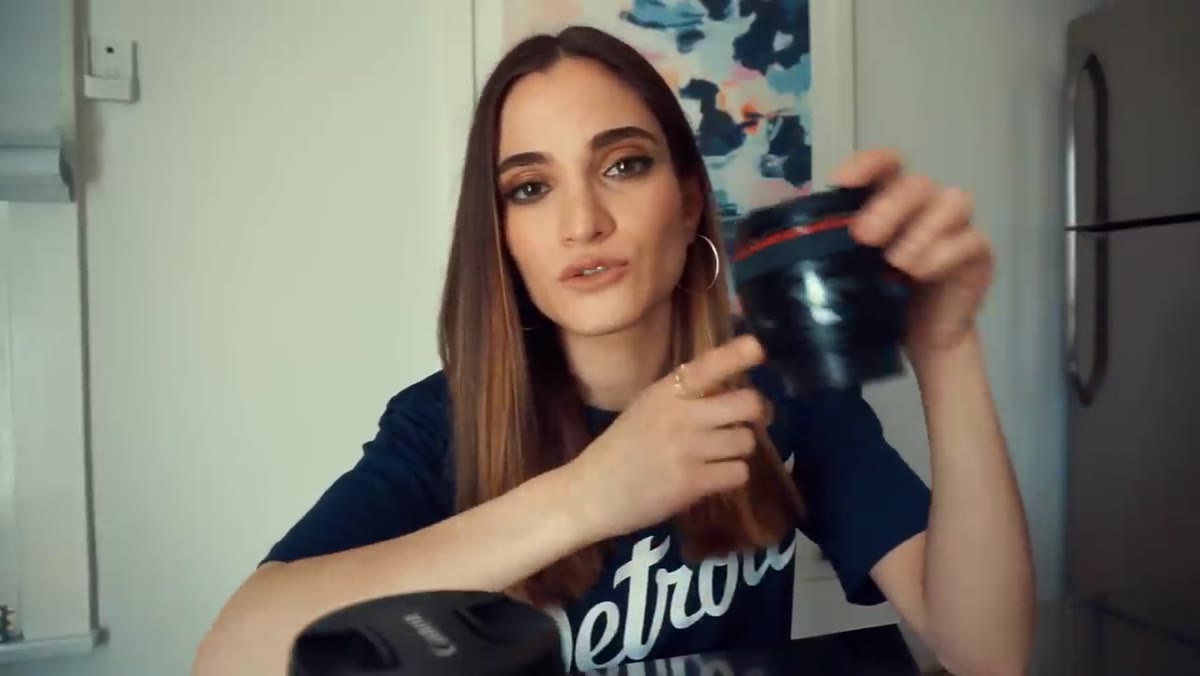 Jessica comparing the 50mm f/1.2 and f/1.4 lenses
This is the part I wish someone had told me years ago. Kobeissi gets asked constantly whether the 50mm f/1.4 is worth buying over the f/1.2. Her answer is direct: yes, the 1.4 is just as good for most real-world shooting situations. She used the 1.4 extensively and says clients couldn’t tell the difference in the final images. The price gap between those two lenses is significant. I’ve run enough side-by-side tests at meetups to know that even experienced photographers struggle to identify which aperture was used when viewing final edited images. Unless you are specifically chasing that last third of a stop of light in extremely low-light documentary work, the 1.4 gets you to the same place for less money.
Step 5: Factor in Travel and Physical Weight When Choosing Your Kit
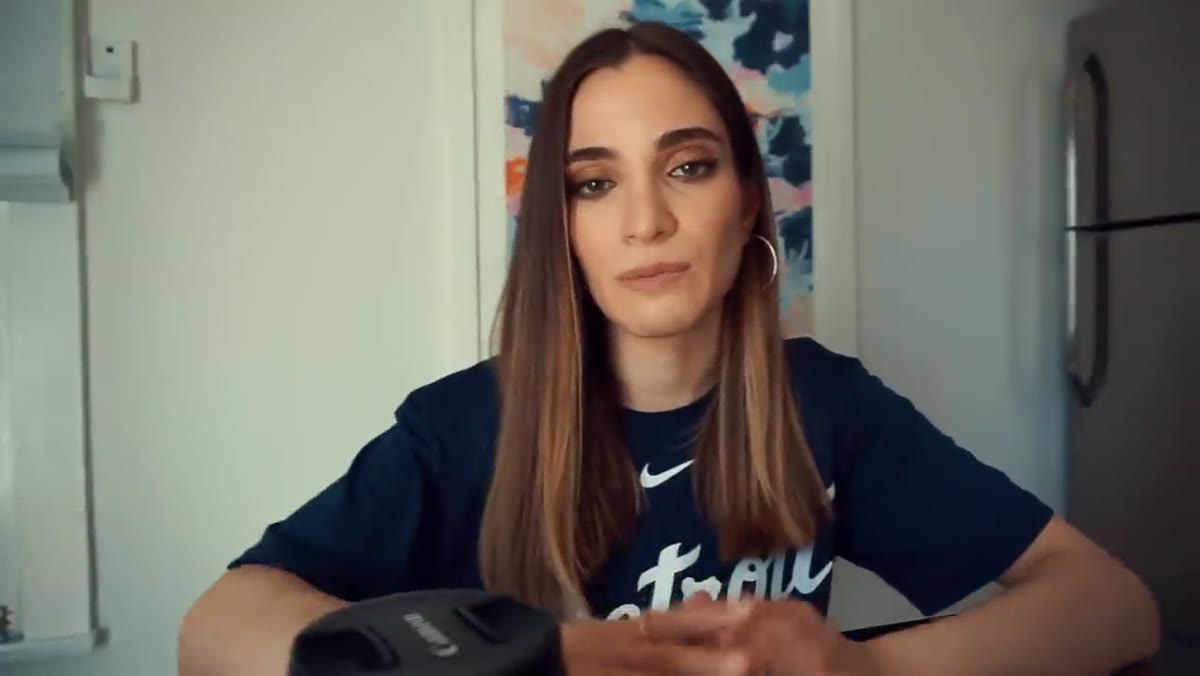 Jessica describing the size and weight of the 50mm f/1.2
Kobeissi makes a point that gear reviewers often gloss over: the 50mm f/1.2 is a physically heavy lens, and traveling with it internationally is a genuine hassle. She leaves it at home and takes the 1.4 when flying overseas. This is a practical consideration that should factor into any purchase decision. A lens you leave at home because it’s too heavy to carry is a lens you’re not getting value from. Before committing to the heaviest or largest version of any piece of glass, ask yourself how often you’ll actually have it with you. The best lens is the one on your camera, not the one sitting in a pelican case at your apartment.
Step 6: Look at Your Own Portfolio to Identify Your Real Working Lens
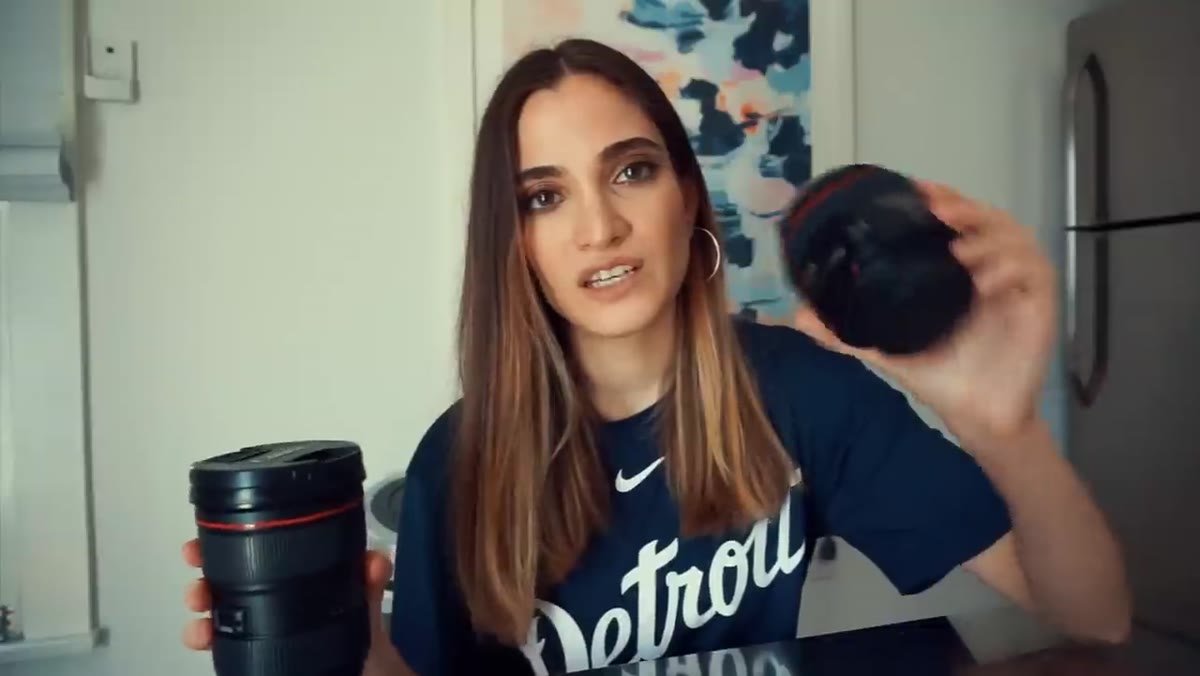 Jessica mentioning her Instagram work shot with the 50mm 1.2
Kobeissi mentions that if you go back through her Instagram, most of her portfolio was built with the 50mm f/1.2. That history matters because it confirms the lens is capable of professional-level work. The 24-70mm represents a shift in her current workflow, not a verdict on which lens is technically superior. This is a smart exercise to apply to your own library. Pull up your last 100 shots. What focal lengths show up most often? Which images got the most positive response? Your shooting patterns will tell you more about what lens you actually need than any spec comparison chart.
My Take: Budget Alternatives Exist and They’re Closer Than You Think
I keep a running spreadsheet of every third-party lens I’ve tested at each focal length. The Canon 24-70mm f/2.8 L II is excellent, but the price point puts it out of reach for a lot of photographers who would genuinely benefit from that zoom range. The Tamron 24-70mm f/2.8 G2 covers the same focal range at a meaningful discount, and in my testing the sharpness across the zoom range is competitive enough that I’d recommend it without hesitation for anyone not shooting for clients with serious pixel-level delivery requirements. Same logic applies to the 50mm debate. The Canon 50mm f/1.8 STM is inexpensive, small, and produces images that are genuinely difficult to distinguish from its pricier siblings in typical shooting conditions. Don’t let the gear ceiling of a working professional discourage you from exploring the same concepts with what you can actually afford right now.
The real lesson from Kobeissi’s tutorial isn’t “buy the 24-70mm.” It’s that your lens choice should be dictated by your genre, your pace, and your physical workflow. Get clear on those three things first, and the right glass becomes obvious. Watch the full tutorial on YouTube to see her example images from both lenses. Seeing the actual output side by side will make the differences click faster than any written description.
Comments (10)
Solid advice. Especially the part about taking your time with it.
Finally someone explains this in a way that actually makes sense.
My workflow just got 10x faster. Not even kidding.
Well explained. I think my audience would really benefit from this — mind if I link to it?
This is going in my reference folder. Incredibly useful.
Solid advice. Especially the part about taking your time with it.
Excellent tutorial. I'd add that from a retouching standpoint, this technique is incredibly versatile.
Simple but effective. Sometimes that's all you need.
This is exactly what I needed today. Been struggling with this for weeks.
Really solid breakdown. This pairs perfectly with the color grading work I've been writing about.
Leave a Comment