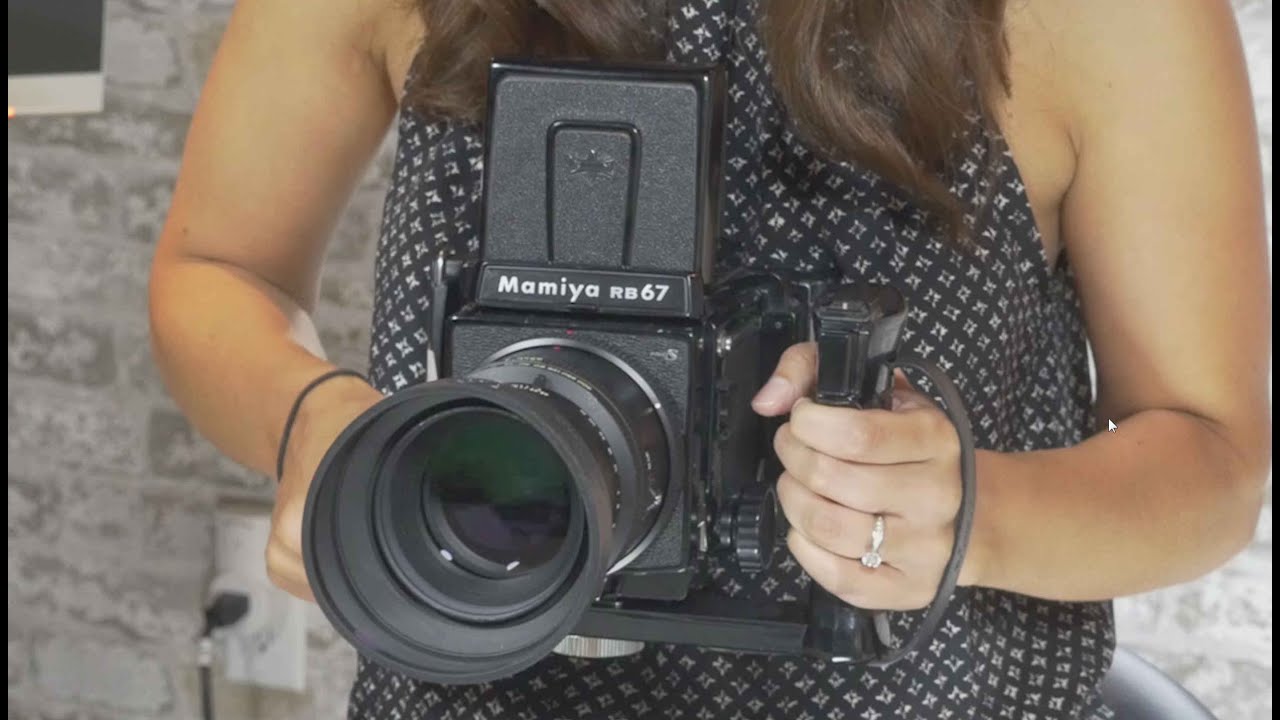
I spend a lot of mornings scrolling deal sites before my coffee gets cold, hunting for gear that punches above its price tag. Most of what I find is forgettable. But every once in a while, a piece of equipment shows up that makes me think differently about what cameras are actually supposed to do. That’s the feeling I got watching this Tony & Chelsea Northrup tutorial, where they walk through seven of their all-time favorite cameras and lenses spanning nearly six decades of photography. Watch the full tutorial on YouTube
What struck me wasn’t nostalgia. It was how clearly these two photographers could articulate why a specific piece of gear made them better at their craft. That’s a skill most gear reviews skip entirely. Knowing why something works for you - not just what its specs are - is how you stop wasting money on upgrades that don’t move the needle. This breakdown pulls out the core lessons from each camera they cover, so you can apply that thinking to whatever you’re shopping for right now.
Step 1: Start With the Yashica Mat 124G (Medium Format Film, ~$100-150 on eBay)
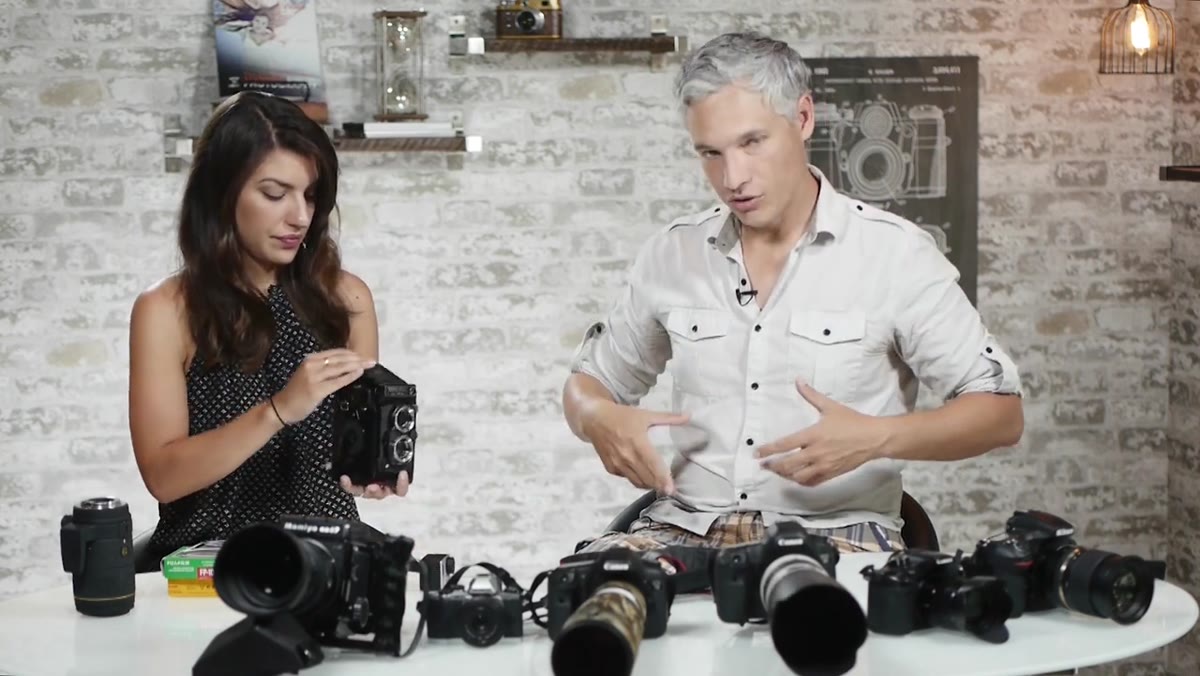
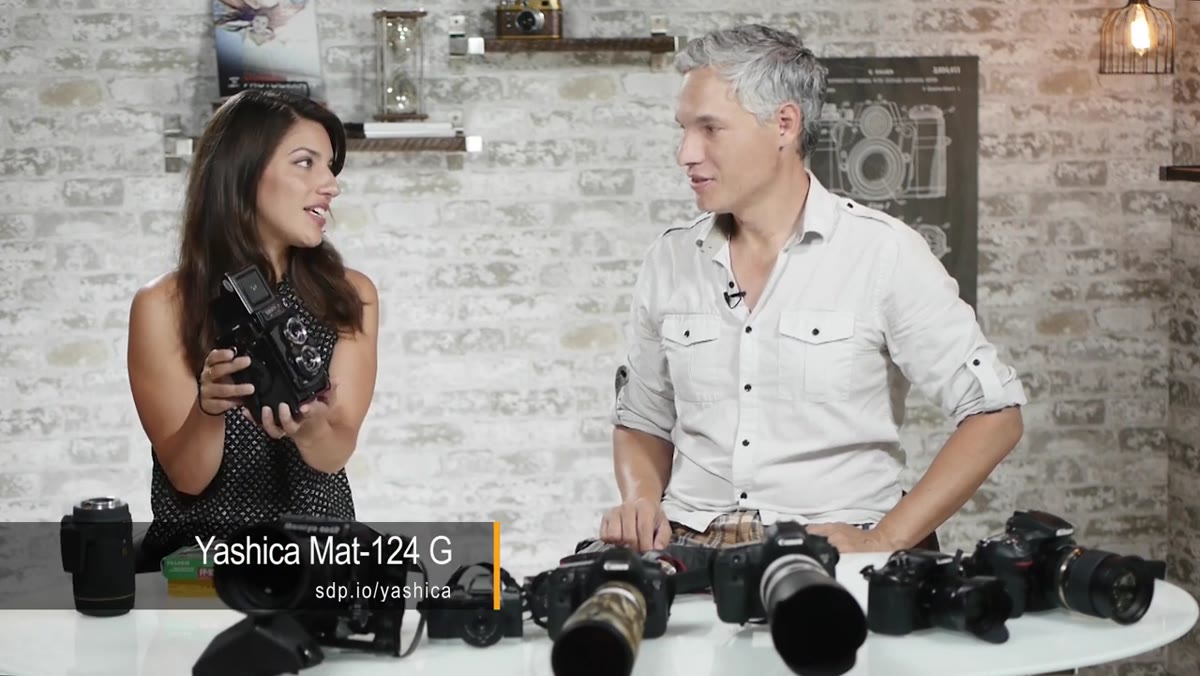 Chelsea holding the Yashica Mat 124G twin lens reflex camera
The Yashica Mat 124G is a twin-lens reflex medium format camera that shoots 120 film. Tony and Chelsea open with it for good reason - it forces you to slow down completely. There’s a built-in light meter, but it’s decoupled from the controls, meaning you read the meter and then manually dial in shutter speed and aperture yourself. Nothing is automatic. Nothing is connected. That friction is the whole point.
The waist-level viewfinder flips your image left to right, which sounds annoying until you realize it completely changes how people react to you on the street. You’re looking down instead of raising a camera to your face, and that body language reads as non-threatening. Chelsea specifically calls it out as a tool for street photography - people walk up to talk to you rather than turning away. For anyone who’s ever felt awkward shooting strangers, that’s a genuine functional advantage, not just a quirk. Medium format film also means serious enlargement potential once you scan your negatives.
Step 2: Understand the Mamiya RB67 as a System Camera Built for Portraits
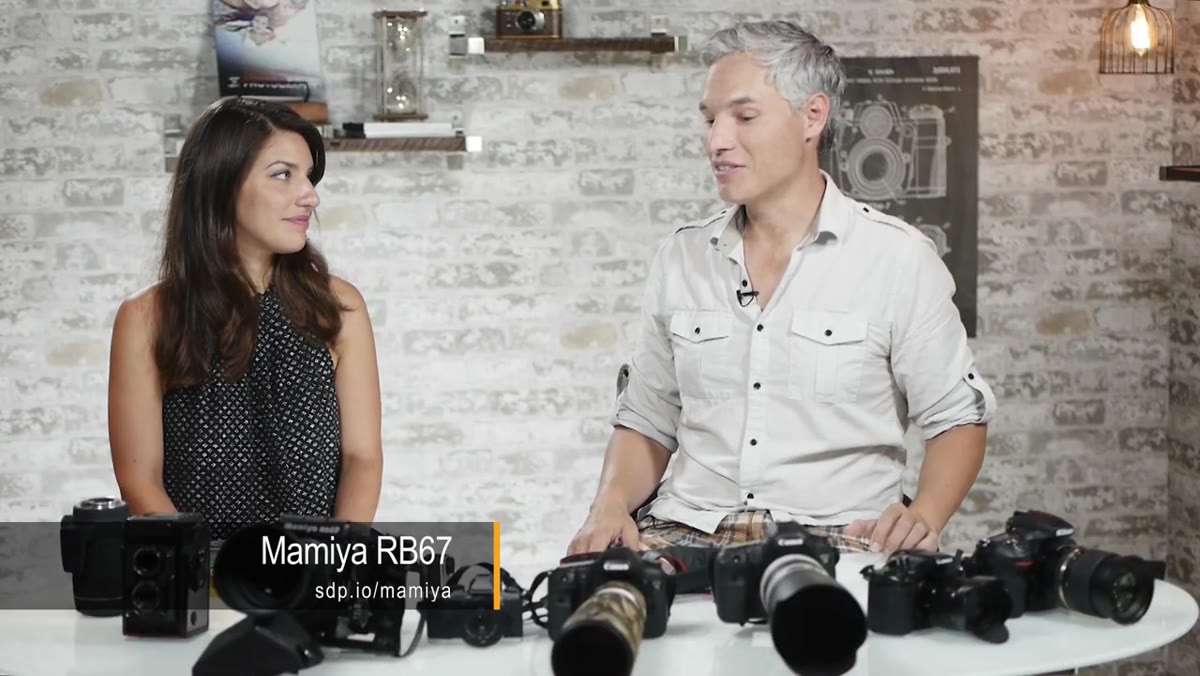 Tony lifting the heavy Mamiya RB67 medium format system camera
The Mamiya RB67 is a beast - heavy, fully mechanical, no battery, no meter. Every function runs on spring tension. That’s not a limitation; it’s a feature for anyone who wants a camera that will never fail because of a dead battery or corrupted firmware. Tony shoots it with a Polaroid back attached, which lets him swap between standard 120 medium format film and instant film without changing cameras.
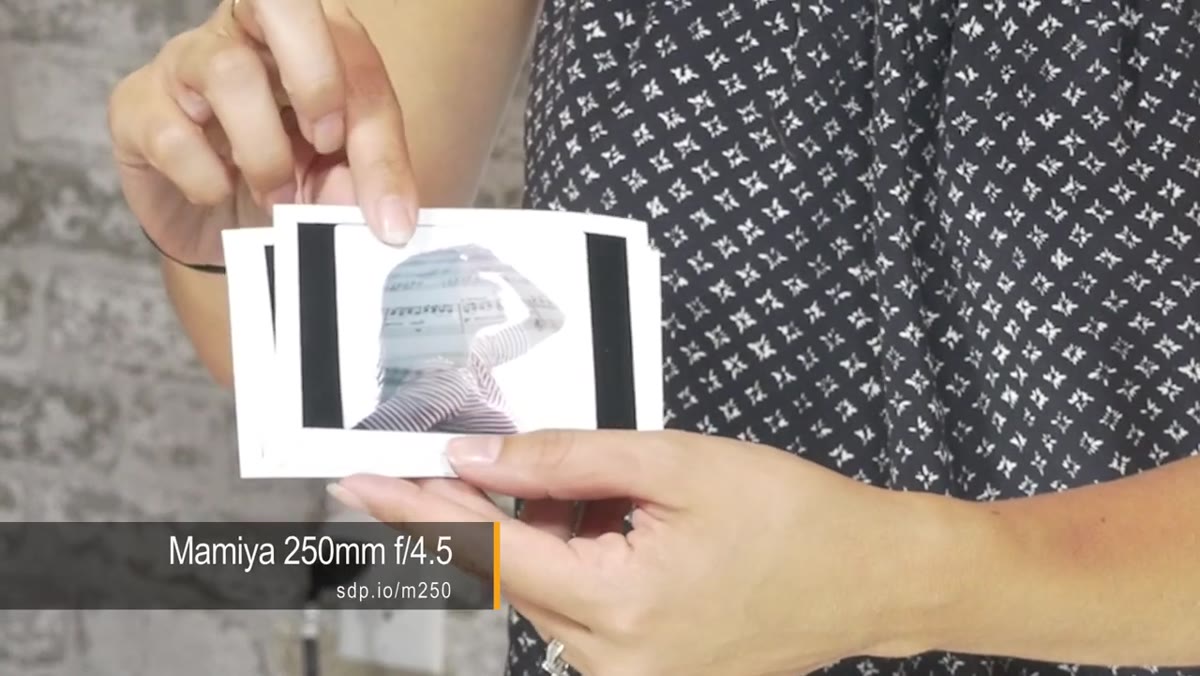
The lens they highlight is the 250mm f/4.5. In 35mm equivalent terms, that translates to roughly a 125mm lens at around f/2.8 - plenty of background compression and separation for portrait work. If you’re evaluating portrait lenses right now, that’s your benchmark: enough reach to flatter facial features, enough aperture to separate your subject from the background. The Polaroid capability is the sleeper detail here. Handing someone an instant photo on the spot is a people skill disguised as a camera feature. It builds trust with subjects and makes shooting events genuinely memorable.
Step 3: Make the Jump to the Olympus OM-D E-M10 for Modern Mirrorless Value
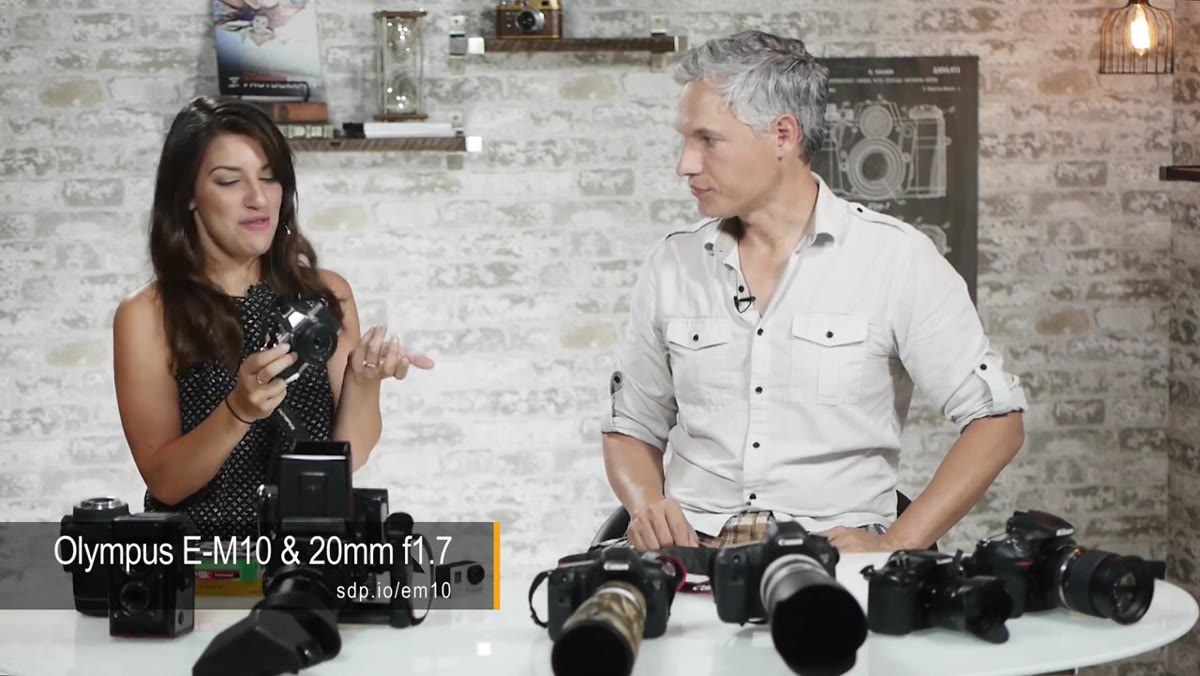 Olympus OM-D E-M10 mirrorless camera displayed on table
This is where the tutorial bridges vintage and modern. The Olympus OM-D E-M10 represents their entry point into Micro Four Thirds mirrorless, and it’s a system choice as much as a camera choice. Micro Four Thirds gives you a broad lens ecosystem at smaller, lighter body sizes than full-frame alternatives. For travel, street work, or anyone who doesn’t want to carry a rolling bag to every shoot, that matters.
The E-M10 sits at the accessible end of the OM-D lineup, which makes it worth paying attention to if you’re evaluating mirrorless entry points. The image stabilization built into the body works across any lens you attach, including adapted vintage glass. If you’re sitting on a collection of old manual lenses - or planning to buy some cheap on eBay - that in-body stabilization is a real multiplier on lenses that would otherwise be hard to handhold at slower shutter speeds.
Step 4: Evaluate Lenses as Long-Term Investments, Not Accessories
 Close-up of Mamiya lens with aperture and shutter speed controls on barrel
One of the clearest themes across every camera Tony and Chelsea discuss is that the lens decision matters more than the body decision over time. On the Mamiya, shutter speed and aperture are set directly on the lens barrel, not on the camera body. That’s a physical reminder of what a lens actually contributes to an image.
When you’re shopping for lenses, think in terms of the system you’re committing to, not the individual optic. A $200 lens that works on three different bodies you’ll own over the next decade is a better investment than a $200 lens that’s mount-specific to a body you might trade in next year. Adapted vintage lenses are worth serious consideration here - especially if you’re on a mirrorless system with an adapter that gives you infinity focus. The optical quality on older glass is often genuinely competitive with modern lenses that cost five times as much.
Step 5: Let Shooting Constraints Drive Creative Growth
 Waist-level viewfinder showing reversed left-to-right image of subject
Every camera in this lineup imposes constraints. The Yashica reverses your image left to right. The Mamiya weighs as much as a small dog. Neither connects to your phone. Tony and Chelsea aren’t being contrarian by loving these cameras - they’re describing something real about how limits force you to pre-visualize shots rather than spray and pray.
If you shoot digitally and feel like your images are getting stale, adding one deliberate constraint is cheaper than buying new gear. Shoot a day in manual only. Use a single prime and don’t zoom with your feet. Set a frame limit and treat it like a roll of film. These aren’t gimmicks. They’re the actual conditions under which most of the best photographers in history developed their eye. The gear in this tutorial just makes those constraints physical and unavoidable.
My Take: Vintage Gear Is Underpriced Right Now
I’ve run the numbers on enough used gear to have opinions here. A Yashica Mat 124G for $150 is genuinely one of the best deals in photography if you’ve never shot medium format film. You’re not buying nostalgia - you’re buying a different image quality and a different shooting experience that will change how you approach your digital work too. I’d put it up against plenty of sub-$500 digital cameras for portrait and street results, once you factor in scanning.
The broader lesson from Tony and Chelsea’s list is that “favorite” is about the experience and the output, not the spec sheet. I’ve bought gear based on specs that I never connected with, and I’ve shot with cheap cameras that produced images I was genuinely proud of. The cameras here weren’t chosen because they were the most impressive at launch - they were chosen because they kept getting picked up.
The single most important takeaway from this tutorial: the best camera for you is the one that changes how you see, not just how you shoot. Before your next purchase, ask whether the gear you’re considering will challenge you or just add resolution.
Watch the full tutorial on YouTube to see all seven cameras and lenses in Tony and Chelsea’s hands, including the full discussion of their modern digital favorites and the specific lenses they’d keep if they could only hold onto a few.
Comments (1)
The before and after really sells it. Incredible difference.
Leave a Comment