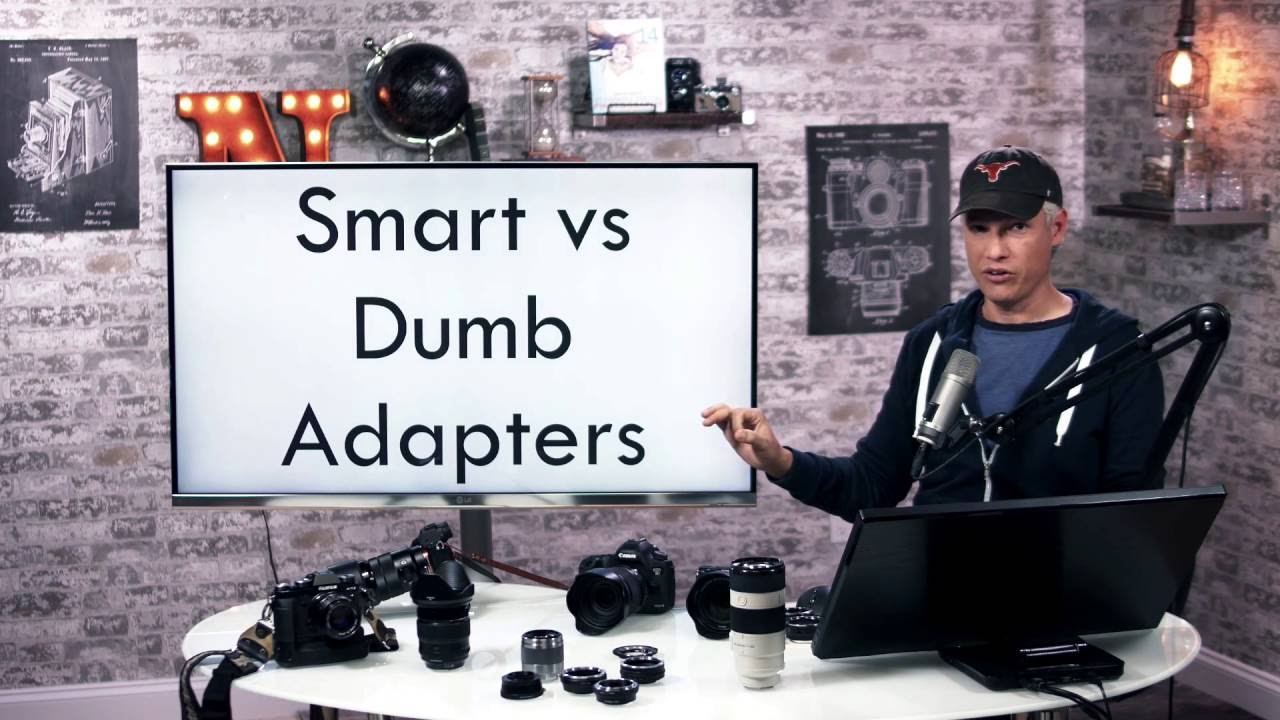
I’ve been chasing the budget angle on photography gear long enough to know that one of the fastest ways to stretch your kit is adapting lenses you already own to a new body. When I made the jump from a crop-sensor DSLR to a mirrorless system a couple of years back, I had a small collection of glass I wasn’t willing to sell at a loss. The question was whether I could actually use it or whether I’d just be buying a pile of junk adapters that turned sharp primes into manual-focus paperweights.
In this Tony & Chelsea Northrup tutorial, Tony walks through the full picture of lens adapting, from the basic physics of why it works to which combinations give you a fully functional setup versus a frustrating compromise. Watch the full tutorial on YouTube if you want the visual companion to this walkthrough. What I’m doing here is pulling out the actionable framework so you can make a real decision before you spend money on an adapter.
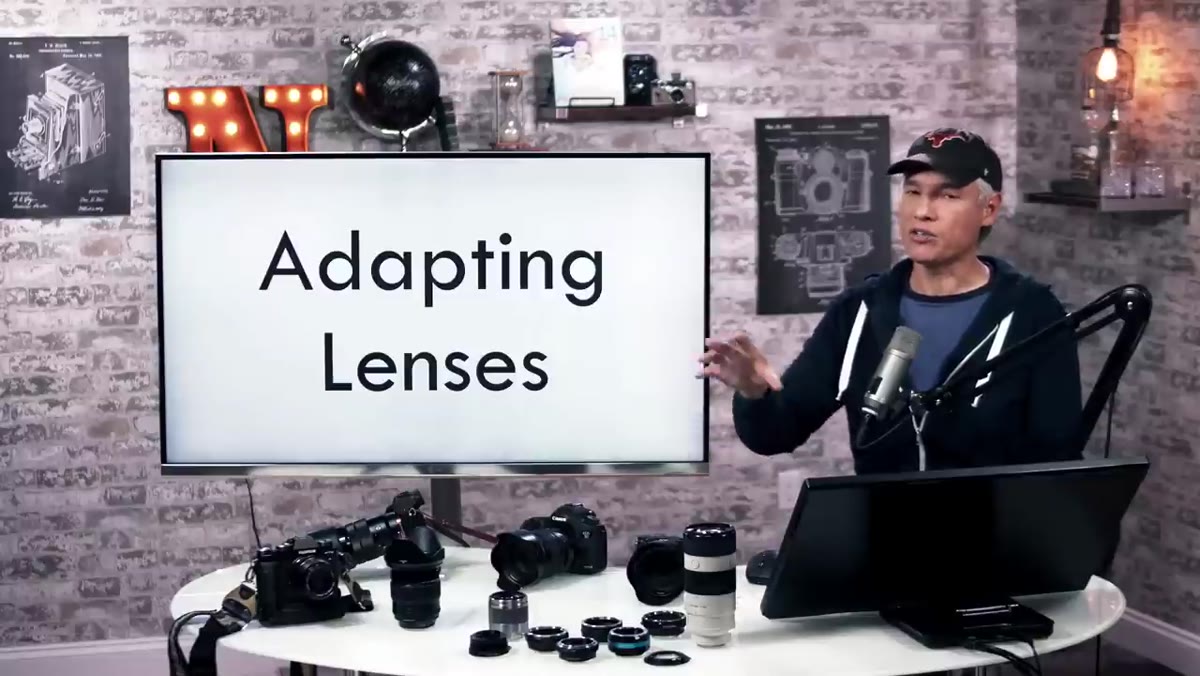
The short version is this: adapting lenses is genuinely useful, but the results range from “seamless” to “manually focus everything and pray.” Knowing which category your combination falls into before you buy is the whole game.
Step 1: Understand Why Adapters Exist at All
 Tony holding Sony mirrorless body next to Canon DSLR body
Camera manufacturers design their lens mounts to be proprietary on purpose. The bayonet size, the electronic contacts, the communication protocols that trigger autofocus and image stabilization, all of it is intentionally incompatible across brands. Buy Canon glass, buy a Canon body next time. It’s a loyalty loop by design.
Tony holding Sony mirrorless body next to Canon DSLR body
Camera manufacturers design their lens mounts to be proprietary on purpose. The bayonet size, the electronic contacts, the communication protocols that trigger autofocus and image stabilization, all of it is intentionally incompatible across brands. Buy Canon glass, buy a Canon body next time. It’s a loyalty loop by design.
Adapters exist to break that loop. A third-party company steps in and builds a physical and sometimes electronic bridge between two systems. Understanding that this is an adversarial relationship, adapter makers working against the intent of the camera companies, explains a lot about why some adapters work brilliantly and others fall apart in the details.
Step 2: Learn the Physics Behind Why SLR Lenses Mount on Mirrorless Bodies
 Side-by-side view of mirrorless and DSLR flange distances
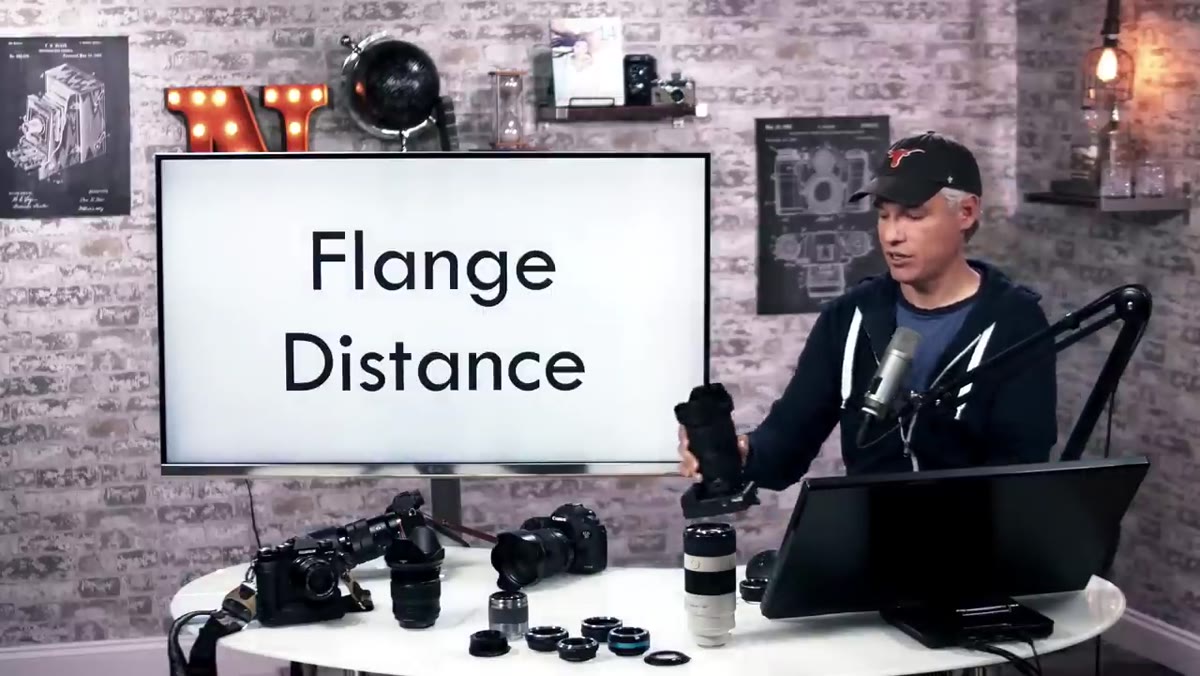
The key concept here is flange distance, which is the measurement from the lens mount to the sensor. On a DSLR, that distance has to be long enough to accommodate a mirror that flips up when you shoot. On a mirrorless body, there’s no mirror, so the sensor sits much closer to the mount.
Side-by-side view of mirrorless and DSLR flange distances
The key concept here is flange distance, which is the measurement from the lens mount to the sensor. On a DSLR, that distance has to be long enough to accommodate a mirror that flips up when you shoot. On a mirrorless body, there’s no mirror, so the sensor sits much closer to the mount.
What this means in practice is that a DSLR lens designed for a longer flange distance can be pulled away from a mirrorless sensor by exactly the right amount using an adapter, and the focus will still hit the sensor correctly. The adapter is essentially a precisely machined spacer. It has three jobs: maintain the correct lens-to-sensor distance, keep the lens perfectly parallel to the sensor plane, and block stray light from leaking in. That’s it. That’s the whole physical job.
Step 3: Identify What Kind of Adapter You’re Looking At
 Metabones Mark IV adapter separated from Canon lens on Sony body
Not all adapters are just metal tubes. There’s a wide spectrum. The cheapest adapters are purely mechanical, they get the distance right and that’s all you get. These are fine for fully manual lenses where there’s nothing to communicate electronically anyway.
Metabones Mark IV adapter separated from Canon lens on Sony body
Not all adapters are just metal tubes. There’s a wide spectrum. The cheapest adapters are purely mechanical, they get the distance right and that’s all you get. These are fine for fully manual lenses where there’s nothing to communicate electronically anyway.
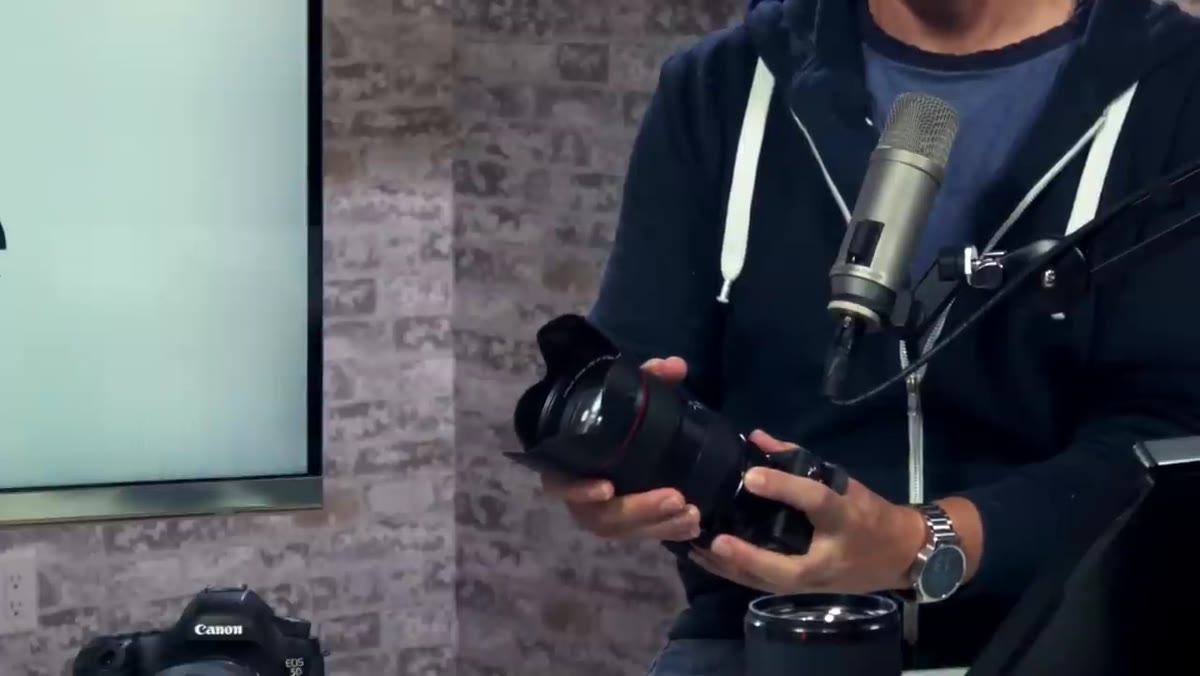
Smart adapters, like the Metabones line Tony holds up in the video, include electronic components that translate autofocus commands from your camera body into the language your adapted lens understands. They can relay aperture control, trigger image stabilization, and pass metadata back to the body so your editing software knows which lens was used. That metadata matters more than people realize. Lightroom uses it to apply automatic lens corrections for vignetting and chromatic aberration. Without it, you’re correcting manually or not at all.
Step 4: Check the Compatibility Chart Before You Buy Anything
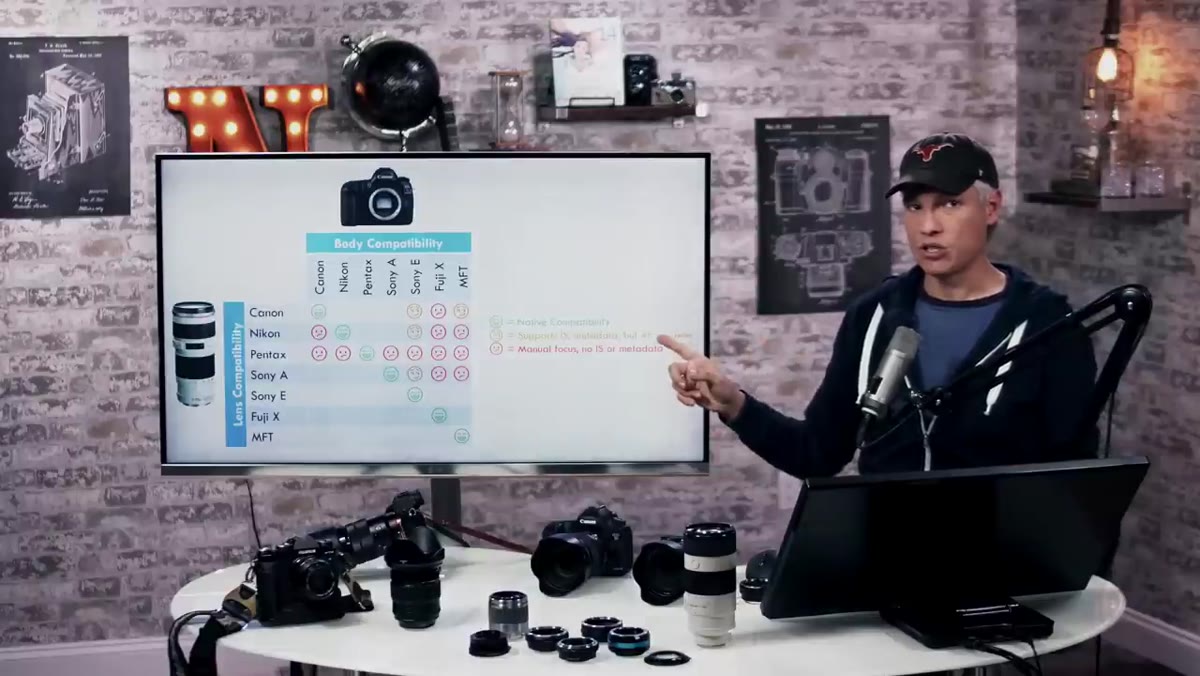 On-screen chart showing lens and body compatibility grid
Tony runs through a compatibility chart that maps lens systems against body systems, and the takeaway is uncomfortable but important: the diagonal of native compatibility is always green, and almost everything else involves a trade-off.
On-screen chart showing lens and body compatibility grid
Tony runs through a compatibility chart that maps lens systems against body systems, and the takeaway is uncomfortable but important: the diagonal of native compatibility is always green, and almost everything else involves a trade-off.
The critical example is putting Nikon lenses on Canon bodies. The flange distance on a Canon EOS body is actually shorter than on Nikon F-mount bodies, so you can’t add a spacer and keep infinity focus. You’d need to add optics, which means added complexity and usually some image quality loss. By contrast, putting almost any SLR lens on a mirrorless body generally works because mirrorless flange distances are the shortest in the market. The rule of thumb is: mirrorless bodies are the most adapter-friendly systems available, and that’s not an accident.
Step 5: Accept the Autofocus Trade-Off and Plan Around It
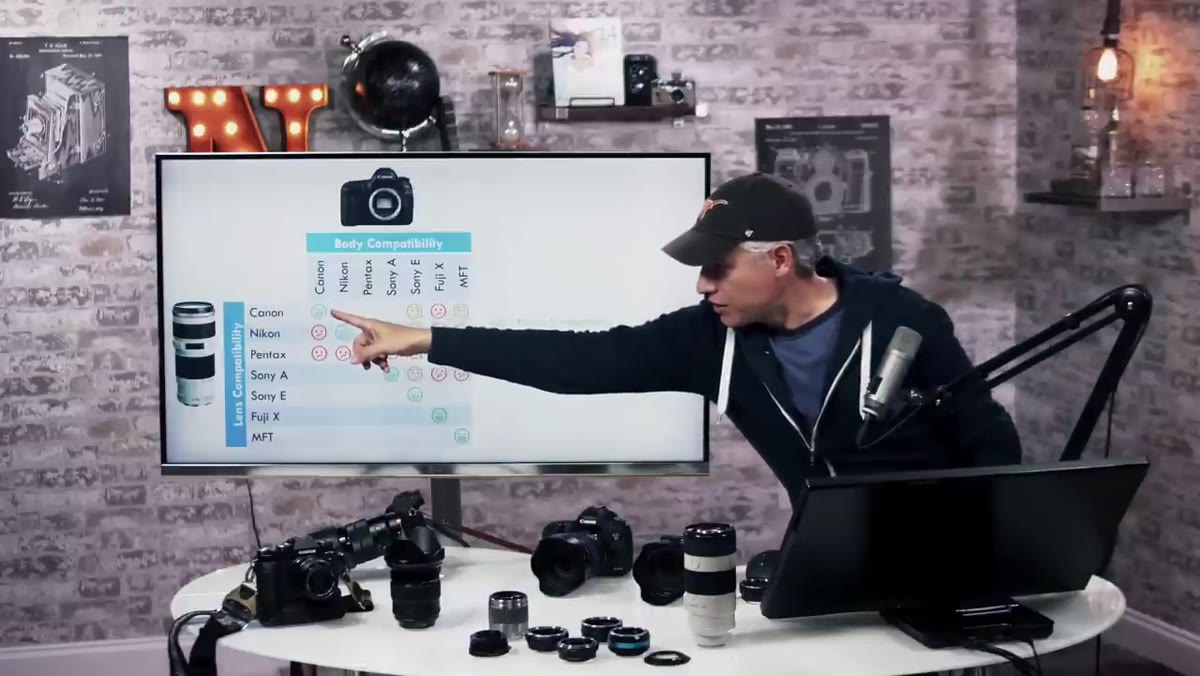 Red frowny face icon on compatibility chart for cross-brand pairing
Even with a smart adapter, cross-brand autofocus is rarely as good as native. You might get continuous autofocus that hunts and lags. You might get single-point autofocus that works fine but misses the responsiveness you’d want for sports or kids. Tony is honest about this and I respect it. A lot of gear reviewers oversell adapted autofocus because they’re trying to justify a purchase they already made.
Red frowny face icon on compatibility chart for cross-brand pairing
Even with a smart adapter, cross-brand autofocus is rarely as good as native. You might get continuous autofocus that hunts and lags. You might get single-point autofocus that works fine but misses the responsiveness you’d want for sports or kids. Tony is honest about this and I respect it. A lot of gear reviewers oversell adapted autofocus because they’re trying to justify a purchase they already made.
For static subjects, product work, landscapes, and portraits where you’re controlling the environment, adapted autofocus is often perfectly usable. For anything that moves fast or unpredictably, you’re probably going to want native glass or you need to budget for a high-end smart adapter and accept that you’re still not at 100%. If you’re manually focusing vintage glass anyway, this whole issue disappears.
Step 6: Factor In Speed Boosters for Crop Sensor Bodies
 Tony mentioning speed boosters and crop factor
Tony mentions speed boosters as part of the broader adapting conversation. A speed booster is an adapter with a focal reducer built in. It uses optics to compress the image circle of a full-frame lens down to fit a smaller sensor, and in doing so it recovers some of the field of view you’d lose to the crop factor. It also concentrates the light, which effectively gains you about one stop of aperture.
Tony mentioning speed boosters and crop factor
Tony mentions speed boosters as part of the broader adapting conversation. A speed booster is an adapter with a focal reducer built in. It uses optics to compress the image circle of a full-frame lens down to fit a smaller sensor, and in doing so it recovers some of the field of view you’d lose to the crop factor. It also concentrates the light, which effectively gains you about one stop of aperture.
This is where adapting goes from “compromise” to “genuinely interesting.” A full-frame 50mm f/1.4 on a Metabones Speed Booster on a Micro Four Thirds body becomes roughly equivalent to a 35mm f/1.0 in terms of field of view and light gathering. You won’t find a native MFT lens that does that at any price. For budget shooters, this is one of the few cases where an adapter actually expands your capabilities rather than just preserving them.
My Take: Run the Real Cost Math Before You Commit
I keep a spreadsheet on every budget lens I’ve tested, and I started applying the same logic to adapters. The honest math often surprises people. A decent smart adapter for Canon EF glass on Sony E-mount can run $200 to $400. If you already own the lenses, that can be a good deal. If you’re buying used Canon lenses specifically to adapt them, price out the native Sony alternatives first. Used native glass has improved autofocus, full metadata, and no adapter bulk. Sometimes the native lens is cheaper than the lens plus adapter combined.
Where adapting wins is when you’re changing systems and don’t want to dump your whole investment at once, or when you’re chasing a specific vintage lens character that doesn’t exist in modern optics. Those are real reasons. “It seemed cool” is how people end up with a drawer full of adapters they never use.
The single most important idea from this tutorial is the flange distance principle. Once you understand it, you can instantly predict whether an adapting combination is physically possible without losing infinity focus, and that alone will save you from buying something that simply cannot work. Everything else, autofocus quality, electronic communication, speed boosters, is a layer on top of that foundation.
Watch the full tutorial on YouTube to see Tony walk through the full compatibility chart and the hardware side-by-side. It’s one of the cleaner explanations of this topic I’ve come across, and worth the watch before you spend a dollar on any adapter.
Comments
Leave a Comment