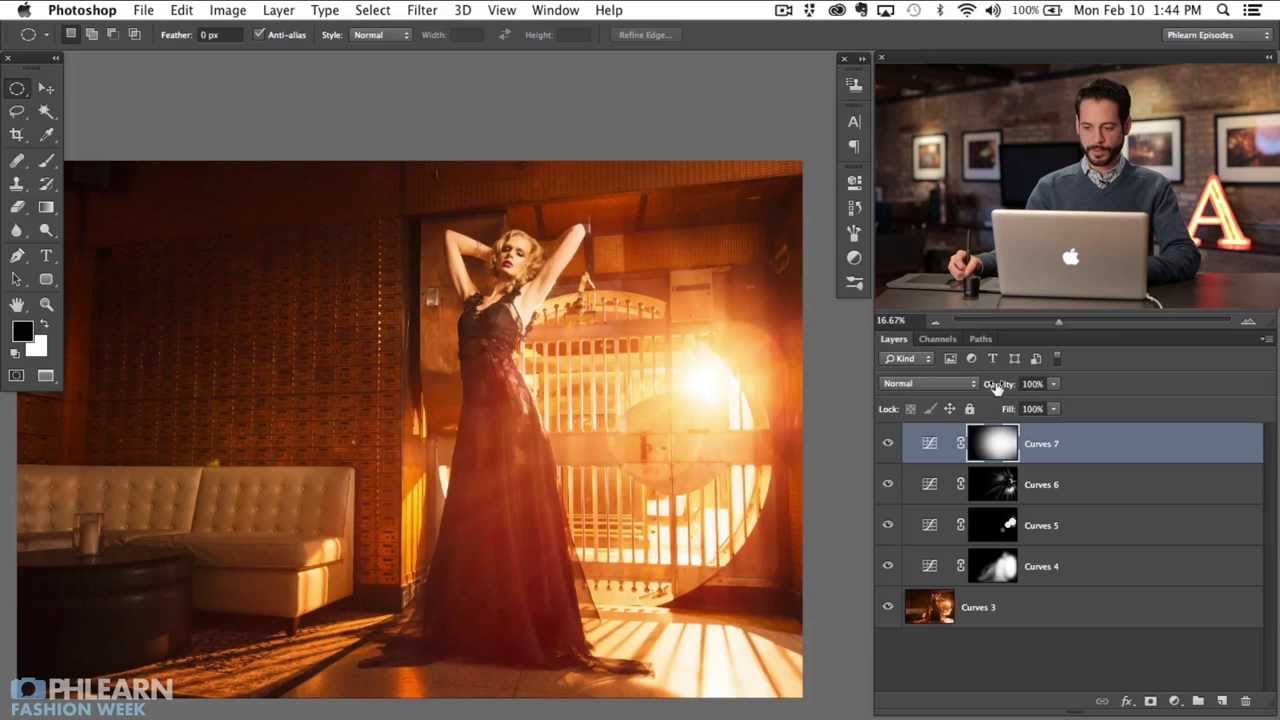
I spend a lot of time thinking about how to squeeze more out of a shot after it’s already been taken. Gear budgets have limits, but Photoshop doesn’t care what camera you used. That’s the real appeal of post-processing techniques like this one. In this Aaron Nace (PHLEARN) tutorial, Watch the full tutorial on YouTube, Aaron walks through how to build realistic beams of light and lens flare directly in Photoshop, starting from a fashion image that already had a backlit strobe behind a set of bars. The practical effect looks like something you’d need expensive in-camera optics to pull off. You don’t.
What I like about this approach is that Aaron treats the effect as something you build, not something you slap on with a filter. There’s real logic behind each step, and once you understand the logic, you can apply it to your own images rather than just copying the exact values he uses. I’ll break it down here so you can follow along without scrubbing back and forth through the video.
One thing worth flagging before you start: this technique works best when your source image already has backlight, meaning the light source is behind your subject and pointing toward the camera. Front-lit images simply don’t have the geometry that makes lens flare and light beams feel believable. If you’ve got a shot with a sun behind a person, a backlit window, or a practical light source behind the subject like Aaron’s strobe setup, you’re in good shape.
Step 1: Set Up Your Atmosphere with a Curves Adjustment Layer
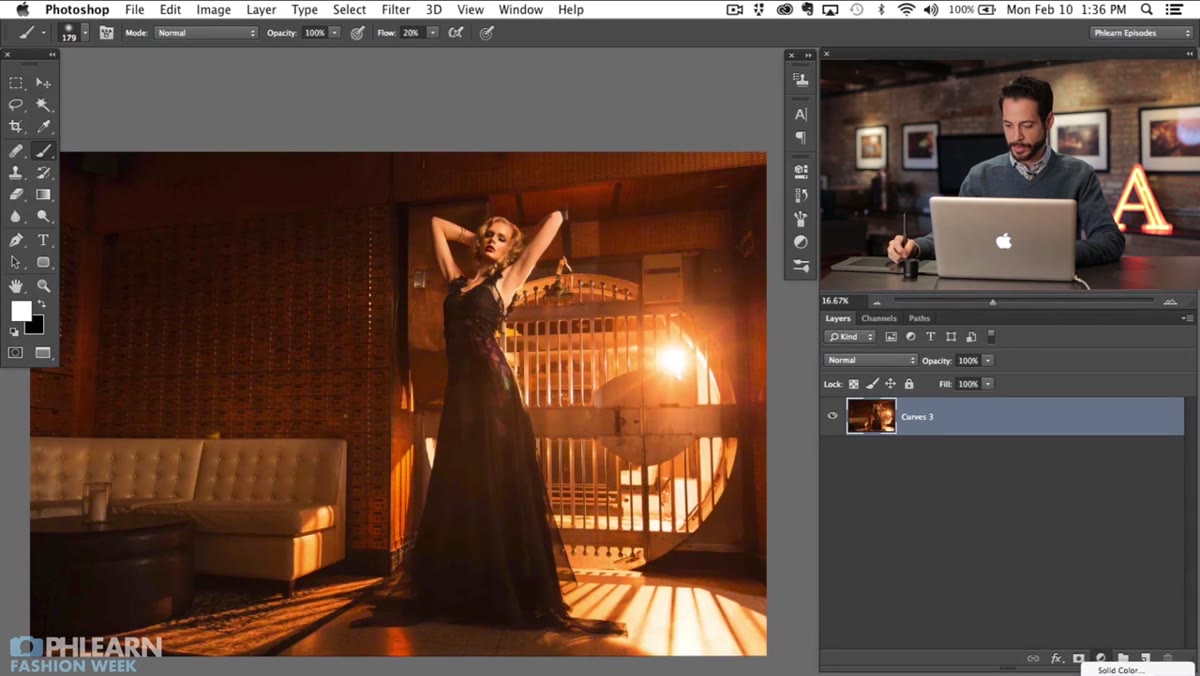 Curves adjustment layer open in Photoshop panel
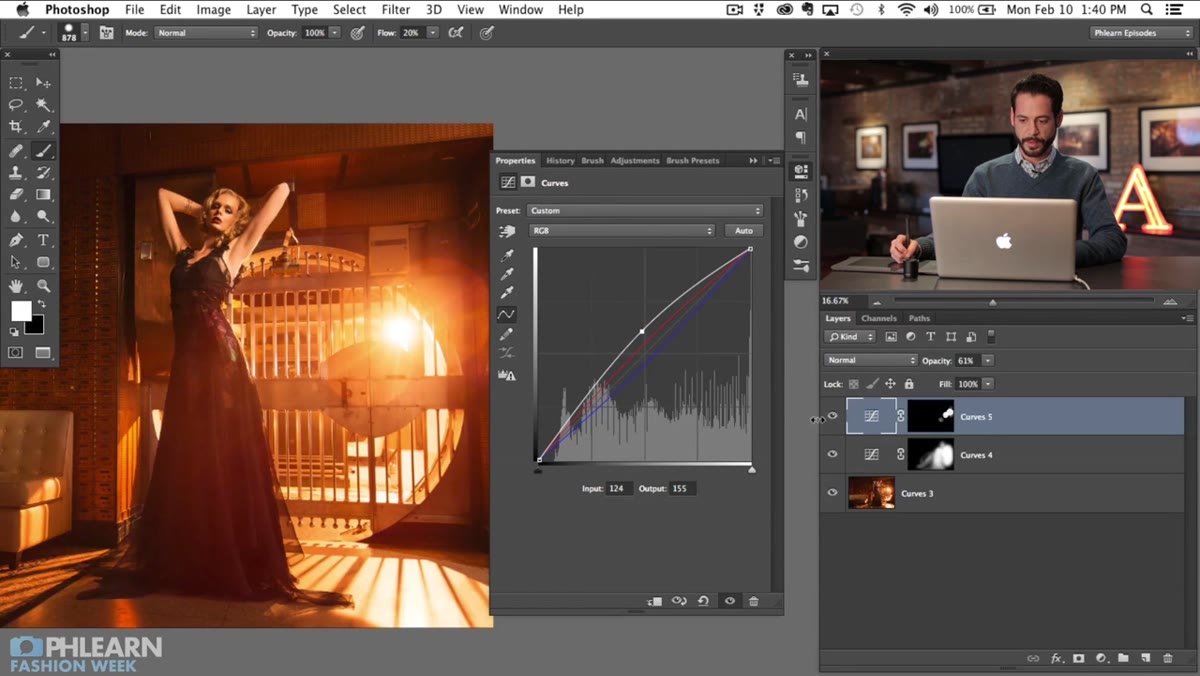
Before any flare gets added, Aaron does something most people skip: he adjusts the color of the blacks in the image. Real backlit scenes don’t have pure black shadows. The light bleeds into the dark areas and shifts them toward warm tones. To mimic this, he adds a Curves adjustment layer and switches from the default RGB channel to the Red channel. Instead of pulling the midpoint of the curve, he lifts the bottom-left anchor point upward. This removes true blacks from the image and replaces them with a deep red. He does the same thing more subtly in the Green channel to balance the warmth and keep it from going too magenta.
Curves adjustment layer open in Photoshop panel
Before any flare gets added, Aaron does something most people skip: he adjusts the color of the blacks in the image. Real backlit scenes don’t have pure black shadows. The light bleeds into the dark areas and shifts them toward warm tones. To mimic this, he adds a Curves adjustment layer and switches from the default RGB channel to the Red channel. Instead of pulling the midpoint of the curve, he lifts the bottom-left anchor point upward. This removes true blacks from the image and replaces them with a deep red. He does the same thing more subtly in the Green channel to balance the warmth and keep it from going too magenta.
The result is subtle, and that’s the point. You’re not color grading the whole image yet. You’re just making the shadow regions physically possible for a scene with a strong backlight present.
Step 2: Mask the Adjustment to Target the Flare Zone
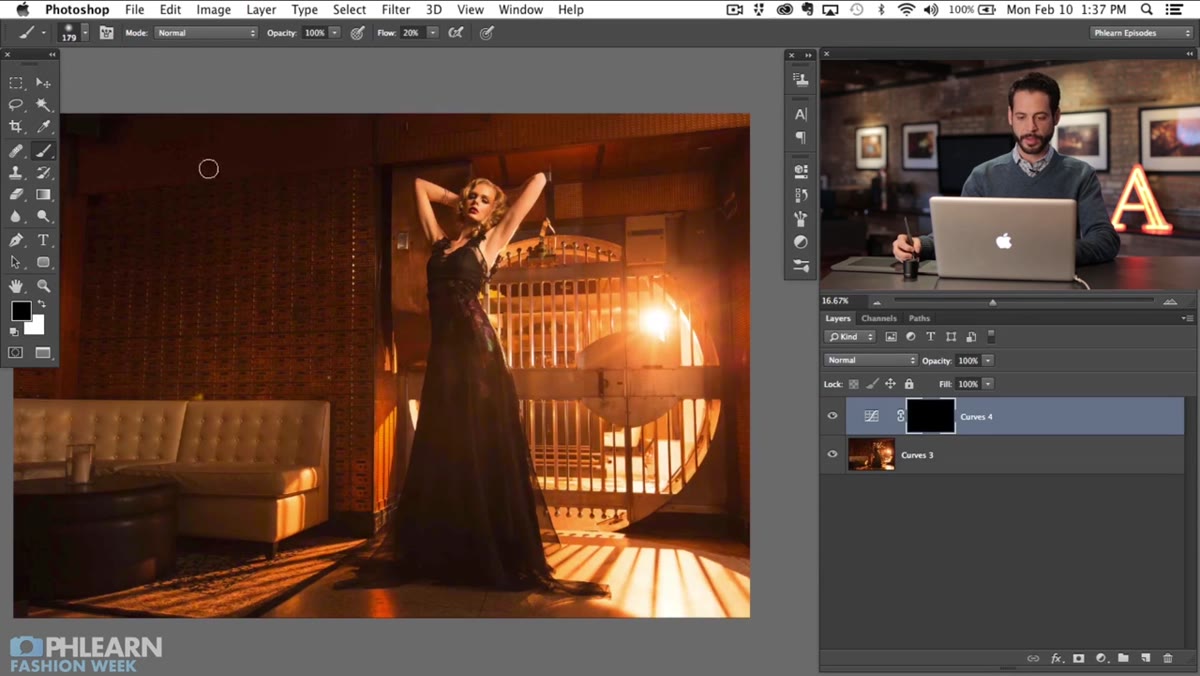 Soft brush painting white on inverted black layer mask
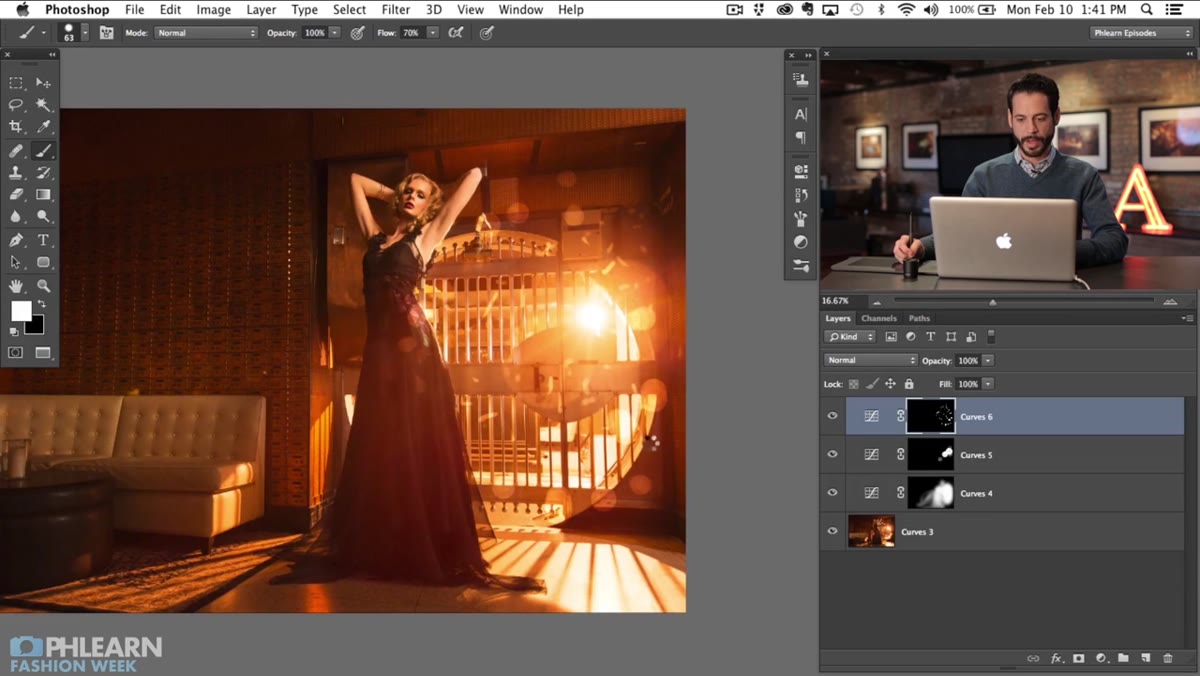
Once the Curves layer is set, Aaron inverts the layer mask to hide the effect entirely, then paints it back in selectively with a soft white brush set to around 20% flow. The low flow setting is key. It lets him build opacity gradually rather than committing to a heavy hit in one stroke. He concentrates the painting around the area where the light source sits in the frame, letting the warm shadow shift bleed outward naturally from that point.
Soft brush painting white on inverted black layer mask
Once the Curves layer is set, Aaron inverts the layer mask to hide the effect entirely, then paints it back in selectively with a soft white brush set to around 20% flow. The low flow setting is key. It lets him build opacity gradually rather than committing to a heavy hit in one stroke. He concentrates the painting around the area where the light source sits in the frame, letting the warm shadow shift bleed outward naturally from that point.
This is the kind of mask discipline that separates edited photos that look edited from ones that look real. You’re not applying the color shift everywhere, just where the physics of that light source would actually reach.
Step 3: Build the Light Beams on a New Layer
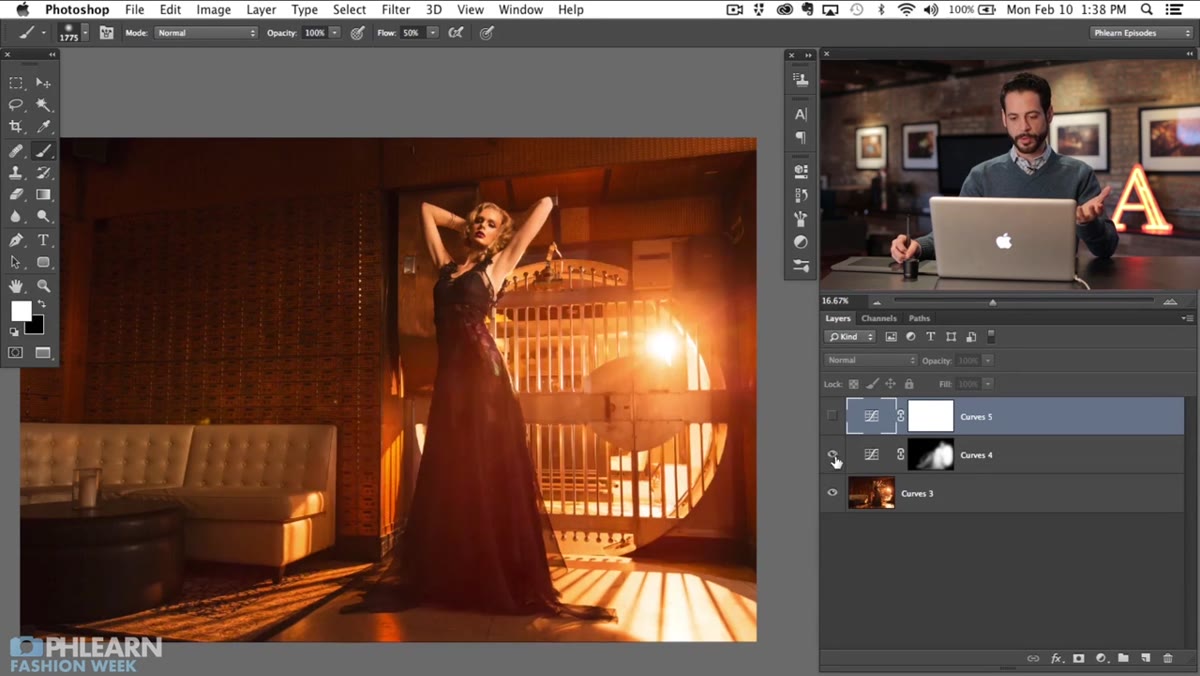 White painted streaks on empty layer above background
For the actual beams, Aaron creates a new empty layer above the image. Using a soft white brush, he paints rough streaks in the direction the light would be traveling, originating from behind the bars in his image. These don’t need to be precise at this stage. The goal is to establish the direction and rough shape of the light before any blurring happens. Think of this as sketching, not finishing.
White painted streaks on empty layer above background
For the actual beams, Aaron creates a new empty layer above the image. Using a soft white brush, he paints rough streaks in the direction the light would be traveling, originating from behind the bars in his image. These don’t need to be precise at this stage. The goal is to establish the direction and rough shape of the light before any blurring happens. Think of this as sketching, not finishing.
The brush size and opacity will vary depending on your image. For a subtle effect, keep the strokes thin and slightly transparent. For a dramatic shaft-of-light look, paint wider and more opaque, then dial it back during the blur stage.
Step 4: Apply Motion Blur to Create Directionality
 Motion Blur dialog box with angle and distance settings
This is where the painted streaks turn into actual light beams. With the beam layer selected, go to Filter, Blur, Motion Blur. The angle setting needs to match the direction your light is traveling in the frame. Aaron adjusts this carefully so the blur direction lines up with where his light source sits. The distance value controls how long and how soft the beams appear. Higher values stretch the light further. Start moderate and push it until it reads as a beam rather than just a smear.
Motion Blur dialog box with angle and distance settings
This is where the painted streaks turn into actual light beams. With the beam layer selected, go to Filter, Blur, Motion Blur. The angle setting needs to match the direction your light is traveling in the frame. Aaron adjusts this carefully so the blur direction lines up with where his light source sits. The distance value controls how long and how soft the beams appear. Higher values stretch the light further. Start moderate and push it until it reads as a beam rather than just a smear.
After applying the blur, drop the layer’s blend mode to Screen. Screen mode makes the dark areas of the layer invisible and only keeps the bright values, which means your beams sit on top of the image without darkening anything underneath.
Step 5: Add the Lens Flare
 Lens Flare filter dialog showing flare position and lens type options
Create another new layer filled with black. Then go to Filter, Render, Lens Flare. Photoshop’s built-in lens flare gets a bad reputation because people use it carelessly, but positioned correctly it reads as completely believable. Aaron moves the flare center to match the location of his light source in the image. He chooses a lens type that fits the look he’s after. Switch this layer’s blend mode to Screen as well, which drops the black fill entirely and leaves only the flare elements visible.
Lens Flare filter dialog showing flare position and lens type options
Create another new layer filled with black. Then go to Filter, Render, Lens Flare. Photoshop’s built-in lens flare gets a bad reputation because people use it carelessly, but positioned correctly it reads as completely believable. Aaron moves the flare center to match the location of his light source in the image. He chooses a lens type that fits the look he’s after. Switch this layer’s blend mode to Screen as well, which drops the black fill entirely and leaves only the flare elements visible.
The trick is placement. If the flare center doesn’t align with an actual light source in the frame, it immediately looks fake. When it does align, it looks like it came out of camera.
My Caveat: Don’t Skip the Backlight Requirement
I’ve tried variations of this technique on flat, front-lit shots before, thinking the effect would save a boring image. It doesn’t. The beams and flare look pasted on because there’s no real light source in the frame for them to originate from. Aaron mentions this in the tutorial and I want to reinforce it: this technique rewards good capture decisions. If you’re planning a shoot and want to use this in post, put a practical light or a strobe behind your subject. The post work becomes ten times more convincing when the base image is already doing half the job.
This is actually one of the better arguments for thinking about post-processing before you shoot. A cheap speedlight fired from behind a subject costs nothing extra and gives you the raw material to make images that look genuinely cinematic in Photoshop.
The single most important thing Aaron demonstrates here is that photorealistic effects are built in layers of small, logical decisions, not slapped on with one filter. Get the shadows right, get the beam direction right, get the flare placement right, and the whole thing snaps into credibility. Watch the full tutorial on YouTube to see Aaron work through it in real time with his original image.
Comments (3)
Quality content like this is rare. Keep it up.
Bookmarked. Coming back to this one for sure.
Excellent tutorial. I'd add that from a landscape standpoint, this technique is incredibly versatile.
Leave a Comment