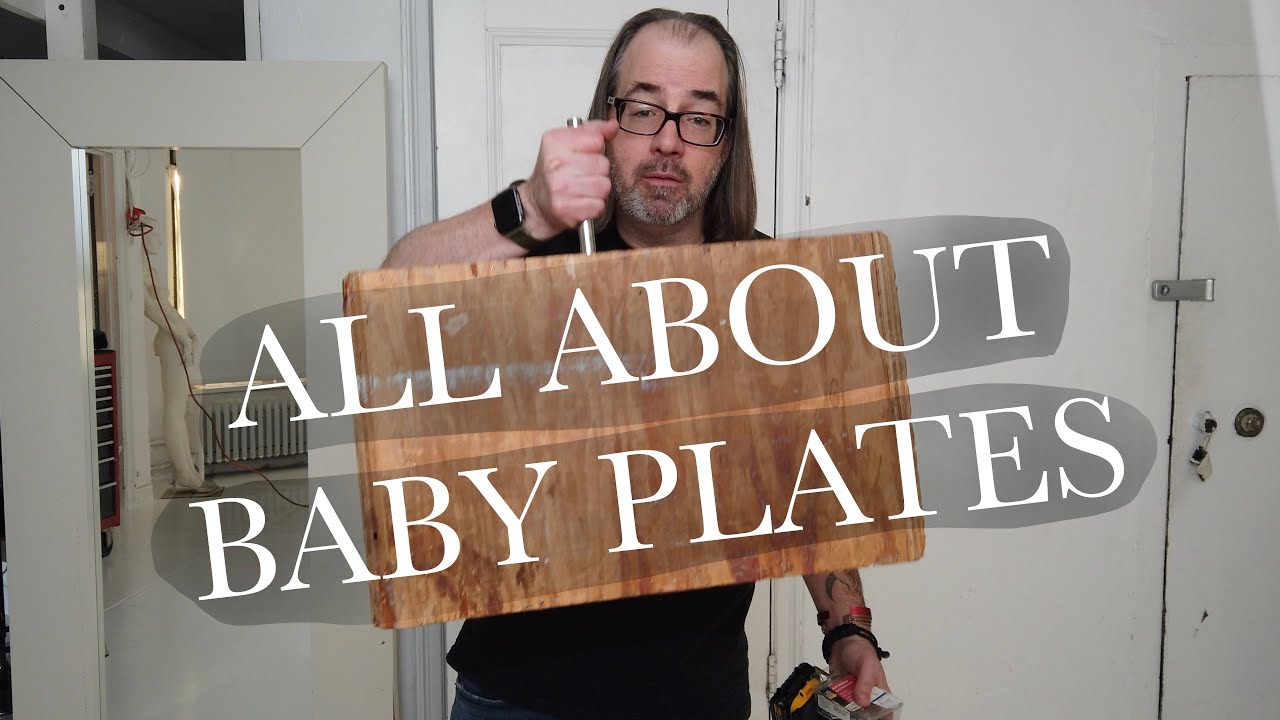
If you shoot in a small studio or on location with any regularity, you’ve probably hit this wall: you need a light somewhere there’s no logical place to put a stand. Maybe the corner is too tight, the floor is too cluttered, or you’re working in a space where you’ll be back every week and setting up stands every single time is eating into your shoot time. This is the problem that baby plates solve, and once you understand what they are, you’ll wonder how you worked without them.
In this Daniel Norton Photographer tutorial, Watch the full tutorial on YouTube, Daniel breaks down one of the most overlooked pieces of grip gear in a working photographer’s kit. It’s not glamorous. It won’t show up in a YouTube thumbnail next to a mirrorless camera. But if you have a permanent studio space or shoot on location in the same spots repeatedly, a few baby plates screwed into the right places will change how you work.
I came across this video while going down a grip gear rabbit hole, and it landed because I’ve been slowly converting my small shooting corner in Denver into something more functional. Stands are great, but in a tight space they eat floor real estate fast. Baby plates are the smarter option, and they cost almost nothing.
Step 1: Understand What “Baby” Actually Means
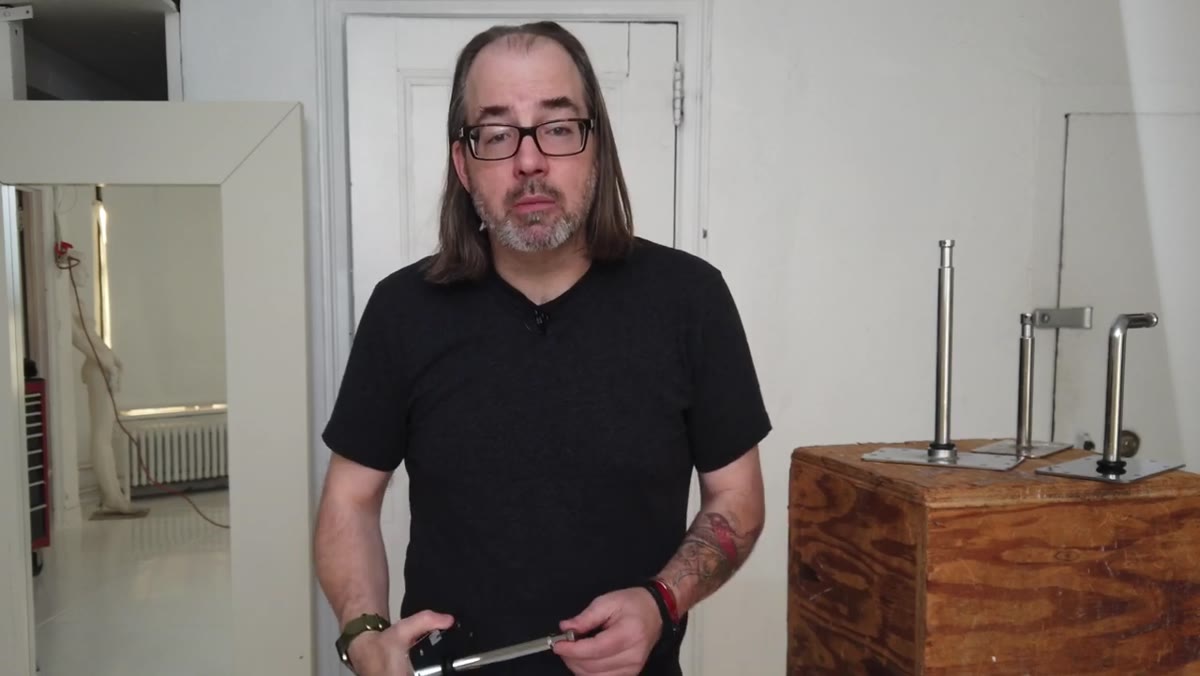 Close-up of a baby pin showing the standard 5/8-inch size
“Baby” isn’t a brand or a style, it’s a size. Specifically, it refers to the 5/8-inch pin, which is the industry standard for mounting lights and light modifiers on stands and grip hardware. When someone says “baby pin” or “baby plate,” that 5/8-inch diameter is what they mean. If you’ve ever put a light on a standard light stand, you’ve already used a baby pin connection, you just may not have known what it was called.
Close-up of a baby pin showing the standard 5/8-inch size
“Baby” isn’t a brand or a style, it’s a size. Specifically, it refers to the 5/8-inch pin, which is the industry standard for mounting lights and light modifiers on stands and grip hardware. When someone says “baby pin” or “baby plate,” that 5/8-inch diameter is what they mean. If you’ve ever put a light on a standard light stand, you’ve already used a baby pin connection, you just may not have known what it was called.
Knowing the terminology matters because when you’re searching for compatible grip gear, “baby” is the keyword that connects all these pieces. A baby plate, a baby pin, a baby receiver – they all speak the same language.
Step 2: Identify the Different Types of Baby Plates
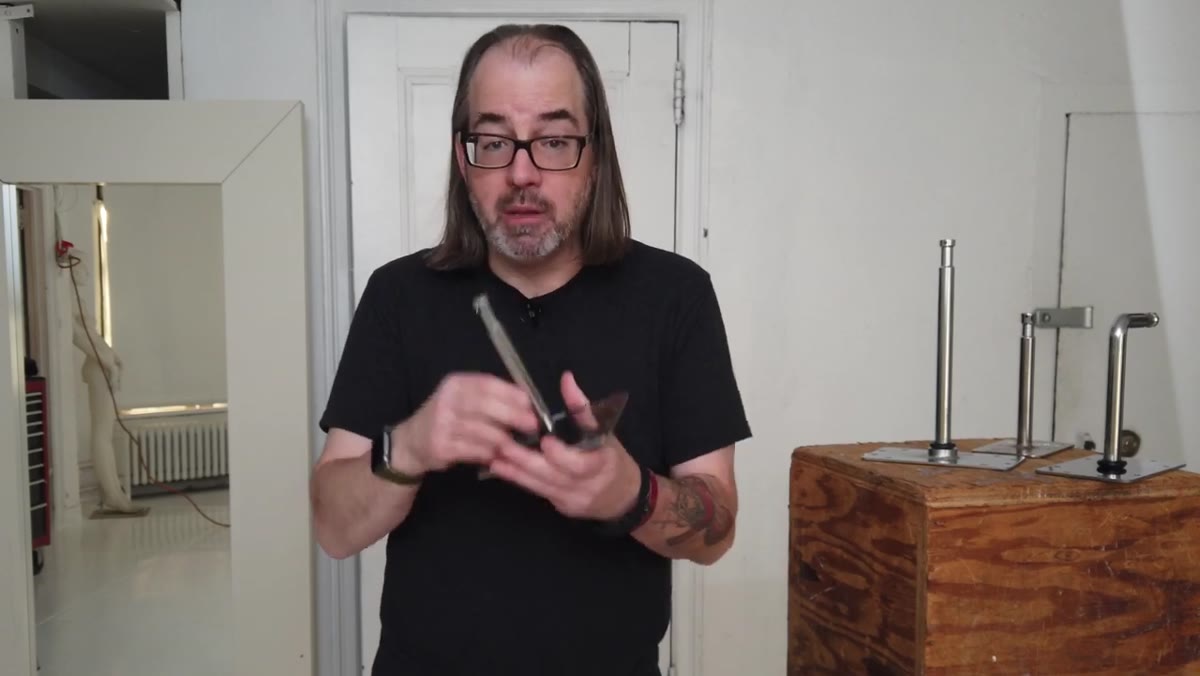 Two baby plates side by side showing standard pin and right-angle versions
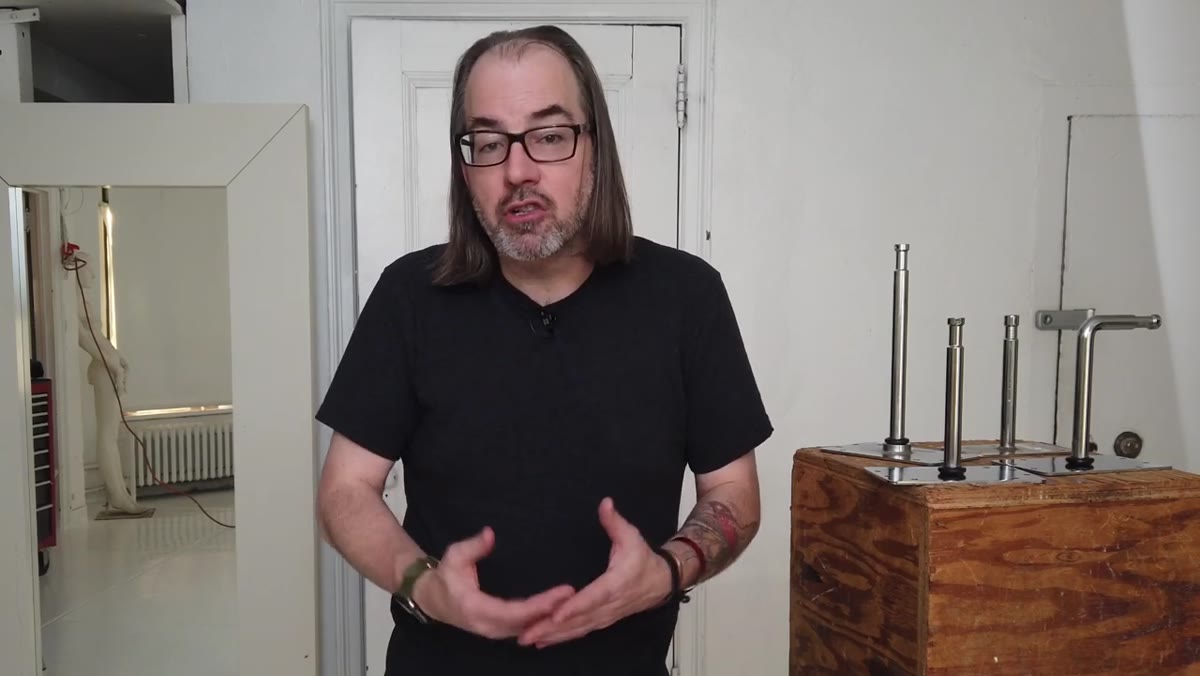
Baby plates come in a few distinct configurations. The most common is a flat steel plate with a vertical baby pin sticking up from it, basically a mounting point you can screw or nail to any surface. Then there’s the right-angle version, where the pin points outward horizontally from the plate. That second type is especially useful for wall mounting because it puts your pin in a position where you can hang things from it or attach a super clamp.
Two baby plates side by side showing standard pin and right-angle versions
Baby plates come in a few distinct configurations. The most common is a flat steel plate with a vertical baby pin sticking up from it, basically a mounting point you can screw or nail to any surface. Then there’s the right-angle version, where the pin points outward horizontally from the plate. That second type is especially useful for wall mounting because it puts your pin in a position where you can hang things from it or attach a super clamp.
Beyond those two, manufacturers also make versions with tilt functionality, female 5/8-inch receivers instead of pins, and swivel pins for more directional control. For most photographers starting out with baby plates, the standard pin and right-angle versions cover 90 percent of use cases.
Step 3: Decide Between Temporary and Permanent Mounting
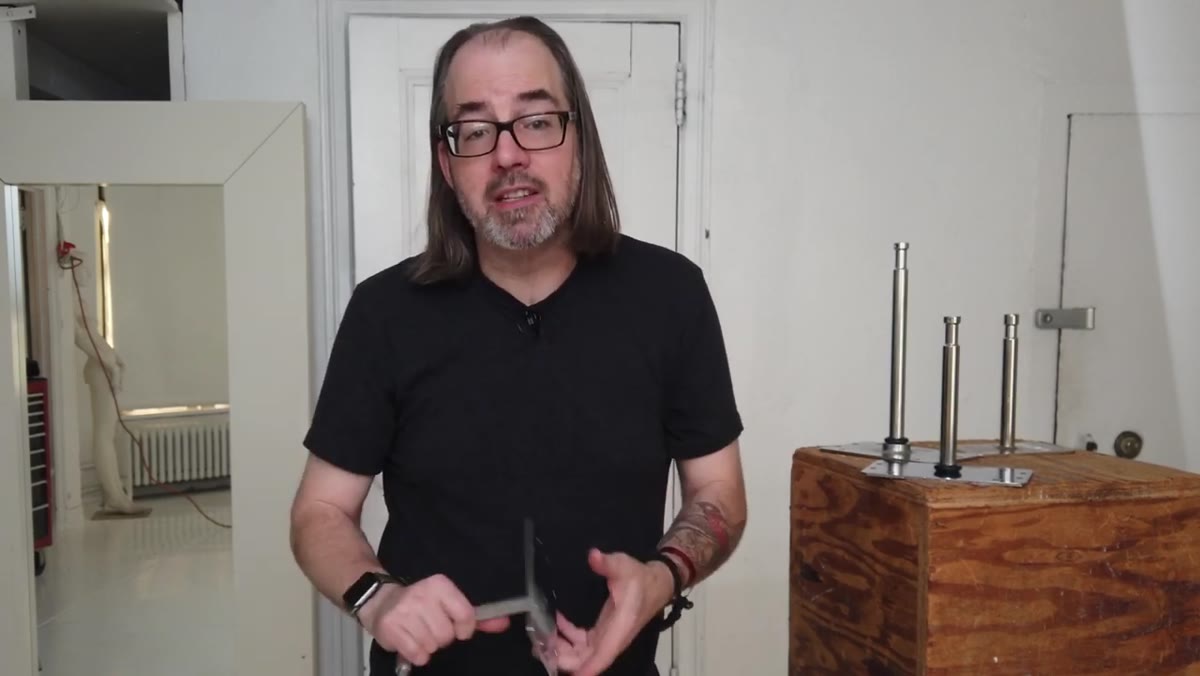 Hands holding a baby plate showing the multiple mounting holes in the base
Look at a baby plate and you’ll notice it has multiple holes drilled into the base. Those holes exist for a reason – you can screw or nail the plate down to almost any surface. That makes it functional in two totally different scenarios. On location, you can temporarily mount a plate to a surface, get your light or modifier where you need it, and pull it when you’re done. In a permanent studio, you mount it once and leave it there as a fixture.
Hands holding a baby plate showing the multiple mounting holes in the base
Look at a baby plate and you’ll notice it has multiple holes drilled into the base. Those holes exist for a reason – you can screw or nail the plate down to almost any surface. That makes it functional in two totally different scenarios. On location, you can temporarily mount a plate to a surface, get your light or modifier where you need it, and pull it when you’re done. In a permanent studio, you mount it once and leave it there as a fixture.
The permanent use case is where baby plates really shine for small studios. Pick your key light position, put a plate on the wall, and never move a stand into that spot again. That single decision clears floor space and speeds up your setup time on every future shoot.
Step 4: Build a Permanent Background System Using Right-Angle Plates
 Demonstration of right-angle baby plates mounted on a wall with bar across them
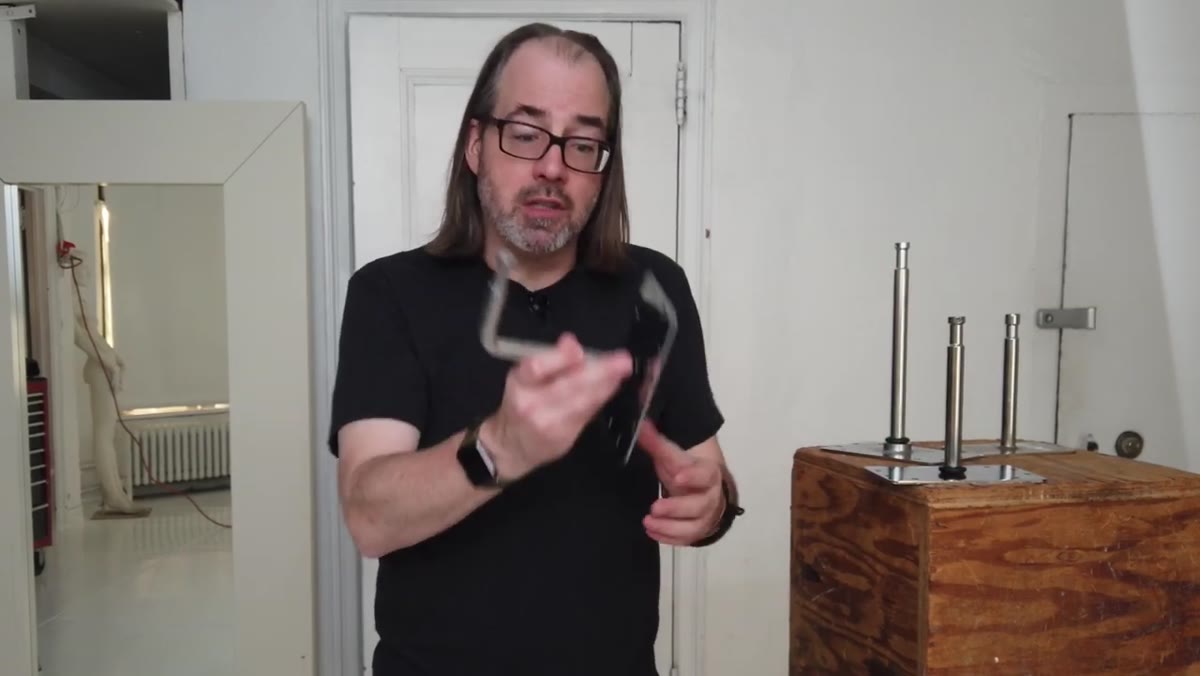
This is the application Daniel demonstrates that I found most immediately useful. Mount two right-angle baby plates on opposite walls at the same height. Drop a super clamp onto each pin. Run a crossbar through both clamps. Now you have a permanent background paper system that requires zero floor space and sets up in seconds.
Demonstration of right-angle baby plates mounted on a wall with bar across them
This is the application Daniel demonstrates that I found most immediately useful. Mount two right-angle baby plates on opposite walls at the same height. Drop a super clamp onto each pin. Run a crossbar through both clamps. Now you have a permanent background paper system that requires zero floor space and sets up in seconds.
If you’ve priced out wall-mounted background systems, you know they can run well into the hundreds of dollars. Two baby plates and two super clamps gets you to the same functional result for under $50 total. The bar itself can be a simple speed rail or even a hardware store pipe cut to width. This is the kind of build I love because the parts are all standard grip hardware that you’ll find uses for long after your studio layout changes.
Step 5: Choose a Brand Without Overthinking It
 Several baby plates from different manufacturers laid out for comparison
Matthews, Avenger, and Kupo all make baby plates, and Daniel’s honest take is that brand loyalty matters less here than with more complex gear. A baby plate is fundamentally a steel pin welded or threaded into a steel plate. If it looks solid and doesn’t flex when you stress-test it by hand, it’s going to do the job.
Several baby plates from different manufacturers laid out for comparison
Matthews, Avenger, and Kupo all make baby plates, and Daniel’s honest take is that brand loyalty matters less here than with more complex gear. A baby plate is fundamentally a steel pin welded or threaded into a steel plate. If it looks solid and doesn’t flex when you stress-test it by hand, it’s going to do the job.
Where you might want to pay attention to brand differences is in plate size and pin length options. A smaller plate from Matthews, for example, takes up less wall space, but a larger plate gives you more surface area in contact with whatever you’re mounting to, which means more resistance against torque when something heavy is attached. If you’re mounting a heavy strobe or a big modifier, bigger plate wins. For light duty work, size is less critical.
Step 6: Mount a Plate and Test It in the Field
 Screw gun driving screws through baby plate holes into a wooden surface
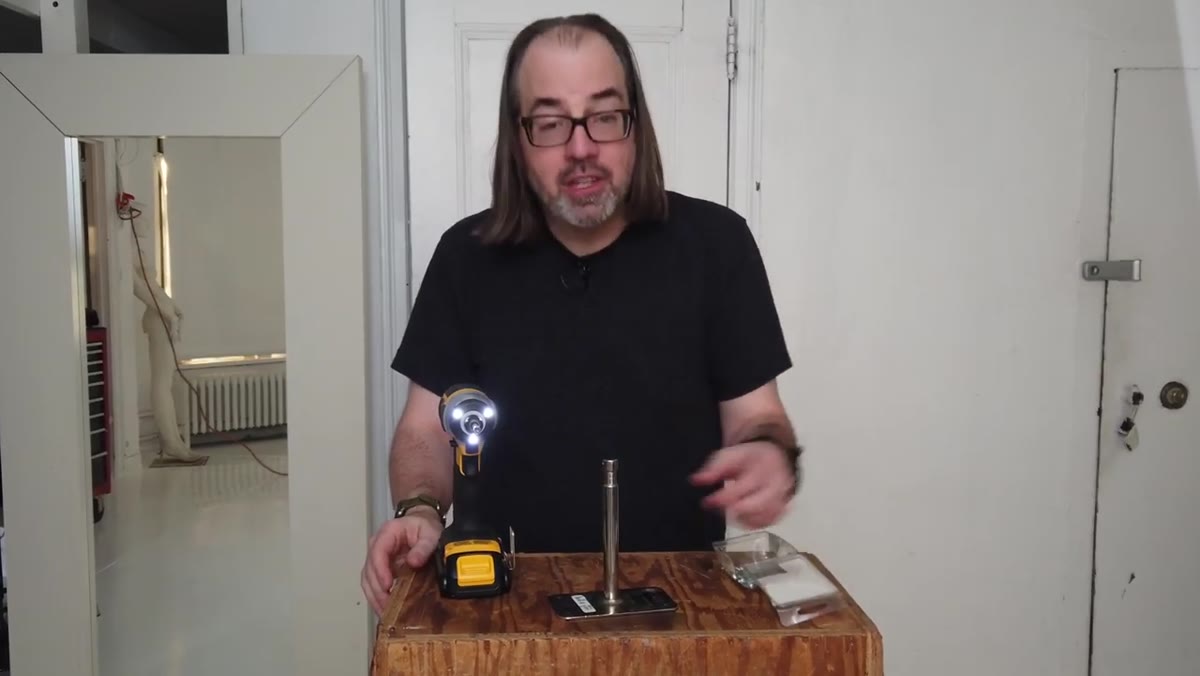
Daniel grabs a screw gun and demonstrates mounting a baby plate directly onto a wooden surface using the pre-drilled holes. The process takes about 30 seconds. Drive your screws, tug on the plate to make sure it’s not moving, and you’re done. From there, any 5/8-inch compatible accessory, lights, super clamps, articulating arms, drops right onto the pin.
Screw gun driving screws through baby plate holes into a wooden surface
Daniel grabs a screw gun and demonstrates mounting a baby plate directly onto a wooden surface using the pre-drilled holes. The process takes about 30 seconds. Drive your screws, tug on the plate to make sure it’s not moving, and you’re done. From there, any 5/8-inch compatible accessory, lights, super clamps, articulating arms, drops right onto the pin.
One thing worth noting: use appropriately sized screws for your surface. Into drywall alone, you’re not getting the load-bearing strength you need. Hit the studs, or use wall anchors rated for the weight you plan to hang. This is basic mounting safety, but it’s easy to skip when you’re excited to get a new studio fixture in place.
My Take: Don’t Sleep on the Female Receiver Version
I didn’t see this mentioned much in the tutorial, but the female baby plate variant is worth hunting down specifically. Instead of a pin sticking up, it has a receiver you can drop a pin into. That means you can swap between different accessories without removing the plate from the wall. I picked up two of these for my corner setup and use them constantly – one day it’s holding a strobe arm, the next it’s got a background hook. The versatility is worth the slight extra cost.
If you’re just getting started with grip hardware, buy one standard plate and one right-angle plate before you go deep on accessories. Figure out where you’d actually mount them, then buy more once you know what configurations you need.
Baby plates are the kind of gear that doesn’t feel exciting until you actually use one and realize you’ve been doing things the hard way. For under $20 a piece, they’re one of the highest-value additions to a working photographer’s kit, especially in a small or permanent studio space. Watch the full tutorial on YouTube to see Daniel walk through the mounting demo hands-on – it’s worth three minutes of your time.
Comments (3)
Shared this with my photography group. Everyone loved it.
My workflow just got 10x faster. Not even kidding.
Been doing this wrong for years apparently. Thanks for the wake-up call.
Leave a Comment