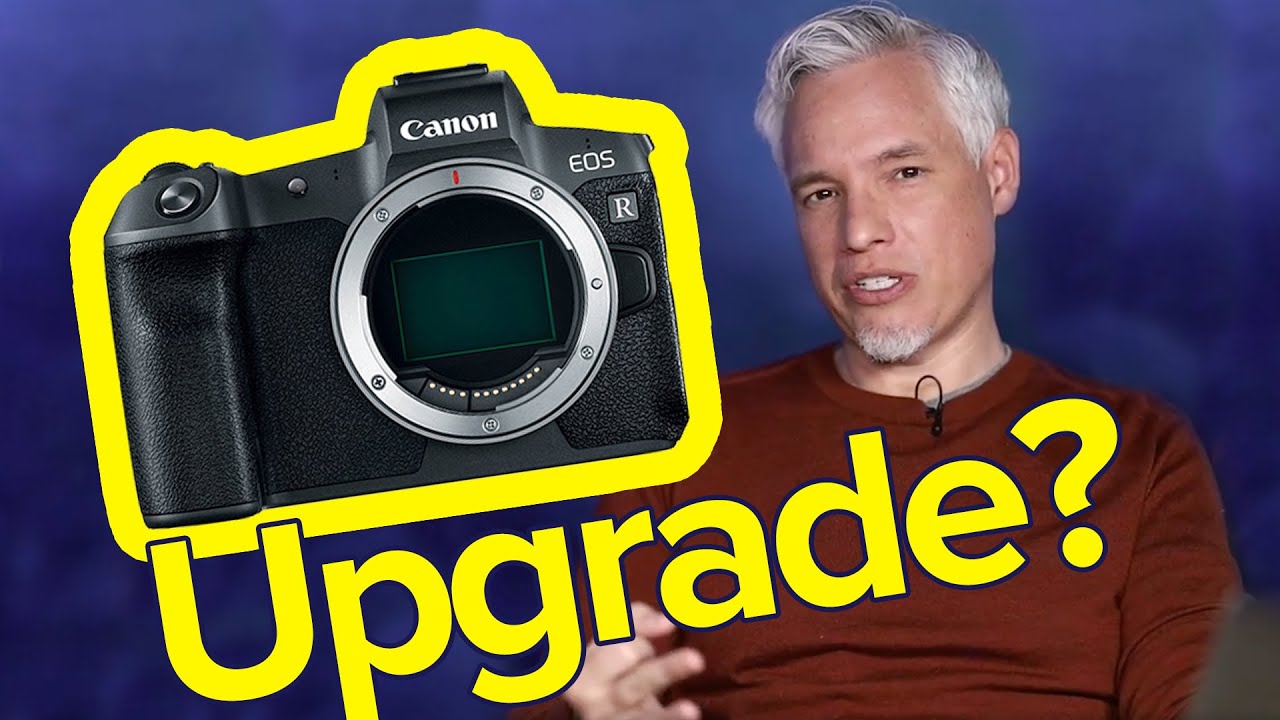
Every few weeks I get a message that goes something like this: “I’ve been shooting for two years, should I upgrade my camera?” My answer is almost always another question, and usually several of them. It took me an embarrassingly long time to develop that instinct. Early on I was just as guilty of assuming a new body would fix problems that were really about light, location, or my own skill gaps. The framework I use now came together after watching a lot of gear content, but the clearest version of it I’ve found is in Watch the full tutorial on YouTube from Tony and Chelsea Northrup. It’s blunt, it’s practical, and it could save you a few thousand dollars.
What I like about their approach is that it doesn’t tell you to never upgrade. It tells you to think before you do, which is a different thing entirely. I once did a blind test at a local photography meetup where I mixed prints from a $500 crop-sensor camera and a $2,000 full-frame body. Nobody in the room, including working photographers, could reliably tell which was which. That experience didn’t make me anti-upgrade. It made me anti-thoughtless-upgrade. That’s the spirit of this tutorial, and I want to walk you through it step by step so you can apply it to your own situation right now.
Step 1: Define What You’re Actually Shooting
Before you compare specs on any two cameras, get specific about your subject matter. Sports and wildlife shooters have a genuine case for a faster burst rate and better autofocus tracking. A macro photographer shooting flowers on a tripod does not. Tony puts it plainly: your camera is a tool, and tools are evaluated by how well they do a specific job. Write down your three most common shooting scenarios. Then look at the camera you’re considering and ask whether its headline features actually address any of those three things. If the answer is no, that’s your answer.
Step 2: Figure Out Where Your Photos Actually End Up
 Chelsea discussing Instagram and print as output formats
This one is underrated and almost nobody considers it before pulling the trigger on a high-megapixel upgrade. If your photos live on Instagram and nowhere else, you are literally compressing them down to 1080 pixels on the long edge. A 45-megapixel sensor is not going to move the needle on a 1080-pixel JPEG. On the other hand, if you’re printing at 24x36 or larger, resolution and dynamic range start to matter in ways that are visible to the naked eye. Be honest with yourself about where your images go. If the answer is “social media and maybe Lightroom,” your current camera is almost certainly not your bottleneck.
Chelsea discussing Instagram and print as output formats
This one is underrated and almost nobody considers it before pulling the trigger on a high-megapixel upgrade. If your photos live on Instagram and nowhere else, you are literally compressing them down to 1080 pixels on the long edge. A 45-megapixel sensor is not going to move the needle on a 1080-pixel JPEG. On the other hand, if you’re printing at 24x36 or larger, resolution and dynamic range start to matter in ways that are visible to the naked eye. Be honest with yourself about where your images go. If the answer is “social media and maybe Lightroom,” your current camera is almost certainly not your bottleneck.
Step 3: Settle the Body vs. Lens Question First
 Tony referencing body or lens decision video
The default move for most photographers is to buy a new body. It’s almost always the wrong call. A faster, sharper prime lens will visibly change your portrait work in a way that a new body rarely will. Better low-light performance from a wider aperture matters more for concert or event shooting than a newer sensor generation. Tony and Chelsea have a separate deep-dive on this specific question, but the short version is: if you shoot in controlled light and your subject doesn’t move fast, a lens upgrade will beat a body upgrade almost every time. I have a spreadsheet comparing every budget lens I’ve tested, and the cost-per-visible-improvement ratio on glass almost always wins.
Tony referencing body or lens decision video
The default move for most photographers is to buy a new body. It’s almost always the wrong call. A faster, sharper prime lens will visibly change your portrait work in a way that a new body rarely will. Better low-light performance from a wider aperture matters more for concert or event shooting than a newer sensor generation. Tony and Chelsea have a separate deep-dive on this specific question, but the short version is: if you shoot in controlled light and your subject doesn’t move fast, a lens upgrade will beat a body upgrade almost every time. I have a spreadsheet comparing every budget lens I’ve tested, and the cost-per-visible-improvement ratio on glass almost always wins.
Step 4: Ask Whether This Is a Hobby or a Business Decision
 Tony explaining hobby vs. professional profit logic
These two contexts require completely different logic. If photography is your business, any gear purchase needs to justify itself financially. Will this lens let you book clients your current setup can’t? Will higher resolution let you license images at a rate that offsets the cost within 18 months? Run the numbers, not the vibes. If photography is a hobby, the math is simpler: does this bring you joy and does your budget allow for it? That’s it. Neither answer is wrong, but mixing up the two frameworks is how photographers end up with $3,000 in gear they can’t monetize and can’t fully enjoy either.
Tony explaining hobby vs. professional profit logic
These two contexts require completely different logic. If photography is your business, any gear purchase needs to justify itself financially. Will this lens let you book clients your current setup can’t? Will higher resolution let you license images at a rate that offsets the cost within 18 months? Run the numbers, not the vibes. If photography is a hobby, the math is simpler: does this bring you joy and does your budget allow for it? That’s it. Neither answer is wrong, but mixing up the two frameworks is how photographers end up with $3,000 in gear they can’t monetize and can’t fully enjoy either.
Step 5: Consider What Else That Money Could Do
This is the step that most gear content will never mention because it doesn’t generate affiliate clicks, so I’ll be direct: for landscape photographers especially, a plane ticket beats a new camera almost every time. A mediocre photo of Iceland will outperform a technically perfect photo of a parking lot. The location, the light, and the moment create the image. The camera records it. If you’re a landscape shooter sitting on $1,500 earmarked for a new body, price a flight and hotel to somewhere you’ve never shot before. You will come back with better portfolio work than the new body would have produced in your usual spots.
Step 6: Audit Your Education Spending
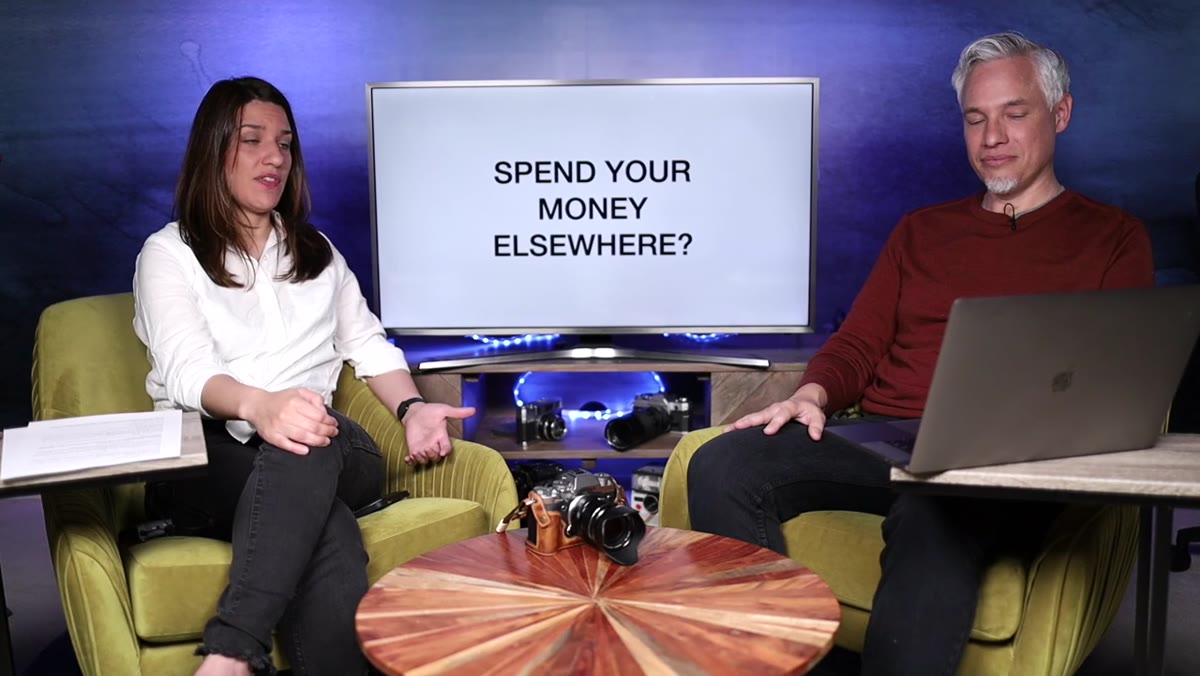 Tony and Chelsea pivoting to education as an alternative investment
Tony and Chelsea are also honest enough to recommend books and courses over gear, and I’ll second that hard. The single biggest jump in my image quality didn’t come from a new camera. It came from actually learning how to read light and where to position myself relative to it. Online courses, photography books, and even a local workshop will produce visible results faster than most gear upgrades for photographers who are still building core skills. Before any purchase, ask: have I actually maxed out what my current setup can do? If the answer is no, spend the money on knowledge first.
Tony and Chelsea pivoting to education as an alternative investment
Tony and Chelsea are also honest enough to recommend books and courses over gear, and I’ll second that hard. The single biggest jump in my image quality didn’t come from a new camera. It came from actually learning how to read light and where to position myself relative to it. Online courses, photography books, and even a local workshop will produce visible results faster than most gear upgrades for photographers who are still building core skills. Before any purchase, ask: have I actually maxed out what my current setup can do? If the answer is no, spend the money on knowledge first.
My Own Caveat: The Upgrade That Actually Made Sense
I’m not anti-upgrade. I upgraded my tripod five times before finding one that worked, which was its own kind of expensive lesson. The upgrade that genuinely changed my work was moving from a kit zoom to a fast 50mm prime. Not because 50mm is magic, but because the wider aperture meant I could shoot in the kinds of available light situations I’d been avoiding. The upgrade solved a specific, documented problem I was running into repeatedly. That’s the bar. If you can’t describe the specific shots you’re currently failing to get because of a gear limitation, you probably don’t have a gear problem.
The single most useful thing Tony and Chelsea say in this tutorial is also the simplest: define the problem before you buy the solution. Most camera upgrades are solutions looking for a problem. Run through these six questions honestly before your next purchase, and you’ll either save yourself real money or walk into the buy with clear eyes and zero regret.
Watch the full tutorial on YouTube and run through their framework yourself. It’s worth 20 minutes before you spend $1,500.
Comments
Leave a Comment