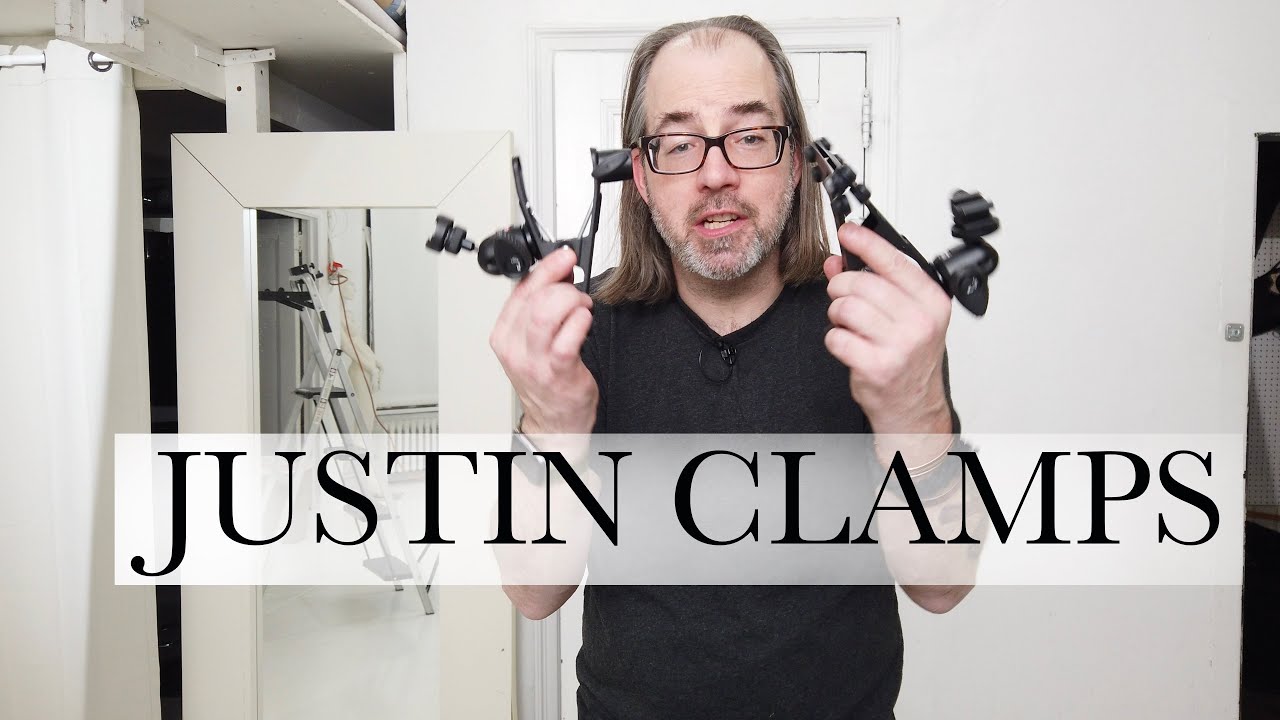
If you shoot with small flashes, you’ve probably run into the problem: you want to stick a speedlight somewhere that isn’t a light stand. A door frame. A shelf. A piece of scaffolding. The answer most working photographers reach for is a Justin clamp, a clever little tool that combines a spring clamp with a ball head and a hot shoe mount. The problem right now is that Manfrotto, who made the original, has reportedly stopped production. Stock is drying up, prices are creeping up, and the knockoffs are hit or miss.
That’s exactly what pulled me into this tutorial from Daniel Norton. Watch the full tutorial on YouTube - Daniel is a working photographer based in New York, and he’s the kind of guy who doesn’t wait around for gear to be available. When he found himself without a Justin clamp on a shoot, he built one from parts he had on hand. What came out of that was a DIY version that he actually thinks improves on the original in a couple of meaningful ways. I watched this one twice, took notes, and I’m breaking it down here so you can build one yourself.
Step 1: Understand What a Justin Clamp Actually Is
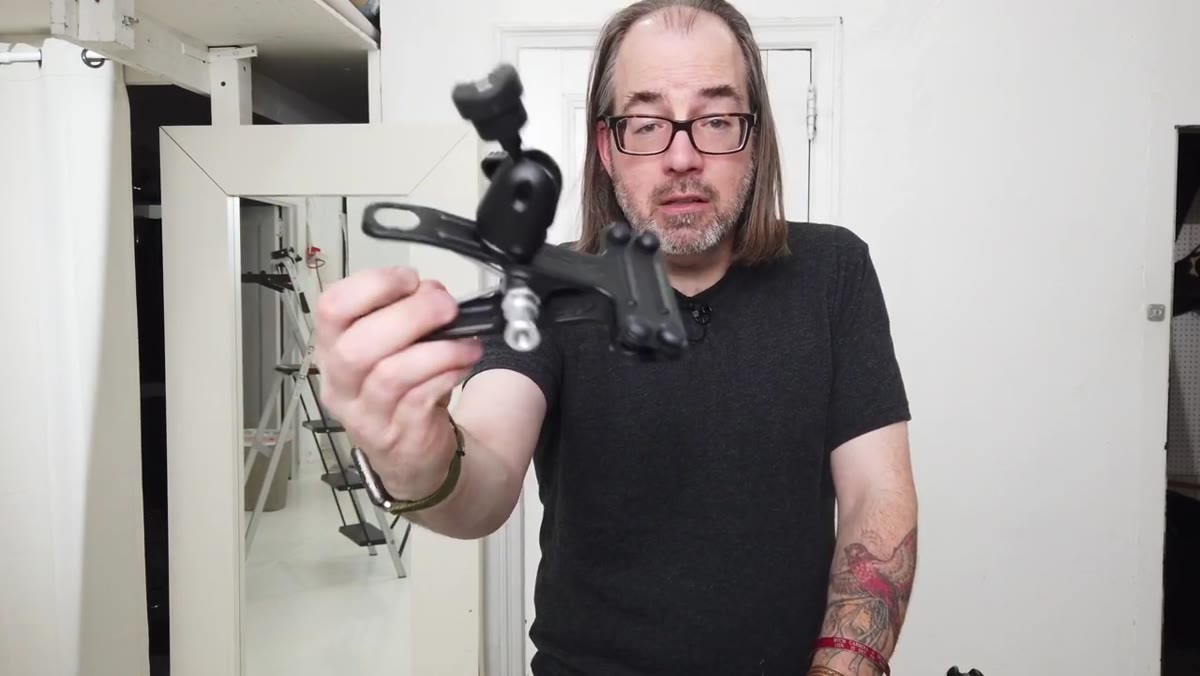 Justin clamp held up showing clamp, ball head, and shoe
Before you build anything, it helps to know what you’re replicating. The Justin clamp is essentially three functional zones: a spring clamp at the base that grips onto surfaces, a small ball head in the middle that lets you pivot and lock your flash at any angle, and a hot shoe mount on top where the flash sits. There’s also a stud on the side, a 3/8-inch female fitting, and a 5/8-inch female adapter at the bottom so you can mount it on a standard light stand if you don’t need the clamp. That last detail is underrated. It means this one tool covers clamping to location surfaces AND standard stand use without swapping adapters.
Justin clamp held up showing clamp, ball head, and shoe
Before you build anything, it helps to know what you’re replicating. The Justin clamp is essentially three functional zones: a spring clamp at the base that grips onto surfaces, a small ball head in the middle that lets you pivot and lock your flash at any angle, and a hot shoe mount on top where the flash sits. There’s also a stud on the side, a 3/8-inch female fitting, and a 5/8-inch female adapter at the bottom so you can mount it on a standard light stand if you don’t need the clamp. That last detail is underrated. It means this one tool covers clamping to location surfaces AND standard stand use without swapping adapters.
Step 2: Source the Base Clamp
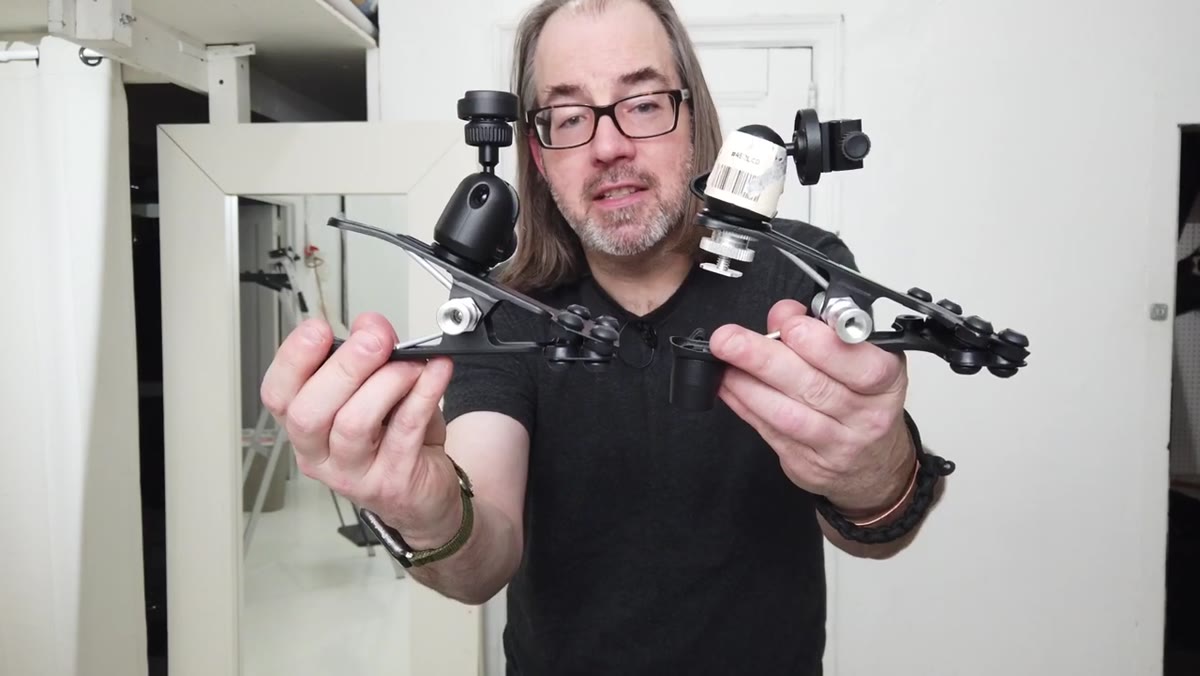 Manfrotto 175 clamp isolated on its own
The foundation of both the original and Daniel’s DIY version is the same: a Manfrotto spring clamp, which he references as the 175 or similar model number. You can find these independently, and this is important because the clamp itself is the part that’s hardest to improvise. It’s a heavy-duty spring clamp with real grip strength, not a woodworking clamp or a chip clip. If you’re sourcing this, look for the Manfrotto 175F or 175 spring clamp specifically. That’s the part doing the actual work of holding your flash rig to whatever surface you’re mounting it on, so don’t cheap out here.
Manfrotto 175 clamp isolated on its own
The foundation of both the original and Daniel’s DIY version is the same: a Manfrotto spring clamp, which he references as the 175 or similar model number. You can find these independently, and this is important because the clamp itself is the part that’s hardest to improvise. It’s a heavy-duty spring clamp with real grip strength, not a woodworking clamp or a chip clip. If you’re sourcing this, look for the Manfrotto 175F or 175 spring clamp specifically. That’s the part doing the actual work of holding your flash rig to whatever surface you’re mounting it on, so don’t cheap out here.
Step 3: Add the Hot Shoe to 1/4-20 Adapter
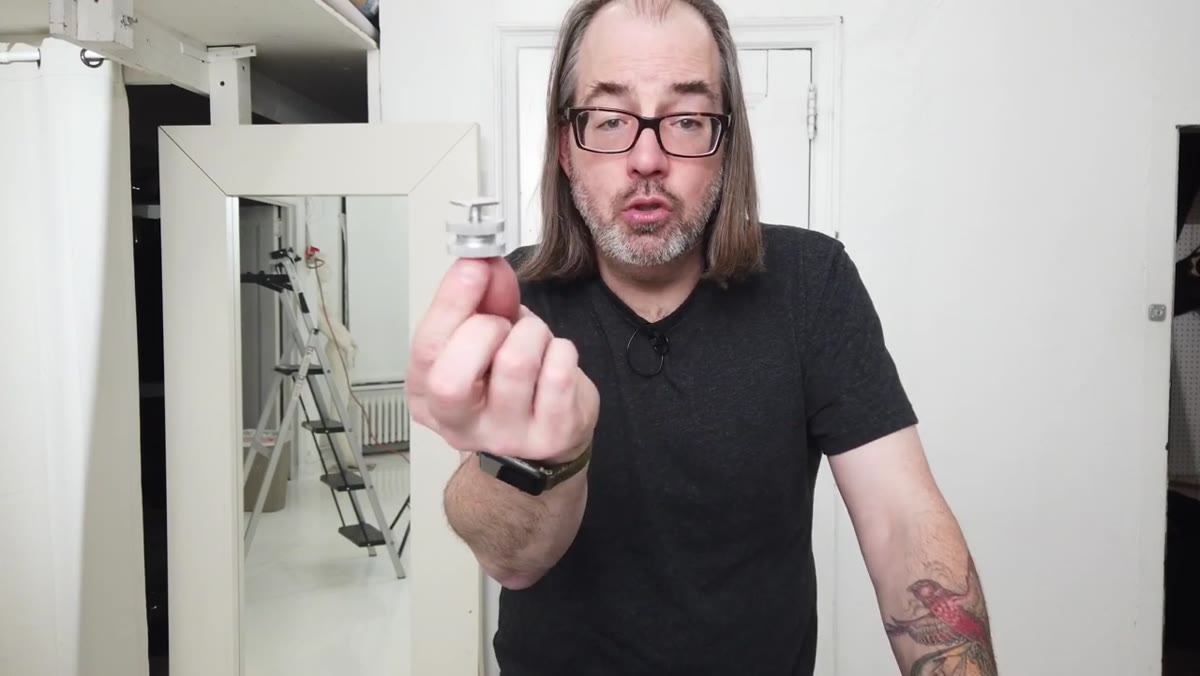 Small hot shoe adapter piece held separately from clamp
The second piece is a small adapter that converts a hot shoe mount to a standard 1/4-20 threaded fitting. Daniel notes this is actually a versatile little tool on its own. You can slide it into your camera’s hot shoe and use it to mount an LED light, a phone clamp, or anything else with a 1/4-20 thread. For the DIY clamp build, it serves as the connection point between the ball head and the rest of the assembly. If you wanted to simplify, you could replace this piece with just a screw and a washer, which Daniel mentions would let you position the ball head closer to the clamp body. That gives you a slightly lower profile and makes it easier to squeeze the clamp open in tight spots.
Small hot shoe adapter piece held separately from clamp
The second piece is a small adapter that converts a hot shoe mount to a standard 1/4-20 threaded fitting. Daniel notes this is actually a versatile little tool on its own. You can slide it into your camera’s hot shoe and use it to mount an LED light, a phone clamp, or anything else with a 1/4-20 thread. For the DIY clamp build, it serves as the connection point between the ball head and the rest of the assembly. If you wanted to simplify, you could replace this piece with just a screw and a washer, which Daniel mentions would let you position the ball head closer to the clamp body. That gives you a slightly lower profile and makes it easier to squeeze the clamp open in tight spots.
Step 4: Mount the Mini Ball Head
 492 LCD mini ball head shown as separate component
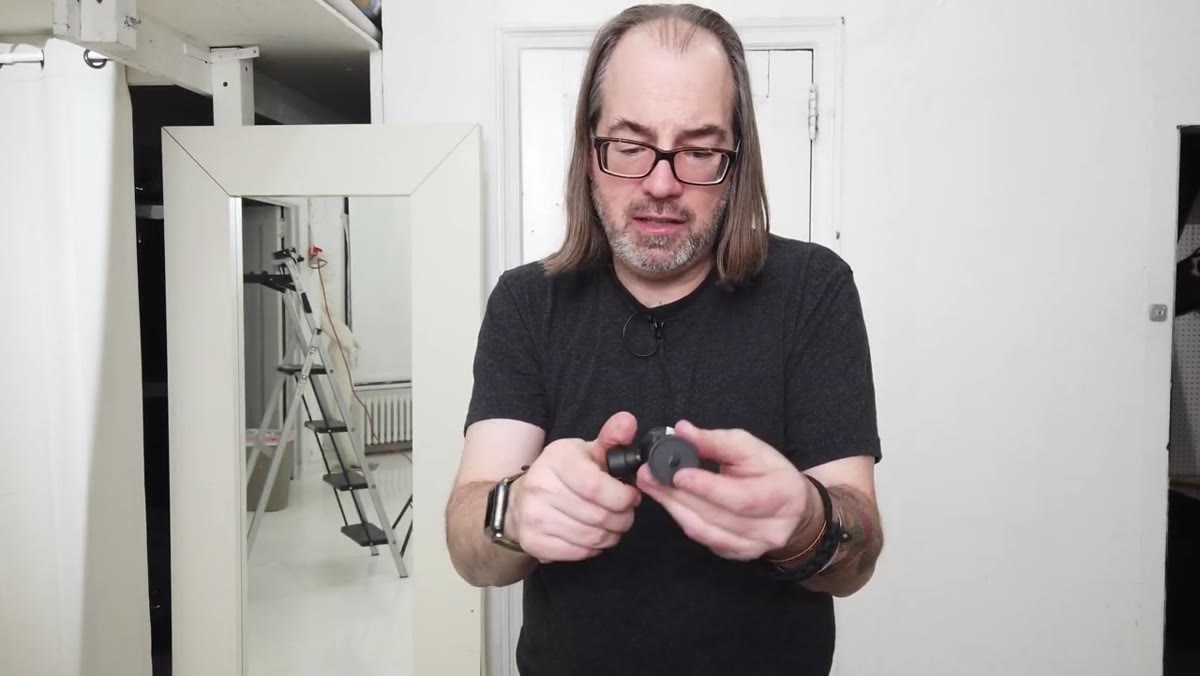
This is the piece that makes or breaks the whole rig. Daniel uses a Manfrotto 492 LCD mini ball head, and this is the component I’d be least willing to substitute. A good ball head gives you smooth repositioning and a firm lock. A bad one drifts, slips, or strips. The 492 is small enough to keep the whole assembly compact but sturdy enough to hold a speedlight at an angle without creeping over time. It threads onto the 1/4-20 fitting from the adapter you added in Step 3. One thing Daniel notes about his version versus the original: he positions the ball head slightly further back on the clamp body. This makes the whole unit a bit easier to mount and dismount from surfaces, even if it sacrifices a little ergonomic grip compared to the original’s layout.
492 LCD mini ball head shown as separate component
This is the piece that makes or breaks the whole rig. Daniel uses a Manfrotto 492 LCD mini ball head, and this is the component I’d be least willing to substitute. A good ball head gives you smooth repositioning and a firm lock. A bad one drifts, slips, or strips. The 492 is small enough to keep the whole assembly compact but sturdy enough to hold a speedlight at an angle without creeping over time. It threads onto the 1/4-20 fitting from the adapter you added in Step 3. One thing Daniel notes about his version versus the original: he positions the ball head slightly further back on the clamp body. This makes the whole unit a bit easier to mount and dismount from surfaces, even if it sacrifices a little ergonomic grip compared to the original’s layout.
Step 5: Assemble and Thread Everything Together
 All four components laid out before reassembly
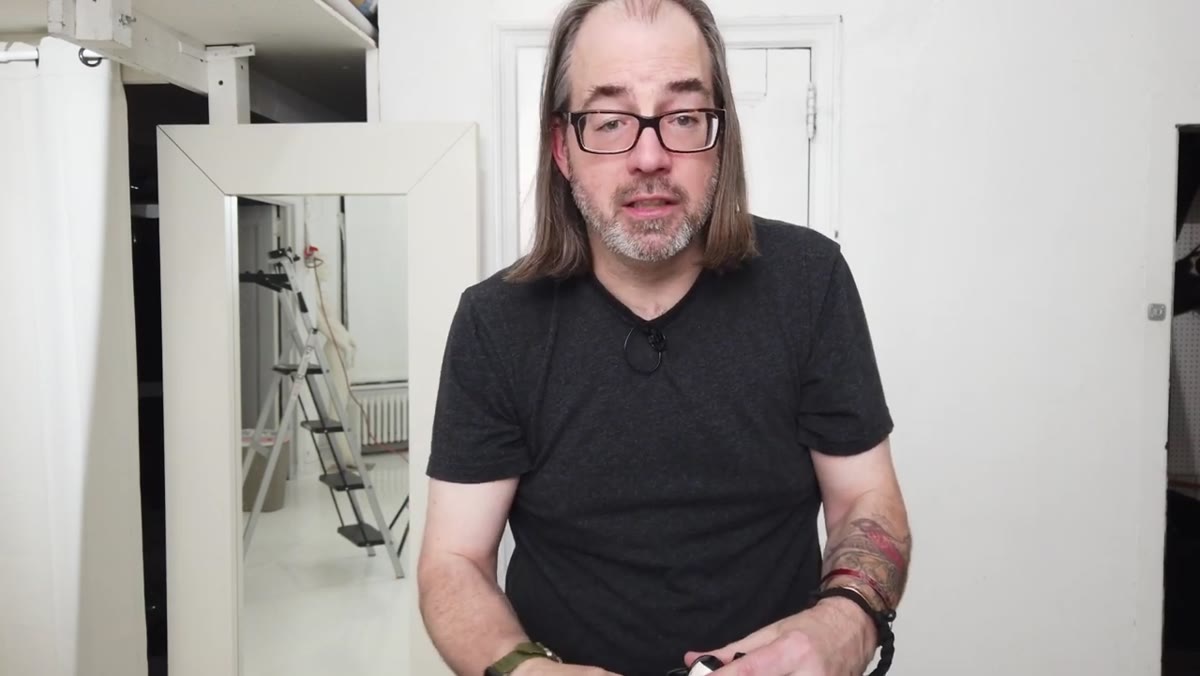
Once you have all four parts - the spring clamp, the hot shoe adapter, the ball head, and whatever flash or light you’re mounting - assembly is straightforward threading. The ball head mounts via the 1/4-20 connection to the adapter, which sits on top of the clamp body. Daniel walks through disassembling and reassembling his version to show how each piece connects. There’s no special tool required. The key is making sure your 1/4-20 connections are snug before you trust the rig with an expensive flash, especially if you’re mounting it overhead or at an angle. Hand-tight is usually enough, but give it a test jostle before you walk away.
All four components laid out before reassembly
Once you have all four parts - the spring clamp, the hot shoe adapter, the ball head, and whatever flash or light you’re mounting - assembly is straightforward threading. The ball head mounts via the 1/4-20 connection to the adapter, which sits on top of the clamp body. Daniel walks through disassembling and reassembling his version to show how each piece connects. There’s no special tool required. The key is making sure your 1/4-20 connections are snug before you trust the rig with an expensive flash, especially if you’re mounting it overhead or at an angle. Hand-tight is usually enough, but give it a test jostle before you walk away.
Step 6: Put It on a Light Stand or Clamp It to a Surface
 Justin clamp mounted onto a light stand via bottom fitting
Here’s where the real flexibility kicks in. The 5/8-inch female fitting at the base of the clamp means you can drop the whole assembly onto a standard light stand stud, exactly like you’d mount an umbrella bracket. So if you’re in a studio or a location where you have a stand available, you skip the clamping entirely and use it as a low-profile flash holder. Out on location without stands, you clamp it to a door, a railing, a chair back, whatever the environment gives you. That dual-purpose design is what makes this tool earn its spot in a bag over something more single-use.
Justin clamp mounted onto a light stand via bottom fitting
Here’s where the real flexibility kicks in. The 5/8-inch female fitting at the base of the clamp means you can drop the whole assembly onto a standard light stand stud, exactly like you’d mount an umbrella bracket. So if you’re in a studio or a location where you have a stand available, you skip the clamping entirely and use it as a low-profile flash holder. Out on location without stands, you clamp it to a door, a railing, a chair back, whatever the environment gives you. That dual-purpose design is what makes this tool earn its spot in a bag over something more single-use.
My Take: Source the Parts Individually and Skip the Hunt for Originals
I’ve watched the used gear market for Justin clamps tighten up over the past year. Sellers know they’re getting scarce, and prices reflect that. The DIY route Daniel outlines here will almost certainly cost you less than a used original in good condition right now, and you end up with individual components you can replace if something breaks. The ball head wears out? Buy another 492. The clamp spring goes weak? Replace just the clamp. With the original unit, you replace the whole thing.
If you shoot events, weddings, or any kind of run-and-gun location work with speedlights, this is the kind of rig that quietly solves a problem you didn’t know you were working around until you have one. The ability to get a flash off your camera and onto any surface in the environment, quickly, without an assistant holding it, opens up a lot of creative options that an on-camera flash just can’t touch.
The single most important thing to take away from Daniel’s breakdown: the Justin clamp is not magic hardware. It’s four standard components assembled intelligently. Once you see it that way, you can build it, modify it, and replace parts as needed instead of waiting for Manfrotto to restock. Watch the full tutorial on YouTube to see Daniel’s hands-on walkthrough of each piece and how they connect.
Comments
Leave a Comment