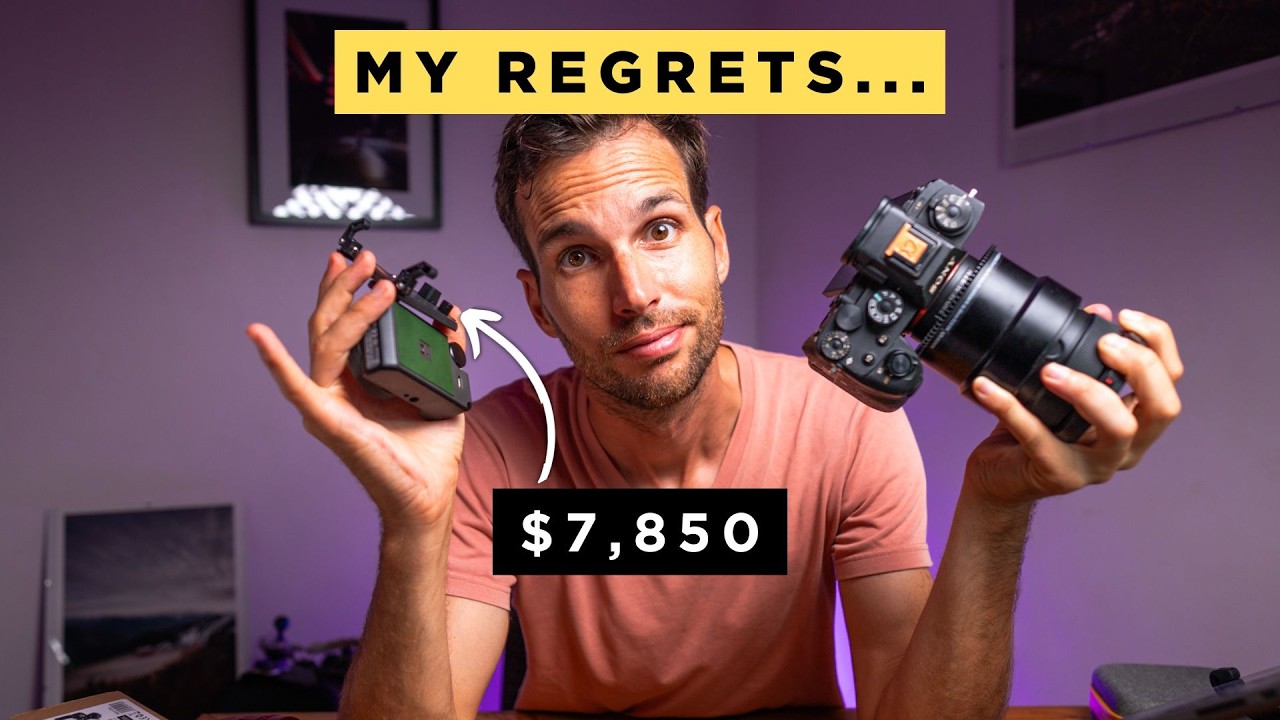
There’s a specific kind of photographer pain that doesn’t get talked about enough: the gear that sits in a drawer, fully paid for, fully charged, and completely ignored. Not broken. Not lost. Just quietly judged every time you open that drawer and close it again. I’ve been there more times than I want to count, and honestly, some of my worst purchases came after watching a genuinely great creator get excited about something new. That’s not their fault. That’s just how gear enthusiasm works.
In this Pierre T. Lambert tutorial, Watch the full tutorial on YouTube, Pierre does something most creators avoid: he names his mistakes by brand, by price, and by how long those items collected dust before he admitted they weren’t working. Pierre is a travel and adventure photographer with a sharp editorial eye, so when he says a $300 gadget never earned its keep, that’s worth paying attention to. What follows is a breakdown of each item on his regret list, what went wrong, and what I think that actually means for anyone trying to build a smarter kit.
Step 1: Recognize the Wrist Strap Problem
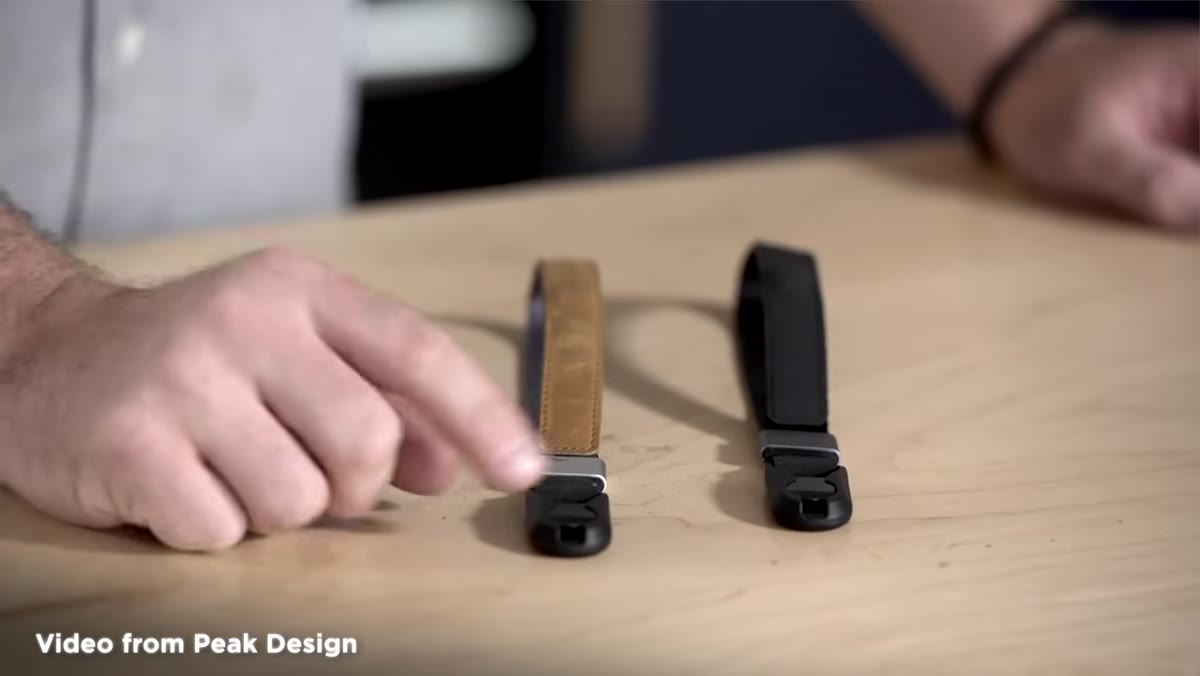 Pierre holding Peak Design wrist strap up to camera
Pierre’s first regret is the Peak Design wrist strap. He bought it, used it for about three weeks, talked about it positively, and then quietly stopped reaching for it. His reasoning is straightforward: a wrist strap limits how you hold and move the camera, and after the novelty wore off, he found himself defaulting back to a neck strap worn over one shoulder. That’s a carrying style that gives you quick access without the awkwardness of keeping your wrist committed to a grip position.
Pierre holding Peak Design wrist strap up to camera
Pierre’s first regret is the Peak Design wrist strap. He bought it, used it for about three weeks, talked about it positively, and then quietly stopped reaching for it. His reasoning is straightforward: a wrist strap limits how you hold and move the camera, and after the novelty wore off, he found himself defaulting back to a neck strap worn over one shoulder. That’s a carrying style that gives you quick access without the awkwardness of keeping your wrist committed to a grip position.
The lesson here isn’t that Peak Design makes bad products. Their build quality is legitimately excellent. The lesson is that carrying accessories are deeply personal and highly dependent on your shooting style. Before spending $65 or more on a wrist strap, spend a week shooting with a cheap velcro loop around your wrist and see if you even reach for it. If you do, then invest. If your hand keeps slipping out to reposition, you already have your answer.
Step 2: Audit Any “Smart” Camera Accessory Before You Buy
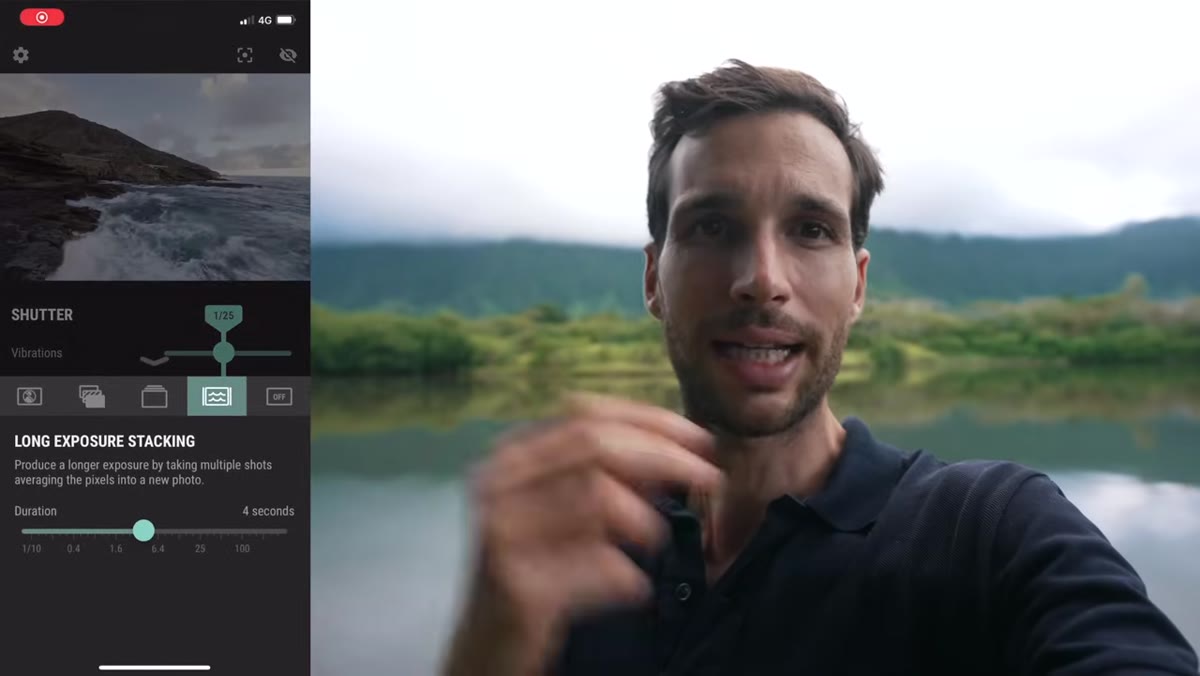 Arsenal 2 device connected to camera hotshoe
The second item is where it gets expensive. Pierre bought the Arsenal 2, an AI-powered camera controller that attaches to your hotshoe and promises to automate settings, manage time lapses, stack exposures for crowd removal, and more. At around $300, it’s a serious commitment. He tested it with a team around to help troubleshoot, got some results, but found it crashed consistently and that promised firmware updates never fully materialized. He gave the unit away and went back to his update video to tell people to skip it.
Arsenal 2 device connected to camera hotshoe
The second item is where it gets expensive. Pierre bought the Arsenal 2, an AI-powered camera controller that attaches to your hotshoe and promises to automate settings, manage time lapses, stack exposures for crowd removal, and more. At around $300, it’s a serious commitment. He tested it with a team around to help troubleshoot, got some results, but found it crashed consistently and that promised firmware updates never fully materialized. He gave the unit away and went back to his update video to tell people to skip it.
What Pierre identifies here is worth underlining: tools that promise to automate complex photographic techniques usually add a layer of friction rather than removing one. Crowd removal stacking, HDR merging, long exposure blending – these workflows already exist in Lightroom and Photoshop, and they’re reliable. If you’re tempted by a device that promises to do those things in-camera, ask yourself how often you actually do that technique right now with your current tools. If the answer is “rarely,” a $300 shortcut to a workflow you barely use is just an expensive way to feel productive.
Step 3: Question Vertical Tripod Adapters Before Your Next Shoot
 Vertical tripod adapter mounted showing rotation mechanism
Pierre’s third item is a vertical tripod adapter, a bracket that lets you rotate your camera to portrait orientation while keeping it centered over the tripod head. In theory, this solves a real problem: standard L-brackets shift your camera’s center of gravity when you flip to portrait mode, which can stress ball heads and create uneven balance. A dedicated vertical adapter keeps everything centered.
Vertical tripod adapter mounted showing rotation mechanism
Pierre’s third item is a vertical tripod adapter, a bracket that lets you rotate your camera to portrait orientation while keeping it centered over the tripod head. In theory, this solves a real problem: standard L-brackets shift your camera’s center of gravity when you flip to portrait mode, which can stress ball heads and create uneven balance. A dedicated vertical adapter keeps everything centered.
The problem Pierre ran into is one I’ve seen come up in almost every review of these accessories: the execution rarely matches the concept. They add bulk, they introduce wobble if the locking mechanism isn’t perfect, and for most shooting scenarios, a well-made L-bracket does the job without the extra moving parts. If you’re doing product photography on a copy stand or shooting tethered in a studio, a vertical adapter might earn its place. For travel and landscape work, it’s usually dead weight.
Step 4: Be Skeptical of Category-Specific Accessories You Haven’t Stress-Tested
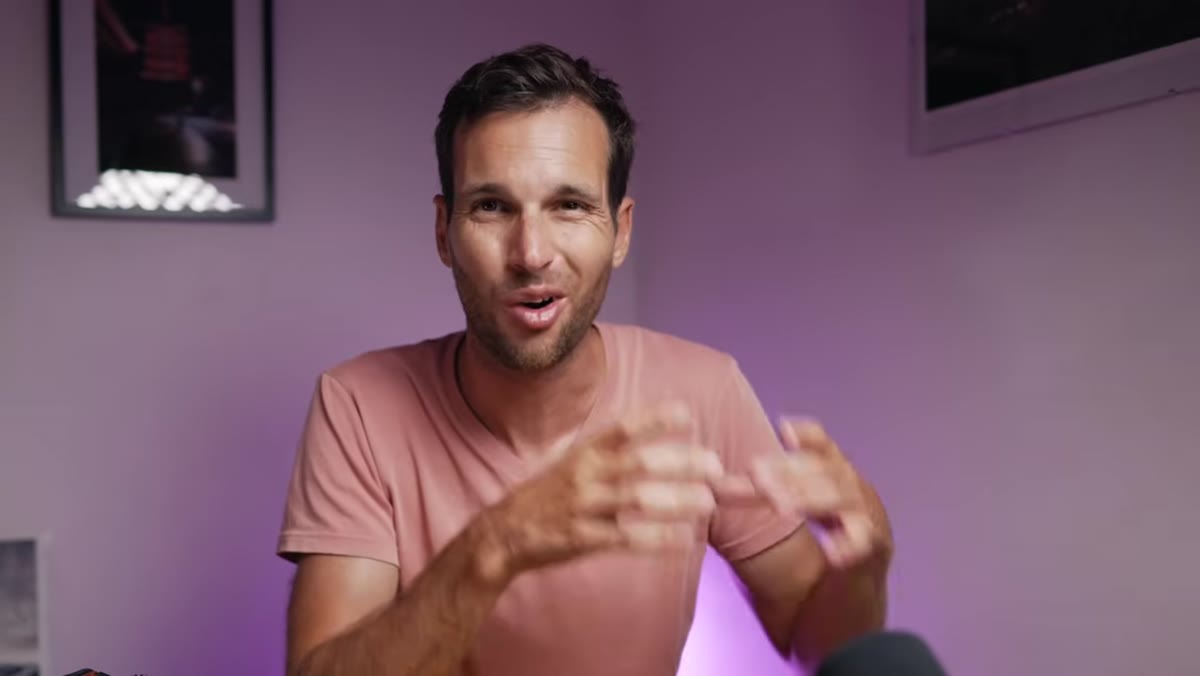 Pierre explaining accessories sitting unused in storage
Running through Pierre’s full list, a pattern becomes clear: every item he regrets was purchased to solve a specific, narrow problem, and every time, a simpler solution already existed that he wasn’t fully using. That’s not a character flaw. That’s how gear marketing works. It finds the gap between what you can do and what you imagine doing, and it sells you a bridge.
Pierre explaining accessories sitting unused in storage
Running through Pierre’s full list, a pattern becomes clear: every item he regrets was purchased to solve a specific, narrow problem, and every time, a simpler solution already existed that he wasn’t fully using. That’s not a character flaw. That’s how gear marketing works. It finds the gap between what you can do and what you imagine doing, and it sells you a bridge.
His advice, which I think is the most actionable thing in the video, is to pay attention to whether you’re being seduced by an idea rather than a genuine workflow need. Time lapses sound incredible. Composite crowd removal sounds like a superpower. But if you’ve never actually done those things before, buying hardware to automate them doesn’t make you more likely to do them. It just gives you one more thing to troubleshoot.
What I’d Add: The 30-Day Rule Applies to Gear Research Too
I keep a running spreadsheet of every budget accessory I’ve tested, and one column I added about a year ago is labeled “Was I still using this at 30 days?” It’s humbling. Plenty of items I gave four stars in the first week dropped to one star by month two, not because they failed, but because my actual shooting habits didn’t support them.
Pierre’s regret list confirms something I try to say every time I review an accessory: the best gear is the gear that disappears into your process. You stop thinking about it. It’s just there when you need it. When you’re actively aware of a piece of gear because it’s uncomfortable, crashing, or too fiddly to deploy in the field, that’s the item that ends up in the drawer. Run every purchase through that filter before you buy, not after.
The single most important thing Pierre’s video teaches is this: regret in photography gear almost never comes from buying something cheap. It comes from buying something that solved a problem you didn’t actually have yet. Build the habit first. Buy the tool second.
Watch the full tutorial on YouTube to hear Pierre walk through each item in his own words, including the one piece of gear that cost him more than his camera body.
Comments (3)
I keep coming back to this article. It's that useful.
I've watched a dozen tutorials on this and yours is the clearest by far.
Well explained. I think my audience would really benefit from this — mind if I link to it?
Leave a Comment