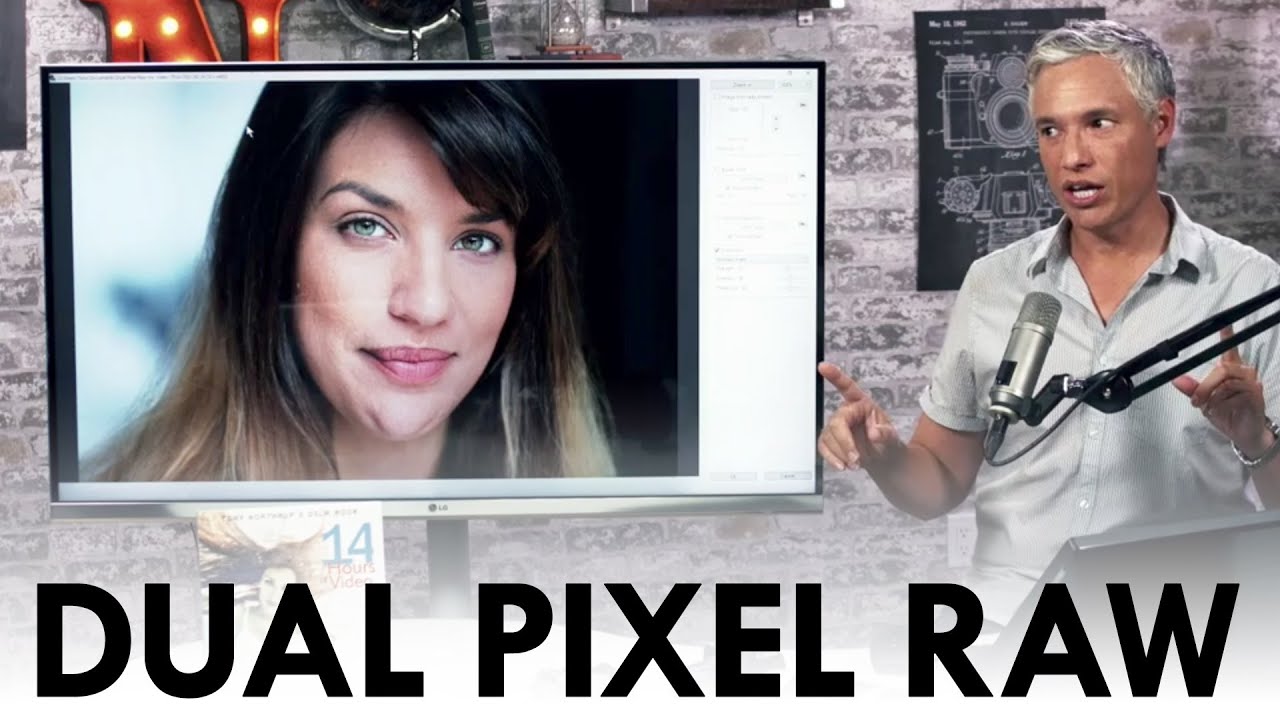
I’ll be straight with you: when Canon announced Dual Pixel RAW as the headline feature of the 5D Mark IV, I was genuinely excited. The idea of being able to nudge focus or shift bokeh after the fact in post-processing sounds like the kind of thing that could save a portrait session. Miss focus on a shoot? Fix it later. Wrong eye sharp on a close-up? No problem. As someone who has always believed that smart technique beats expensive gear, a software-level fix like this felt like it was built for photographers who actually work for a living.
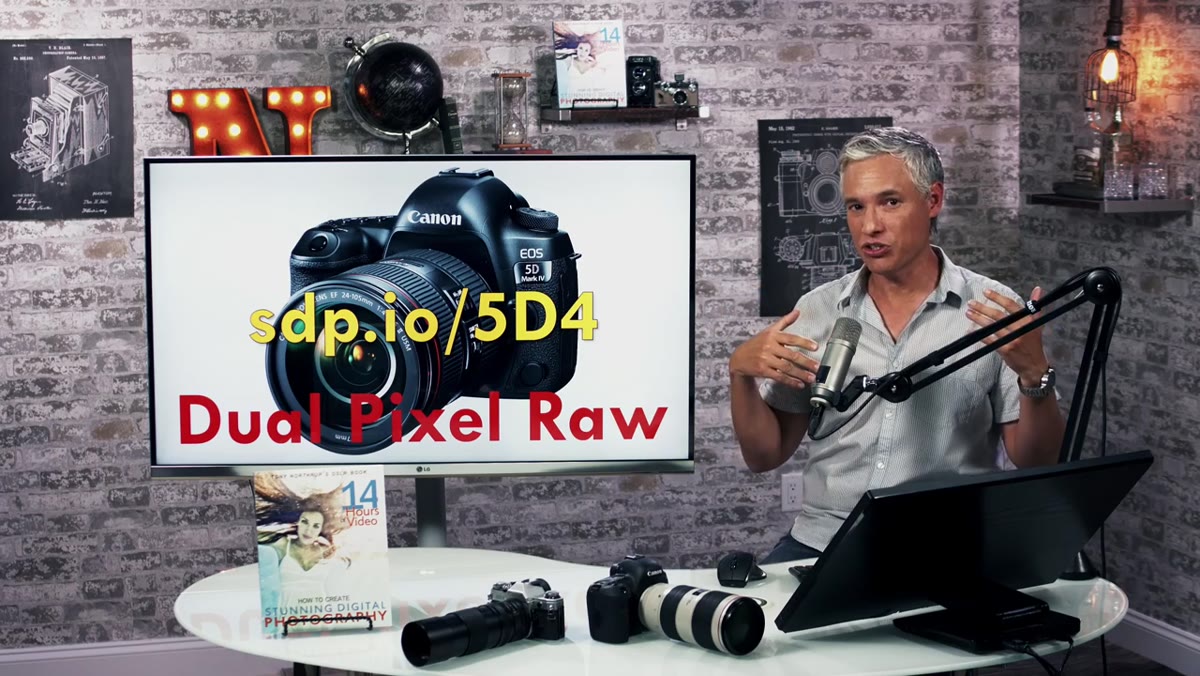
So when I came across Watch the full tutorial on YouTube from Tony and Chelsea Northrup, where Tony does a proper hands-on breakdown of Dual Pixel RAW after real-world testing, I watched it start to finish with a notebook open. What follows is my breakdown of how the feature actually works, step by step, plus my honest read on whether it’s worth your time.
The short version: it’s a fascinating piece of technology that does almost nothing you can actually use on a paying job. But let’s walk through it properly, because understanding why it falls short tells you something useful about how to evaluate any new camera feature against the hype.
Step 1: Understand What Dual Pixel RAW Actually Captures
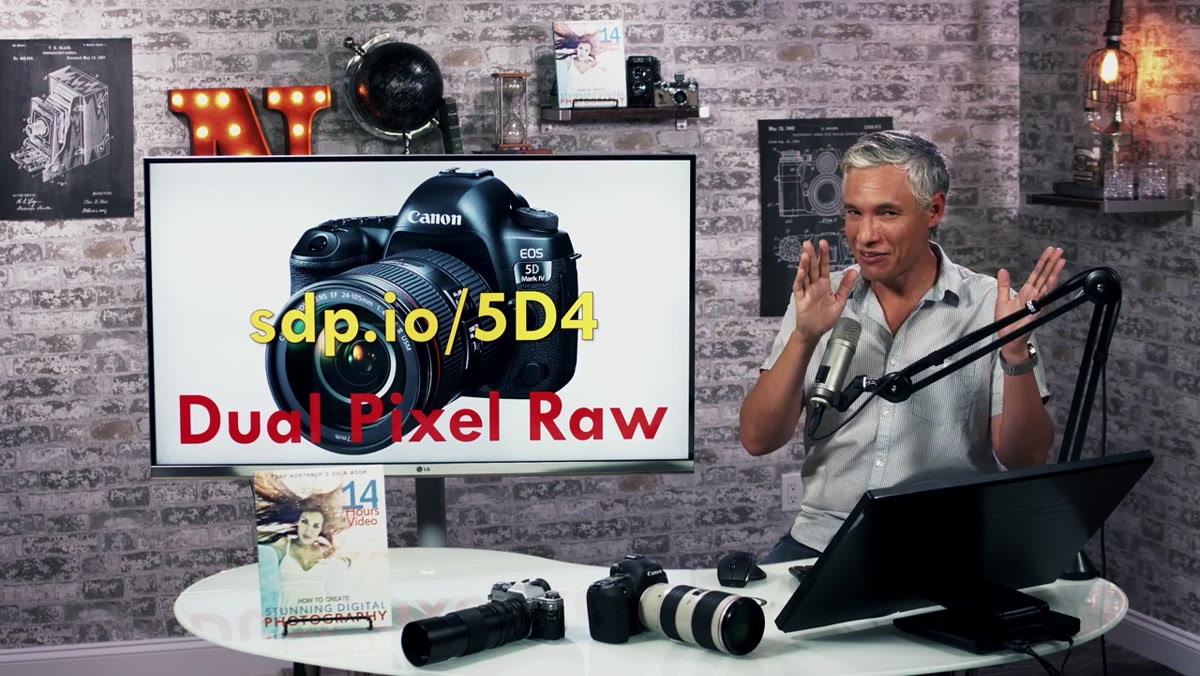 Diagram showing left and right sides of each pixel
Each pixel on the 5D Mark IV sensor is split into two halves, a left side and a right side. When you enable Dual Pixel RAW, the camera records data from both halves separately, essentially capturing the scene from two very slightly different angles simultaneously. This stereo-like data is what enables the post-processing tricks Canon is advertising. Without enabling this mode before you shoot, you just get a normal RAW file and none of the adjustments discussed below are possible. Think of it as an opt-in mode you have to consciously turn on before the shoot.
Diagram showing left and right sides of each pixel
Each pixel on the 5D Mark IV sensor is split into two halves, a left side and a right side. When you enable Dual Pixel RAW, the camera records data from both halves separately, essentially capturing the scene from two very slightly different angles simultaneously. This stereo-like data is what enables the post-processing tricks Canon is advertising. Without enabling this mode before you shoot, you just get a normal RAW file and none of the adjustments discussed below are possible. Think of it as an opt-in mode you have to consciously turn on before the shoot.
Step 2: Enable Dual Pixel RAW in Camera Before Shooting
 Camera menu showing Dual Pixel RAW toggle option
Dual Pixel RAW is not on by default. You enable it in the camera’s shooting menu before you go out. Worth knowing upfront: files shot in this mode are roughly twice the size of standard RAW files because of the extra pixel data being recorded. That means faster card fill, slower buffer clearance, and bigger storage requirements. If you are shooting a high-volume event like a wedding or a sports day, that file size penalty adds up fast. Enable it deliberately, for specific shots where you think you might want to experiment in post, not as a set-it-and-forget-it default.
Camera menu showing Dual Pixel RAW toggle option
Dual Pixel RAW is not on by default. You enable it in the camera’s shooting menu before you go out. Worth knowing upfront: files shot in this mode are roughly twice the size of standard RAW files because of the extra pixel data being recorded. That means faster card fill, slower buffer clearance, and bigger storage requirements. If you are shooting a high-volume event like a wedding or a sports day, that file size penalty adds up fast. Enable it deliberately, for specific shots where you think you might want to experiment in post, not as a set-it-and-forget-it default.
Step 3: Open Dual Pixel RAW Files in Canon Digital Photo Professional
 Canon Digital Photo Professional software interface open with RAW file loaded
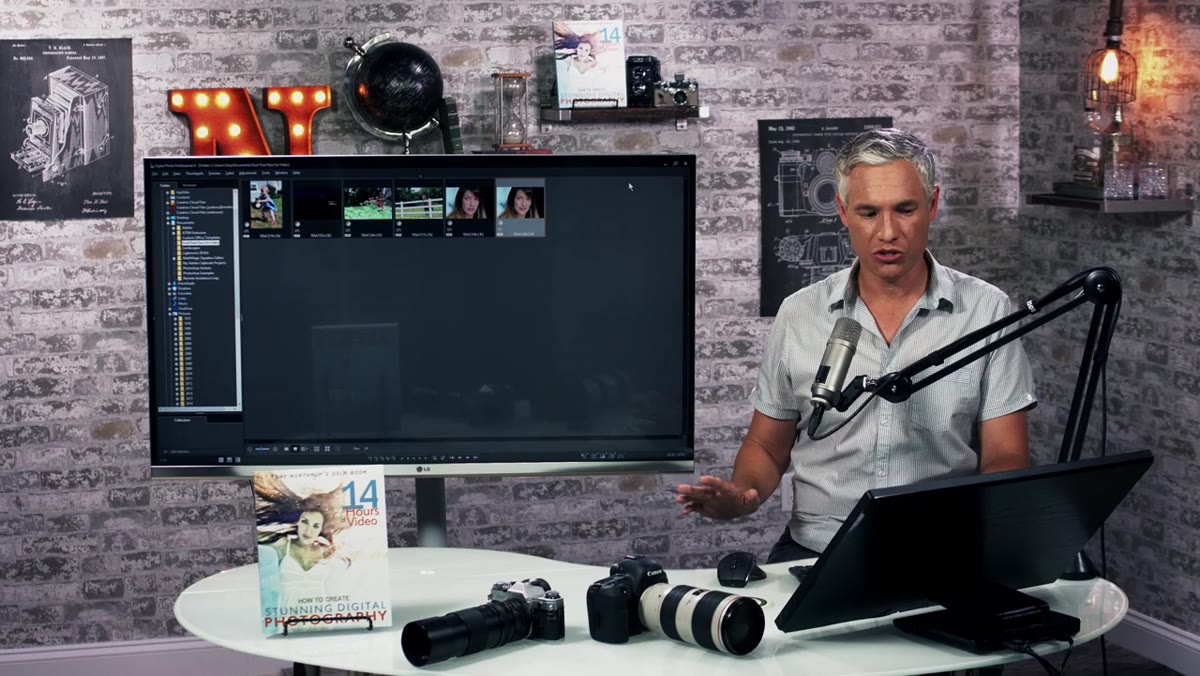
Here is where the workflow hits its first real wall. The only software that can actually process the Dual Pixel RAW adjustments is Canon’s own Digital Photo Professional, commonly called DPP. Tony is blunt about this in the tutorial and I won’t soften it either: DPP is slow, clunky, and a significant step down from Lightroom or Capture One in almost every way. If you shoot tethered, if you use Lightroom’s organizational tools, if you have any kind of established culling workflow, switching to DPP for these files is a genuine disruption. Adobe has indicated they will support Dual Pixel RAW files in Lightroom, but that support is expected to cover basic RAW processing only, not the specialized adjustments like bokeh shift or image micro adjustment. So for now, you are locked into DPP to access the feature at all.
Canon Digital Photo Professional software interface open with RAW file loaded
Here is where the workflow hits its first real wall. The only software that can actually process the Dual Pixel RAW adjustments is Canon’s own Digital Photo Professional, commonly called DPP. Tony is blunt about this in the tutorial and I won’t soften it either: DPP is slow, clunky, and a significant step down from Lightroom or Capture One in almost every way. If you shoot tethered, if you use Lightroom’s organizational tools, if you have any kind of established culling workflow, switching to DPP for these files is a genuine disruption. Adobe has indicated they will support Dual Pixel RAW files in Lightroom, but that support is expected to cover basic RAW processing only, not the specialized adjustments like bokeh shift or image micro adjustment. So for now, you are locked into DPP to access the feature at all.
Step 4: Use Bokeh Shift to Nudge Background Blur Sideways
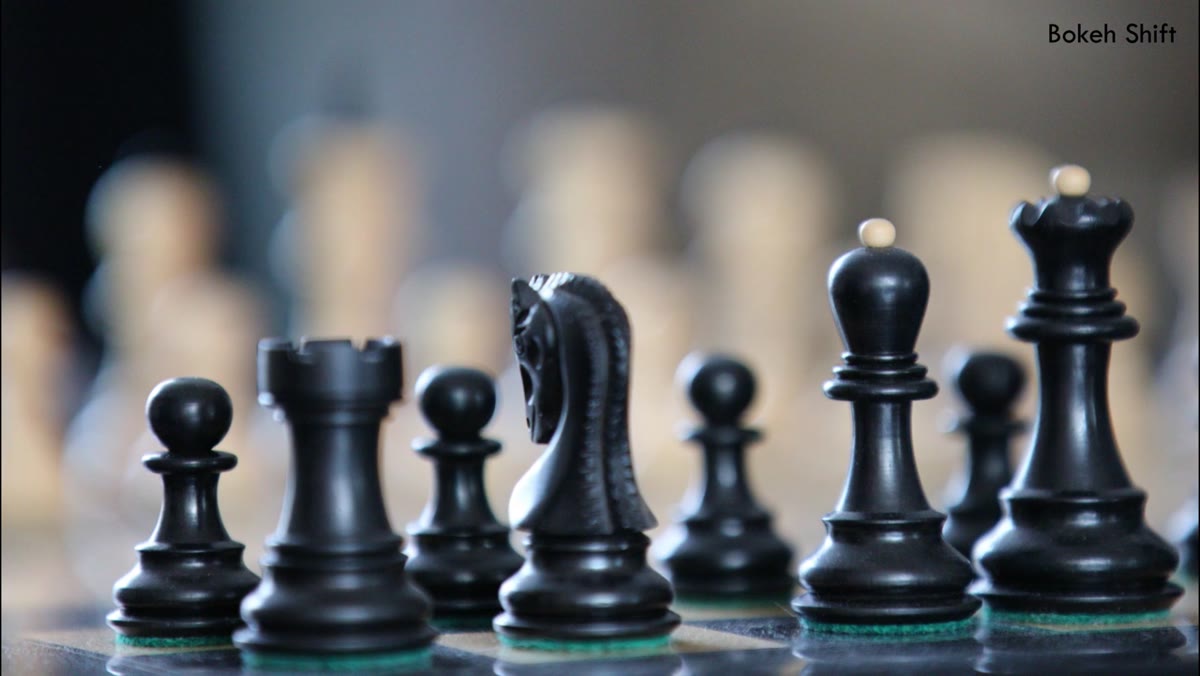 Bokeh shift slider moving background blur left and right in DPP
Inside DPP, the first Dual Pixel RAW tool is called Bokeh Shift. It lets you nudge the background blur slightly left or right in post, as if you had physically moved the camera a small amount sideways before taking the shot. The effect exists because the dual-pixel data gives DPP a second viewpoint to reconstruct. In practice, the range of movement is subtle. The demonstration in the tutorial goes from the full left extreme to the full right extreme, and the total visible shift is small enough that on most images you would not notice it at all. It is not a tool for dramatically recomposing a shot after the fact. At best, on a frame with very prominent, wide bokeh and a specific compositional problem, you might find a use for it.
Bokeh shift slider moving background blur left and right in DPP
Inside DPP, the first Dual Pixel RAW tool is called Bokeh Shift. It lets you nudge the background blur slightly left or right in post, as if you had physically moved the camera a small amount sideways before taking the shot. The effect exists because the dual-pixel data gives DPP a second viewpoint to reconstruct. In practice, the range of movement is subtle. The demonstration in the tutorial goes from the full left extreme to the full right extreme, and the total visible shift is small enough that on most images you would not notice it at all. It is not a tool for dramatically recomposing a shot after the fact. At best, on a frame with very prominent, wide bokeh and a specific compositional problem, you might find a use for it.
Step 5: Try Image Micro Adjustment to Shift Focus Forward or Back
 Image micro adjustment slider in DPP showing minimal focus shift between extremes
The second tool is Image Micro Adjustment, and this one had the most potential on paper. The idea is that you can push the focus plane slightly forward or backward after the shot, correcting for small focus errors. Tony tested this specifically for portrait use, the classic problem of the camera locking onto the wrong eye or the tip of a nose instead of the near eye. The adjustment exists and you can apply it using a checkbox and slider in DPP. The problem is the range of correction is so small that going from one extreme to the other is nearly invisible on screen. It cannot fix a focus miss that would actually matter in a real portrait. If your autofocus put the sharp plane on the ear instead of the eye, Image Micro Adjustment is not going to save that frame.
Image micro adjustment slider in DPP showing minimal focus shift between extremes
The second tool is Image Micro Adjustment, and this one had the most potential on paper. The idea is that you can push the focus plane slightly forward or backward after the shot, correcting for small focus errors. Tony tested this specifically for portrait use, the classic problem of the camera locking onto the wrong eye or the tip of a nose instead of the near eye. The adjustment exists and you can apply it using a checkbox and slider in DPP. The problem is the range of correction is so small that going from one extreme to the other is nearly invisible on screen. It cannot fix a focus miss that would actually matter in a real portrait. If your autofocus put the sharp plane on the ear instead of the eye, Image Micro Adjustment is not going to save that frame.
Step 6: Evaluate the File and Decide Whether the Trade-offs Were Worth It
 Side-by-side portrait comparison in DPP showing near and far eye focus
After running both tools on actual portrait files in DPP, the final step is an honest assessment: did this get you anything you could not have achieved by just taking a second frame? For most shots, the answer is no. The file size cost, the workflow disruption of leaving Lightroom, and the limited range of both adjustments add up to a feature that costs you more than it delivers in everyday shooting. Tony turned it off after his tests and said he would not turn it back on. I think that is the right call for working photographers.
Side-by-side portrait comparison in DPP showing near and far eye focus
After running both tools on actual portrait files in DPP, the final step is an honest assessment: did this get you anything you could not have achieved by just taking a second frame? For most shots, the answer is no. The file size cost, the workflow disruption of leaving Lightroom, and the limited range of both adjustments add up to a feature that costs you more than it delivers in everyday shooting. Tony turned it off after his tests and said he would not turn it back on. I think that is the right call for working photographers.
My Take: Promising Tech, Wrong Execution
The underlying sensor technology here is genuinely impressive. Dual-pixel autofocus on Canon cameras is excellent, and the idea of capturing dual viewpoint data for post-processing flexibility is smart in theory. The problem is the execution: too limited a range on both adjustments, locked to software that most professionals do not want to use, and at a file size cost that is hard to justify on a busy shoot.
If you are a 5D Mark IV owner who shoots slow, deliberate still life or architecture work and you are already comfortable in DPP, it might be worth experimenting with on specific projects. For everyone else, the smarter move is to nail focus in camera, bracket your shots when focus depth is critical, and spend that extra card space on more frames instead.
The single most important thing this tutorial taught me is to test feature claims against real-world constraints before they change your workflow. Dual Pixel RAW looked like a game changer on a spec sheet. In practice, it adds friction without adding meaningful creative control. Watch Tony walk through the actual files and judge for yourself: Watch the full tutorial on YouTube.
Comments (1)
Finally someone explains this in a way that actually makes sense.
Leave a Comment