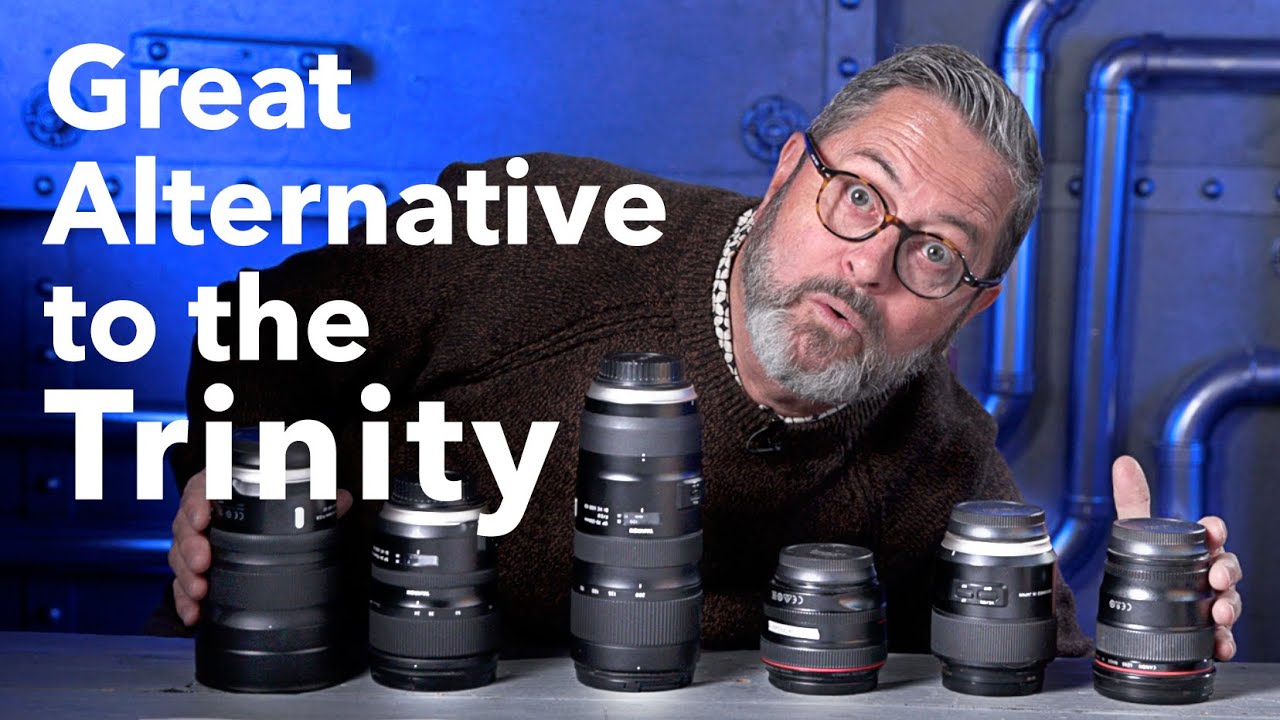
I’ve spent more hours than I care to admit building spreadsheets comparing lens prices, and the question I get asked more than any other is some version of “should I just buy the trinity?” It makes sense. The 16-35mm, 24-70mm, and 70-200mm zoom trinity is the default answer to “what lenses do I need?” It’s tidy, it covers everything, and every working photographer seems to own it. But tidy isn’t always right.
That question kept nagging at me until I came across a tutorial from Jay P. Morgan over at The Slanted Lens that reframes the whole conversation. Watch the full tutorial on YouTube - Morgan makes the case that a mixed kit of three primes and one zoom can match the trinity’s coverage, beat it on image quality, outperform it in low light, and come in at a similar price. That last part is what caught my attention. I built my whole audience around proving that gear decisions are smarter than most people think, and this one holds up.
What follows is my breakdown of Morgan’s argument, step by step, so you can evaluate whether this swap makes sense before you spend anything.
Step 1: Understand What the Trinity Actually Gives You (and What It Doesn’t)
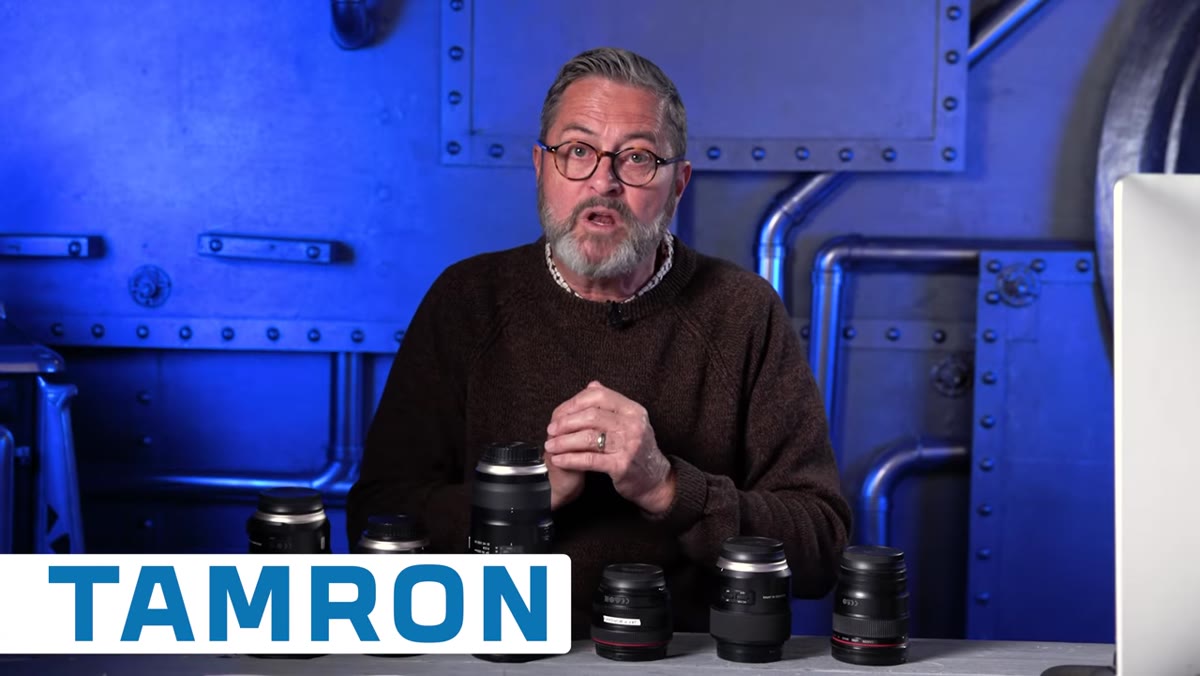 Three zoom lenses laid out showing full trinity kit
The trinity covers a wide focal range, typically from around 15mm on the wide end out to 200mm on the telephoto end depending on the manufacturer. That’s genuinely impressive. But every lens in that kit is f/2.8, and while f/2.8 is respectable, it’s not fast. In practical terms, that means limited background separation in portraits, compromised performance in dim venues, and heavier glass across the board. These are big lenses. Carrying all three means carrying real weight.
Three zoom lenses laid out showing full trinity kit
The trinity covers a wide focal range, typically from around 15mm on the wide end out to 200mm on the telephoto end depending on the manufacturer. That’s genuinely impressive. But every lens in that kit is f/2.8, and while f/2.8 is respectable, it’s not fast. In practical terms, that means limited background separation in portraits, compromised performance in dim venues, and heavier glass across the board. These are big lenses. Carrying all three means carrying real weight.
If your work is mostly outdoors in good light - sports, events, journalism - the trinity’s flexibility earns its keep. But for portrait work, product photography, or anything that happens in mixed or low light, f/2.8 across the board is a meaningful limitation that the price tag doesn’t compensate for.
Step 2: Start the Alternate Kit With the 70-200mm Zoom
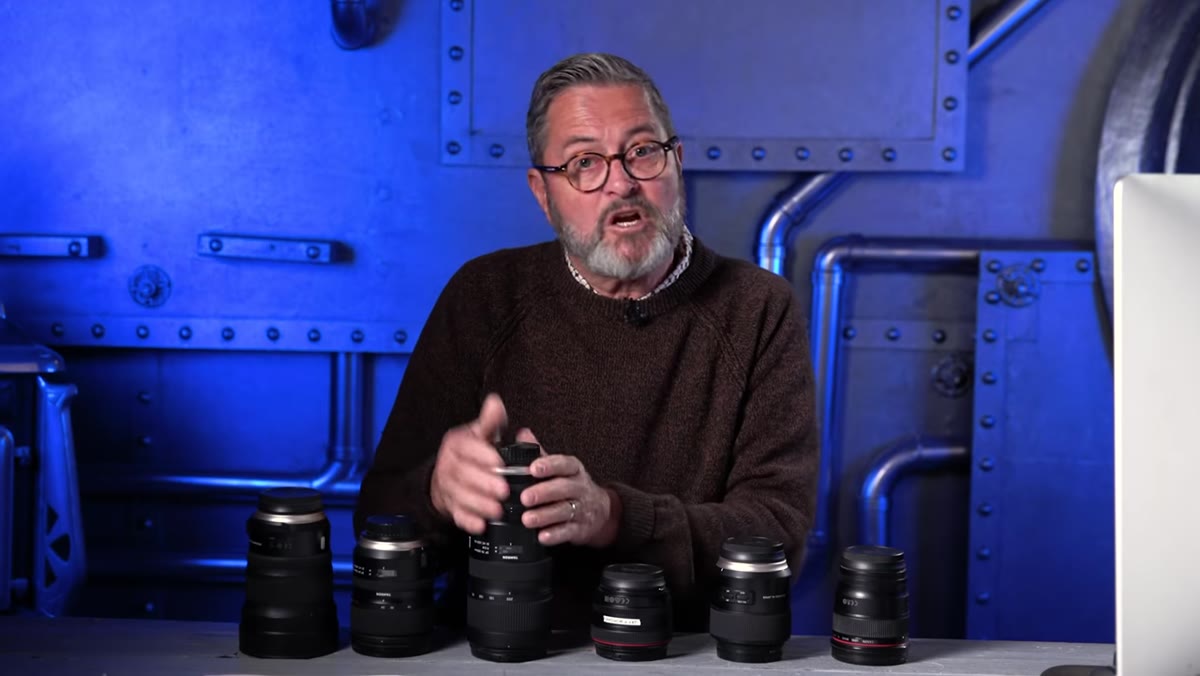 70-200mm lens isolated on table as anchor of the alternate kit
Morgan keeps one zoom in the mix, and it’s the 70-200mm. This is smart. The 70-200mm is one of the most versatile lenses ever made, and there’s no prime equivalent that gives you that compression range in a single piece of glass. He uses it for full-body to tight product shots on location, and it earns its spot as the only zoom in this alternate kit.
70-200mm lens isolated on table as anchor of the alternate kit
Morgan keeps one zoom in the mix, and it’s the 70-200mm. This is smart. The 70-200mm is one of the most versatile lenses ever made, and there’s no prime equivalent that gives you that compression range in a single piece of glass. He uses it for full-body to tight product shots on location, and it earns its spot as the only zoom in this alternate kit.
Think of it as the foundation. It handles the telephoto end where zoom flexibility genuinely matters, and it frees up every other slot in the bag for primes that punch above their weight.
Step 3: Add a 50mm f/1.2 as Your Landscape and Portrait Workhorse
 50mm f/1.2 lens next to camera body on shooting surface
This is where Morgan’s kit gets interesting. He’s not recommending a standard 50mm f/1.8 - he’s going f/1.2, which buys you roughly two to two and a half additional stops of light over the f/2.8 zooms. That’s a dramatic difference in practice, not a marginal one.
50mm f/1.2 lens next to camera body on shooting surface
This is where Morgan’s kit gets interesting. He’s not recommending a standard 50mm f/1.8 - he’s going f/1.2, which buys you roughly two to two and a half additional stops of light over the f/2.8 zooms. That’s a dramatic difference in practice, not a marginal one.
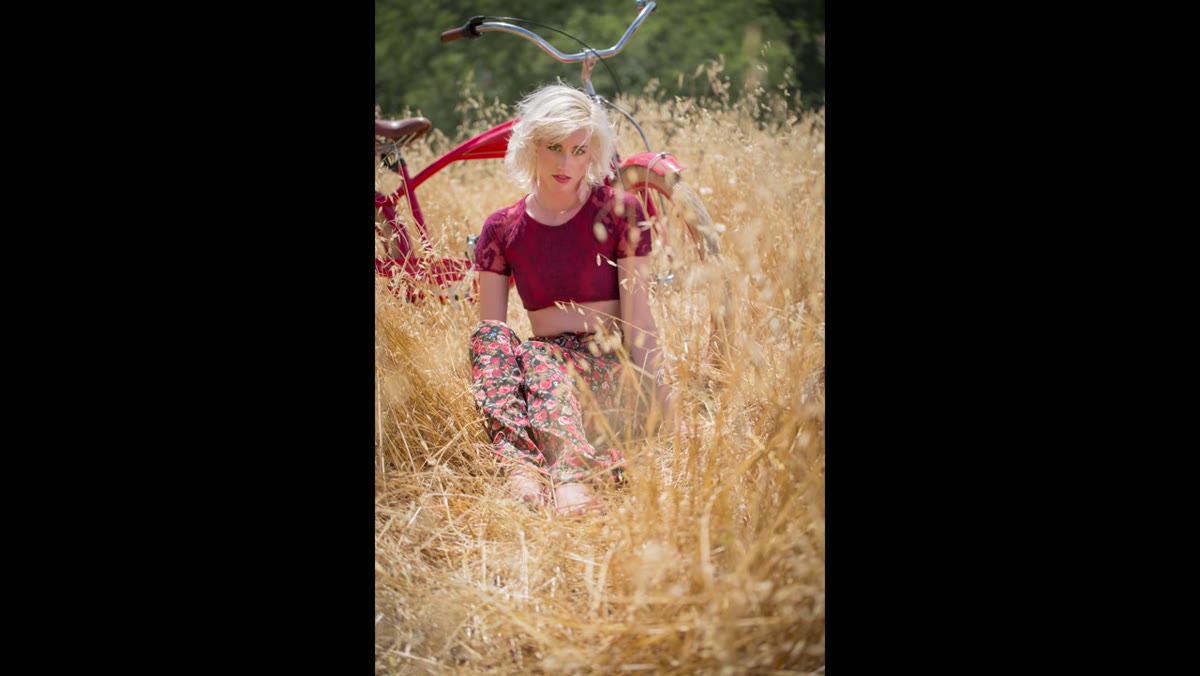
One thing Morgan mentions that surprised me: he shoots landscapes with this lens and stitches the frames together in post. A 50mm renders a flat, undistorted perspective that wide zooms can’t match at the edges. If you’ve ever tried to shoot architecture or wide landscapes with a 16-35mm and fought with edge distortion, this approach is worth testing. The stitching adds a step, but the cleaner geometry is often worth it.
Step 4: Add an 85mm for Portraits, Fast
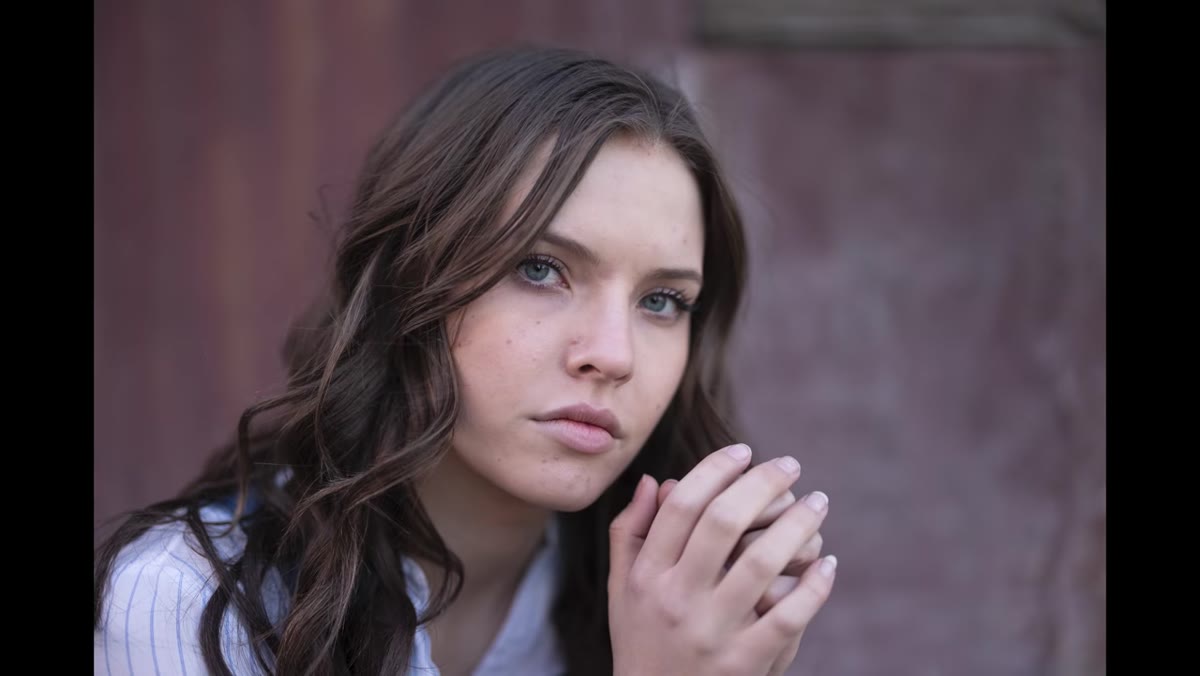 85mm lens demonstrated for portrait background separation
The 85mm focal length has a reputation for a reason. It flatters faces, it gives you enough working distance to feel natural with subjects, and the background falls away cleanly. Morgan recommends going f/1.8 or f/1.4 here rather than the f/2.8 you’d be stuck with if you were relying on the 24-70mm zoom for this range.
85mm lens demonstrated for portrait background separation
The 85mm focal length has a reputation for a reason. It flatters faces, it gives you enough working distance to feel natural with subjects, and the background falls away cleanly. Morgan recommends going f/1.8 or f/1.4 here rather than the f/2.8 you’d be stuck with if you were relying on the 24-70mm zoom for this range.
That wider aperture at 85mm gives you noticeably more background separation in portraits, and it keeps the lens useful in lower light without bumping your ISO into noise territory. Budget-wise, the 85mm f/1.8 is one of the best value primes across almost every major mount system. It’s frequently the lens I recommend first to photographers stepping up from kit glass.
Step 5: Close the Wide End With a 24mm Prime
 24mm prime positioned at wide end of the four-lens lineup
The honest tradeoff in Morgan’s kit is that the wide end stops at 24mm rather than the 15-16mm you’d get with the full trinity. If ultra-wide shots are core to your work - real estate interiors, dramatic landscape foregrounds, event spaces - that gap matters and you should factor it in.
24mm prime positioned at wide end of the four-lens lineup
The honest tradeoff in Morgan’s kit is that the wide end stops at 24mm rather than the 15-16mm you’d get with the full trinity. If ultra-wide shots are core to your work - real estate interiors, dramatic landscape foregrounds, event spaces - that gap matters and you should factor it in.
For everything else, 24mm is plenty of wide. Cityscapes, architecture, environmental portraits - 24mm handles all of it well. And you’re getting it in a prime, which means sharper rendering at every aperture compared to the equivalent zoom range. That’s not brand preference, that’s optics. Fewer glass elements in the light path means fewer compromises.
Step 6: Run the Numbers Before You Assume Primes Cost More
 Price comparison of trinity vs four-lens prime kit on screen
Here’s where most people’s assumptions fall apart. Morgan ran the numbers on Canon’s lineup and found the four-lens prime kit came in at roughly $6,646 compared to $6,197 for the full zoom trinity - a difference of about $450. If you mix in third-party options like Tamron primes, the gap closes even further or reverses entirely.
Price comparison of trinity vs four-lens prime kit on screen
Here’s where most people’s assumptions fall apart. Morgan ran the numbers on Canon’s lineup and found the four-lens prime kit came in at roughly $6,646 compared to $6,197 for the full zoom trinity - a difference of about $450. If you mix in third-party options like Tamron primes, the gap closes even further or reverses entirely.
When you’re comparing raw specs, the prime kit wins on sharpness, wins on maximum aperture, and ties or wins on price. The only thing you’re giving up is zoom flexibility and some coverage at the ultra-wide end. For most shooters, that’s a reasonable trade.
My Take: Test the Swap With One Prime First
I’d push Morgan’s argument one step further for anyone who’s hesitant. Before you commit to rebuilding your whole kit, pick up the 85mm f/1.8 on its own. It’s usually the least expensive entry point into fast primes and the results are immediately obvious, especially if you’ve been shooting portraits with a 24-70mm at f/2.8. The background separation alone tends to convert people fast.
I’ve done blind comparison tests before where experienced photographers couldn’t reliably identify which shots came from budget gear versus premium gear. Focal length and aperture choices matter more than the price tag on the barrel. A fast prime at the right focal length beats a slow zoom almost every time in controlled conditions, and the prime kit Morgan outlines gets you fast glass across the board without blowing your budget wide open.
The single most important thing to take from this: the trinity is a default answer, not necessarily the right answer for your specific shooting situations. Morgan’s alternate kit trades raw zoom range for better low-light performance, shallower depth of field, and sharper images at a comparable price. That’s a trade worth thinking hard about before your next purchase.
Watch the full tutorial on YouTube to see Morgan walk through each lens with sample shots and his full price breakdown.
Comments
Leave a Comment