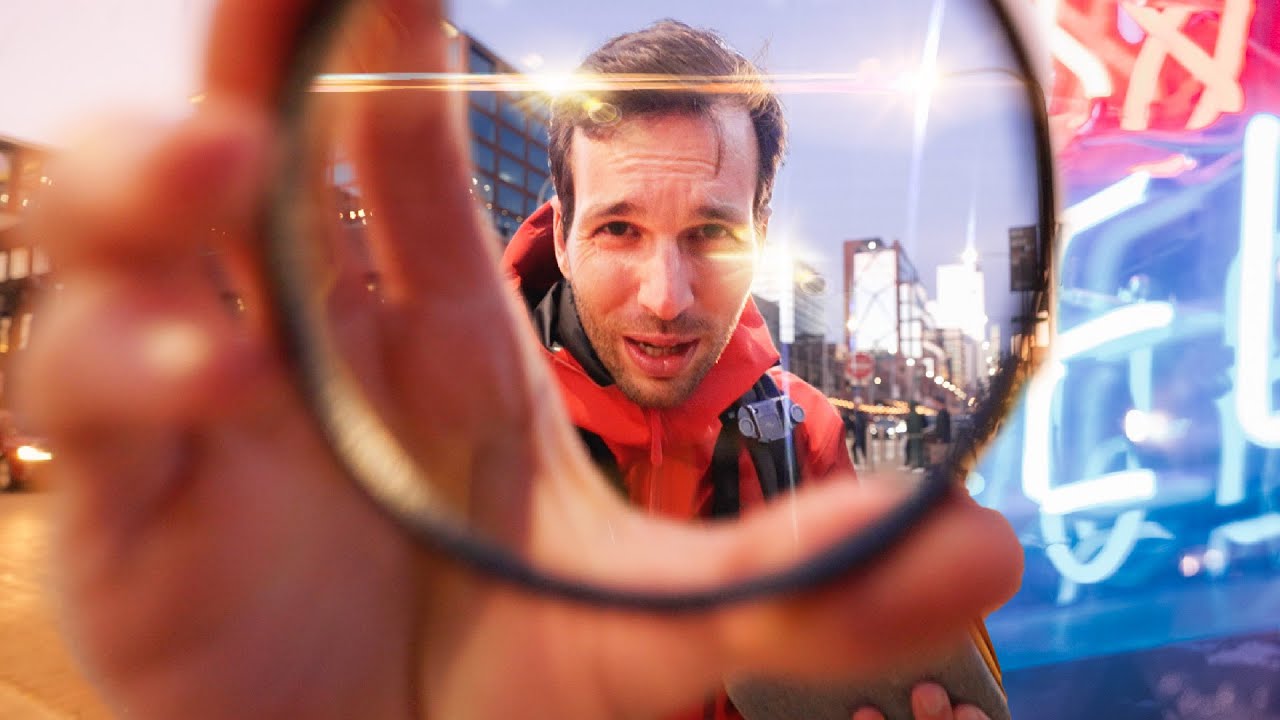
I’ve said it before and I’ll keep saying it: the accessory market for photographers is a minefield. Half the stuff looks cool in product shots and does nothing useful in the field. The other half gets dismissed as gimmicky until someone actually shoots with it and proves otherwise. Streak filters and mist filters land right in that second category for most people, and I’ll admit I’ve been guilty of writing them off without giving them a real test. That changed when I watched Pierre T. Lambert take three “ridiculous” lens filters out for a genuine street photography session and actually work through what each one does in real conditions, not in a studio, not on a chart, but on actual people and city lights at dusk.
Watch the full tutorial on YouTube
What makes this tutorial worth your time is that it isn’t a polished product demo. It’s a working session where things get too strong, ISO goes too high, and the shooter adjusts on the fly. That’s the version of filter testing that actually tells you something. Here’s how to replicate what he does, step by step.
Step 1: Pick Your Starting Filter and Attach It Before the Light Changes
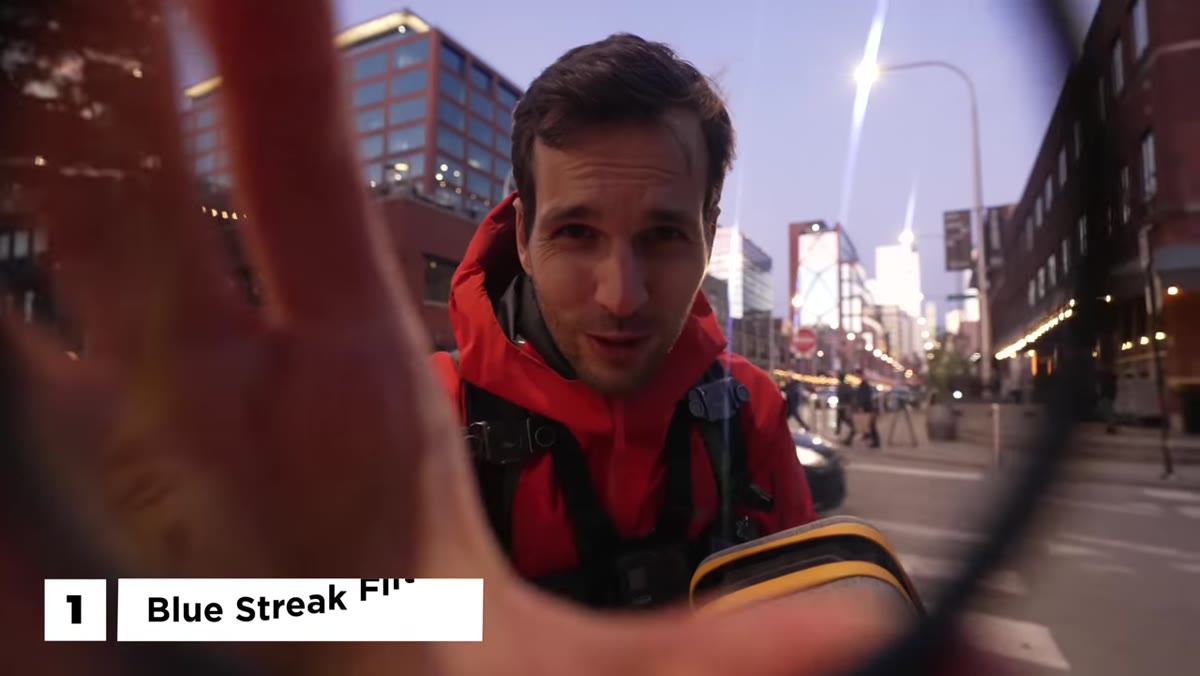 Blue streak and orange streak filters being introduced on camera
Pierre brings three filters to the session: a blue streak, an orange streak, and a 1/4 black mist. The right move is to start with your streak filter while there’s still ambient light in the scene, because streaks interact with light sources and you need at least some contrast to see what they’re doing. Screw the filter on before golden hour fades. If you wait until it’s fully dark, you lose the layered quality where the streak sits against a readable background.
Blue streak and orange streak filters being introduced on camera
Pierre brings three filters to the session: a blue streak, an orange streak, and a 1/4 black mist. The right move is to start with your streak filter while there’s still ambient light in the scene, because streaks interact with light sources and you need at least some contrast to see what they’re doing. Screw the filter on before golden hour fades. If you wait until it’s fully dark, you lose the layered quality where the streak sits against a readable background.
Step 2: Rotate the Filter to Control the Streak Direction
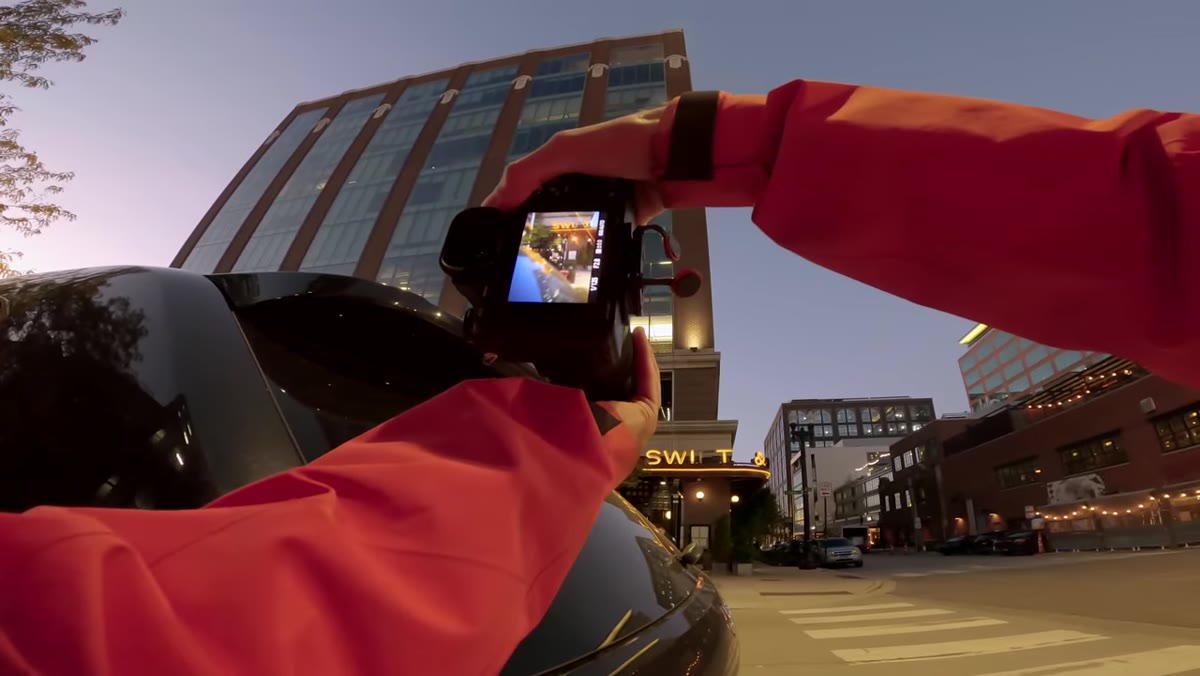 Shooter rotating filter to shift streak angle horizontally
This is the part most people skip in their first five minutes with a streak filter. The streak direction isn’t fixed. As you rotate the filter ring, the streak moves from diagonal to fully horizontal to vertical. Pierre experiments with this deliberately, finding that a horizontal streak tends to work best with architectural lines and car lights because it echoes the geometry of the scene rather than fighting it. Try all three orientations on your first subject before committing to a look. It takes twenty seconds and it’s the difference between a streak that reads as intentional and one that just looks like a lens defect.
Shooter rotating filter to shift streak angle horizontally
This is the part most people skip in their first five minutes with a streak filter. The streak direction isn’t fixed. As you rotate the filter ring, the streak moves from diagonal to fully horizontal to vertical. Pierre experiments with this deliberately, finding that a horizontal streak tends to work best with architectural lines and car lights because it echoes the geometry of the scene rather than fighting it. Try all three orientations on your first subject before committing to a look. It takes twenty seconds and it’s the difference between a streak that reads as intentional and one that just looks like a lens defect.
Step 3: Use a Human Subject Walking Through the Frame to Test the Effect
 Subject walking through middle of frame with streak filter active
Static subjects don’t tell you much about how a streak filter behaves in street conditions. Pierre has a friend walk through the middle of the frame while a bright light source sits in the background. This matters because the streak effect interacts with motion and depth simultaneously. A person crossing a streak of light creates a natural layering that static gear shots never show you. When you’re testing on the street, find a spot with a strong backlight, a streetlamp or a lit storefront window, and let a person move through it. Check the result immediately and adjust filter rotation before the next pass.
Subject walking through middle of frame with streak filter active
Static subjects don’t tell you much about how a streak filter behaves in street conditions. Pierre has a friend walk through the middle of the frame while a bright light source sits in the background. This matters because the streak effect interacts with motion and depth simultaneously. A person crossing a streak of light creates a natural layering that static gear shots never show you. When you’re testing on the street, find a spot with a strong backlight, a streetlamp or a lit storefront window, and let a person move through it. Check the result immediately and adjust filter rotation before the next pass.
Step 4: Dial Back Your ISO When Adding a Streak Filter at Dusk
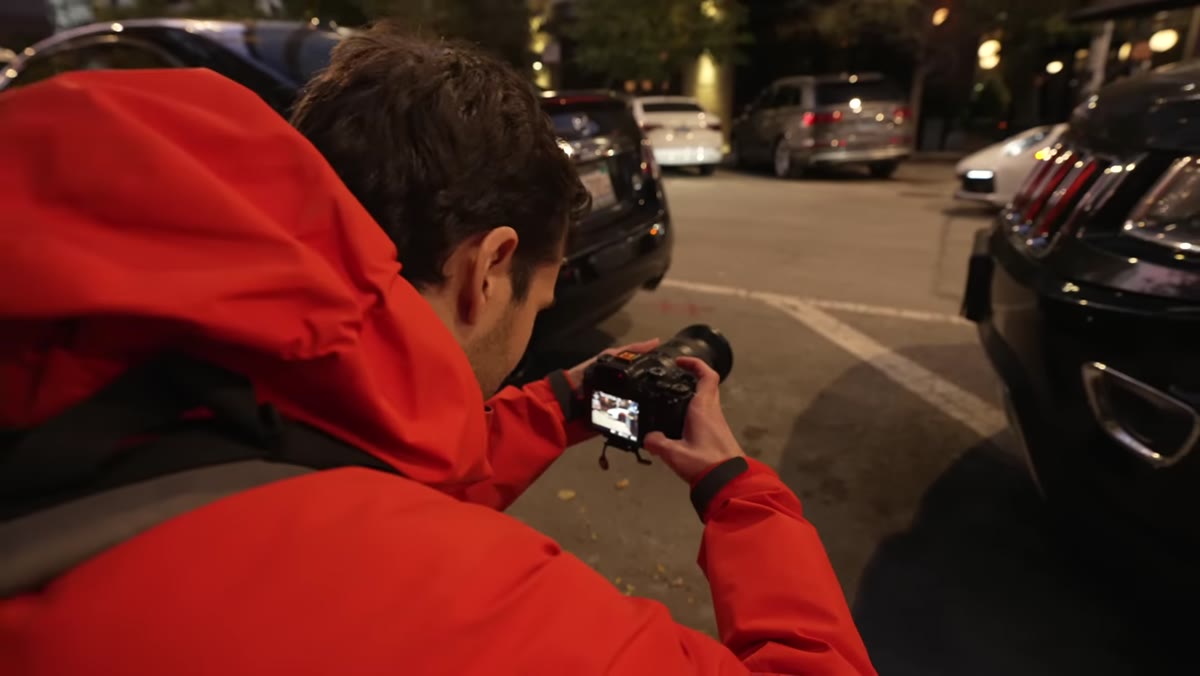 Camera display showing ISO 5000 flagged as too high
Pierre catches himself at ISO 5000 and calls it out directly. Streak filters scatter light, which means highlights read as brighter than they actually are. If you’re used to pushing ISO for low-light street work, your normal settings will blow out anything with a light source behind it. Drop ISO lower than you normally would and compensate with a slightly wider aperture if you need to maintain shutter speed. The scene will look darker on the back screen but the filter is adding apparent luminance to your highlights, so trust the histogram more than your eye here.
Camera display showing ISO 5000 flagged as too high
Pierre catches himself at ISO 5000 and calls it out directly. Streak filters scatter light, which means highlights read as brighter than they actually are. If you’re used to pushing ISO for low-light street work, your normal settings will blow out anything with a light source behind it. Drop ISO lower than you normally would and compensate with a slightly wider aperture if you need to maintain shutter speed. The scene will look darker on the back screen but the filter is adding apparent luminance to your highlights, so trust the histogram more than your eye here.
Step 5: Switch to Manual Mode for Portraits with the Filter On
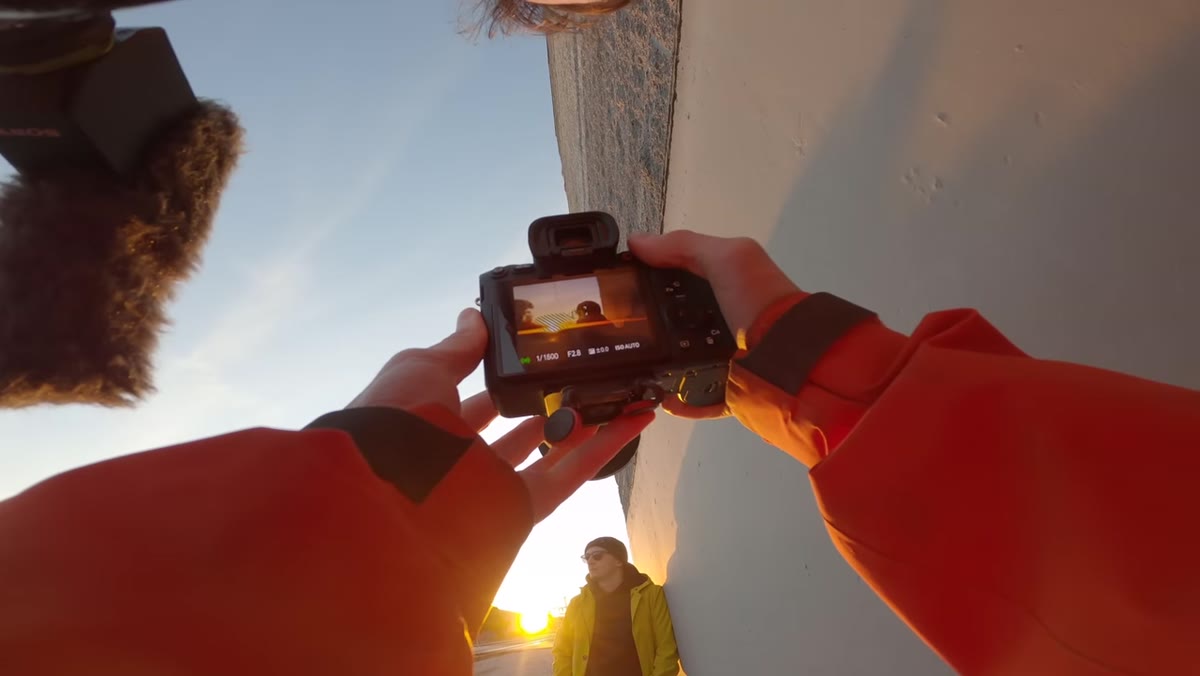 Shooter adjusting manual settings for portrait with filter active
When Pierre stops to shoot a portrait, he moves into manual mode specifically to bring light back onto the subject’s face. Auto exposure will read the scattered highlights from the streak and underexpose the person in front of you. Set your exposure for the face first, then check what the background is doing. You’ll probably need to accept some blown highlights in the light sources, but that’s part of the aesthetic. If the result looks too intense, that’s the filter telling you the scene has too many competing light sources. Simplify the background, not the settings.
Shooter adjusting manual settings for portrait with filter active
When Pierre stops to shoot a portrait, he moves into manual mode specifically to bring light back onto the subject’s face. Auto exposure will read the scattered highlights from the streak and underexpose the person in front of you. Set your exposure for the face first, then check what the background is doing. You’ll probably need to accept some blown highlights in the light sources, but that’s part of the aesthetic. If the result looks too intense, that’s the filter telling you the scene has too many competing light sources. Simplify the background, not the settings.
Step 6: Test the 1/4 Black Mist for a Softer, More Cinematic Alternative
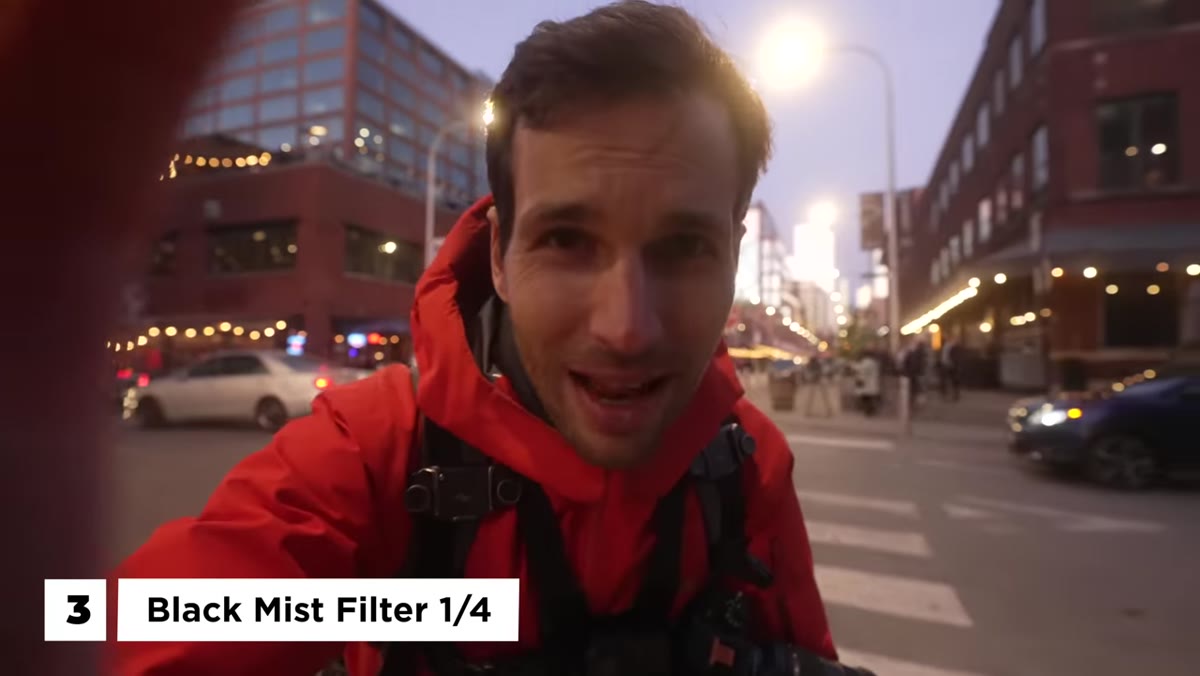 Black mist filter held up and discussed before shooting
The 1/4 black mist does something fundamentally different from a streak filter. Instead of redirecting light into a line, it blooms highlights softly in all directions and lifts the shadows very slightly, which gives the overall image a more film-like quality. Pierre notes this is the filter everyone talks about and the one he hadn’t actually tried yet. For portraits at dusk, it’s noticeably more flattering than streak filters because it softens skin without requiring any post-processing. It’s also more subtle, which makes it easier to use in varied lighting without the result looking like a special effect.
Black mist filter held up and discussed before shooting
The 1/4 black mist does something fundamentally different from a streak filter. Instead of redirecting light into a line, it blooms highlights softly in all directions and lifts the shadows very slightly, which gives the overall image a more film-like quality. Pierre notes this is the filter everyone talks about and the one he hadn’t actually tried yet. For portraits at dusk, it’s noticeably more flattering than streak filters because it softens skin without requiring any post-processing. It’s also more subtle, which makes it easier to use in varied lighting without the result looking like a special effect.
My Take: These Filters Earn Their Price at the Budget End
I’ve got a spreadsheet with notes on pretty much every budget lens accessory I’ve tested over the past few years, and streak filters used to have a note that just said “novelty, not useful.” After working through this tutorial properly, I’ve updated that. The honest version is: streak filters are situational, but so is every prime focal length you own. The key insight Pierre surfaces here is that rotating the filter is the actual skill. Most people screw one on, shoot a few frames, decide it looks weird, and leave it in a drawer. The rotation step transforms a gimmick into a compositional tool.
The black mist, on the other hand, earns a permanent spot in a bag much faster. The 1/4 strength is genuinely subtle enough to use in situations where you just want a touch of softness without it reading as filtered. Budget versions from brands like K&F Concept run under $30 for most common filter threads, which puts them well within “just test it” territory. If you’re already spending money on a lens, spending $25 to change how it renders light is a reasonable experiment.
The single thing to take away from this tutorial: filter rotation is a technique, not an afterthought. Before you decide a streak filter isn’t for you, spend five minutes rotating it through a full range while a light source sits in your frame. What looks like a gimmick at one angle can look intentional and striking at another. Pierre makes this point by doing it, not by explaining it, which is why watching the full session is worth your time.
Watch the full tutorial on YouTube
Comments (1)
Great breakdown. The step-by-step approach really helps.
Leave a Comment