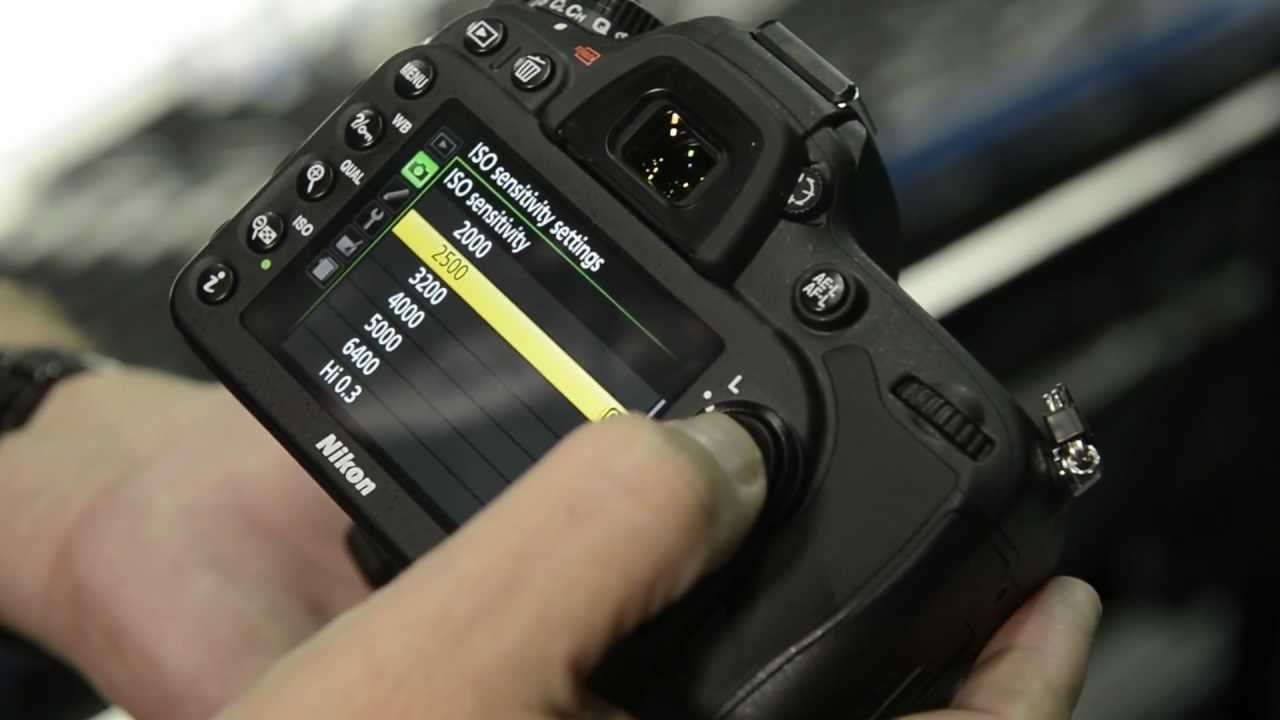
There’s a version of gear reviewing that drives me absolutely nuts: someone unboxes a camera in a well-lit apartment, shoots a plant on a windowsill, and calls it a review. I’ve read hundreds of those. They tell you the specs, which you could find in thirty seconds on Nikon’s website, and then they say something diplomatic like “the noise performance is acceptable at higher ISOs.” That’s not useful. That’s padding.
So when I came across this KelbyOne tutorial where Scott Kelby took the Nikon D7100 and the then-new AF-S 80-400mm f/4.5-5.6 ED VR lens to a three-day hockey workshop at the Tampa Bay Times Forum, I paid attention. Three days. Real athletes. Low-light arena conditions. That’s the kind of test that actually tells you something. Watch the full tutorial on YouTube
For anyone shooting events, sports, theater, or anything indoors where light is a problem and a D4 is nowhere near the budget, this field report answers the question most reviews dance around: is the D7100 actually usable, or is it just impressive for the price in a way that still doesn’t get the job done?
Step 1: Set Your Expectations Based on Real-World Use Cases
 Scott Kelby explaining his real-world review approach outdoors
Before Kelby gets into results, he frames the whole test around a single question: how does this camera handle low light? That’s the right question for a $1,200 body competing against cameras that cost four or five times more. If you’re evaluating any camera in this tier, that’s where you start, not with megapixel counts or burst rates. Define the one condition where your camera has to perform, and test it hard.
Scott Kelby explaining his real-world review approach outdoors
Before Kelby gets into results, he frames the whole test around a single question: how does this camera handle low light? That’s the right question for a $1,200 body competing against cameras that cost four or five times more. If you’re evaluating any camera in this tier, that’s where you start, not with megapixel counts or burst rates. Define the one condition where your camera has to perform, and test it hard.
For indoor sports and events, that condition is high ISO performance. Everything else is secondary.
Step 2: Test High ISO at the Sizes Your Images Will Actually Be Seen
 Kelby describing reviewing images at full screen on his laptop
Kelby reviews his shots at full screen on a laptop, and at 2500 ISO he sees no visible noise. That sounds like marketing language until you understand the context: he’s showing the images to other photographers in the workshop, people trained to notice noise, and they’re surprised. The key point he makes is that full-screen on a laptop is already larger than most of your images will ever appear in their final destination.
Kelby describing reviewing images at full screen on his laptop
Kelby reviews his shots at full screen on a laptop, and at 2500 ISO he sees no visible noise. That sounds like marketing language until you understand the context: he’s showing the images to other photographers in the workshop, people trained to notice noise, and they’re surprised. The key point he makes is that full-screen on a laptop is already larger than most of your images will ever appear in their final destination.
If your photos are going to a website, a social post, or a blog, you are not delivering 100% crop previews. Test your high ISO shots at the size they’ll actually be published. Zoom to 100% and yes, you’ll see noise on almost any camera at ISO 2500 or above. The real question is whether it matters at delivery size. On the D7100, Kelby’s answer is a clear no, at least up through ISO 4000 and arguably through 6400.
Step 3: Know Where the Noise Floor Actually Breaks Down
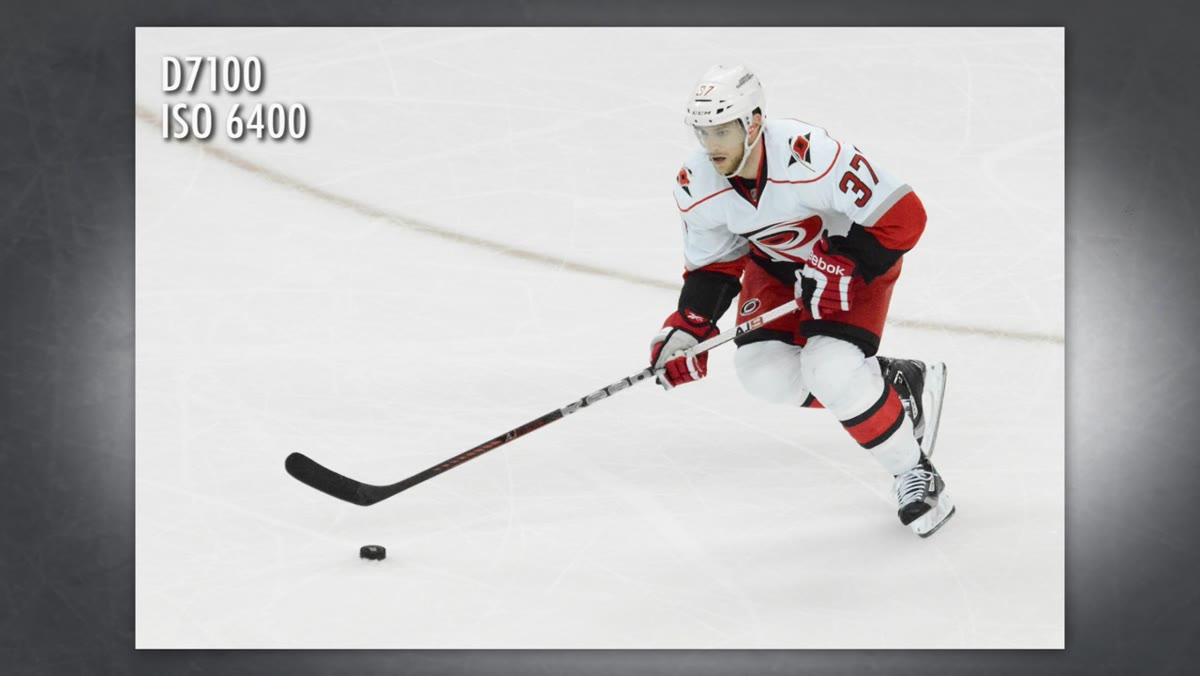 Discussion of ISO 4000 and 6400 performance results
This is where Kelby stops being diplomatic and gets specific. At 2500 ISO: clean. At 4000 ISO: still looks good full screen. At 6400 ISO: a little noise is visible, but he calls it acceptable, and he means it without hedging. He’s not saying “acceptable for the price.” He’s saying acceptable, period.
Discussion of ISO 4000 and 6400 performance results
This is where Kelby stops being diplomatic and gets specific. At 2500 ISO: clean. At 4000 ISO: still looks good full screen. At 6400 ISO: a little noise is visible, but he calls it acceptable, and he means it without hedging. He’s not saying “acceptable for the price.” He’s saying acceptable, period.
When you’re evaluating a camera for high-ISO work, build a mental map of its three zones: the clean zone (where you can’t see noise at delivery size), the usable zone (where noise is visible but not distracting), and the wall (where the image quality breaks down in a way that affects the final result). On the D7100, that map runs roughly: clean through 2500, usable through 6400, with the wall somewhere past that.
Step 4: Evaluate the Shutter Feel Against the Right Comparison
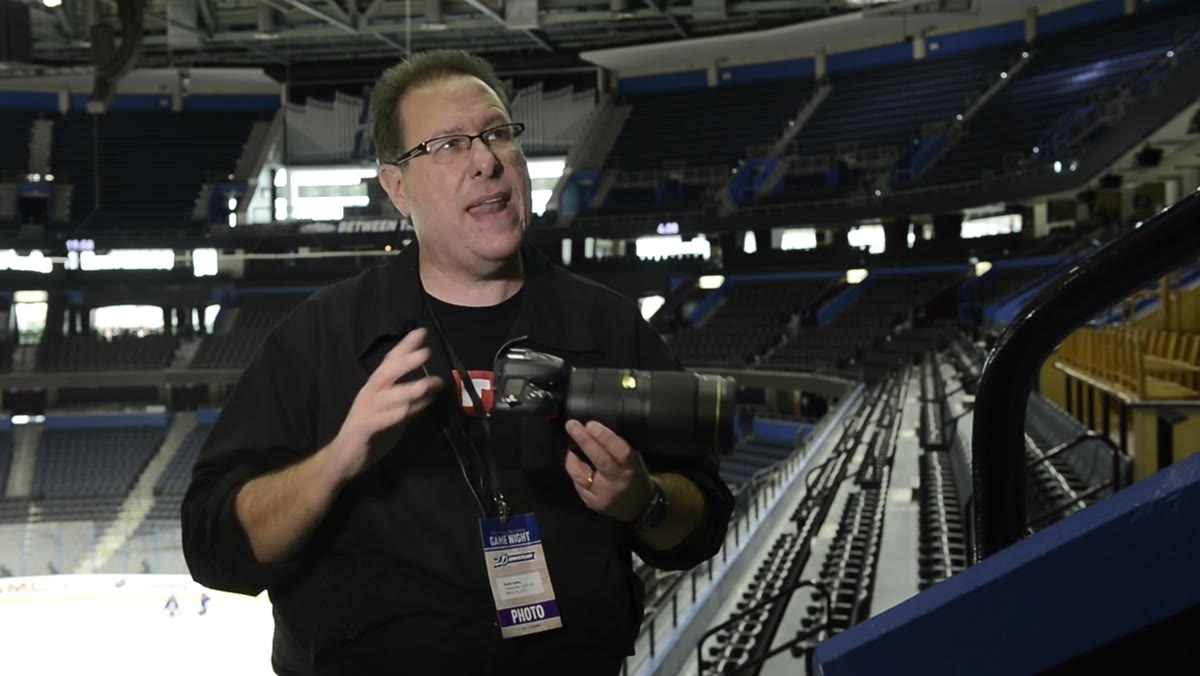 Kelby comparing D7100 shutter feel to the D4
Kelby describes the D7100’s shutter as “a tiny bit soggy” compared to the D4 and D3S. This is honest feedback, but it needs context: he’s comparing a $1,200 camera to a $6,000 camera. The shutter is not slow. There’s no lag that costs you shots. It just doesn’t have that crisp, mechanical snap that you feel on a professional body.
Kelby comparing D7100 shutter feel to the D4
Kelby describes the D7100’s shutter as “a tiny bit soggy” compared to the D4 and D3S. This is honest feedback, but it needs context: he’s comparing a $1,200 camera to a $6,000 camera. The shutter is not slow. There’s no lag that costs you shots. It just doesn’t have that crisp, mechanical snap that you feel on a professional body.
If you’re coming from a consumer body, you probably won’t notice. If you’re coming from a D3 or D4, you will. That’s not a flaw in the D7100. That’s just the reality of what the price difference buys you. When testing any camera’s shutter, separate the feel from the function. Feel is subjective. What matters is whether the camera responds when you need it to.
Step 5: Look at Native Sharpness Before You Reach for Post-Processing
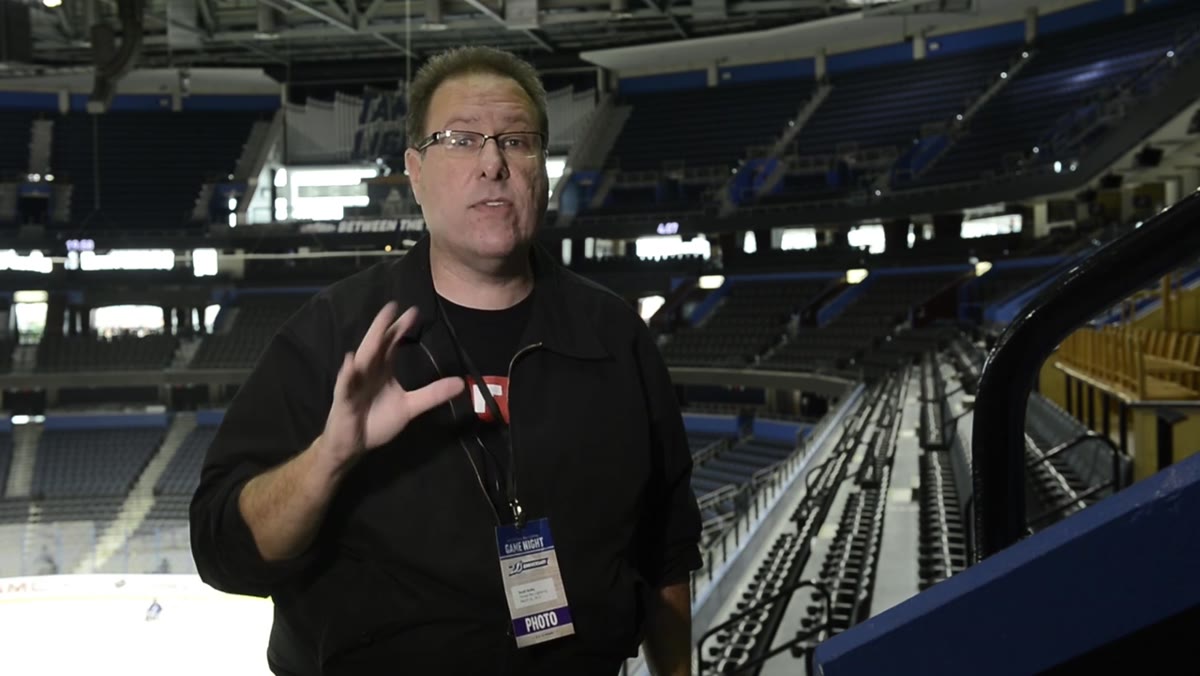 Kelby describing the sharpness of the D7100 sensor
The part of Kelby’s review that surprised me most was his emphasis on the D7100’s inherent sharpness, independent of noise. He calls it out specifically as a feature of the sensor, and he notes it holds up even at elevated ISOs. This matters because sharpness at high ISO is where a lot of sensors fall apart: the noise-reduction processing that cleans up grain also smears fine detail.
Kelby describing the sharpness of the D7100 sensor
The part of Kelby’s review that surprised me most was his emphasis on the D7100’s inherent sharpness, independent of noise. He calls it out specifically as a feature of the sensor, and he notes it holds up even at elevated ISOs. This matters because sharpness at high ISO is where a lot of sensors fall apart: the noise-reduction processing that cleans up grain also smears fine detail.
When you’re field-testing a camera, shoot something with fine texture at your target ISO range, feathers, fabric, text, and look at whether the detail holds. A camera that handles ISO 3200 cleanly but loses fine detail in the process isn’t actually winning. The D7100 apparently keeps the detail, which is why Kelby keeps coming back to sharpness as one of its defining strengths.
Step 6: Factor In the 80-400mm VR as a Legitimate Sports Lens
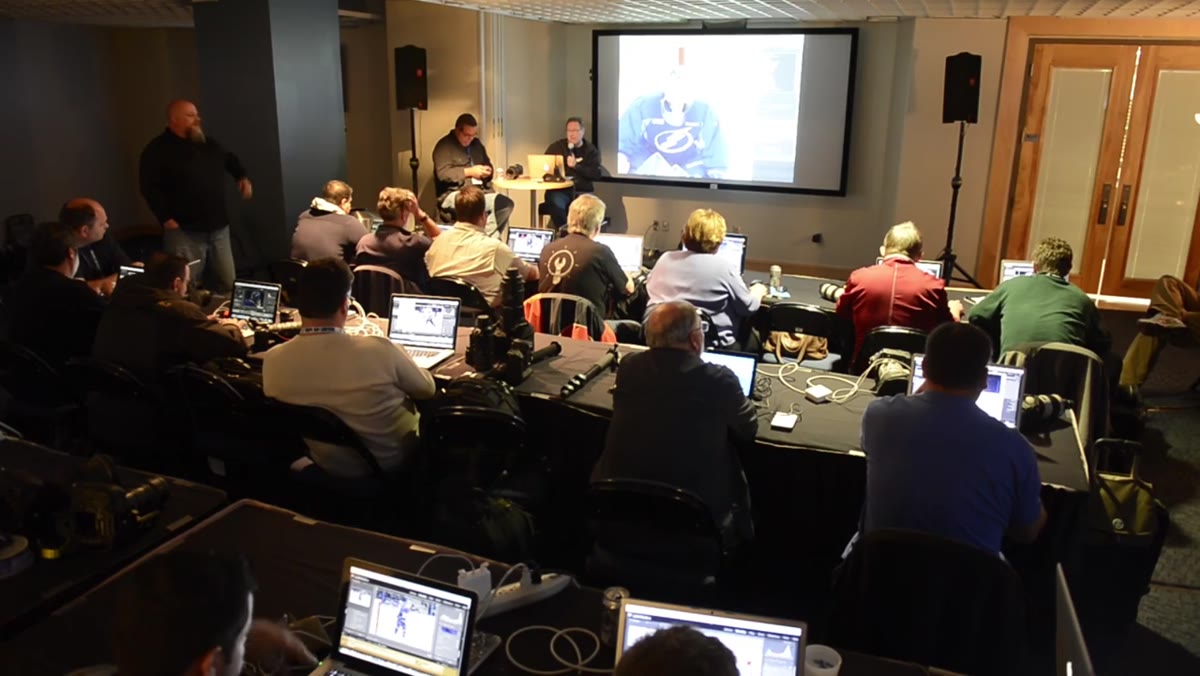 Overview of the workshop setup using the 80-400 lens
The 80-400mm VR wasn’t just along for the ride. Kelby used it as his primary lens across three full days of hockey shooting, covering everything from on-ice portraits to live game action. That range is genuinely versatile for arena work: the 80mm end gets you environmental shots and tighter portraits without changing glass, while 400mm lets you reach across the ice for tight action frames.
Overview of the workshop setup using the 80-400 lens
The 80-400mm VR wasn’t just along for the ride. Kelby used it as his primary lens across three full days of hockey shooting, covering everything from on-ice portraits to live game action. That range is genuinely versatile for arena work: the 80mm end gets you environmental shots and tighter portraits without changing glass, while 400mm lets you reach across the ice for tight action frames.
The variable aperture (f/4.5-5.6) is the tradeoff, and it matters in low light. You’re leaning on ISO to compensate for what a faster prime would give you at the wide end. But if the camera’s high-ISO performance is strong, that tradeoff becomes manageable. The D7100 and 80-400mm together are essentially a bet that a capable sensor can offset a slower lens, and based on three days of shooting, Kelby thinks that bet pays off.
What I’d Add: Budget Doesn’t Mean Compromise if You Know the Limits
I’ve run my own informal comparisons at local photo meetups, putting crop-sensor bodies next to full-frame shots without telling people which was which. The results are usually closer than anyone expects. What separates a good result from a bad one at any price point is usually not the camera. It’s whether the photographer understood where the gear breaks down and planned around it.
The D7100 has a ceiling. Knowing it’s around ISO 6400 means you can make decisions: bring faster glass, add a monopod to keep shutter speeds reasonable, position yourself where light is better. A camera you understand is worth more than a camera you trust blindly.
The single most important thing Kelby demonstrates here is that field conditions tell you more than specs ever will, and that a $1,200 body in 2013 could genuinely compete in environments most people assumed required a $6,000 investment. The principle still applies today when evaluating any mid-tier camera: test it where it’s hardest to use, at the sizes you actually deliver, and let the results make the argument.
Watch the full tutorial on YouTube to see Kelby’s actual workflow and hear his unfiltered take coming directly off three days of shooting.
Comments
Leave a Comment