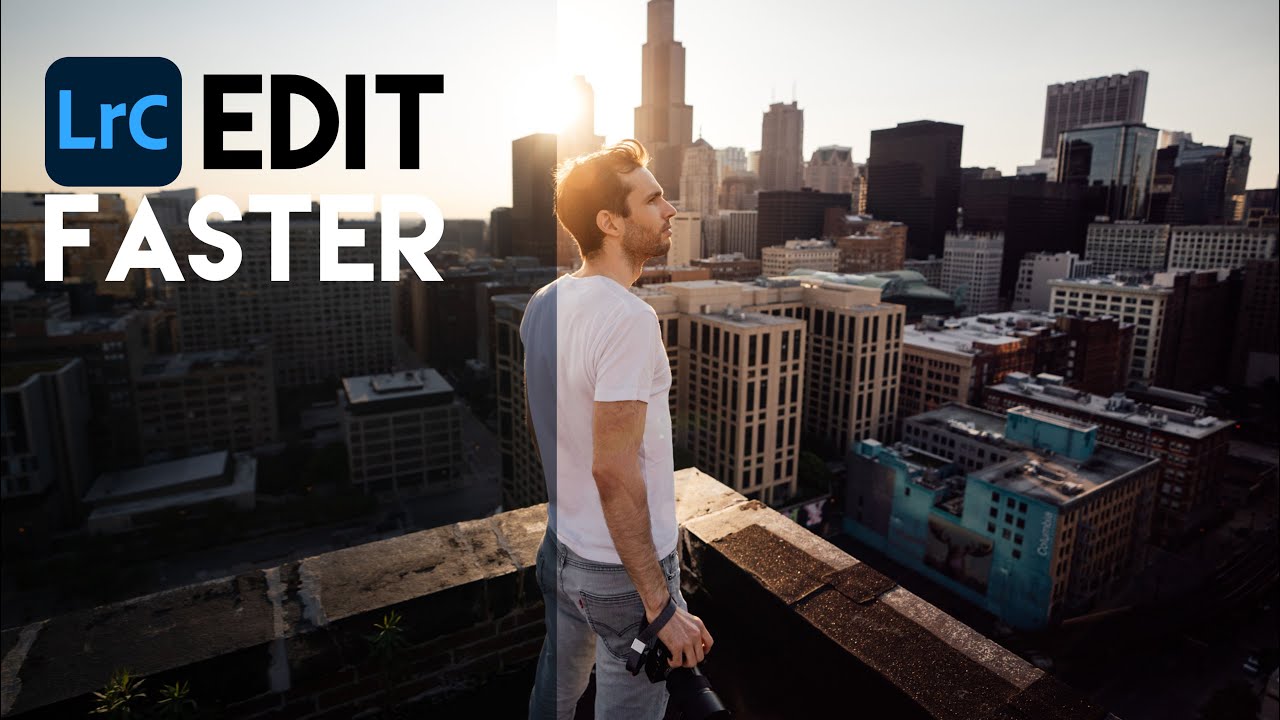
Speed is the thing nobody talks about when they teach editing. Tutorials love to obsess over which preset looks most cinematic or how many luminosity masks you should stack, but the real killer of a good editing session is friction. Every time you reach for a slider with your mouse, hunt for a panel, or break your visual focus to click something, you’re slowing down your creative momentum. I’ve felt this acutely working through large batches of photos where the difference between a productive evening and a frustrating one is almost entirely about how efficiently I can move through images.
Watch the full tutorial on YouTube
In this Pierre T. Lambert tutorial, he walks through editing a rooftop sunset photo two ways: once using only keyboard shortcuts, and once using the Loupedeck+ hardware control panel. The comparison is genuinely useful because it forces you to think about where your time actually goes during a session. Lambert isn’t teaching you to be an artist here. He’s teaching you to be fast. And honestly, after watching it and working through the techniques myself, my editing sessions feel noticeably tighter. Here’s the full breakdown so you can follow along without pausing the video every thirty seconds.
Step 1: Navigate to Your Raw File Using Grid and Develop Shortcuts
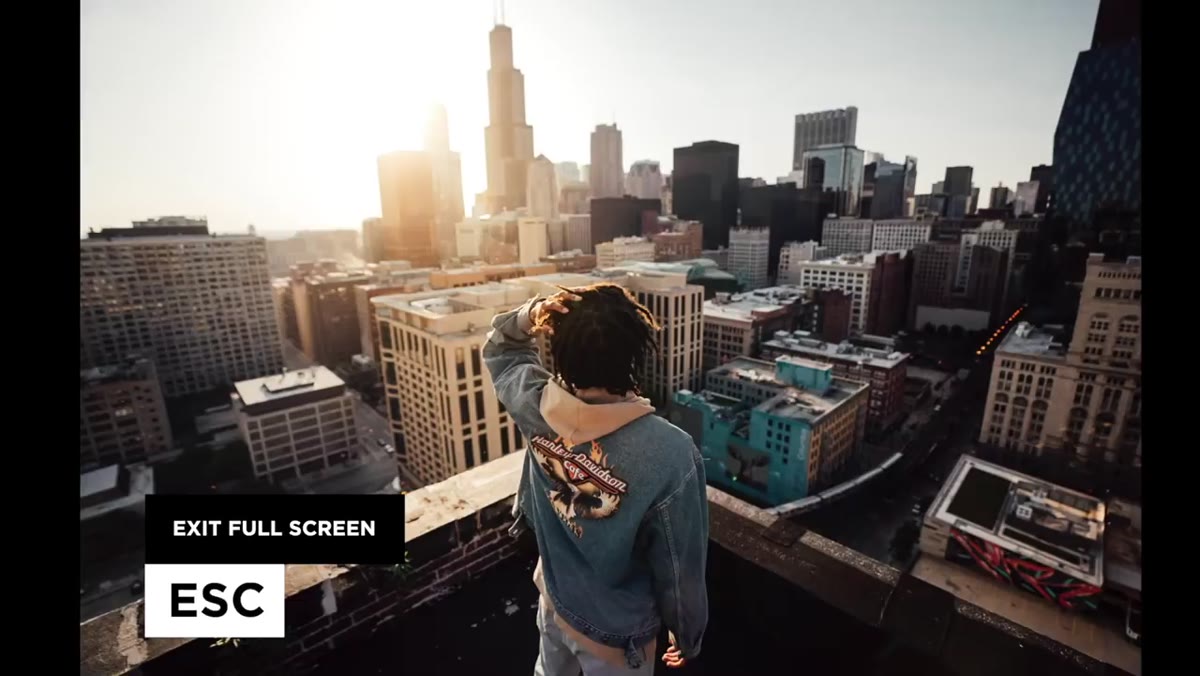 Lightroom grid view with raw image selected
Start from Lightroom Classic’s library view. Press G to jump to the grid, find your raw file, and then press D to enter the Develop module immediately. No clicking through menus. These two keystrokes alone save you more cumulative time than you’d think across a full editing session. Lambert treats D as the on-ramp to every edit, and once it becomes muscle memory you’ll wonder why you ever used the mouse to get there.
Lightroom grid view with raw image selected
Start from Lightroom Classic’s library view. Press G to jump to the grid, find your raw file, and then press D to enter the Develop module immediately. No clicking through menus. These two keystrokes alone save you more cumulative time than you’d think across a full editing session. Lambert treats D as the on-ramp to every edit, and once it becomes muscle memory you’ll wonder why you ever used the mouse to get there.
Step 2: Set White Balance Automatically, Then Apply a Preset
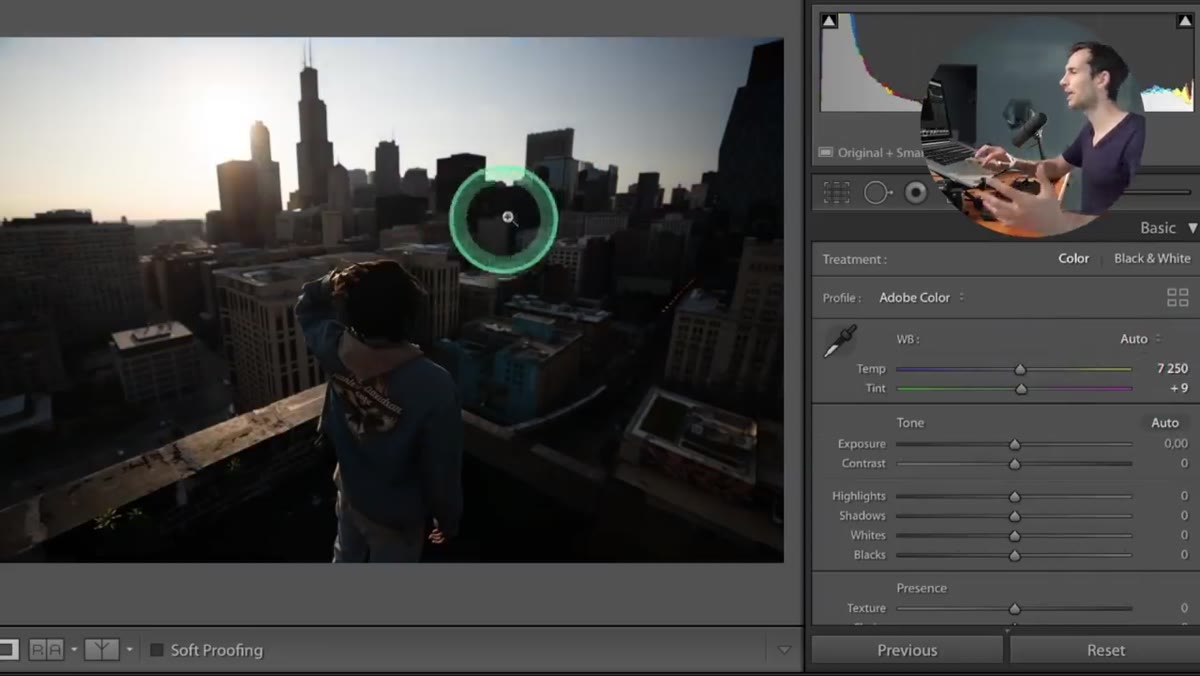 White balance and preset panel open in Develop module
With the image open in Develop, go to the White Balance selector and choose Auto. For sunset or golden-hour shots, this usually pushes the image warmer, which is exactly what you want. From there, bump exposure up manually if the image reads dark. Lambert then applies one of his own presets to set a tonal baseline quickly. If you have your own preset library, this is the moment to use it. The goal isn’t perfection yet, it’s a starting point that gets you 70% of the way there in under thirty seconds.
White balance and preset panel open in Develop module
With the image open in Develop, go to the White Balance selector and choose Auto. For sunset or golden-hour shots, this usually pushes the image warmer, which is exactly what you want. From there, bump exposure up manually if the image reads dark. Lambert then applies one of his own presets to set a tonal baseline quickly. If you have your own preset library, this is the moment to use it. The goal isn’t perfection yet, it’s a starting point that gets you 70% of the way there in under thirty seconds.
Step 3: Crop and Straighten with R, O, and X
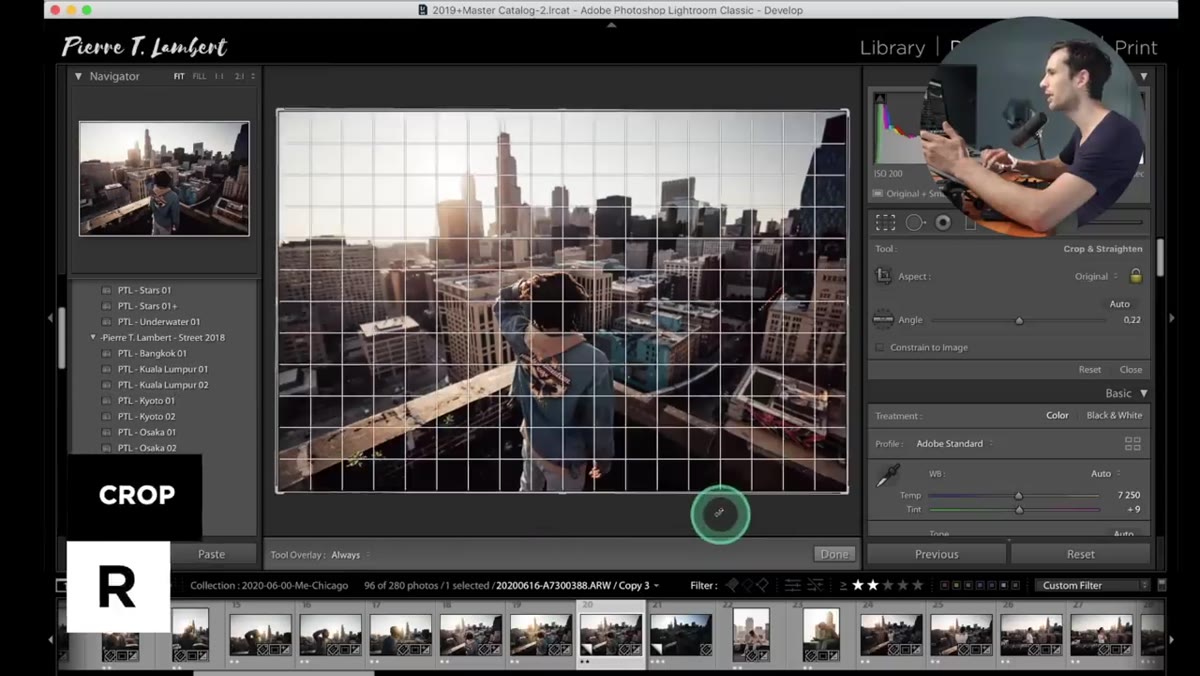 Crop overlay active with composition guides visible
Press R to open the crop tool. Drag the corners to reframe, and then press O to cycle through composition overlays like the rule of thirds grid or the golden spiral. These overlays are actually useful here because a rooftop or skyline shot often has an obvious horizon line that needs straightening. If you’re shooting portrait orientation, pressing X inside the crop tool flips the overlay between landscape and portrait without you having to drag anything. Straighten, reframe, commit.
Crop overlay active with composition guides visible
Press R to open the crop tool. Drag the corners to reframe, and then press O to cycle through composition overlays like the rule of thirds grid or the golden spiral. These overlays are actually useful here because a rooftop or skyline shot often has an obvious horizon line that needs straightening. If you’re shooting portrait orientation, pressing X inside the crop tool flips the overlay between landscape and portrait without you having to drag anything. Straighten, reframe, commit.
Step 4: Use Plus and Minus Keys to Adjust Any Slider Fast
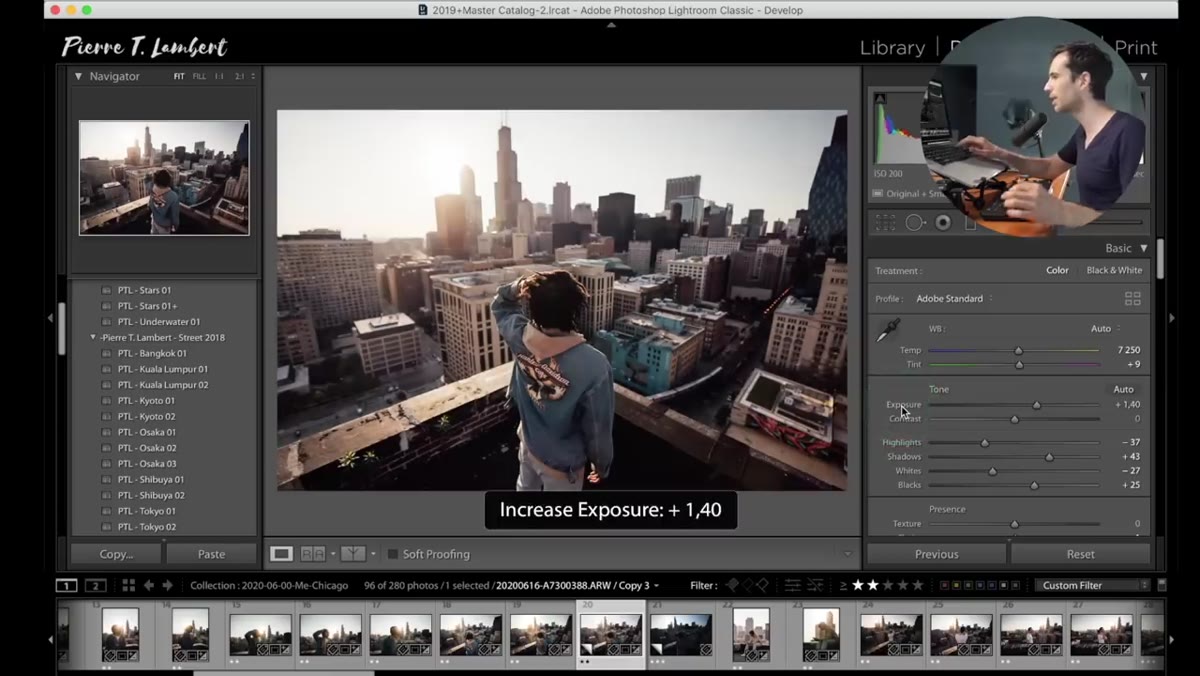 Exposure slider highlighted, keyboard shortcut active
This is the shortcut Lambert says he relies on most when traveling without any extra hardware. By default, the plus and minus keys on your keyboard control exposure while you’re in the Develop module. But here’s the part most people miss: if you hold Command (Mac) or Control (Windows) and click on any other slider, you reassign those plus and minus keys to that slider instead. So if you want to dial in contrast, Command-click the Contrast slider and now your keyboard controls contrast. Click a different slider, and control shifts there. It’s a surprisingly tactile way to make adjustments without ever grabbing the mouse.
Exposure slider highlighted, keyboard shortcut active
This is the shortcut Lambert says he relies on most when traveling without any extra hardware. By default, the plus and minus keys on your keyboard control exposure while you’re in the Develop module. But here’s the part most people miss: if you hold Command (Mac) or Control (Windows) and click on any other slider, you reassign those plus and minus keys to that slider instead. So if you want to dial in contrast, Command-click the Contrast slider and now your keyboard controls contrast. Click a different slider, and control shifts there. It’s a surprisingly tactile way to make adjustments without ever grabbing the mouse.
Step 5: Add a Graduated Filter to Separate Light and Shadow
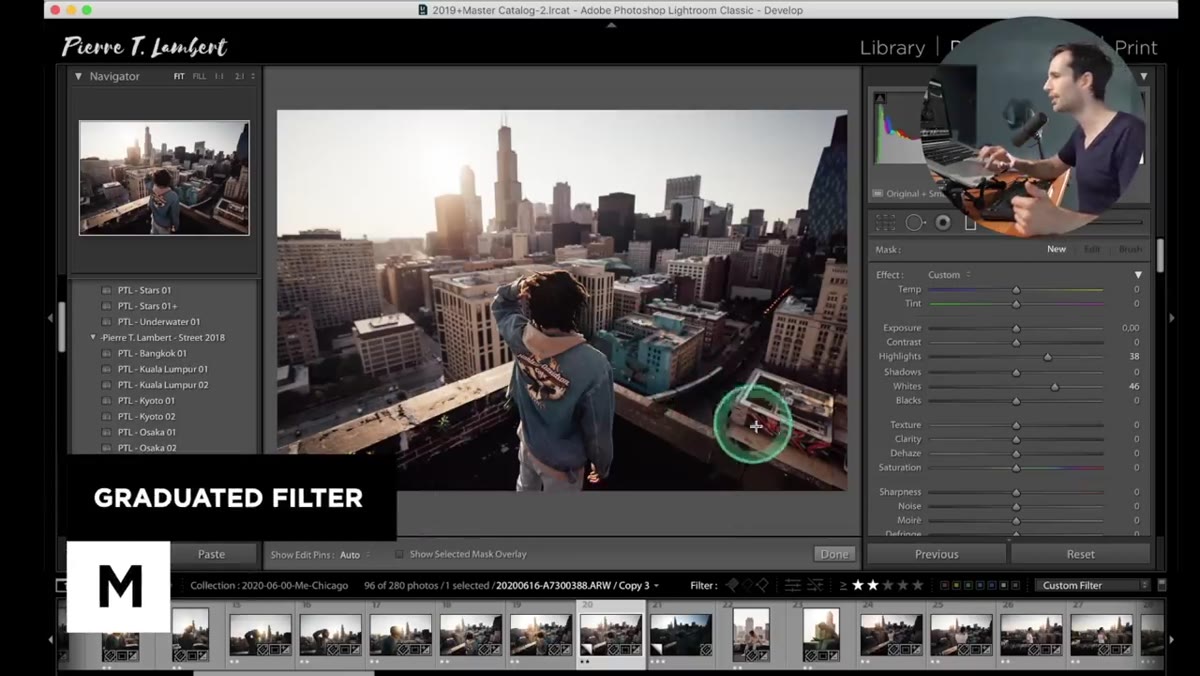 Graduated filter dragged across upper portion of image
Press M to open the Graduated Filter tool. Drag it across the area you want to affect, typically the sky or foreground depending on your shot. Before making any adjustments, double-click on the word “Effect” in the panel. This resets all the filter’s settings to zero so you’re not carrying over values from the last time you used it. Lambert does this every time and it’s a habit worth building immediately. Then press O to see a colored overlay showing exactly which part of the image the filter covers. Press Shift+O to cycle through overlay colors if the default red blends into your image.
Graduated filter dragged across upper portion of image
Press M to open the Graduated Filter tool. Drag it across the area you want to affect, typically the sky or foreground depending on your shot. Before making any adjustments, double-click on the word “Effect” in the panel. This resets all the filter’s settings to zero so you’re not carrying over values from the last time you used it. Lambert does this every time and it’s a habit worth building immediately. Then press O to see a colored overlay showing exactly which part of the image the filter covers. Press Shift+O to cycle through overlay colors if the default red blends into your image.
From there, bring shadows down in the filtered zone to add depth and separation. Lambert uses this on both the top and bottom of the frame independently to give the image a sense of dimensionality rather than a flat tone-mapped look.
Step 6: Add a Radial Filter to Warm the Key Light
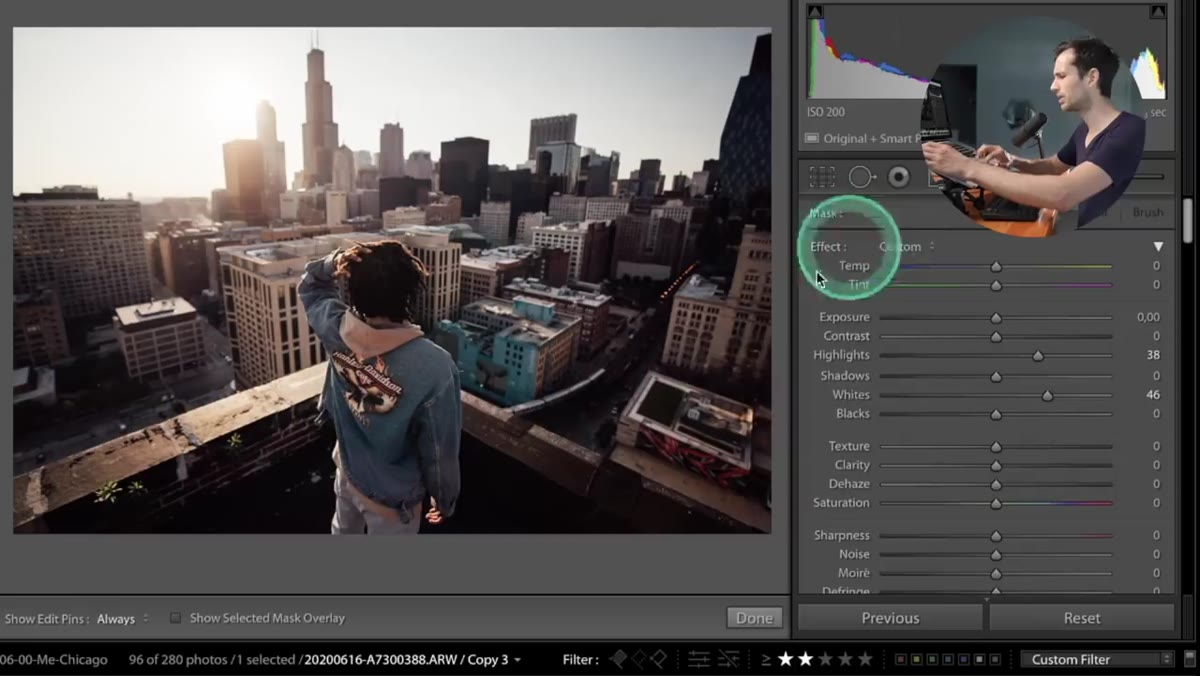 Radial filter placed over subject to add warmth and exposure
The Radial Filter, opened with Shift+M or found in the toolbar, lets you draw an elliptical zone of adjustment over any part of the frame. Lambert uses this specifically to push warmth and brightness onto the area where the sunset light is hitting. Draw the ellipse over your subject or light source, then pull temperature warmer, bring highlights up slightly, and add a touch of exposure. The effect is subtle but it creates a visual center of gravity in the image that guides the eye. Keep the feathering high so the adjustment bleeds naturally into the surrounding area.
Radial filter placed over subject to add warmth and exposure
The Radial Filter, opened with Shift+M or found in the toolbar, lets you draw an elliptical zone of adjustment over any part of the frame. Lambert uses this specifically to push warmth and brightness onto the area where the sunset light is hitting. Draw the ellipse over your subject or light source, then pull temperature warmer, bring highlights up slightly, and add a touch of exposure. The effect is subtle but it creates a visual center of gravity in the image that guides the eye. Keep the feathering high so the adjustment bleeds naturally into the surrounding area.
My Take: The Loupedeck Question Is Really a Volume Question
Lambert tests these same edits using the Loupedeck+ hardware panel and finds it genuinely useful, but watching the tutorial, I kept thinking: the keyboard method he shows is already really good. For most photographers shooting casually or in moderate volume, the keyboard shortcuts alone get you to fast, clean edits without spending money on dedicated hardware.
The Loupedeck makes more sense if you’re editing hundreds of images from a single shoot and the tactile knobs reduce mental fatigue over a long session. It’s a legitimate tool. But I’d never recommend someone buy it before they’ve maxed out the keyboard shortcut approach first. The free method Lambert shows works. Hardware is a multiplier, not a foundation.
The single biggest thing this tutorial gave me was the Command-click trick for reassigning the plus and minus keys. I’ve used Lightroom for years and never knew that existed. It changes how you interact with sliders entirely, and it costs nothing. Learn that first, practice it until it’s automatic, and your editing sessions will get faster before you change anything else about your setup.
Watch the full tutorial on YouTube and follow Pierre T. Lambert for more workflow-focused content. He’s one of the few creators who actually shows his process in real time rather than just the polished result.
Comments (2)
Tried this technique this morning. Game changer for real.
This is fantastic. I've been recommending this approach to my readers too.
Leave a Comment