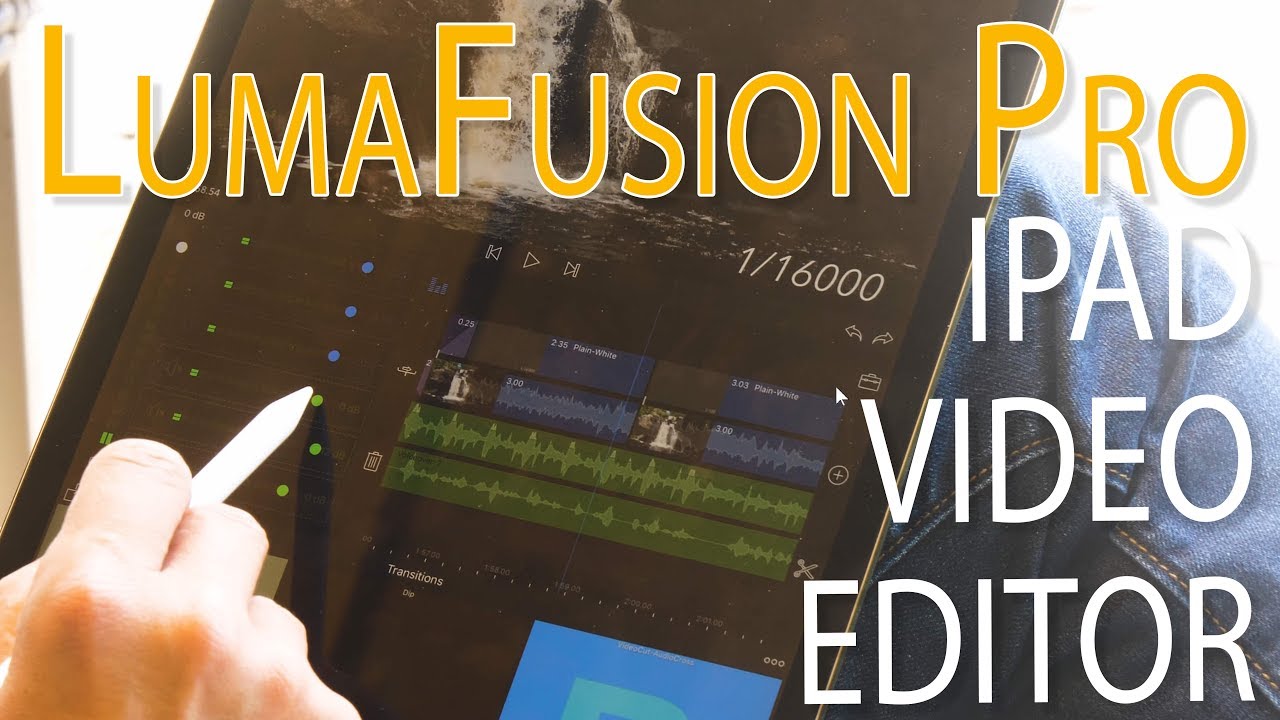
I’ll be honest with you. My editing setup for years was a secondhand laptop that wheezed through Premiere like it was running on prayer. Every time I added a music track or dropped in a title, the timeline would stutter, the fan would scream, and the battery would drop 10% in what felt like minutes. So when I started seeing other creators editing full vlogs on an iPad Pro, I assumed it was a gimmick. A flex. Something you do for the Instagram photo, not for actual work.
Then I watched this Tony & Chelsea Northrup tutorial on iPad Pro video editing with LumaFusion, and my skepticism started to crack. Tony isn’t some casual hobbyist. The guy is a working photographer and filmmaker who uses Premiere Pro as his daily driver on a maxed-out desktop rig. When he says LumaFusion on an iPad outperforms that machine for playback and timeline scrubbing, that’s not marketing copy. That’s a real comparison from someone who knows what smooth actually feels like. Watch the full tutorial on YouTube
What sold me wasn’t the app itself, it was the complete workflow he demonstrated. Footage ingestion, editing, publishing to YouTube, all from a single device you can run off a USB battery pack. For anyone who shoots and edits on the road, or just wants to stop being chained to a desk, this is worth understanding step by step.
Step 1: Get Your Footage Onto the iPad
 SD card dongle being inserted into iPad Pro
The iPad Pro doesn’t have an SD card slot, so you need a Lightning to SD card adapter, sometimes called a card reader dongle. You plug your SD card into it, connect it to the iPad, and import your clips directly into the Photos app. That’s it. The process is fast, and once your clips land in the Camera Roll, LumaFusion can see them immediately. If you shot on your iPhone or used your camera’s Wi-Fi transfer feature, those clips will already be in Photos without any extra steps.
SD card dongle being inserted into iPad Pro
The iPad Pro doesn’t have an SD card slot, so you need a Lightning to SD card adapter, sometimes called a card reader dongle. You plug your SD card into it, connect it to the iPad, and import your clips directly into the Photos app. That’s it. The process is fast, and once your clips land in the Camera Roll, LumaFusion can see them immediately. If you shot on your iPhone or used your camera’s Wi-Fi transfer feature, those clips will already be in Photos without any extra steps.
Step 2: Browse and Preview Clips in LumaFusion’s Media Panel
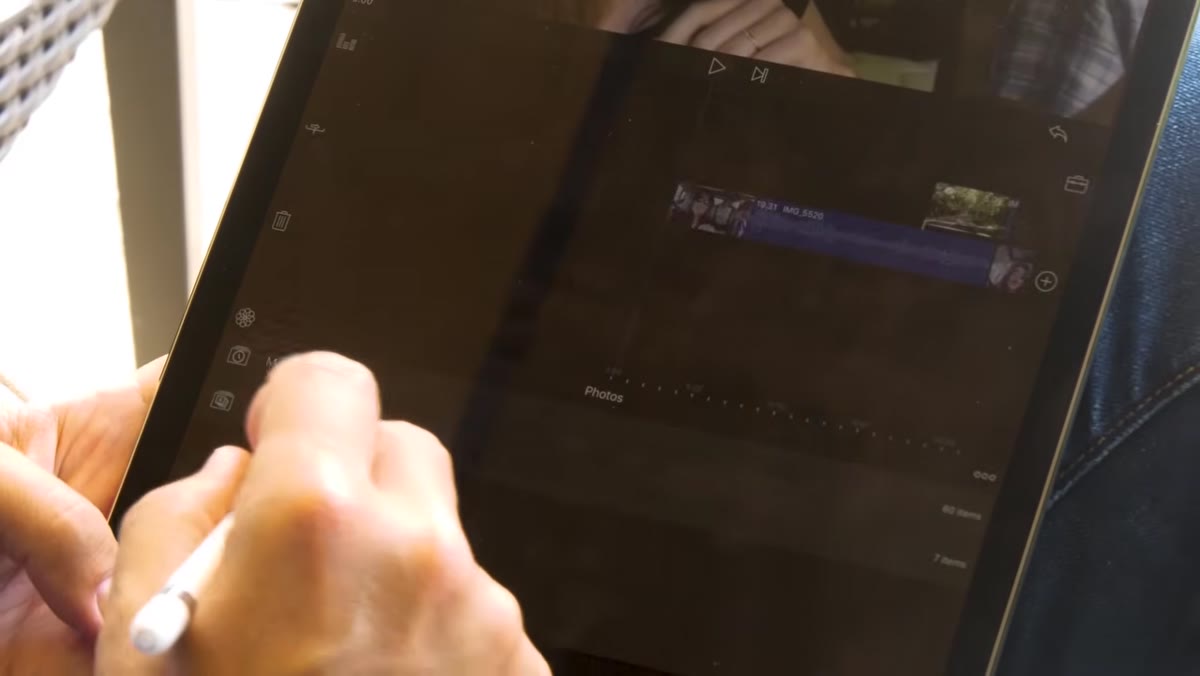 LumaFusion media browser showing imported clips with checkmarks
Open LumaFusion and look at the media panel along the bottom left of the interface. Tap into Photos, then navigate to Albums to find your recently imported clips. One genuinely useful detail here: any clip you’ve already added to your timeline shows a checkmark overlay in the browser, so you won’t accidentally double-import the same footage. Tap any clip to preview it in the viewer before you commit to using it.
LumaFusion media browser showing imported clips with checkmarks
Open LumaFusion and look at the media panel along the bottom left of the interface. Tap into Photos, then navigate to Albums to find your recently imported clips. One genuinely useful detail here: any clip you’ve already added to your timeline shows a checkmark overlay in the browser, so you won’t accidentally double-import the same footage. Tap any clip to preview it in the viewer before you commit to using it.
Step 3: Set In/Out Points and Drop Clips to the Timeline
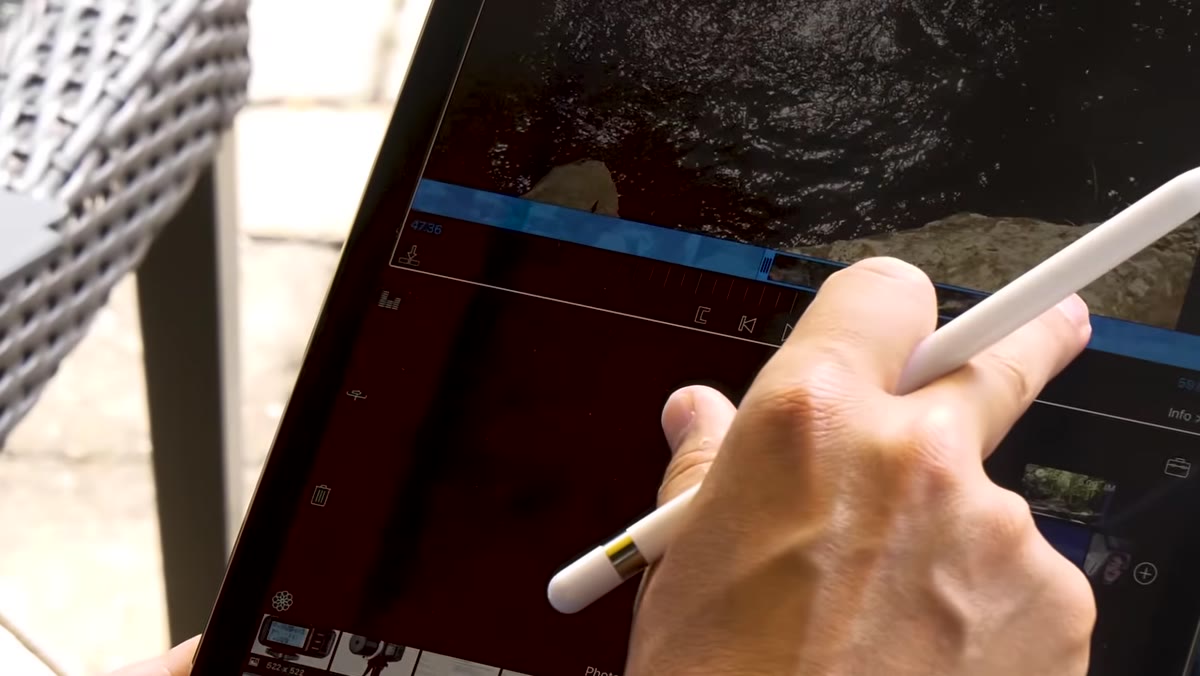 Setting in and out points on a clip before dragging to timeline
Before you drag a clip to the timeline, you can trim it right in the preview window by setting mark-in and mark-out points. This is the same concept as three-point editing in Premiere or Final Cut. Scrub to where you want the clip to start, set your in point, scrub to where you want it to end, set your out point, then drag the trimmed clip down onto the timeline. You’re not cutting after the fact. You’re building a clean edit from the start, which saves time downstream. LumaFusion also has undo/redo buttons in the interface if you drop something in the wrong place.
Setting in and out points on a clip before dragging to timeline
Before you drag a clip to the timeline, you can trim it right in the preview window by setting mark-in and mark-out points. This is the same concept as three-point editing in Premiere or Final Cut. Scrub to where you want the clip to start, set your in point, scrub to where you want it to end, set your out point, then drag the trimmed clip down onto the timeline. You’re not cutting after the fact. You’re building a clean edit from the start, which saves time downstream. LumaFusion also has undo/redo buttons in the interface if you drop something in the wrong place.
Step 4: Add Titles, Transitions, and Music Layers
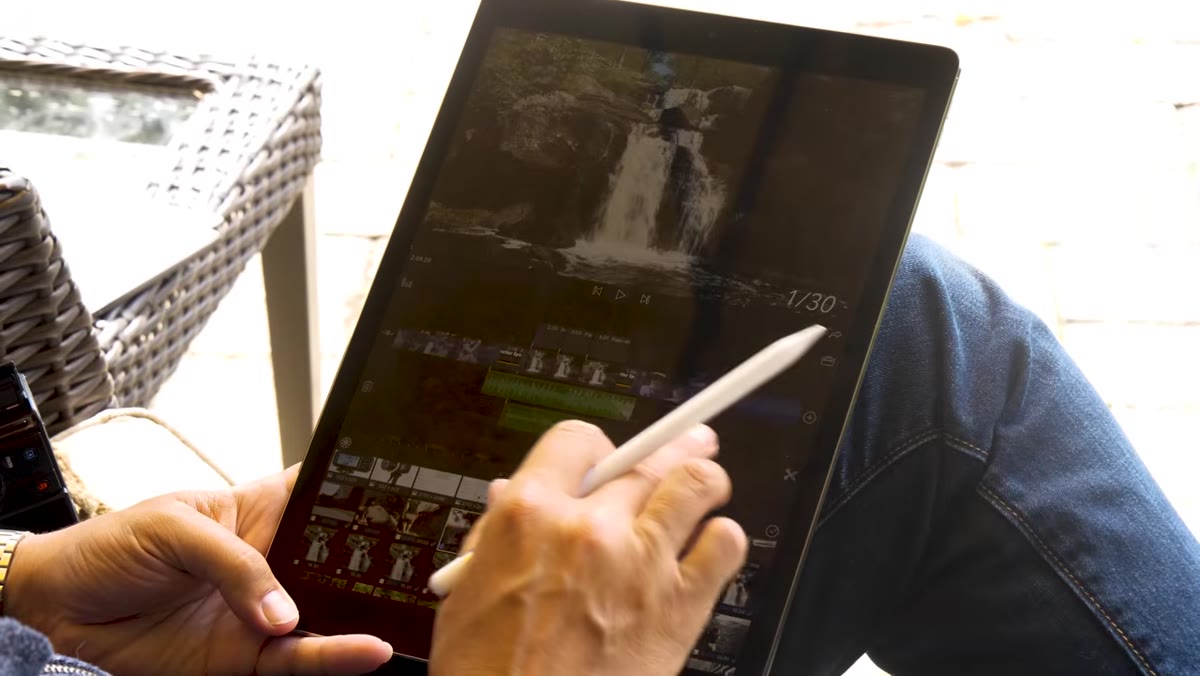 Timeline showing multiple tracks with titles and transitions applied
LumaFusion supports multiple video and audio tracks, which means you can layer titles, music, and transitions without things getting buried. The app ships with a built-in library of both. Tony demonstrates a timeline with overlaid titles, cross-dissolve-style transitions, and a separate music layer all playing back simultaneously with zero stuttering. On a mid-range laptop, that combination usually triggers dropped frames or forces you to render previews before you can watch your edit. On the iPad Pro, it just plays. Smoothly. That responsiveness changes how you work because you stop dreading the playback step.
Timeline showing multiple tracks with titles and transitions applied
LumaFusion supports multiple video and audio tracks, which means you can layer titles, music, and transitions without things getting buried. The app ships with a built-in library of both. Tony demonstrates a timeline with overlaid titles, cross-dissolve-style transitions, and a separate music layer all playing back simultaneously with zero stuttering. On a mid-range laptop, that combination usually triggers dropped frames or forces you to render previews before you can watch your edit. On the iPad Pro, it just plays. Smoothly. That responsiveness changes how you work because you stop dreading the playback step.
Step 5: Pull Footage From Cloud Storage for Team Projects
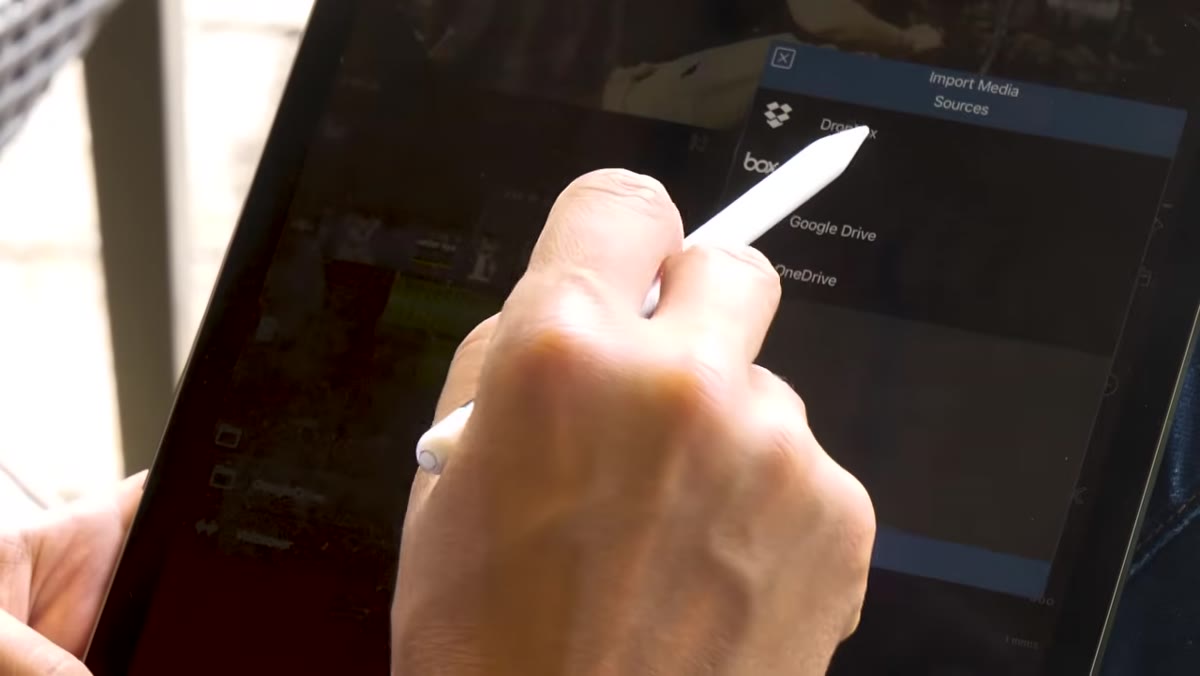 LumaFusion import screen showing Dropbox, Google Drive, Box, OneDrive options
If your footage doesn’t live on an SD card, or you’re collaborating with someone else, LumaFusion can import directly from Dropbox, Google Drive, Box, and OneDrive. This is genuinely useful for small teams. Tony’s example is straightforward: a second camera operator uploads footage to Google Drive, and Tony pulls it directly into LumaFusion from there. No cable transfers, no Airdrop sessions, no waiting around.
LumaFusion import screen showing Dropbox, Google Drive, Box, OneDrive options
If your footage doesn’t live on an SD card, or you’re collaborating with someone else, LumaFusion can import directly from Dropbox, Google Drive, Box, and OneDrive. This is genuinely useful for small teams. Tony’s example is straightforward: a second camera operator uploads footage to Google Drive, and Tony pulls it directly into LumaFusion from there. No cable transfers, no Airdrop sessions, no waiting around.
The one gap Tony flags is that LumaFusion can’t connect to a local network share directly, which matters if you store master files on a NAS. His workaround is syncing the NAS to Google Drive so his footage folder stays current on both. It’s an extra layer of complexity, but it also gives him automatic off-site backup as a side benefit.
Step 6: Publish to YouTube Without Leaving the iPad
 Tony referencing complete workflow from ingestion to YouTube publish
The last step in the workflow is export and upload. LumaFusion lets you render your finished edit and push it directly to YouTube from the app. You don’t need to transfer the file to a computer first, which is the part that breaks most mobile editing workflows. The iPad handles the render, handles the upload, and you’re done. Combined with the USB charging capability Tony mentions, which means you can keep the device topped up from a portable battery during a long edit session, this is a genuinely self-contained production setup.
Tony referencing complete workflow from ingestion to YouTube publish
The last step in the workflow is export and upload. LumaFusion lets you render your finished edit and push it directly to YouTube from the app. You don’t need to transfer the file to a computer first, which is the part that breaks most mobile editing workflows. The iPad handles the render, handles the upload, and you’re done. Combined with the USB charging capability Tony mentions, which means you can keep the device topped up from a portable battery during a long edit session, this is a genuinely self-contained production setup.
A Note on Real-World Battery Life and Portability
One thing I’d add from my own experience poking at mobile editing setups: the battery claims in tutorials tend to be optimistic, especially once you factor in screen brightness and whether you’re also streaming footage from cloud storage at the same time. Tony mentions getting several hours of editing per charge, and that tracks with what I’ve seen. But if you’re planning a day-long shoot-and-edit session, grab a 20,000 mAh USB battery pack. You can find decent ones for around $25 to $35, and they’ll keep the iPad Pro running indefinitely. That’s a fraction of what a second battery for a mirrorless camera costs, and it covers a device that’s doing ten times the work.
The bigger takeaway here is that “mobile editing” no longer means “compromised editing.” The LumaFusion workflow Tony walks through handles everything a working vlogger needs: multi-track timelines, transitions, titles, music, cloud import, and direct YouTube export. If you’re still tethered to a desktop or dragging a heavy laptop to every shoot, this is worth a serious look.
Watch the full tutorial on YouTube to see the entire workflow in action, including how Tony navigates the LumaFusion interface in real time.
Comments
Leave a Comment