
I’ve been burned by hiking bags before. Not literally, though I did once spend a sweaty afternoon on a Colorado trail trying to fish a lens out from under a rain jacket, two water bottles, and a sandwich. The core problem is that most hiking bags treat camera gear like an afterthought, burying everything at the bottom where it becomes completely inaccessible the moment you’re standing on a ridge with decent light and 45 seconds before the clouds roll in. I’ve watched this frustration play out at every trail meetup I’ve attended, and honestly, I’ve felt it myself more times than I’d like to admit.
That’s why when Adam from First Man Photography called the F-Stop Sukha the best camera bag he’s ever owned, I paid attention. Adam shoots in genuinely rough mountain conditions, balancing photography and video on the same outings, which means he’s stress-tested gear in the exact situations where most bags fall apart. In this First Man Photography tutorial, he walks through every major feature of the Sukha in hands-on detail, and what he reveals is a bag that rethinks the whole architecture of how photographers carry and access gear in the field. Watch the full tutorial on YouTube before or after reading, because seeing the ICU in motion adds a lot.
Step 1: Understand What Makes This Bag Different From a Standard Hiking Pack
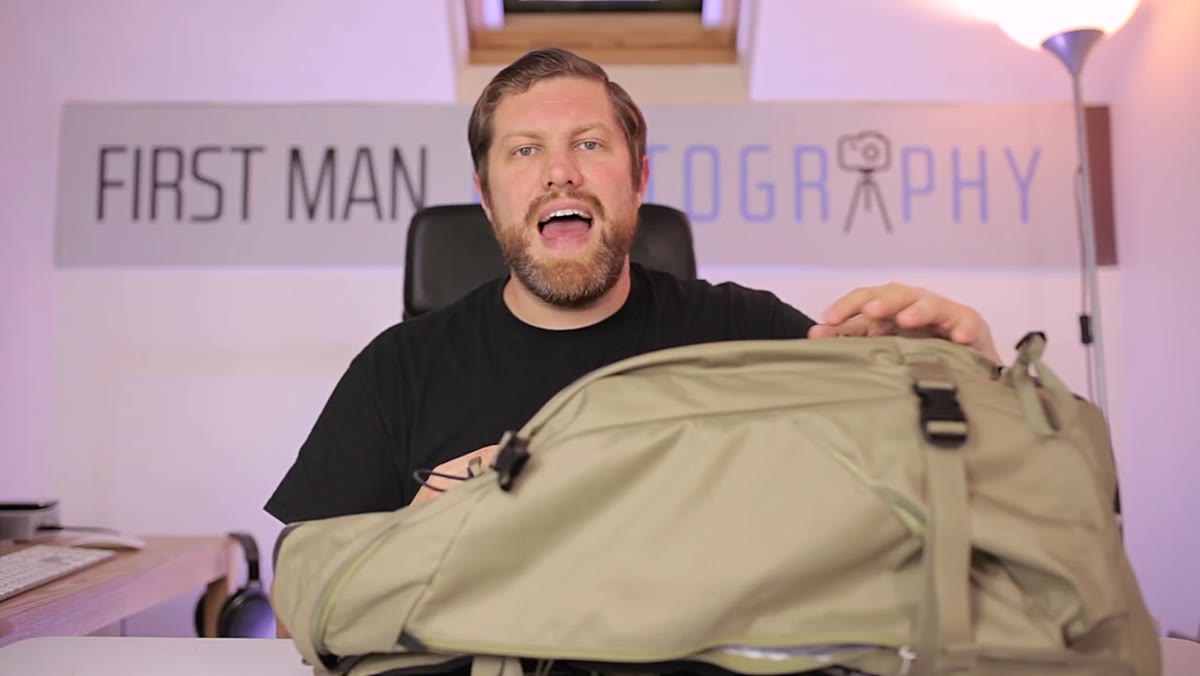 Adam explaining why most hiking bags fail photographers
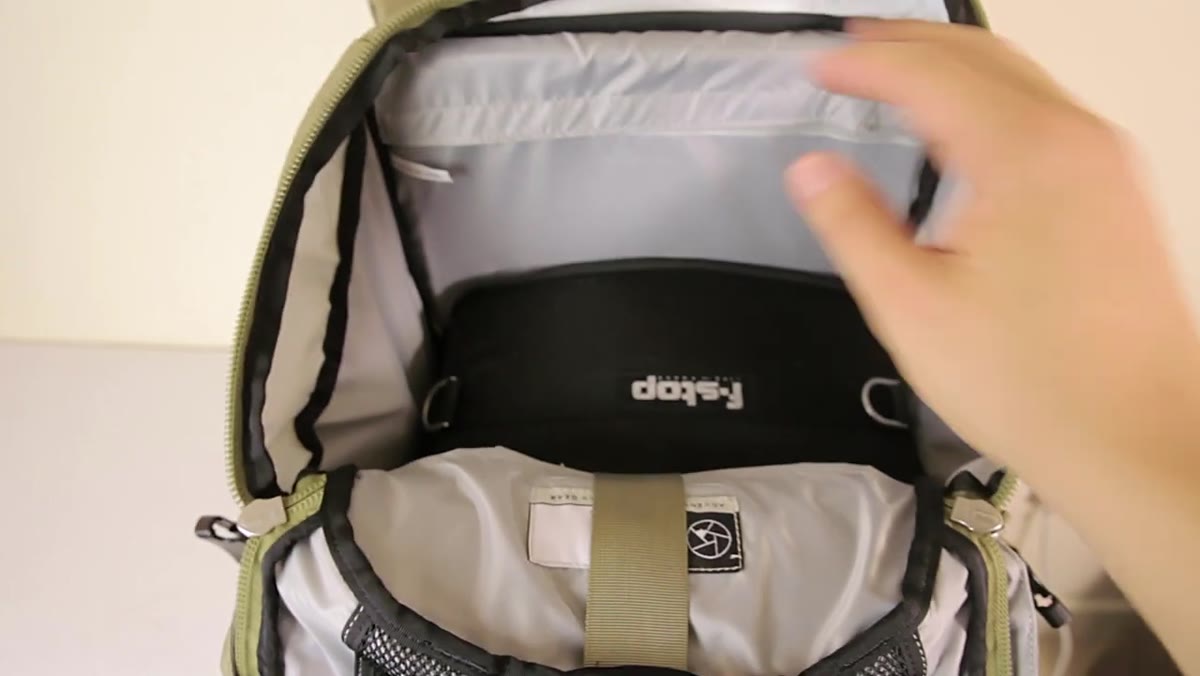
Most hiking bags are optimized for hikers, not photographers. That sounds obvious, but the implication is significant: your gear lives at the bottom, and getting to it means stopping, removing the bag, unpacking half of it, and repacking everything. The F-Stop Sukha solves this with a back-panel access system. Instead of opening the top, you unzip the entire rear panel and your camera compartment unfolds outward toward you. That single design decision changes everything about how you interact with your kit on the trail.
Adam explaining why most hiking bags fail photographers
Most hiking bags are optimized for hikers, not photographers. That sounds obvious, but the implication is significant: your gear lives at the bottom, and getting to it means stopping, removing the bag, unpacking half of it, and repacking everything. The F-Stop Sukha solves this with a back-panel access system. Instead of opening the top, you unzip the entire rear panel and your camera compartment unfolds outward toward you. That single design decision changes everything about how you interact with your kit on the trail.
Step 2: Get Familiar With the Internal Camera Unit (ICU)
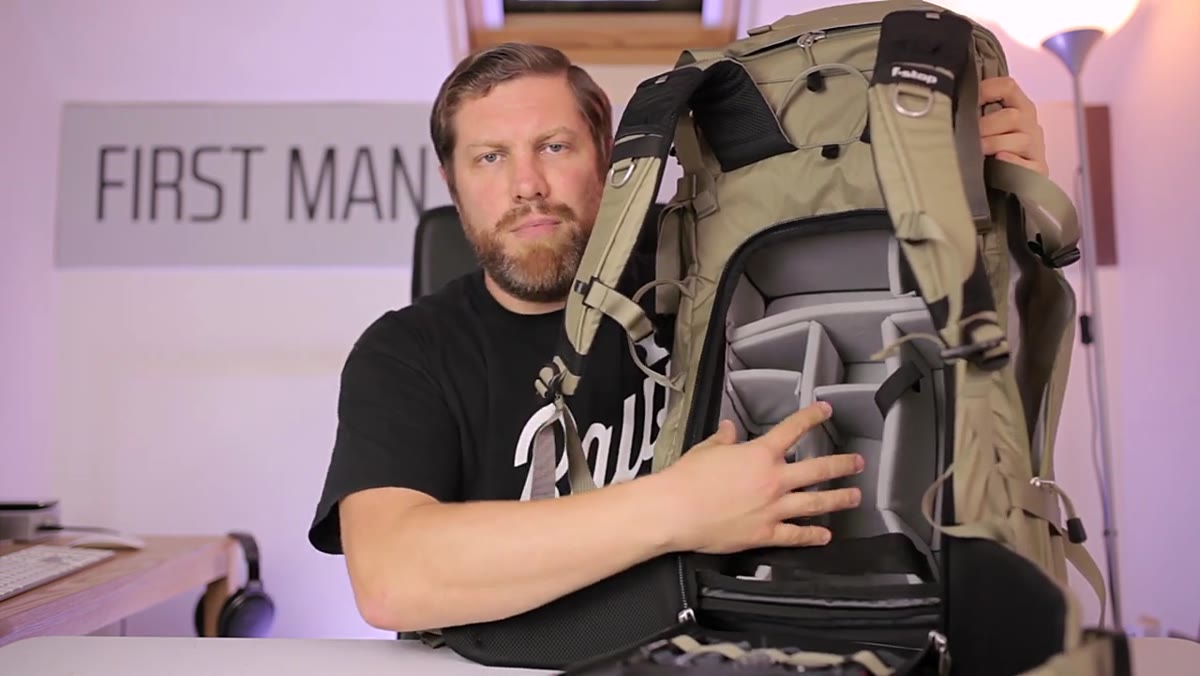 Back panel unzipped, ICU fully visible and open
The heart of the Sukha system is the Internal Camera Unit, or ICU. This is a padded, modular insert that lives inside the back panel and holds all your camera gear in dedicated, configurable compartments. Adam demonstrates the large pro version in the video, which is genuinely cavernous. It can swallow a camera body, multiple lenses, and accessories without much creative packing. F-Stop makes the ICU in multiple sizes, including one long enough to accommodate a super-telephoto lens, so you’re not locked into one configuration forever.
Back panel unzipped, ICU fully visible and open
The heart of the Sukha system is the Internal Camera Unit, or ICU. This is a padded, modular insert that lives inside the back panel and holds all your camera gear in dedicated, configurable compartments. Adam demonstrates the large pro version in the video, which is genuinely cavernous. It can swallow a camera body, multiple lenses, and accessories without much creative packing. F-Stop makes the ICU in multiple sizes, including one long enough to accommodate a super-telephoto lens, so you’re not locked into one configuration forever.
What makes this smarter than a built-in divider system is that the ICU is removable. Pull it out and the Sukha becomes a straight hiking bag with no camera-specific bulk. That modularity means you’re not carrying a “camera bag” on days when you just want the bag.
Step 3: Use Workstation Mode When You’re Shooting in the Field
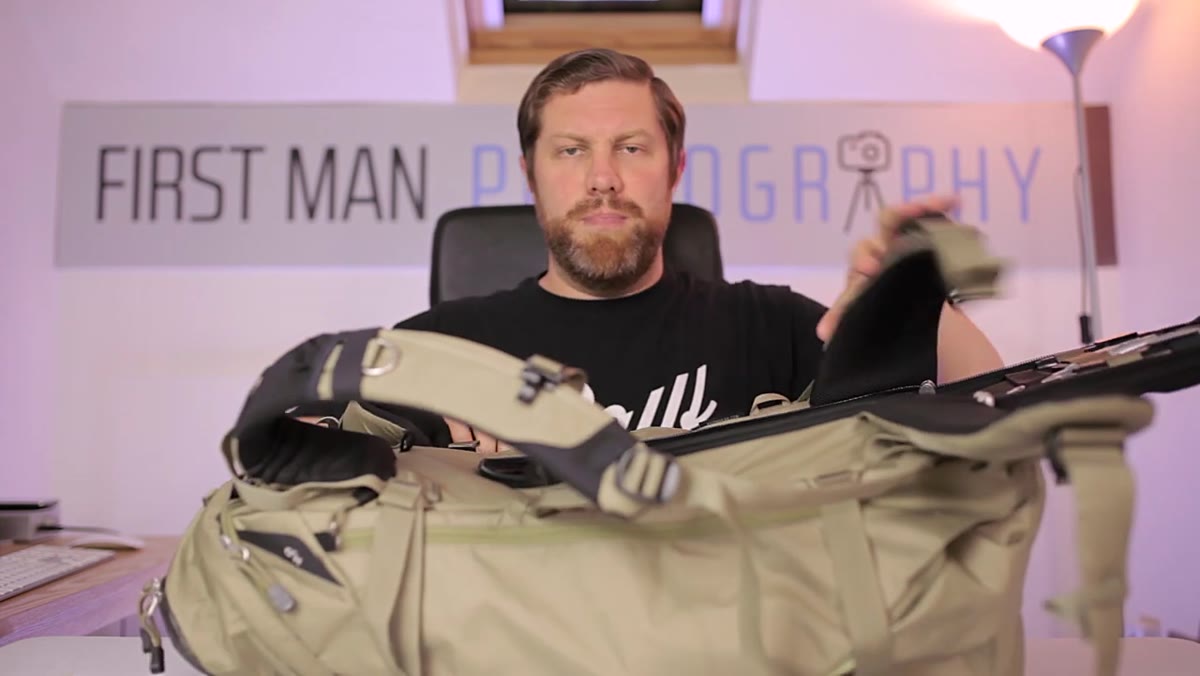 ICU laid flat on ground, open like a workstation
When Adam opens the rear panel and lays the ICU flat on the ground, he calls it “workstation mode,” and it’s one of the more practical features I’ve seen on a field bag. The ICU is built from waterproof material, so it can sit on wet ground without soaking through to your gear. You get a stable, flat surface with everything organized and visible in front of you rather than digging through a vertical bag while your camera strap tangles around your arm.
ICU laid flat on ground, open like a workstation
When Adam opens the rear panel and lays the ICU flat on the ground, he calls it “workstation mode,” and it’s one of the more practical features I’ve seen on a field bag. The ICU is built from waterproof material, so it can sit on wet ground without soaking through to your gear. You get a stable, flat surface with everything organized and visible in front of you rather than digging through a vertical bag while your camera strap tangles around your arm.
For anyone who shoots video and stills simultaneously, this is a genuine workflow improvement. You can see every piece of kit at a glance, swap lenses or batteries without awkward fumbling, and keep moving quickly. Adam specifically mentions this being valuable when he’s managing both camera and video gear on the same outing, and I can see exactly why.
Step 4: Customize the ICU to Match Your Specific Kit
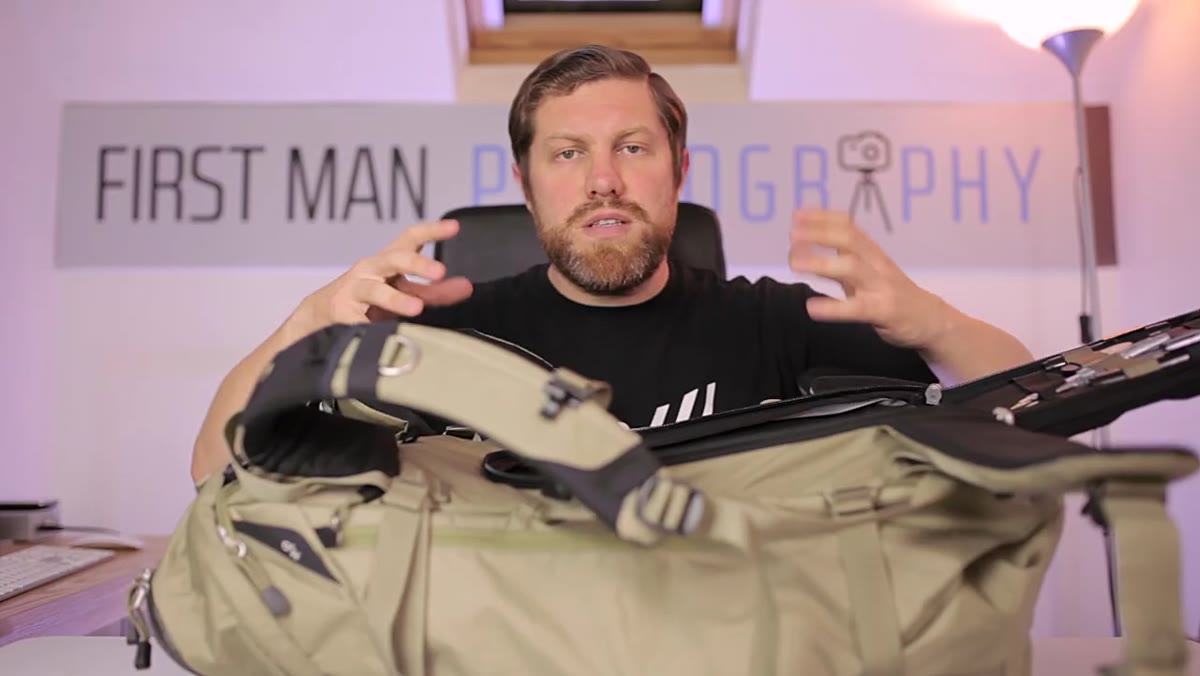 Adam lifting ICU out of bag to demonstrate removability
The ICU isn’t just removable, it’s also available in different configurations. F-Stop sells them separately, so you can own multiple ICUs sized for different shooting scenarios and swap them into the same bag body. Heading out for landscape work with a long telephoto? Grab the deep ICU. Doing a lighter street or travel day? Drop in a smaller one and reclaim the pack space. This is the kind of system thinking that justifies a premium price tag, because the bag grows with your kit rather than forcing you to buy a new bag every time your gear changes.
Adam lifting ICU out of bag to demonstrate removability
The ICU isn’t just removable, it’s also available in different configurations. F-Stop sells them separately, so you can own multiple ICUs sized for different shooting scenarios and swap them into the same bag body. Heading out for landscape work with a long telephoto? Grab the deep ICU. Doing a lighter street or travel day? Drop in a smaller one and reclaim the pack space. This is the kind of system thinking that justifies a premium price tag, because the bag grows with your kit rather than forcing you to buy a new bag every time your gear changes.
The ICU also closes up on its own into a rigid, protected box shape. Pull it out of the bag, fold it shut, and it functions almost like a standalone hard case. It’s not a Pelican, but for field use, it offers meaningful protection.
Step 5: Work the External Pockets and Attachment Points
 Adam sliding travel tripod into side pocket of the Sukha
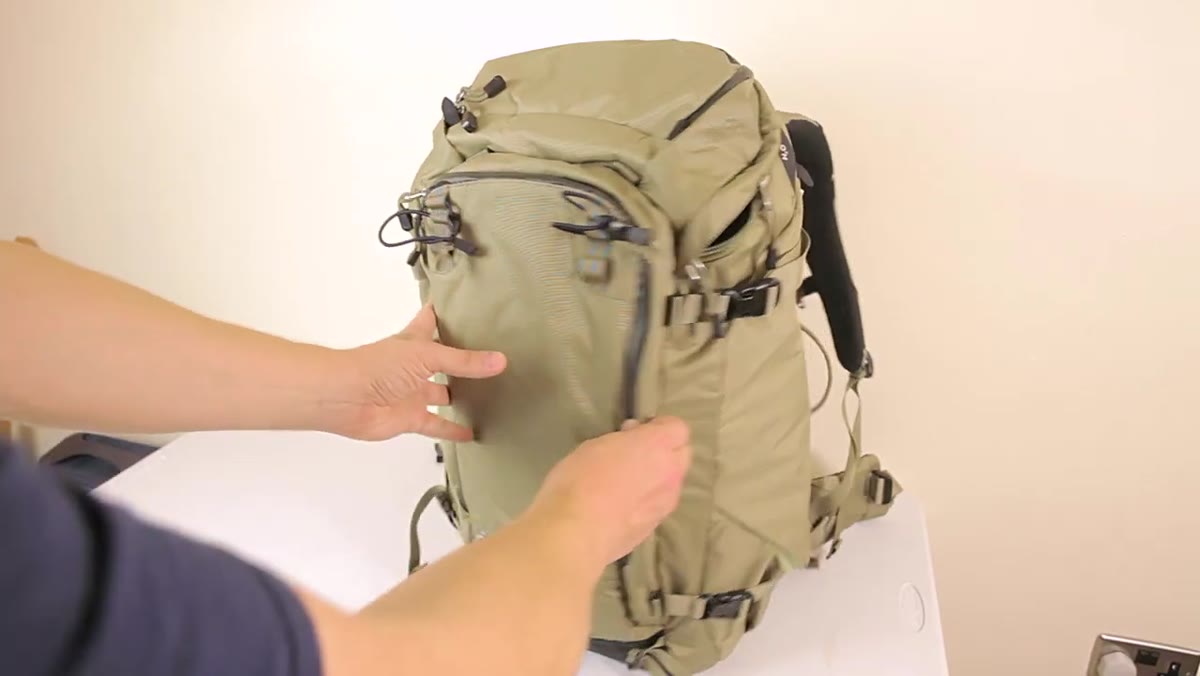
The Sukha has enough external storage that you can run a full day without the bag feeling compromised by the ICU taking up interior real estate. The side pocket Adam highlights is deep enough to swallow a travel tripod completely, which keeps it from swinging off an external lash point and messing with your balance on uneven terrain. For anyone who’s hiked with a tripod dangling from the side of a bag, that alone is worth talking about.
Adam sliding travel tripod into side pocket of the Sukha
The Sukha has enough external storage that you can run a full day without the bag feeling compromised by the ICU taking up interior real estate. The side pocket Adam highlights is deep enough to swallow a travel tripod completely, which keeps it from swinging off an external lash point and messing with your balance on uneven terrain. For anyone who’s hiked with a tripod dangling from the side of a bag, that alone is worth talking about.
There are also external attachment points for larger gear, like a full-size tripod, if you need to lash something to the outside. The bag handles that without looking like a disorganized mess of straps, which matters more than people admit when you’re trying to move efficiently.
Step 6: Use the Laptop Sleeve as a Hydration Compartment (or Both)
 Adam showing laptop/hydration pocket with bladder access port
The dedicated sleeve behind the main compartment is designed for a laptop, but Adam points out that it doubles as a hydration system compartment. There’s a port for the drink tube to route out, and Velcro lining to hold the bladder in place. If you’re doing long day hikes, that’s not a trivial feature. Staying hydrated on a six-hour mountain shoot matters, and not having to clip a water bottle to the outside of the bag every time keeps the whole setup cleaner and more balanced.
Adam showing laptop/hydration pocket with bladder access port
The dedicated sleeve behind the main compartment is designed for a laptop, but Adam points out that it doubles as a hydration system compartment. There’s a port for the drink tube to route out, and Velcro lining to hold the bladder in place. If you’re doing long day hikes, that’s not a trivial feature. Staying hydrated on a six-hour mountain shoot matters, and not having to clip a water bottle to the outside of the bag every time keeps the whole setup cleaner and more balanced.
If you do want to run a laptop in it, you still can. It’s a genuine either/or, not a compromise where neither function works well.
The One Thing Adam Didn’t Fully Cover: The Price Reality
Adam is upfront that cost is the bag’s only significant downside, and I want to add some weight to that point. The Sukha sits at the higher end of camera bag pricing, and when you add a premium ICU, you’re looking at a real investment. For me, the honest framing is this: if you’re doing serious hiking with serious gear on a regular basis, the math works out. You’re replacing a hiking bag and a camera bag with one system that does both jobs better than either would separately.
But if you’re shooting from your car or doing casual walks where bag access isn’t a real problem, this is not the bag for you, and spending this kind of money won’t improve your photos. Fit the gear to the actual problem you have.
The single most important thing I took from Adam’s breakdown is that the ICU system isn’t just a feature, it’s the whole argument for the bag. Everything else is solid but unremarkable. The ICU is what makes the Sukha worth evaluating if you’re a photographer who actually hikes to their shots.
Watch the full tutorial on YouTube to see Adam demonstrate the ICU removal, workstation mode, and packing process in real time.
Comments
Leave a Comment