
I’ve been shooting with budget bodies long enough to know that a camera’s spec sheet and a camera’s actual output are two very different conversations. So when Fujifilm announced the X100V, I paid attention, but I didn’t get excited. Not yet. What got me to actually dig in was Watch the full tutorial on YouTube from The Slanted Lens, where JP Morgan and his team put the camera through a proper structured test, not a vlog grab-and-go, but an actual picture quality workflow with a model, controlled lighting, and back-to-back dynamic range comparisons.
This camera sits in a weird but interesting spot in the market. It has a fixed 23mm-equivalent lens, it tops out around $1,400, and it has somehow become the camera that non-photographers carry and photographers defend. The Slanted Lens review cuts through the aesthetic appeal and actually asks whether the image quality justifies the price. That’s the question I care about, and it’s the framework I’m using to walk through what they found.
Step 1: Understand What You’re Actually Buying
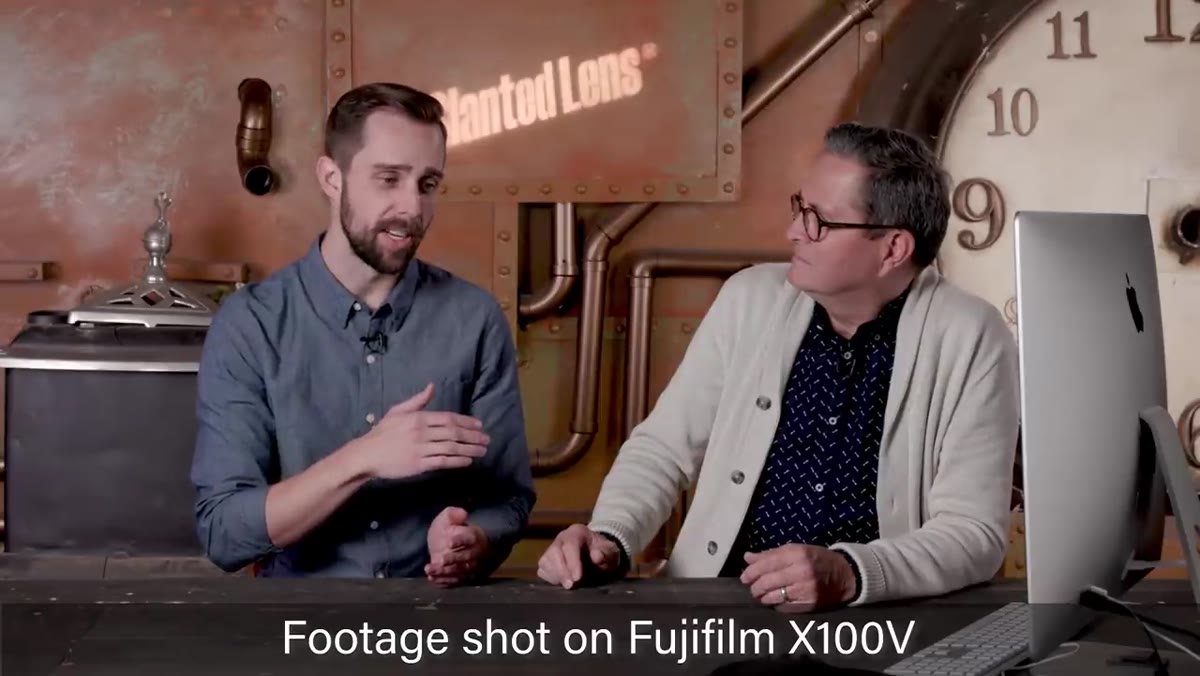 Host introduces the X100V and lists key specs
Before you test anything, you need to know what the camera promises. The X100V ships with a 26-megapixel sensor, an updated processor, and autofocus that Fuji claims can lock on in conditions as dark as -5 stops. That last number sounds impressive on paper, but it only matters if the system is reliable in practice, which is something the review tests later.
Host introduces the X100V and lists key specs
Before you test anything, you need to know what the camera promises. The X100V ships with a 26-megapixel sensor, an updated processor, and autofocus that Fuji claims can lock on in conditions as dark as -5 stops. That last number sounds impressive on paper, but it only matters if the system is reliable in practice, which is something the review tests later.
The two hardware upgrades that matter most for working photographers are the flip-out rear screen and the optional weather sealing. The screen is a genuine quality-of-life addition for anyone shooting at unusual angles or photographing subjects below eye level. The weather sealing is not built in, it requires a separate attachment around the lens, but even optional weather protection changes how freely you can use a camera outdoors. Add in 4K video and you have a camera that is legitimately more capable than any previous X100 body.
Step 2: Evaluate Color and Sharpness Out of the Gate
 Side-by-side image quality test with model against brick wall
The first real test is a straight picture quality comparison shot with the camera’s default settings. The Slanted Lens team shoots a model against a brick wall and examines the output for sharpness, color rendering, and subject separation. What they find is that sharpness is solid, but color tells a more complicated story.
Side-by-side image quality test with model against brick wall
The first real test is a straight picture quality comparison shot with the camera’s default settings. The Slanted Lens team shoots a model against a brick wall and examines the output for sharpness, color rendering, and subject separation. What they find is that sharpness is solid, but color tells a more complicated story.
Skin tones are pleasant and the highlight rolloff looks natural, but the overall color palette reads as muted. There is not much visual separation between the subject’s skin and the warm tones of the brick background. The only element that punches through is the subject’s shirt. This is not a deal-breaker, but it tells you something important: the X100V’s default color profile is understated, not punchy. If you’re used to cameras that boost saturation out of the box, you will want to either lean into a film simulation or do some color grading in post.
Step 3: Run a Proper Dynamic Range Test
 Dynamic range comparison shown at normal exposure vs. underexposed stops
This is where the review gets genuinely useful. The team shoots the same setup at several exposure stops, from the metered normal exposure down to three stops under, and compares results. What they find confirms something I’ve seen across almost every digital camera I’ve tested: the metered “correct” exposure is rarely the best exposure.
Dynamic range comparison shown at normal exposure vs. underexposed stops
This is where the review gets genuinely useful. The team shoots the same setup at several exposure stops, from the metered normal exposure down to three stops under, and compares results. What they find confirms something I’ve seen across almost every digital camera I’ve tested: the metered “correct” exposure is rarely the best exposure.
At a normal meter reading, the highlights on the subject’s shoulders blow out and the shadows go deep. Pulling the exposure back by two-thirds to one full stop recovers meaningful detail in the bright areas without sacrificing light on the subject’s face. It’s a small adjustment that makes a noticeable difference. The camera holds up well through minus two stops, with image quality staying clean. At minus three stops, digital noise starts to creep in. That’s a reasonable dynamic range for a camera in this class, not class-leading, but honest.
Step 4: Test Autofocus in Real Conditions
 Autofocus discussion during hands-on demo at camera store
The -5 stop autofocus claim from Fuji gets put to the test, though the review notes this is a specification that requires real-world conditions to verify properly. What the team does establish is that the autofocus system is meaningfully improved over previous X100 bodies. For a fixed-lens compact, that matters, because if you’re using this as a street or travel camera, you are relying on the camera to keep up with whatever is happening in front of you.
Autofocus discussion during hands-on demo at camera store
The -5 stop autofocus claim from Fuji gets put to the test, though the review notes this is a specification that requires real-world conditions to verify properly. What the team does establish is that the autofocus system is meaningfully improved over previous X100 bodies. For a fixed-lens compact, that matters, because if you’re using this as a street or travel camera, you are relying on the camera to keep up with whatever is happening in front of you.
The practical takeaway is that the AF improvement brings the X100V closer to being a camera you can trust quickly, rather than one you have to anticipate and pre-focus around. That is a real upgrade for candid and documentary-style shooting.
Step 5: Work Through the Film Simulations
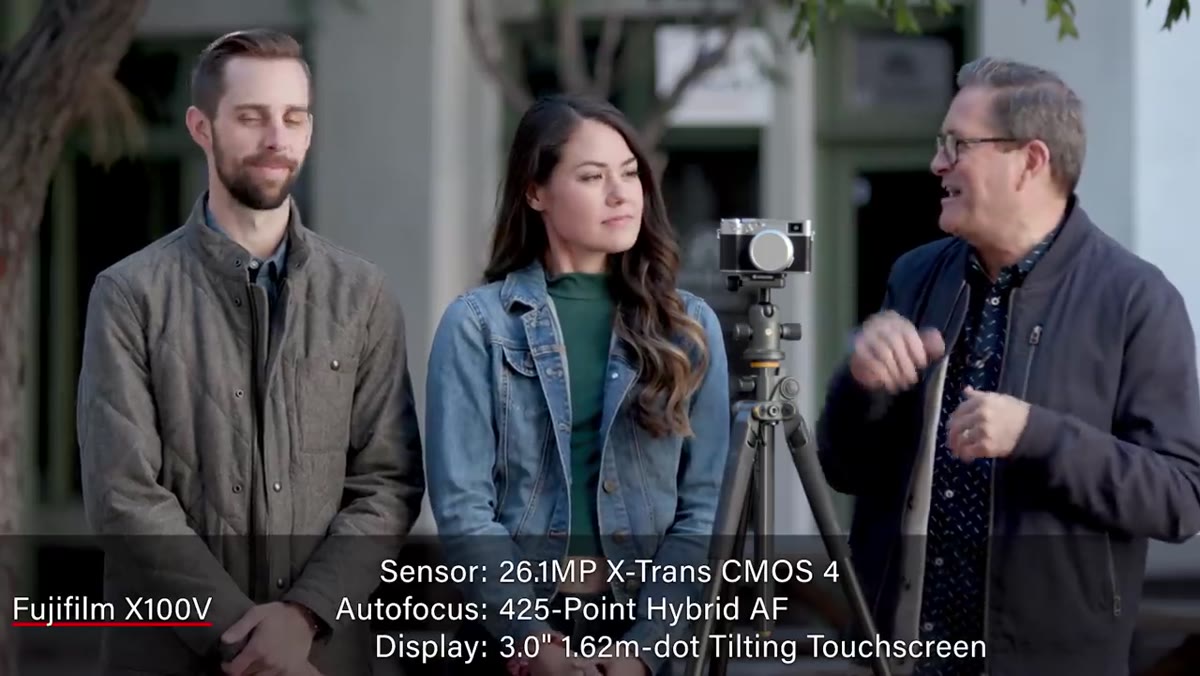 Discussion of baked-in film simulations before shooting test begins
One of the most distinctive features of any Fuji camera is the built-in film simulation engine, and the X100V is no exception. The review specifically carves out time to shoot the same image across multiple simulations so you can see how the same scene translates through each profile. This is worth doing yourself before you ever shoot in a real situation.
Discussion of baked-in film simulations before shooting test begins
One of the most distinctive features of any Fuji camera is the built-in film simulation engine, and the X100V is no exception. The review specifically carves out time to shoot the same image across multiple simulations so you can see how the same scene translates through each profile. This is worth doing yourself before you ever shoot in a real situation.
The simulations are not just filters. They affect tonal curve, color response, grain structure, and highlight behavior. Some lean warm and contrasty, others flatten everything into a matte look. Knowing which simulation matches your shooting context, whether that’s street work, portraits, or travel landscapes, means you can pull cards that are closer to finished straight out of camera. For a fixed-lens camera that is meant to be fast and light, that matters.
What I’d Add From My Own Experience
The review does not spend much time on the fixed lens question, and I think that deserves a direct response for anyone on the fence. A fixed 23mm equivalent is a commitment. You cannot zoom, you cannot swap glass, and your framing options are what they are. For street and travel work, that constraint can actually sharpen your instincts. But if you shoot events, sports, or anything where you routinely need reach, this is not your camera, no matter how good the sensor is.
I’ve run blind tests before where experienced photographers couldn’t reliably separate files from cameras at very different price points. The X100V is not going to lose that test. But it’s also going to cost you more than a body-and-lens kit from a competitor that can do more. The value case depends entirely on whether the fixed-lens, compact-body, street-ready package is exactly what your shooting life needs. If it is, the image quality backs it up.
The single most important thing this review makes clear is that you should shoot at a slight underexposure with the X100V, not because the camera is flawed, but because its sensor, like most digital sensors, rewards a conservative exposure approach. Dial back two-thirds to one stop from your meter reading and you will see noticeably better highlight retention without losing your shadows.
Watch the full tutorial on YouTube and pay close attention to the dynamic range sequence. That section alone is worth the runtime.
Comments
Leave a Comment