There’s a moment most photographers hit when they realize their video setup is actively working against them. For me, it was trying to film a lens comparison in my Denver apartment with a space heater humming in the background and a pile of laundry just barely out of frame. The footage was embarrassing. The gear wasn’t the problem. The environment was.
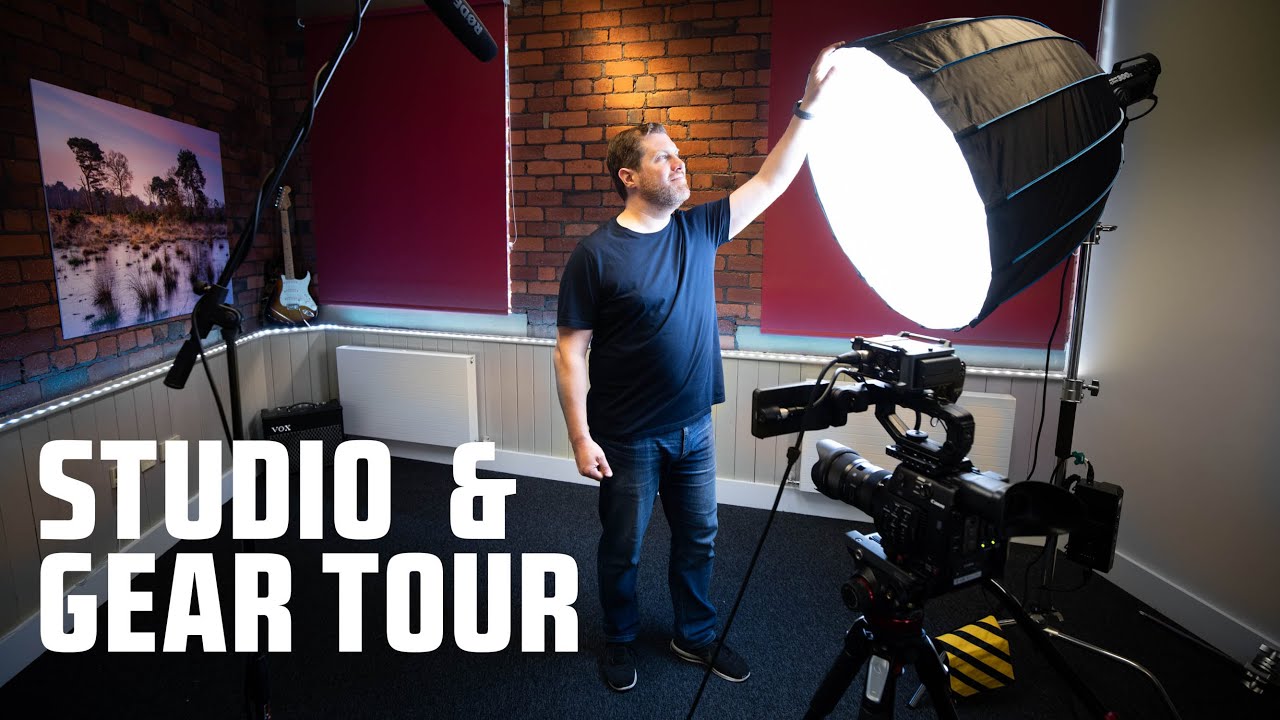
That’s exactly why I found Adam’s studio tour from First Man Photography so useful. Watch the full tutorial on YouTube. Adam runs a landscape photography channel and education platform called Rawroom, and he put together a complete breakdown of the three shooting setups he built in his dedicated studio space. This isn’t a flexed-out influencer cave full of RGB lights. It’s a working professional’s practical answer to a real problem, and the reasoning behind every decision is worth paying attention to.
What strikes me most is that Adam didn’t rent a studio because he wanted to look impressive. He did it because working from home made his work worse. He felt isolated, the line between work and life collapsed, and filming educational content in a kitchen meant constantly wrestling with awkward angles and appliances sneaking into frame. If any of that sounds familiar, this tutorial is worth your full attention.
Step 1: Decide Why You Actually Need the Space
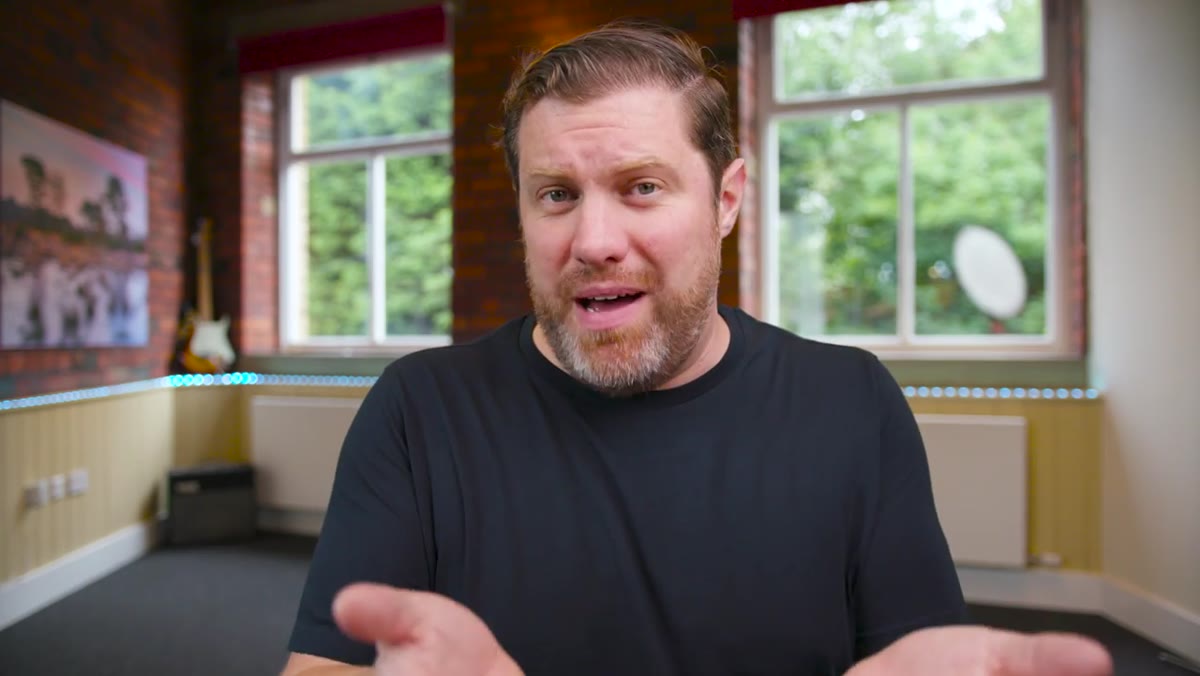 Adam explaining his three reasons for renting a studio
Before you spend a cent on gear or rent, get honest about your reasoning. Adam lays out three clear justifications: family space constraints, a preference for separating work from home life, and the specific demands of filming educational video content. Notice that none of those reasons are “to look more professional on camera.” They’re functional, personal, and tied directly to output quality.
Adam explaining his three reasons for renting a studio
Before you spend a cent on gear or rent, get honest about your reasoning. Adam lays out three clear justifications: family space constraints, a preference for separating work from home life, and the specific demands of filming educational video content. Notice that none of those reasons are “to look more professional on camera.” They’re functional, personal, and tied directly to output quality.
If you’re a photographer adding video to your workflow, ask yourself whether your current filming location is costing you time and energy to work around. If you spend 20 minutes per shoot rearranging furniture and hiding clutter, that’s a real cost. A dedicated setup, even a small one, pays back in consistency.
Step 2: Anchor Your Setup Around a Camera You Already Trust
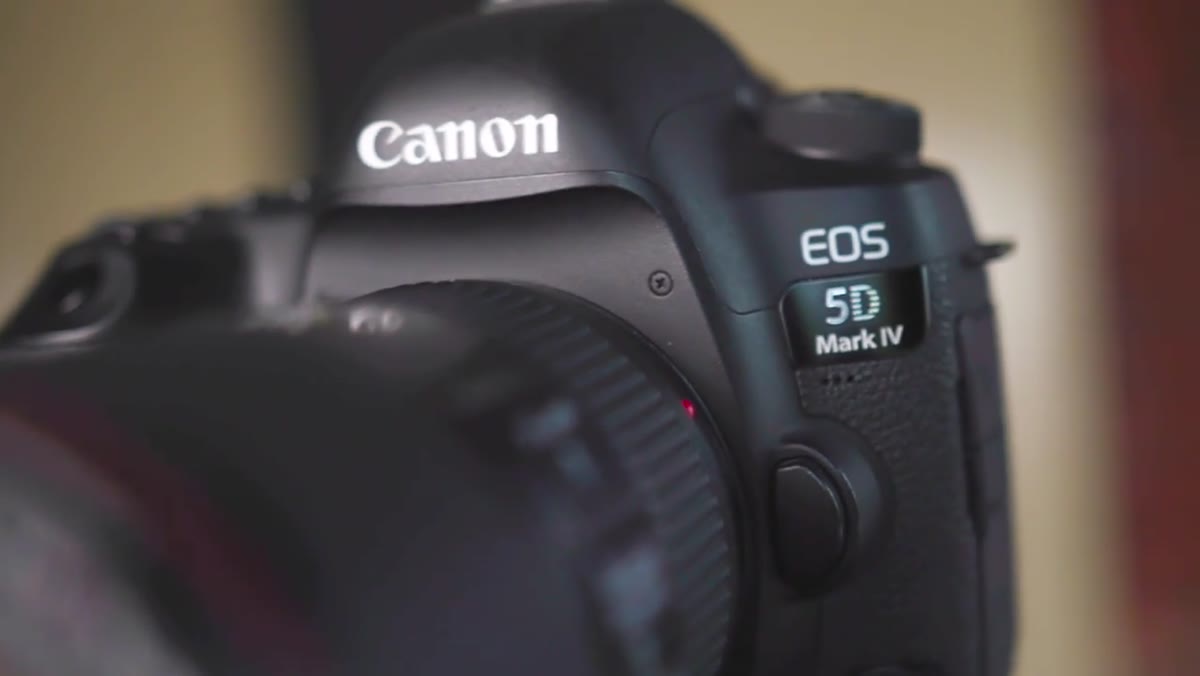 Canon 5D Mark IV shown as the primary camera on desk
Adam’s primary camera is a Canon 5D Mark IV, which is not a new or trendy choice. He considered upgrading to the Canon R5 when it launched but ultimately decided against it. His logic is clean: the 5D Mark IV still produces excellent images, and for his specific use case, the upgrade wouldn’t meaningfully improve his output. He did eventually bring in a different camera body for video-specific work, but the point is that he started from what already worked.
Canon 5D Mark IV shown as the primary camera on desk
Adam’s primary camera is a Canon 5D Mark IV, which is not a new or trendy choice. He considered upgrading to the Canon R5 when it launched but ultimately decided against it. His logic is clean: the 5D Mark IV still produces excellent images, and for his specific use case, the upgrade wouldn’t meaningfully improve his output. He did eventually bring in a different camera body for video-specific work, but the point is that he started from what already worked.
This is the move I’ve been preaching for years. Gear research is seductive. I’ve got a spreadsheet with 40-plus budget lenses ranked by performance per dollar, and even I have to remind myself that the camera you already own is better than the one you’re waiting to afford. Build your studio around your current kit first.
Step 3: Treat Your Main Light as the Most Important Decision in the Room
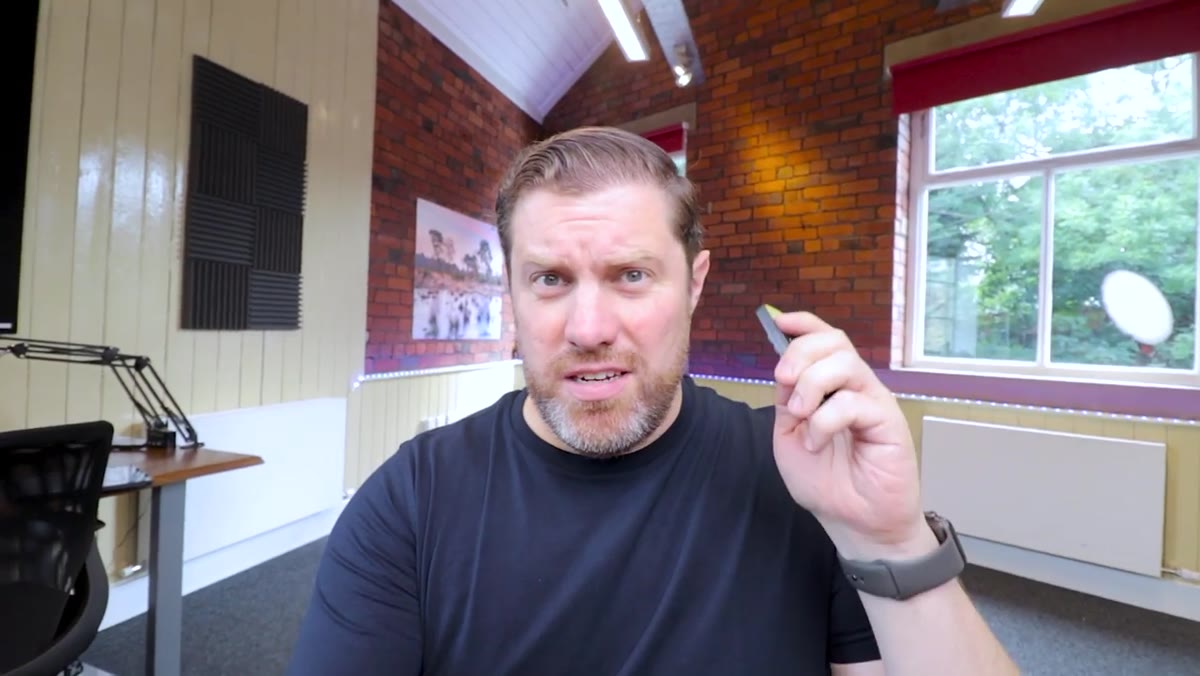 Main video light being switched off to reveal the behind-the-scenes setup
Adam turns off his primary light source specifically to show viewers what the setup actually looks like without it. That’s a smart teaching moment because it reveals how much that single light source is doing. A strong key light placed correctly can make an average camera look great. A poor lighting setup will make a great camera look mediocre.
Main video light being switched off to reveal the behind-the-scenes setup
Adam turns off his primary light source specifically to show viewers what the setup actually looks like without it. That’s a smart teaching moment because it reveals how much that single light source is doing. A strong key light placed correctly can make an average camera look great. A poor lighting setup will make a great camera look mediocre.
He walks through the light’s position and how it shapes the image before talking about anything else in the space. Take that ordering seriously. If you’re building a studio setup from scratch, spend your first dollars on a quality adjustable LED panel before you think about backdrops, microphones, or monitor arms. Light is the variable with the highest return on investment.
Step 4: Design Multiple Setups Within One Space
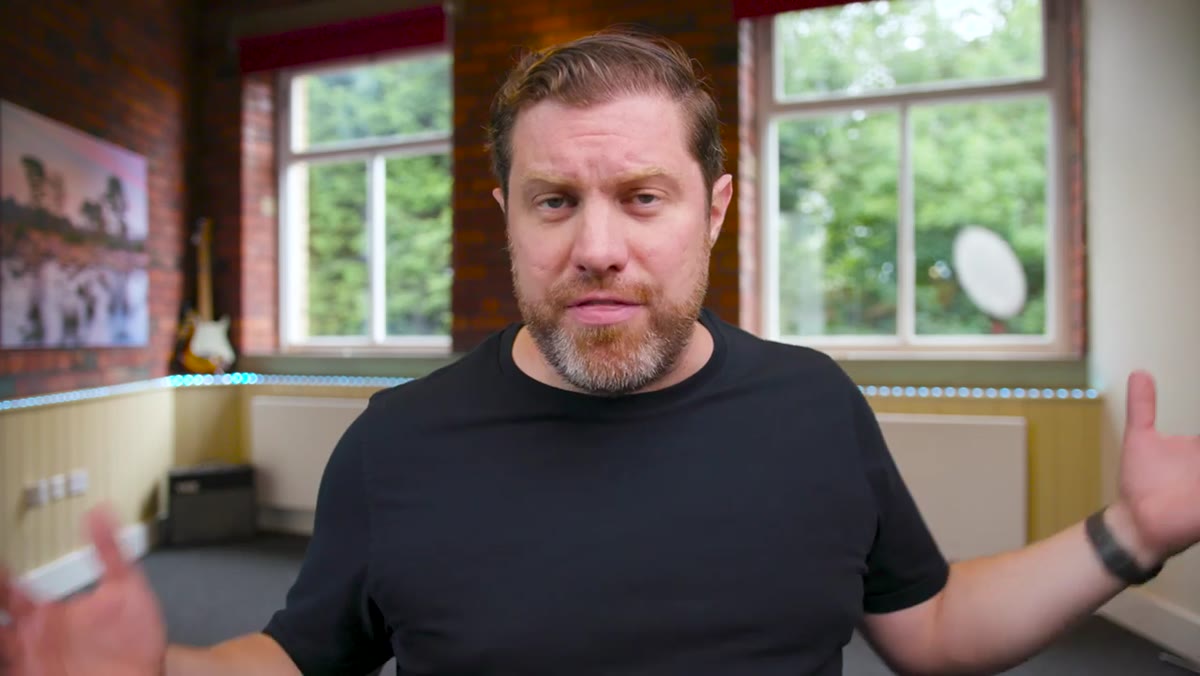 Adam describing three distinct setups within the studio
One of the more practical ideas in the whole video is that Adam didn’t build one shooting environment. He built three distinct setups within the same room, each optimized for a different type of content. One is configured for standard YouTube talking-head videos. The others serve different production needs tied to his Rawroom platform and workshop content.
Adam describing three distinct setups within the studio
One of the more practical ideas in the whole video is that Adam didn’t build one shooting environment. He built three distinct setups within the same room, each optimized for a different type of content. One is configured for standard YouTube talking-head videos. The others serve different production needs tied to his Rawroom platform and workshop content.
You don’t need three rooms to do this. You need thoughtful use of one room. Think about where your camera will sit for each type of shoot, what’s in the background for each angle, and how your lighting changes between them. Mapping this out in advance means you’re not rebuilding your setup every time you sit down to record.
Step 5: Match Your Background to Your Content Type
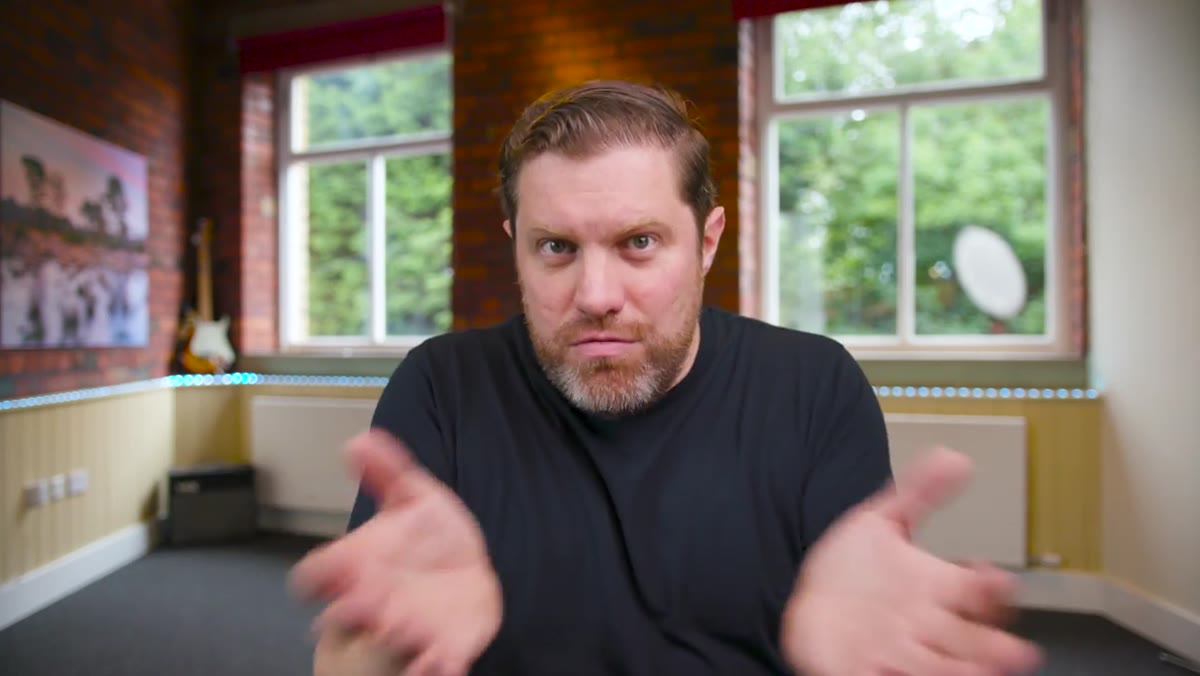 Studio background visible behind Adam during the main shooting setup
The background in Adam’s primary YouTube setup is clean and controlled. It’s not accidental. Everything in frame communicates something about the creator’s credibility and focus. When he was filming at home, a wrong camera angle put a washing machine in his tutorial footage. That’s a distraction that erodes viewer trust in subtle ways.
Studio background visible behind Adam during the main shooting setup
The background in Adam’s primary YouTube setup is clean and controlled. It’s not accidental. Everything in frame communicates something about the creator’s credibility and focus. When he was filming at home, a wrong camera angle put a washing machine in his tutorial footage. That’s a distraction that erodes viewer trust in subtle ways.
For photographers reviewing gear or walking through techniques, your background should support the content, not compete with it. A few thoughtfully placed items, a bookshelf, a piece of camera equipment, something that signals expertise, will do more for your production value than any filter or color grade.
My Take: The Studio Isn’t the Goal, Consistency Is
I’ve reviewed gear in parking lots, at kitchen tables, and once in a bathroom because the acoustics were better. I get it. Not everyone can rent studio space, and honestly, most people shouldn’t rush to. What Adam’s setup actually demonstrates is that he made deliberate choices at every level: why he needed the space, what camera to keep using, where to put the light, how many setups to build. The studio is just the physical result of that thinking.
If you’re at the beginning of this process, start smaller. Get your lighting right in whatever space you have. Identify your worst recurring problem, whether it’s background clutter, bad audio, or inconsistent framing, and fix that one thing before moving on. That systematic approach is what separates shooters who improve from shooters who just accumulate gear.
The single most transferable idea from this tutorial is that Adam stuck with a camera body that was already proven for his needs and focused his energy on the environment around it. Environment is something you can control and optimize incrementally. It doesn’t require a budget upgrade. It requires clear thinking.
Watch the full tutorial on YouTube to see all three setups in action and get a closer look at how Adam’s studio actually flows during a real shoot.
Comments
Leave a Comment