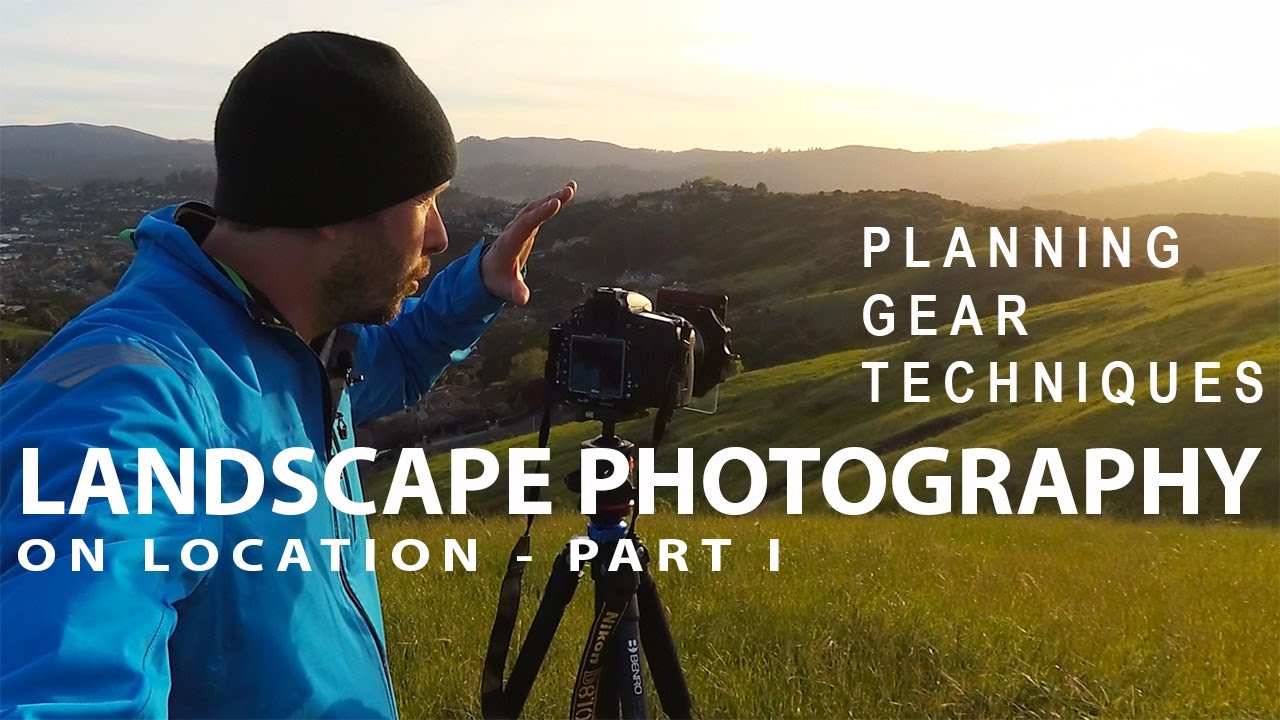
There’s a specific kind of frustration that comes from showing up to a location unprepared. Wrong light, no idea where the sun is going to land, lens choice that doesn’t match the scene. I’ve been there more times than I want to admit, mostly in my early days when I was more excited about getting outside than actually thinking through the shoot. It cost me keepers. Probably a lot of them.
That’s why I keep coming back to process-driven tutorials from photographers who treat a shoot like a job, not a happy accident. In this Nigel Danson tutorial, he walks through an entire landscape session from planning through execution, and even though he’s shooting with Nikon bodies that cost more than my first car, the workflow he uses is completely gear-agnostic. The thinking is what matters. Watch the full tutorial on YouTube if you want to see the full arc, but here’s what I pulled out and how I’d apply it.
What I appreciate most is that Danson filmed this session under real constraints, no car, just a bike, a single backpack, and whatever gear he could realistically carry. That’s actually more relatable than most polished landscape tutorials where someone shows up with a rolling case and three tripods.
Step 1: Use Sun Tracking Tools to Plan Your Shot Before You Leave the House
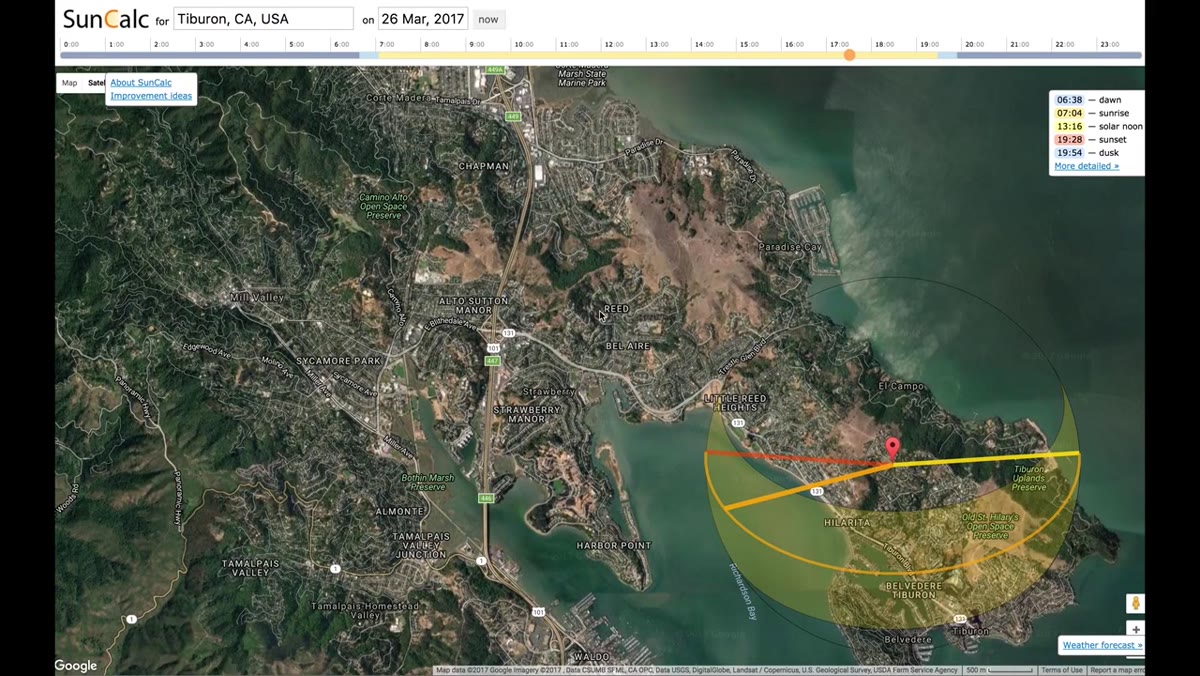 Sun arc overlay on a map showing sunset direction
Before Danson even touches his camera bag, he’s on a sun-tracking tool dropping a pin at his planned shooting location. He specifically mentions SunCalc and the TPE app, both of which let you preview the exact sun position at any time of day for any location. He’s using this not just to know when golden hour hits, but to figure out where the light is going to fall relative to a specific mountain in his frame.
Sun arc overlay on a map showing sunset direction
Before Danson even touches his camera bag, he’s on a sun-tracking tool dropping a pin at his planned shooting location. He specifically mentions SunCalc and the TPE app, both of which let you preview the exact sun position at any time of day for any location. He’s using this not just to know when golden hour hits, but to figure out where the light is going to fall relative to a specific mountain in his frame.
This is the part most beginners skip, and it’s the one that separates lucky shots from planned ones. Pull up SunCalc, drop your pin, scrub the time slider to sunset, and watch the arc. You’re looking for where the sun will be relative to your subject. If you want sidelighting on a ridge, you need to know which bank to shoot from. Five minutes of this work before you drive anywhere can save you two hours of repositioning on location.
Step 2: Choose Your Pack Size Based on How You’re Getting There
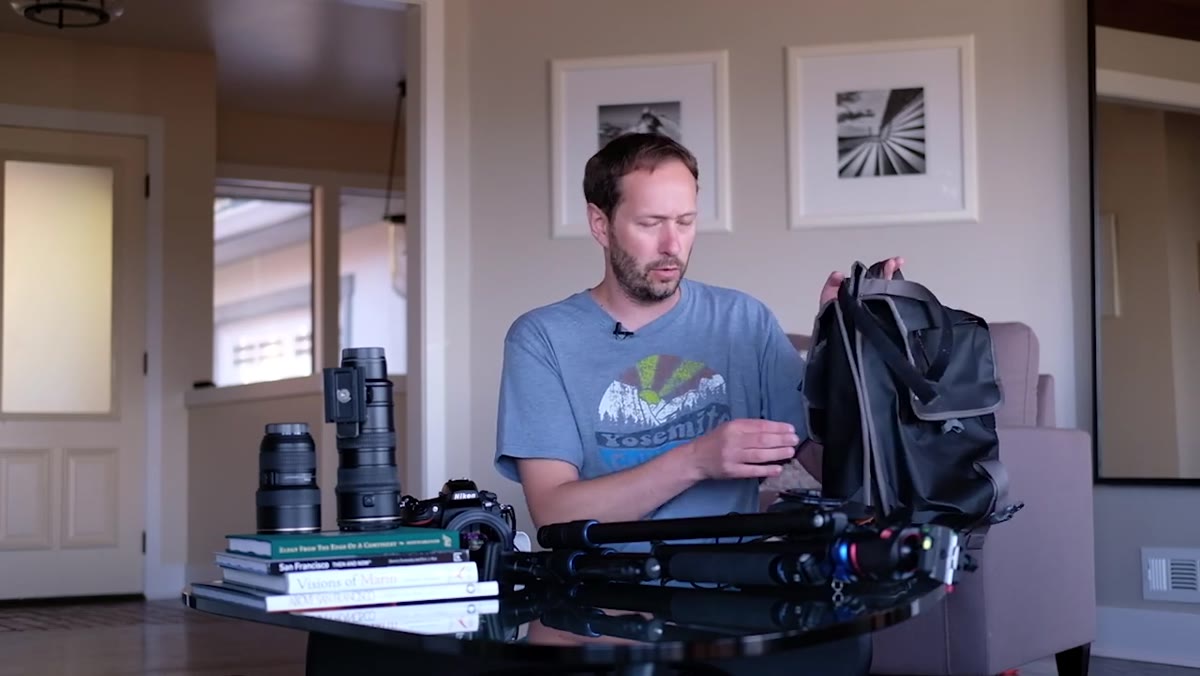 Timbuk2 backpack open on a surface with gear visible
Danson uses a Timbuk2 messenger-style backpack because he’s cycling to the location. That constraint forces a real decision: not all your gear comes with you. This is something I think about constantly since I do a lot of trail shooting in Colorado, where access points require actual hiking. Your transport method should dictate your loadout, not the other way around.
Timbuk2 backpack open on a surface with gear visible
Danson uses a Timbuk2 messenger-style backpack because he’s cycling to the location. That constraint forces a real decision: not all your gear comes with you. This is something I think about constantly since I do a lot of trail shooting in Colorado, where access points require actual hiking. Your transport method should dictate your loadout, not the other way around.
The practical move here is to lay out everything you want to bring, then cut it in half. Danson leaves his 70-200mm f/2.8 at home despite it being one of his most-used lenses. Too heavy, too bulky for the bag. If you’re shooting from a car park, sure, bring everything. If you’re on a bike or a trail, figure out which two lenses actually cover the scenarios you’re likely to encounter and commit to those.
Step 3: Anchor Your Kit Around One Versatile Mid-Range Zoom
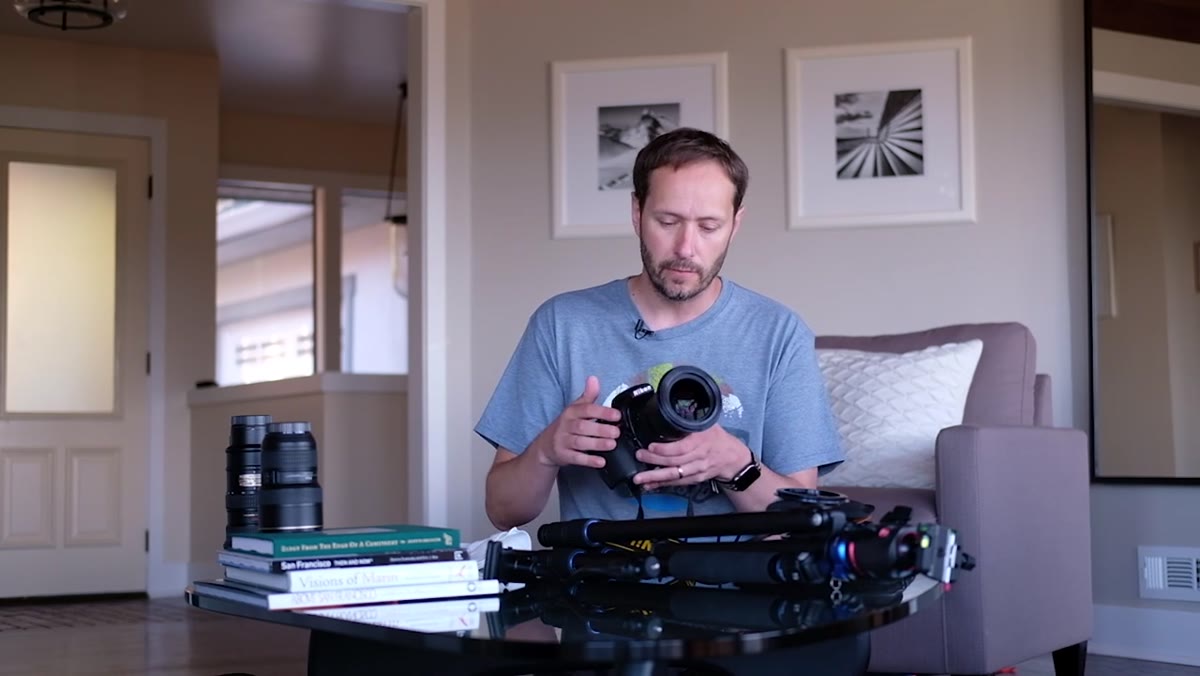 Nikon D810 with 24-70mm lens attached, held up to camera
His primary body is a Nikon D810 with a 24-70mm lens mounted. The D810 is a full-frame workhorse, but the lens logic here applies to any system. A 24-70 equivalent gives you enough compression at the long end to pull in distant features and enough width to handle foreground context. It’s not exciting, but it covers the majority of landscape situations without forcing you to swap glass mid-shoot.
Nikon D810 with 24-70mm lens attached, held up to camera
His primary body is a Nikon D810 with a 24-70mm lens mounted. The D810 is a full-frame workhorse, but the lens logic here applies to any system. A 24-70 equivalent gives you enough compression at the long end to pull in distant features and enough width to handle foreground context. It’s not exciting, but it covers the majority of landscape situations without forcing you to swap glass mid-shoot.
On a budget, this is the argument for something like a used 18-55mm kit lens before you drop money on anything fancy. The focal range is what matters more than the glass quality in most landscape work. I’ve shot mountain scenes near Denver with a kit lens that held up just fine in print because the light and composition were doing the heavy lifting.
Step 4: Add a Wide Prime or Wide Zoom for Environmental Context
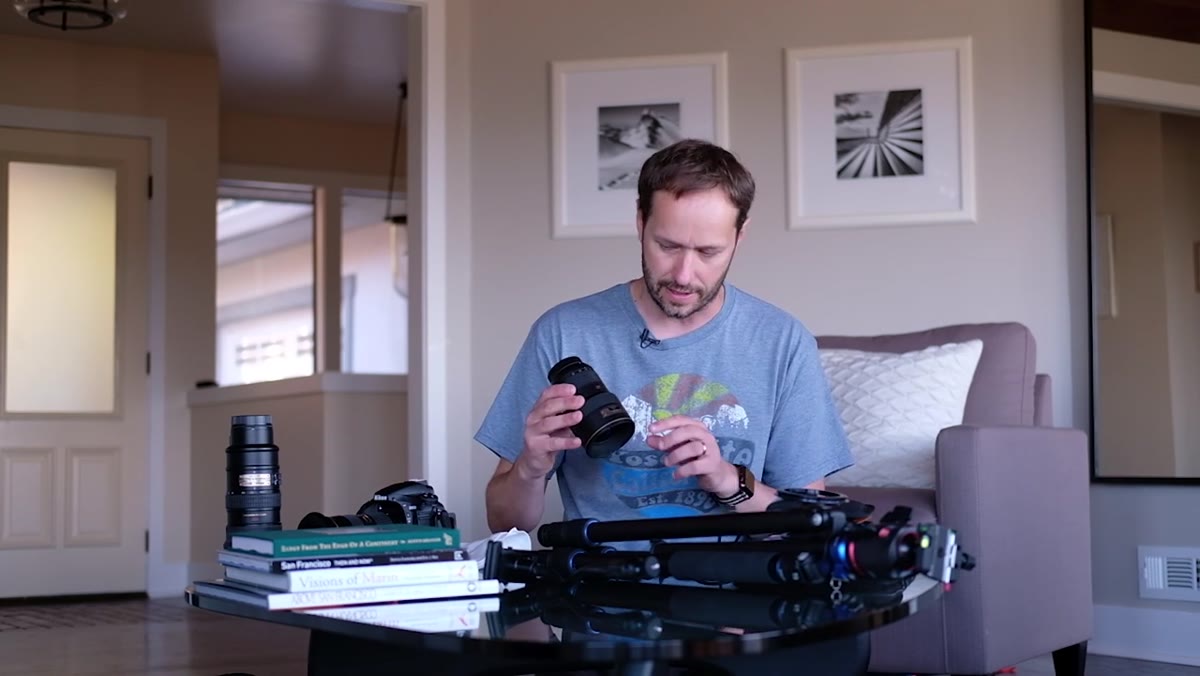 16-35mm lens held separately, described as primary landscape lens
The second lens Danson packs is a 16-35mm, and he actually calls this the lens he uses for most of his landscape work. Wide zooms let you build in strong foreground interest, which is a technique that creates depth in an otherwise flat two-dimensional image. Getting low and close to rocks, water, or vegetation with a wide angle, then composing the horizon further back in the frame, is a foundational landscape move.
16-35mm lens held separately, described as primary landscape lens
The second lens Danson packs is a 16-35mm, and he actually calls this the lens he uses for most of his landscape work. Wide zooms let you build in strong foreground interest, which is a technique that creates depth in an otherwise flat two-dimensional image. Getting low and close to rocks, water, or vegetation with a wide angle, then composing the horizon further back in the frame, is a foundational landscape move.
Budget equivalent: the Rokinon and Samyang manual focus wide lenses (often the same lens, different branding) are genuinely sharp and sit well under $300 new. I’ve tested a few of them. They don’t autofocus, but for landscapes on a tripod, that doesn’t matter at all. If you’re on a mirrorless system, focus peaking makes manual wide lenses even more practical.
Step 5: Know When to Switch Off Vibration Reduction on a Tripod
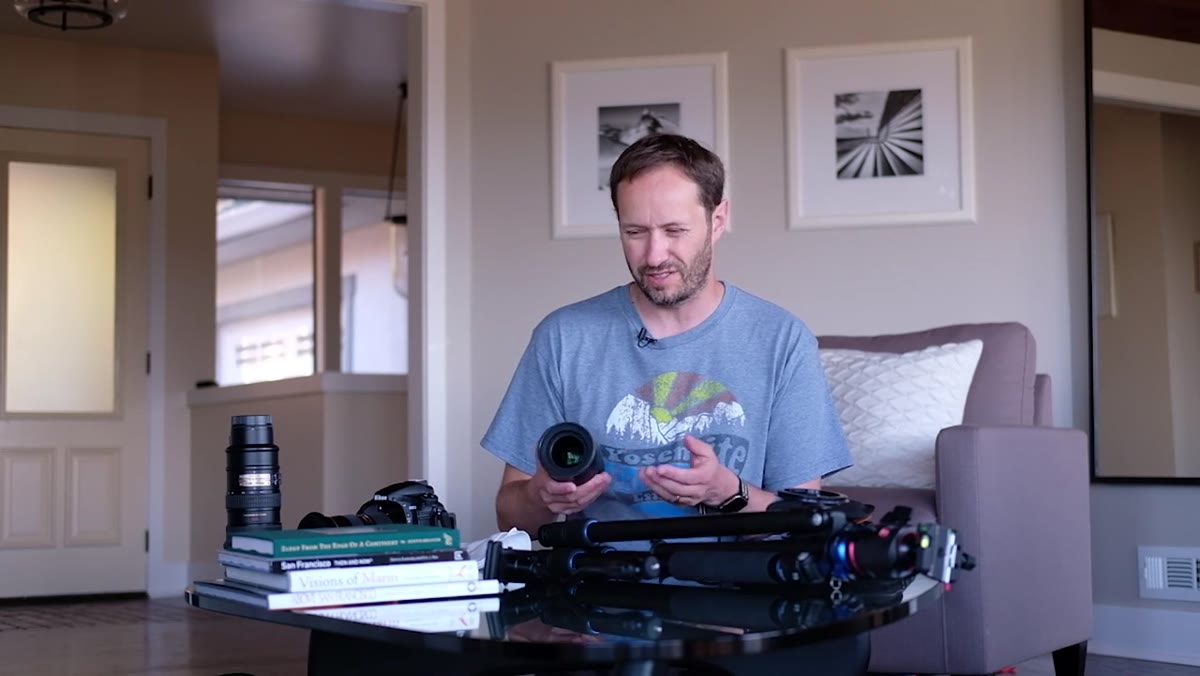 Closeup of lens body, VR switch mentioned in context of tripod use
Danson notes that his 16-35mm has vibration reduction but that he switches it off when shooting on a tripod. This is not a minor detail. On many lenses, leaving stabilization active while the camera is stationary actually introduces micro-blur because the system is searching for motion that isn’t there. It’s a counterintuitive setting that trips up a lot of newer shooters.
Closeup of lens body, VR switch mentioned in context of tripod use
Danson notes that his 16-35mm has vibration reduction but that he switches it off when shooting on a tripod. This is not a minor detail. On many lenses, leaving stabilization active while the camera is stationary actually introduces micro-blur because the system is searching for motion that isn’t there. It’s a counterintuitive setting that trips up a lot of newer shooters.
The rule is simple: stabilization on when handholding, stabilization off on a tripod. Check your specific lens manual because some newer systems are smart enough to detect tripod use automatically, but if you’re using anything more than a couple of years old, assume you need to flip that switch manually.
My Take: The Constraint Is the Point
I’ve noticed that my best location shots have almost always come from sessions where I was forced to simplify. The time I hiked a trail outside Boulder with just a 35mm prime because my bag was already full of camping gear - that forced me to commit to one perspective and work it hard. Danson’s bike-and-backpack setup does the same thing deliberately.
Budget shooters actually have a structural advantage here. When you can’t afford five lenses, you learn two lenses deeply. You know exactly how the 50mm renders at f/8 in flat light. You stop hedging and start deciding. Constraints are skill-building friction, not a handicap.
The single biggest thing I took from this tutorial is to front-load your shoot with map and sun research before you go anywhere near your gear bag. A good location found badly is still a bad shot. Know where your light is going to come from, plan your position relative to your subject, and then pack only what you can carry comfortably. Everything else follows from those two decisions.
Watch the full tutorial on YouTube to follow Danson through the actual shoot and see how the planning holds up in the field.
Comments
Leave a Comment