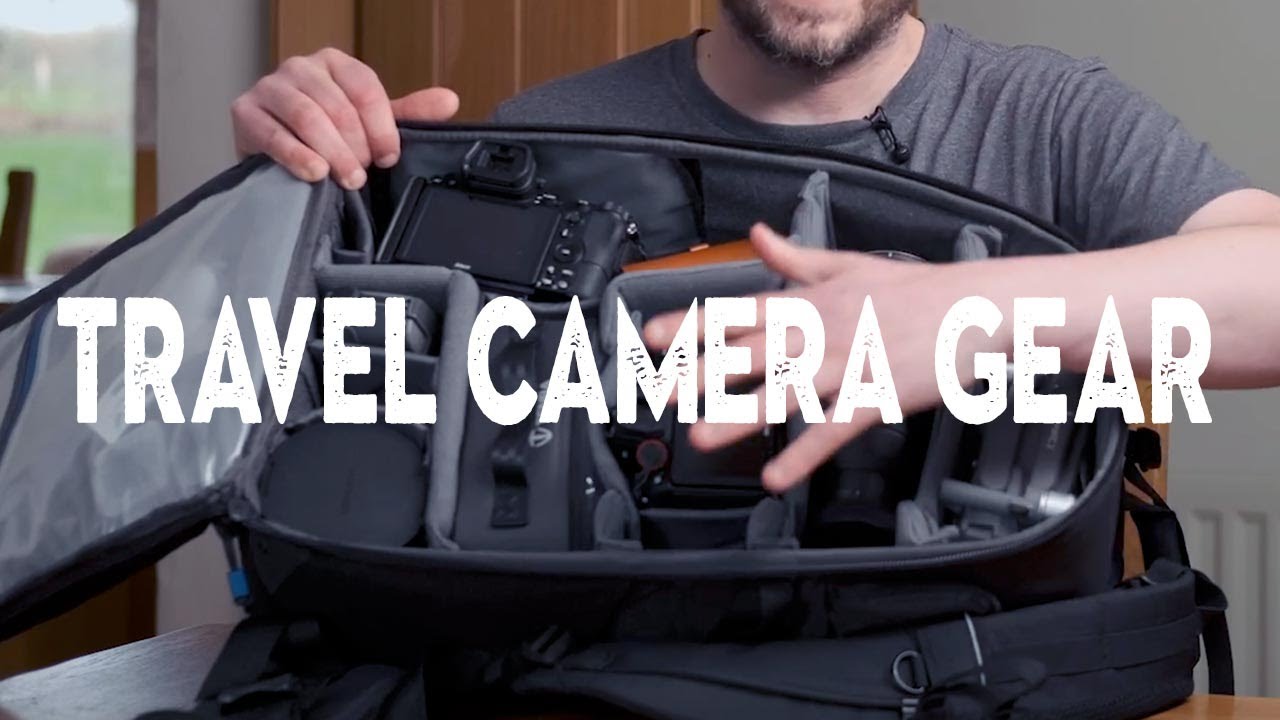
Every time I book a flight for a shoot, I spend about two hours the night before playing Tetris with my gear. Something always gets left behind, something always feels risky in checked luggage, and I never feel confident I’ve made the right calls. For a long time I assumed that was just the tax of traveling light. Then I watched how Nigel Danson approaches it, and I realized I was making the process harder than it needs to be.
In this Nigel Danson tutorial, he walks through exactly what he packs for an Iceland trip, bag by bag, item by item. Watch the full tutorial on YouTube before or after reading this breakdown. What struck me wasn’t the gear itself. It was the decision-making framework underneath it. He’s not just throwing things in a bag. He’s applying a consistent logic: irreplaceable and expensive goes in carry-on, bulky but low-risk goes in hold. Once I saw that clearly, I rebuilt my entire packing approach around it.
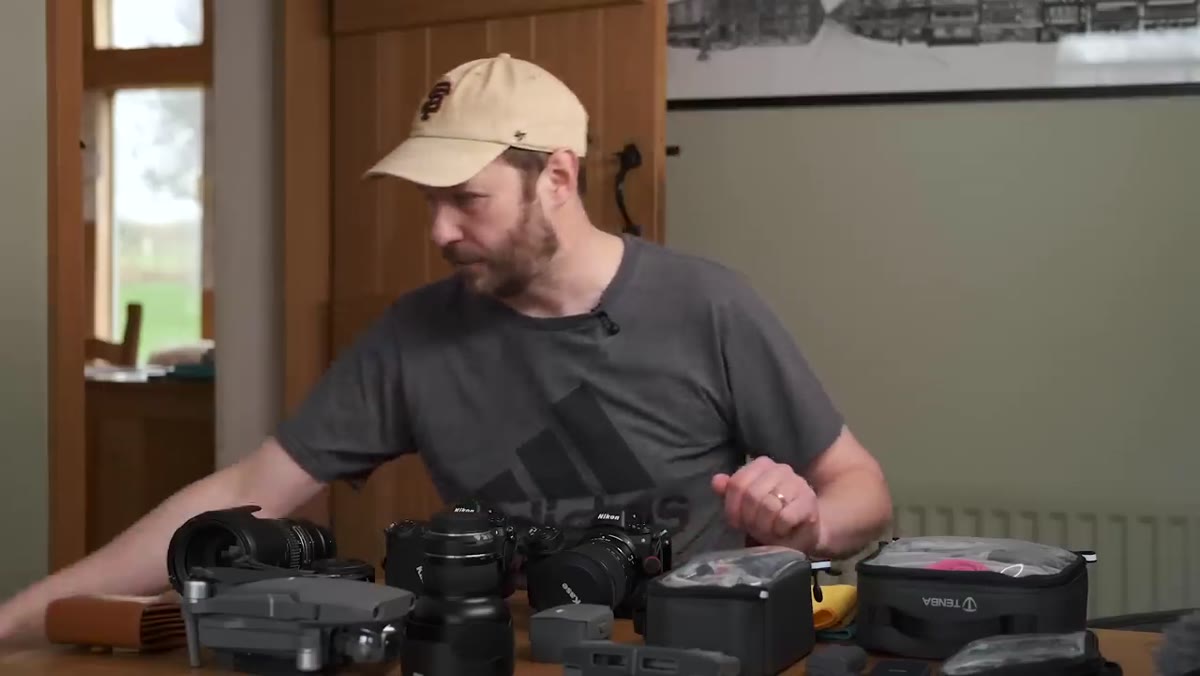
This is a photographer with serious kit. We’re talking multiple Nikon Z bodies, a drone, specialty lenses. If he can make that work within airline limits, the rest of us have fewer excuses than we think.
Step 1: Choose Your Carry-On Bags Strategically
 Two carry-on bags laid out side by side on a surface
Nigel uses two carry-on bags, not one. The first is a laptop bag that handles cables and accessories. The second is a Shimoda bag sized specifically to hit airline carry-on limits without triggering a gate check. He mentions it sits at roughly 43 centimeters tall, comfortably within most height restrictions. He also packs a smaller Shimoda daypack inside the main bag for use on the trek itself.
Two carry-on bags laid out side by side on a surface
Nigel uses two carry-on bags, not one. The first is a laptop bag that handles cables and accessories. The second is a Shimoda bag sized specifically to hit airline carry-on limits without triggering a gate check. He mentions it sits at roughly 43 centimeters tall, comfortably within most height restrictions. He also packs a smaller Shimoda daypack inside the main bag for use on the trek itself.
The lesson here is practical: two carry-ons are often allowed, and using both intentionally gives you significantly more protected space. A laptop bag reads as a personal item at most airlines. Use that real estate deliberately rather than stuffing it with snacks and charging cables you could have checked.
Step 2: Attach Lenses to Camera Bodies Before Packing
 Nikon Z6 with wide-angle lens mounted, being placed into bag
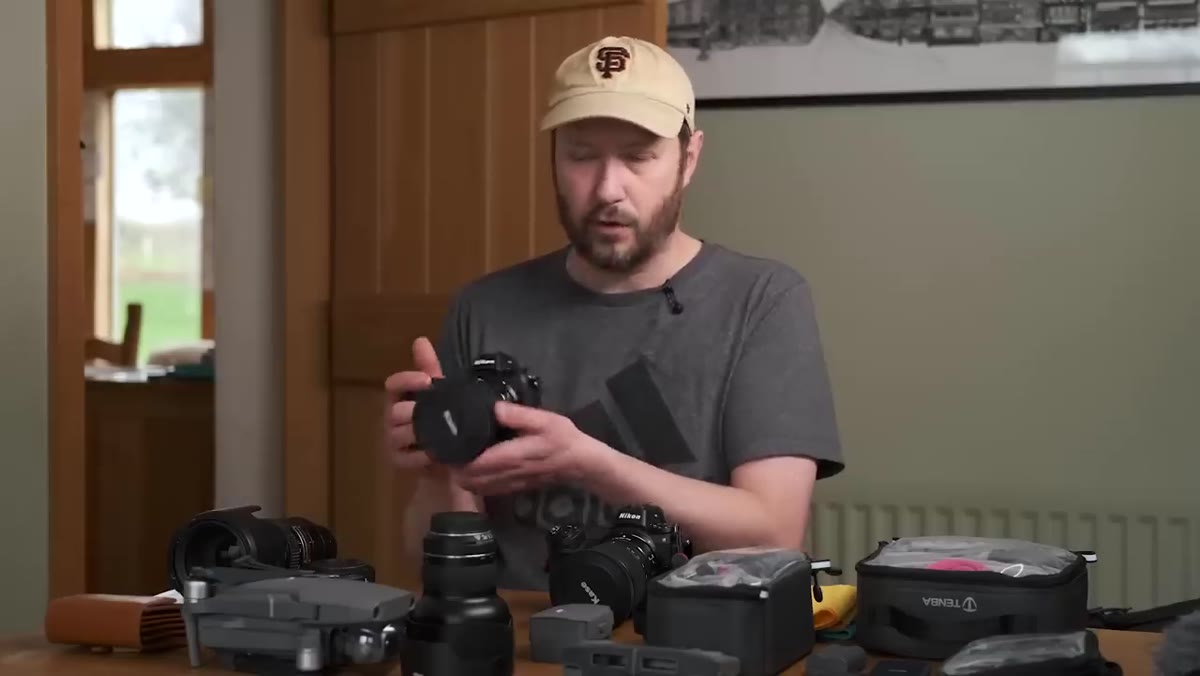
Nigel mounts each lens directly onto its camera body before placing it in the bag. His Z6 goes in with the 14-30mm already attached. His Z7 goes in with the 24-70mm mounted. The reasoning is straightforward: a body plus lens packed as a single unit takes up less total space than the two items stored separately, because you’re not wasting the interior volume of a separate lens pouch.
Nikon Z6 with wide-angle lens mounted, being placed into bag
Nigel mounts each lens directly onto its camera body before placing it in the bag. His Z6 goes in with the 14-30mm already attached. His Z7 goes in with the 24-70mm mounted. The reasoning is straightforward: a body plus lens packed as a single unit takes up less total space than the two items stored separately, because you’re not wasting the interior volume of a separate lens pouch.
If you’re using a bag with customizable dividers, design your compartments around body-plus-lens units rather than bodies in one section and lenses in another. You’ll fit more in the same volume, and you’ll reduce the number of connection points that can get bumped or jostled in transit.
Step 3: Pack the “Holy Trinity” of Focal Lengths
 Three lenses arranged next to camera bodies on a flat surface
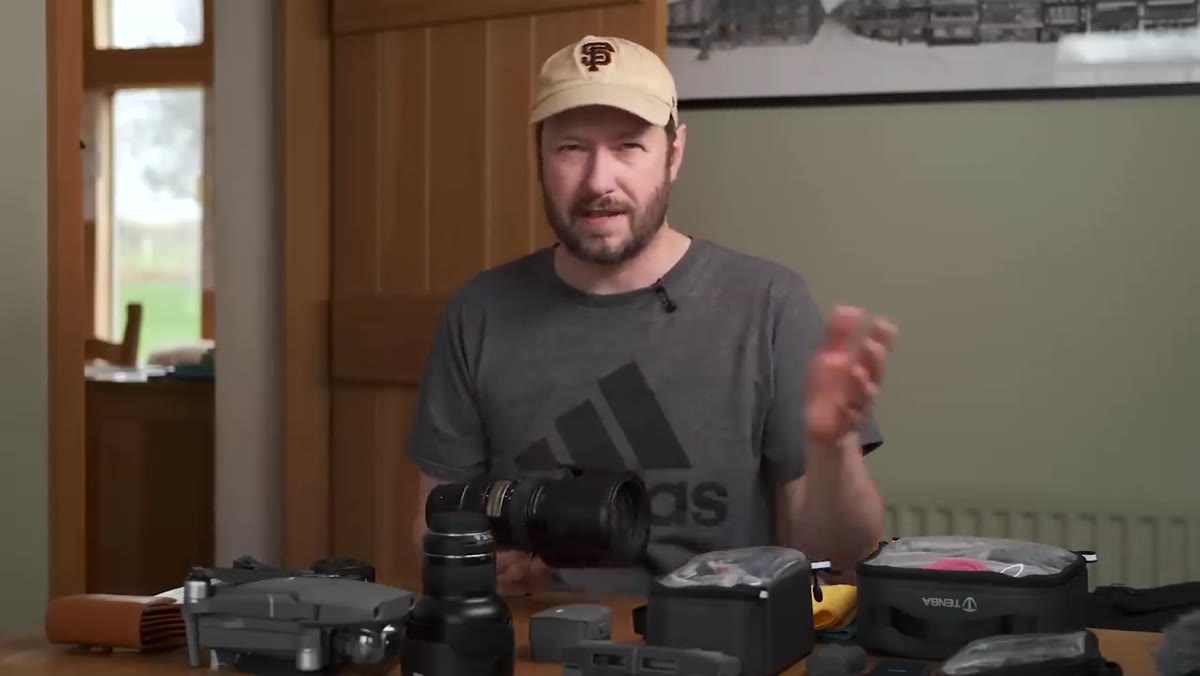
The lens selection Nigel brings covers 14mm to 200mm with three lenses: the 14-30mm on the Z6, the 24-70mm on the Z7, and a 70-200mm packed separately. He calls this his Holy Trinity, and it’s a concept worth borrowing regardless of your system. You want a wide, a standard zoom, and a telephoto that together leave no major gap in your range.
Three lenses arranged next to camera bodies on a flat surface
The lens selection Nigel brings covers 14mm to 200mm with three lenses: the 14-30mm on the Z6, the 24-70mm on the Z7, and a 70-200mm packed separately. He calls this his Holy Trinity, and it’s a concept worth borrowing regardless of your system. You want a wide, a standard zoom, and a telephoto that together leave no major gap in your range.
He also packs a mount adapter for the 70-200 since it’s an older F-mount lens on a Z-mount body. If you’re in a similar situation with adapted glass, don’t let that adapter become an afterthought. It belongs with the lens it serves, ideally rubber-banded or velcro-strapped to it so you never reach the trailhead and realize you left it on your desk.
Step 4: Include a Specialty Lens for the Trip’s Specific Goal
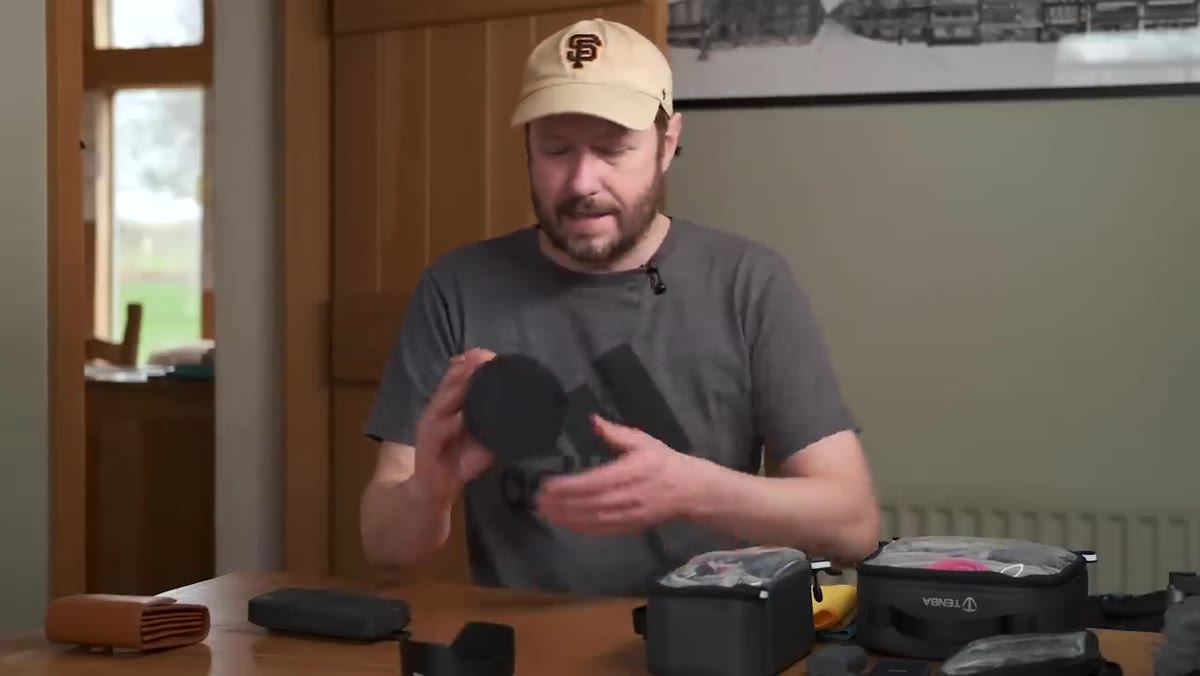 Samyang 14mm f2.4 manual focus lens held up to camera
This is the step most people skip, and it’s worth paying attention to. Alongside his standard kit, Nigel packs a Samyang 14mm f/2.4 manual focus lens specifically for astrophotography and Aurora shooting in Iceland. It has one job on this trip. He bought it for that job. It earns its spot in the bag because the destination justifies it.
Samyang 14mm f2.4 manual focus lens held up to camera
This is the step most people skip, and it’s worth paying attention to. Alongside his standard kit, Nigel packs a Samyang 14mm f/2.4 manual focus lens specifically for astrophotography and Aurora shooting in Iceland. It has one job on this trip. He bought it for that job. It earns its spot in the bag because the destination justifies it.
The habit to build here is asking one question before every trip: what is the single photographic opportunity unique to this location that my standard kit can’t fully serve? The answer might be a fast prime for low light, a macro lens for a botanical garden, or a longer telephoto for wildlife. Identify it, pack it, and don’t feel guilty about the extra weight.
Step 5: Pack the Drone in the Front Compartment
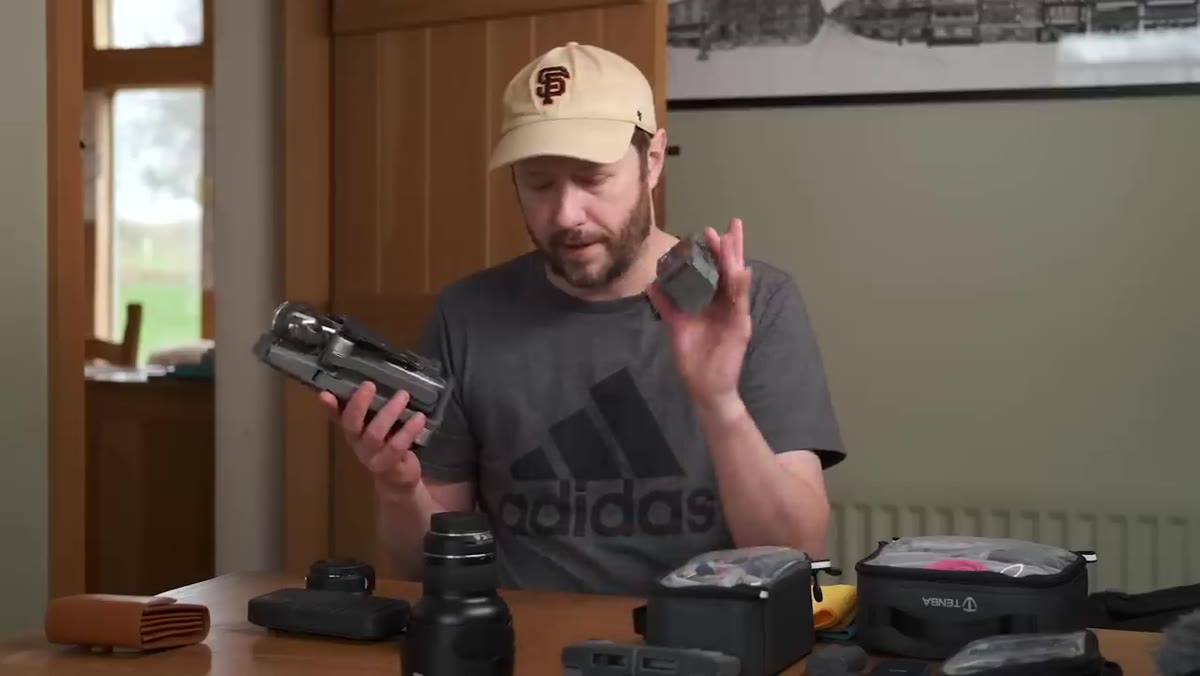 DJI Mavic 2 Pro with controller and spare battery being placed in front pocket
The Mavic 2 Pro, spare battery, and controller go into the front section of the Shimoda bag. Nigel treats it as a self-contained unit rather than distributing the components across compartments. Drone regulations and airline battery rules make this worth thinking through before you ever zip the bag. Batteries have to stay in carry-on (no lithium batteries in checked hold without restrictions), so the drone was never going in the checked bag to begin with.
DJI Mavic 2 Pro with controller and spare battery being placed in front pocket
The Mavic 2 Pro, spare battery, and controller go into the front section of the Shimoda bag. Nigel treats it as a self-contained unit rather than distributing the components across compartments. Drone regulations and airline battery rules make this worth thinking through before you ever zip the bag. Batteries have to stay in carry-on (no lithium batteries in checked hold without restrictions), so the drone was never going in the checked bag to begin with.
If you fly with a drone, keep all its components together in one place in your carry-on. Security will almost certainly pull the bag for inspection. Having everything grouped means the inspection goes faster and you’re less likely to leave a controller pocket or ND filter set behind in a bin at the checkpoint.
Step 6: Use Small Pouches to Organize Accessories by Category
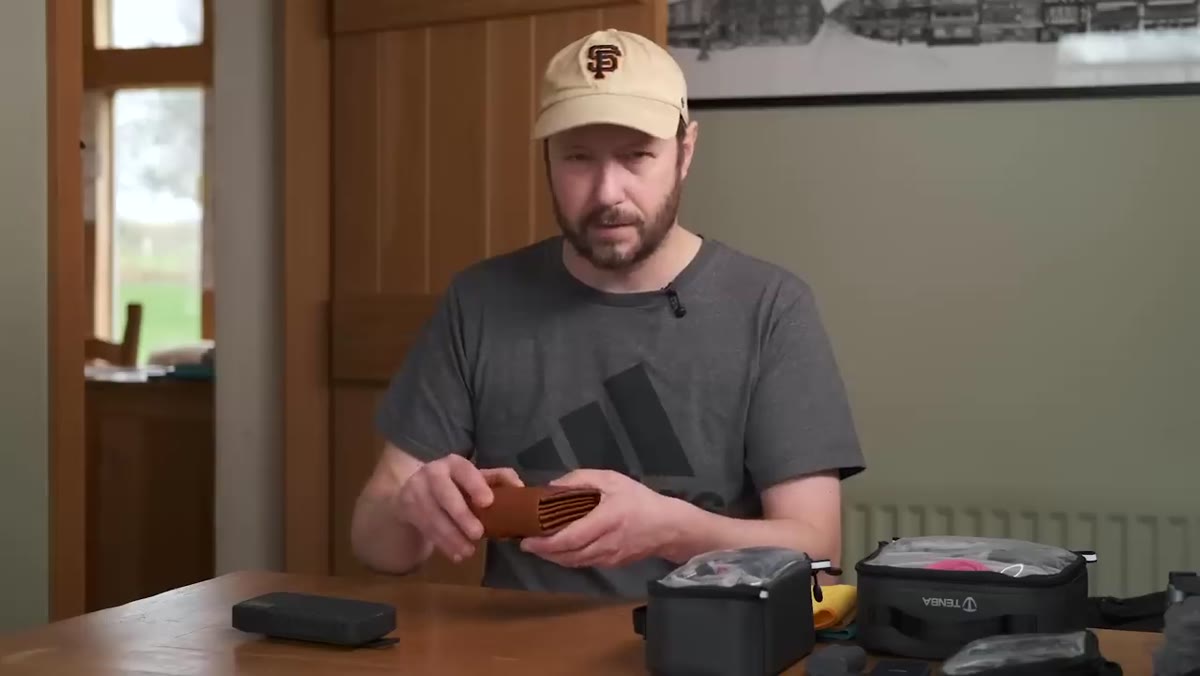 Labeled Shimoda accessory pouches laid out showing different categories
Nigel uses Shimoda’s accessory pouches, one for microphone gear, one for batteries, one for cables. Each category gets its own pouch. The filter set is a separate compact case holding a 3-stop, 6-stop, 10-stop, and polarizer. The lens hood for his 24-70mm goes in checked luggage because it’s bulky and not at risk if lost.
Labeled Shimoda accessory pouches laid out showing different categories
Nigel uses Shimoda’s accessory pouches, one for microphone gear, one for batteries, one for cables. Each category gets its own pouch. The filter set is a separate compact case holding a 3-stop, 6-stop, 10-stop, and polarizer. The lens hood for his 24-70mm goes in checked luggage because it’s bulky and not at risk if lost.
The category-based system sounds obvious until you’re standing at a hotel desk at 5am trying to find your intervalometer cable. Label your pouches, commit to the system, and enforce it every time you repack. The system only works if you never make exceptions.
What I Do Differently on a Budget Kit
Nigel’s approach works at his gear level, but the underlying logic scales down completely. My version of the Holy Trinity costs about a quarter of what his does, and it fits in a cheaper bag. The one thing I’d add to his framework is a weight-per-use calculation before the trip. I keep a quick note in my phone with every item I’m considering and roughly how many shots I expect to take with it. Anything that can’t justify its weight gets cut. My Samyang 135mm f/2 has saved its spot on four consecutive trips. My circular polarizer almost got cut last time because I barely used it the trip before. That kind of honest accounting keeps my carry-on from becoming a gear museum.
The single most important thing Nigel demonstrates isn’t any specific piece of gear. It’s that packing well is a repeatable system, not a last-minute scramble. Build the logic once, refine it after each trip, and your bag will pack itself.
Watch the full tutorial on YouTube to see exactly how everything fits and hear Nigel’s reasoning in real time.
Comments (3)
Clear and practical. No fluff. Appreciate that.
The before and after really sells it. Incredible difference.
Excellent tutorial. I'd add that from a landscape standpoint, this technique is incredibly versatile.
Leave a Comment