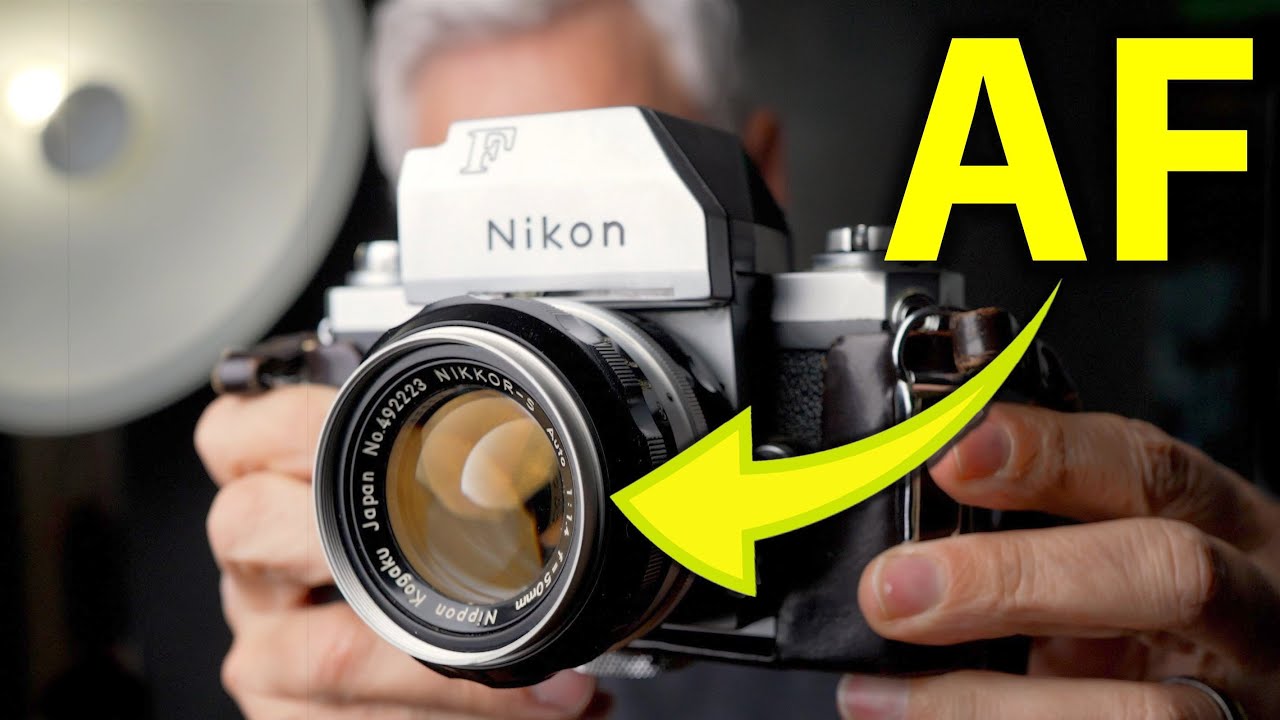
I’ve spent years arguing that cheap modern glass beats expensive vintage glass for practical shooting. And I still believe that. But I’ve also been testing vintage lenses long enough to know that “practical” isn’t the only reason people pick up a camera. Sometimes you want the rendering. The falloff. The slightly imperfect way a 1970s 50mm draws light. The problem has always been that using vintage glass on a modern body means giving up autofocus, and giving up autofocus means missing shots. Candid moments, kids, dogs, anything that moves more than a tripod subject. That tradeoff killed the workflow for me.
In this Tony & Chelsea Northrup tutorial, Tony walks through the TechArt TZM02, a second-generation autofocus adapter that physically moves your vintage lens to achieve focus on Nikon Z bodies. Watch the full tutorial on YouTube before diving into the steps below. Tony’s real-world test in Mystic, walking his dogs with a Voigtlander 35mm f/1.2 on a Z7 II, is exactly the use case that sold me on paying attention to this thing.
The core concept is mechanical: the adapter physically extends and retracts the lens to shift the focal plane, the same principle as an extension tube but motorized and driven by your camera’s autofocus system. It’s not magic. It’s physics with a motor attached. But knowing how it works helps you set realistic expectations before you spend the money.
Step 1: Understand What the Adapter Actually Does
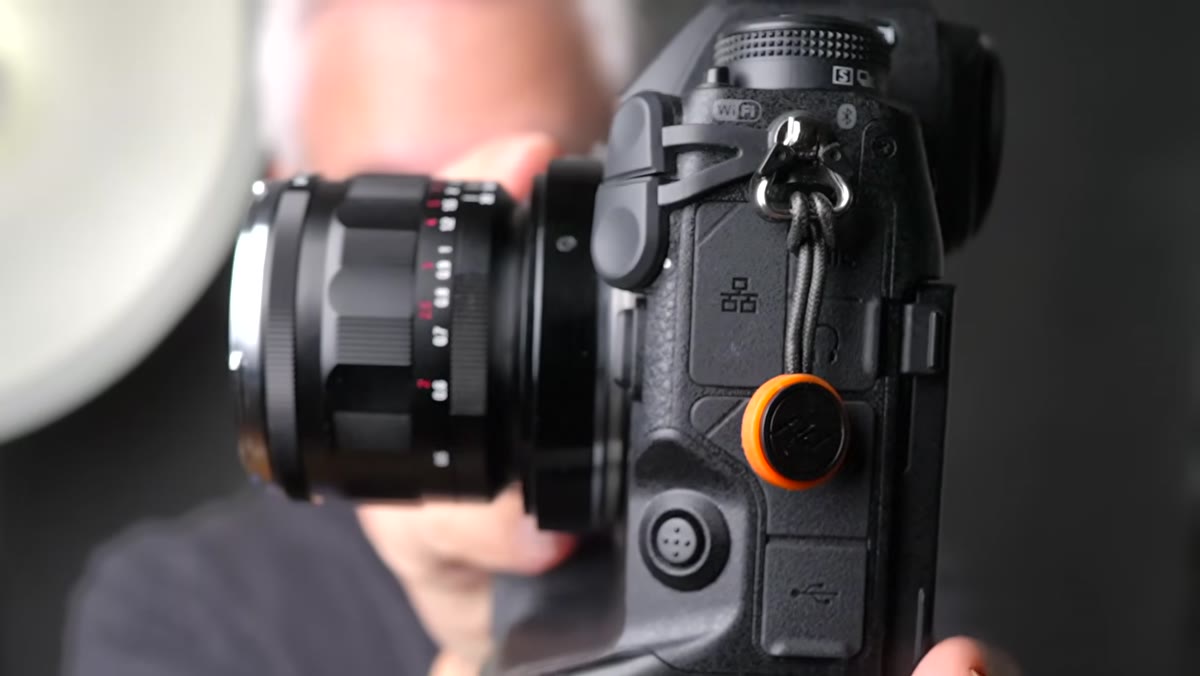 Adapter extending and retracting the mounted lens
The TechArt TZM02 sits between your Nikon Z body and your lens. When your camera’s AF system calls for focus at a closer distance, the adapter pushes the lens forward. When it needs to focus farther out, it pulls the lens back toward the camera. This is why it works with almost any lens you can physically mount: it doesn’t need to communicate electronically with the lens at all. The lens just rides along. The practical upside is that you’re not locked into Leica M glass. Any lens you can adapt to the Leica M mount interface on the front of this adapter becomes a candidate for autofocus.
Adapter extending and retracting the mounted lens
The TechArt TZM02 sits between your Nikon Z body and your lens. When your camera’s AF system calls for focus at a closer distance, the adapter pushes the lens forward. When it needs to focus farther out, it pulls the lens back toward the camera. This is why it works with almost any lens you can physically mount: it doesn’t need to communicate electronically with the lens at all. The lens just rides along. The practical upside is that you’re not locked into Leica M glass. Any lens you can adapt to the Leica M mount interface on the front of this adapter becomes a candidate for autofocus.
One side effect worth knowing: when you manually focus your lens to its minimum focusing distance before shooting, the adapter’s extension range acts like an additional extension tube. That means you can focus even closer than the lens was originally designed to go. For macro-adjacent work with vintage glass, that’s a genuinely useful bonus.
Step 2: Mount the Adapter to Your Nikon Z Body
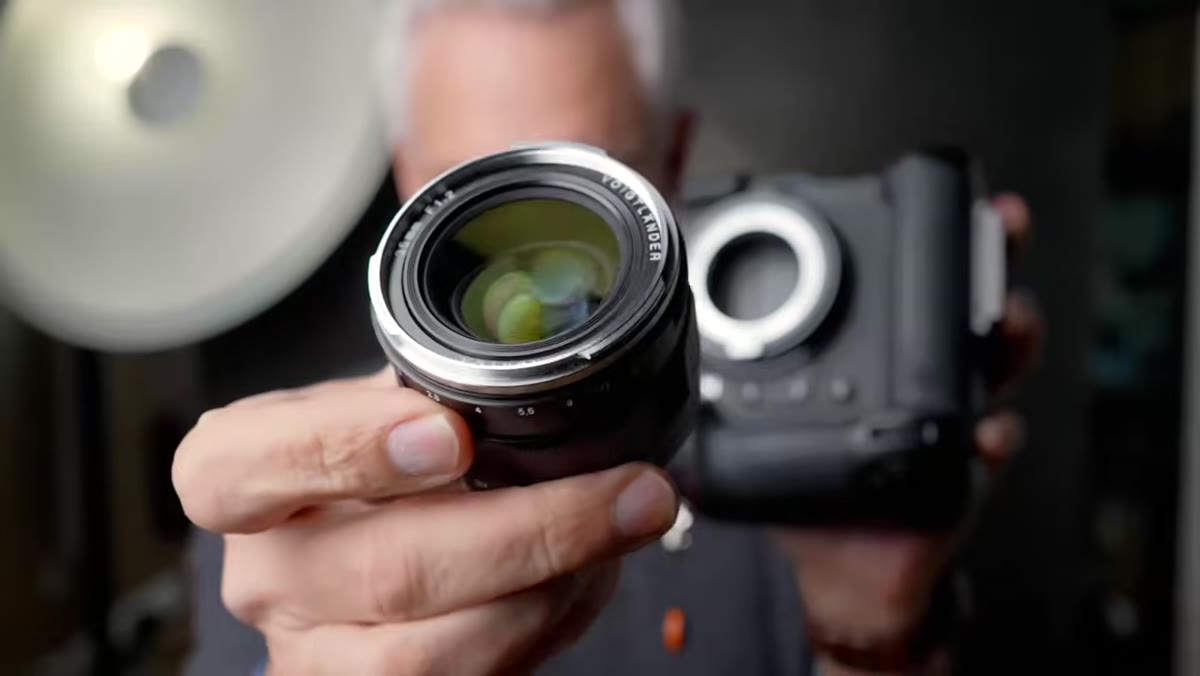 TZM02 adapter being attached to Nikon Z camera body
Mounting the TZM02 to a Nikon Z body works exactly like attaching the standard Nikon FTZ adapter. Align the mount marks, press the release button, and rotate until it seats. There’s nothing unusual about the physical connection on the camera side. The adapter draws power from the camera body, so no batteries or charging required on the adapter itself.
TZM02 adapter being attached to Nikon Z camera body
Mounting the TZM02 to a Nikon Z body works exactly like attaching the standard Nikon FTZ adapter. Align the mount marks, press the release button, and rotate until it seats. There’s nothing unusual about the physical connection on the camera side. The adapter draws power from the camera body, so no batteries or charging required on the adapter itself.
If you’re also adapting Nikon F-mount lenses or Canon lenses rather than native Leica M glass, you’ll need a second adapter in the chain. Tony uses a Leica M to Nikon F adapter stacked on top of the TZM02 to mount Nikon vintage glass. The rotation direction for each adapter is opposite, so pay attention to which way each one locks. Lefty-tighty applies to the TechArt piece specifically.
Step 3: Mount Your Vintage Lens
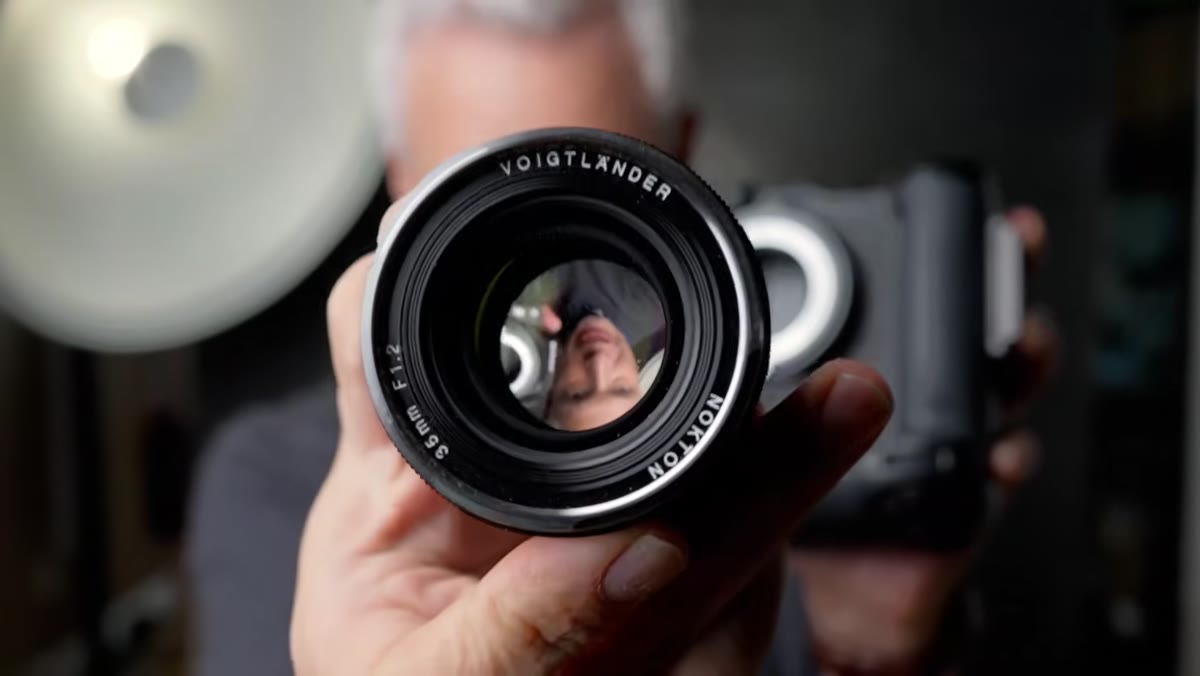 Voigtlander 35mm lens being attached to the TZM02 adapter
Attach your Leica M mount lens to the front of the TZM02 the same way you’d attach it to a Leica body. If you’re running a two-adapter stack for Nikon F or Canon glass, mount the secondary adapter first, then your lens into that. The total stack adds some length to your setup, which affects both the look of the rig and the minimum focus behavior, so test it on a desk before heading out.
Voigtlander 35mm lens being attached to the TZM02 adapter
Attach your Leica M mount lens to the front of the TZM02 the same way you’d attach it to a Leica body. If you’re running a two-adapter stack for Nikon F or Canon glass, mount the secondary adapter first, then your lens into that. The total stack adds some length to your setup, which affects both the look of the rig and the minimum focus behavior, so test it on a desk before heading out.
Once the lens is mounted, set it to its widest aperture if you want shallow depth of field, or stop it down for landscapes and street work. The adapter has no aperture control over the lens, so whatever aperture ring position you set is what you shoot at. Manual aperture control is the whole deal here. Build that habit early.
Step 4: Set Your Camera to Use the AFON Button for Autofocus
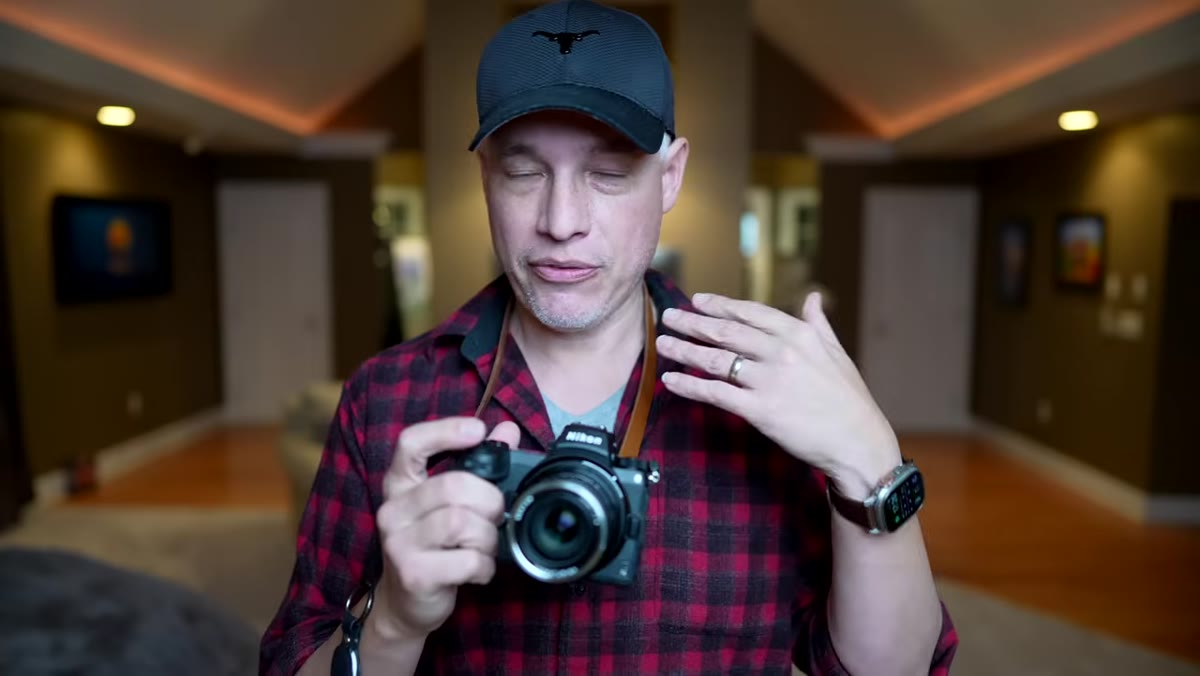 Photographer shooting handheld with camera around neck
Tony’s setup detail that I found most useful: assign autofocus to a back-button AF-ON setup so that the shutter button never triggers AF. This matters because you’ll want the option to switch between autofocus and manual focus fluidly without changing settings. When you want a quick grab shot while the camera is around your neck, you hit AF-ON and let the adapter hunt for focus. When you want to take your time and manually focus the lens ring, you just don’t press it. No mode switching, no menu diving.
Photographer shooting handheld with camera around neck
Tony’s setup detail that I found most useful: assign autofocus to a back-button AF-ON setup so that the shutter button never triggers AF. This matters because you’ll want the option to switch between autofocus and manual focus fluidly without changing settings. When you want a quick grab shot while the camera is around your neck, you hit AF-ON and let the adapter hunt for focus. When you want to take your time and manually focus the lens ring, you just don’t press it. No mode switching, no menu diving.
This keeps the shooting experience close to what you’d have on a Leica: deliberate, manual, quiet. But with an escape hatch for moments where you need the camera to do the work.
Step 5: Know When Autofocus Performs Well (and When It Doesn’t)
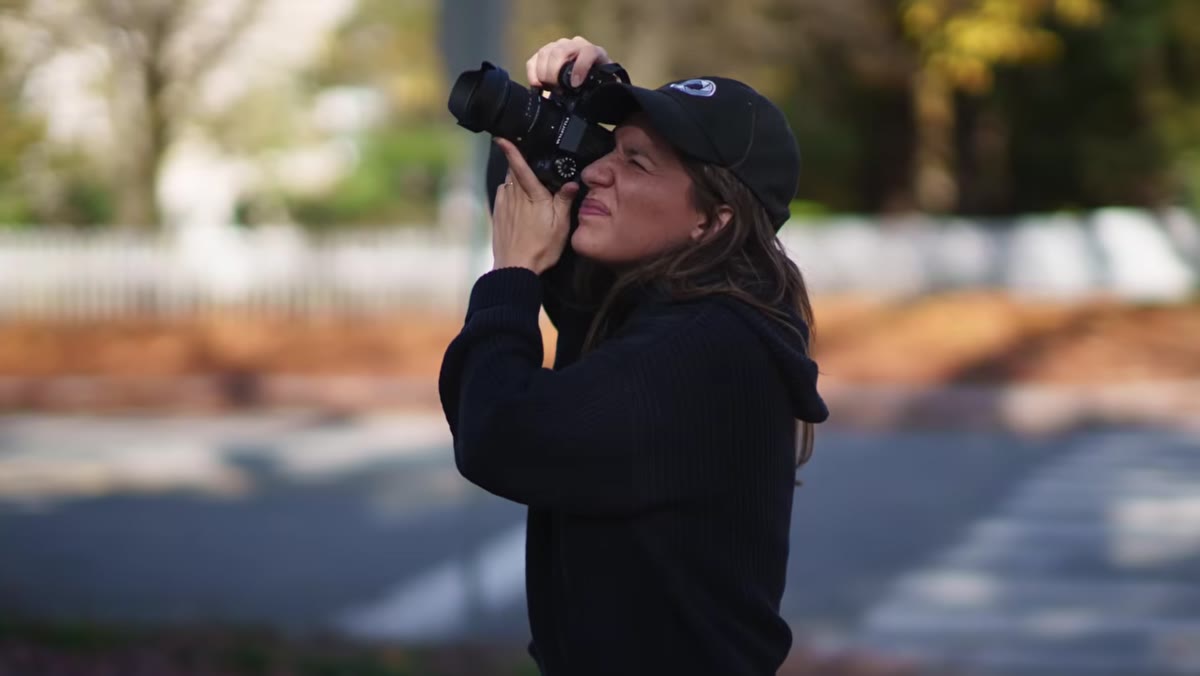 Autofocus demonstrated on still and slow-moving subjects
Tony is straightforward about the performance ceiling here. The autofocus works well on still subjects and tolerably on slow-moving ones. It is not the same experience as a native Nikon Z lens or a Sony G Master. The system hunts more, acquires more slowly, and will occasionally miss. For street portraits, casual walks, and environmental work where your subjects aren’t sprinting, it’s genuinely usable. For sports, fast kids, or anything requiring continuous tracking at speed, it isn’t the right tool.
Autofocus demonstrated on still and slow-moving subjects
Tony is straightforward about the performance ceiling here. The autofocus works well on still subjects and tolerably on slow-moving ones. It is not the same experience as a native Nikon Z lens or a Sony G Master. The system hunts more, acquires more slowly, and will occasionally miss. For street portraits, casual walks, and environmental work where your subjects aren’t sprinting, it’s genuinely usable. For sports, fast kids, or anything requiring continuous tracking at speed, it isn’t the right tool.
The video mode results were bad enough that Tony scrapped and re-recorded his footage. He tested multiple focal lengths, multiple apertures, and the adapter consistently pulsed in and out without holding steady focus. That’s an honest test. If video is your primary use case, this adapter is not your answer.
My Take: Stack This Against the Cost of a Vintage Lens Kit
I run a spreadsheet tracking every lens I’ve tested at every price point, and the vintage glass category has always had one column I couldn’t fill: autofocus compatibility. The TechArt TZM02 changes that math, but only if you already own Leica M glass or plan to build that collection. The adapter runs around $300-350 depending on where you find it, and that’s on top of the lens cost. If you’re starting from zero and just want interesting rendering, a Meike or 7Artisans manual lens for $80 still makes more budget sense.
But if you’re sitting on a shelf of vintage glass that’s collecting dust because manual focus killed your keeper rate, this adapter is worth serious consideration. The sweet spot is street and travel photography where you’re working at a comfortable distance and your subjects are mostly still. That’s exactly where I’d deploy it.
The single most important thing I took from Tony’s video is this: the adapter works by moving the lens, not by talking to it. That means it’s mount-agnostic and future-friendly. Any lens you can physically get onto that adapter front becomes an autofocus-capable lens on your Nikon Z. That’s a powerful sentence for anyone sitting on a vintage collection.
Watch the full tutorial on YouTube to see the real-world shooting results and Tony’s hands-on footage from Mystic.
Comments
Leave a Comment