There’s a version of this conversation that’s all theory. Three-two-one backup rules, RAID arrays, cloud redundancy, enterprise NAS setups. I’ve read all of it. I’ve also watched photographers lose client shoots because none of that theory was actually running when the drive hit concrete at a Starbucks.
That’s the version Joel Grimes tells, because it happened to him. In this Joel Grimes tutorial on digital storage, he skips the theoretical ideal and walks through the system he actually uses in the field, including the near-miss that made him rethink how he carries drives. For anyone shooting client work, the stakes he describes are real. When a job carries a $50,000 or $100,000 price tag in production costs, models, crew, and time, the photographer owns the responsibility of getting those files to the client intact. That pressure changes how you think about a $80 hard drive.
I got into budget gear content because I hated paying for redundancy I didn’t understand. Turns out I was thinking about it backwards. The gear cost is minor. The cost of losing a client shoot is not. Here’s how Grimes structures his system, step by step.
Step 1: Understand the Limits of Your Internal Drive
 Joel describing why a 1TB internal drive fills fast
Your computer’s internal drive is not a storage solution, it’s a staging area. Grimes points out that even a one-terabyte internal fills faster than most photographers expect. RAW files from a modern camera are large, and if you’re shooting any volume of client work, you’ll hit the ceiling quickly. The internal drive should be treated as temporary working space, not an archive. Get comfortable with that distinction early, because the rest of the system builds on it.
Joel describing why a 1TB internal drive fills fast
Your computer’s internal drive is not a storage solution, it’s a staging area. Grimes points out that even a one-terabyte internal fills faster than most photographers expect. RAW files from a modern camera are large, and if you’re shooting any volume of client work, you’ll hit the ceiling quickly. The internal drive should be treated as temporary working space, not an archive. Get comfortable with that distinction early, because the rest of the system builds on it.
Step 2: Set Up a Primary External Drive for Your Image Library
 Joel holding up an external hard drive
Once you accept that the internal drive is just a workspace, you move your actual image library to a dedicated external drive. Grimes keeps his main working library on one of these. The practical recommendation here is straightforward: buy the best drive you can afford, not the cheapest one on the shelf. Quality matters more here than almost anywhere else in your kit. A $30 drive from a no-name brand saving you $50 over a trusted name is a bad trade when your client’s shoot is on it.
Joel holding up an external hard drive
Once you accept that the internal drive is just a workspace, you move your actual image library to a dedicated external drive. Grimes keeps his main working library on one of these. The practical recommendation here is straightforward: buy the best drive you can afford, not the cheapest one on the shelf. Quality matters more here than almost anywhere else in your kit. A $30 drive from a no-name brand saving you $50 over a trusted name is a bad trade when your client’s shoot is on it.
Step 3: Mirror That Drive With a Dedicated Backup
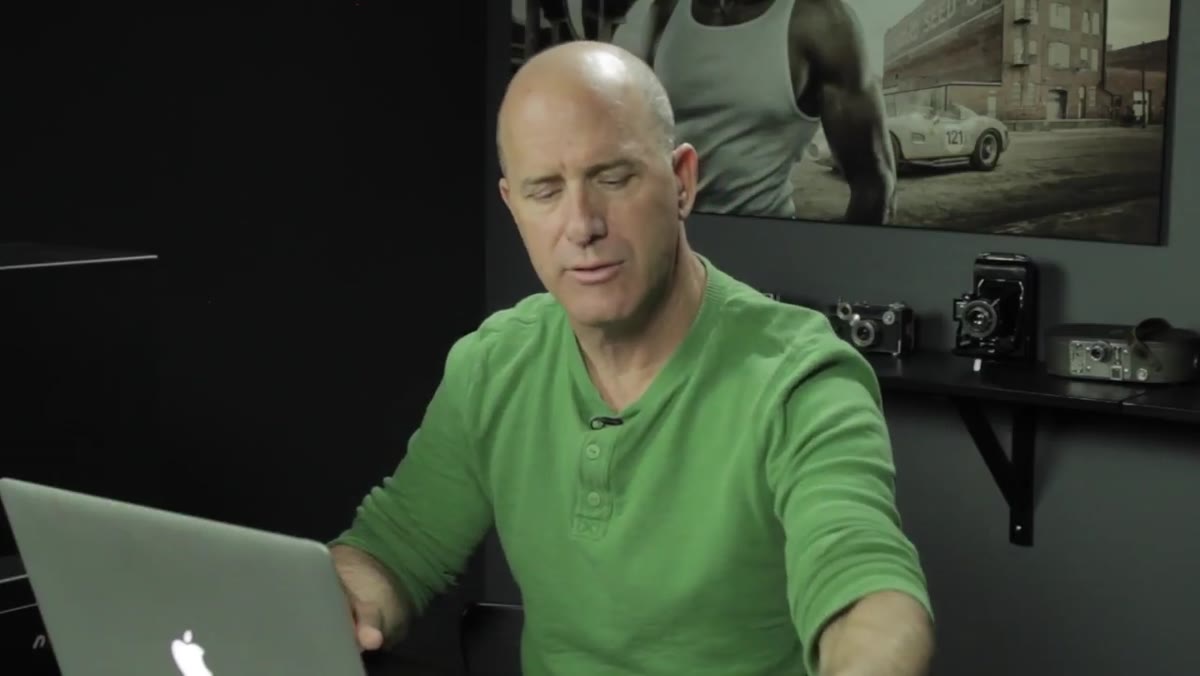 Joel explaining the main and backup drive setup
A single external drive is not a backup, it’s a single point of failure with more capacity. Grimes runs two matching drives labeled Main and Backup, keeping them mirrored. The catch he’s honest about: you have to actually remember to sync them. He admits he’s not always consistent about it and has almost certainly had gaps in his backup history because of that. The solution isn’t beating yourself up about the habit, it’s using software to automate it. He uses a sync tool called Intego (intego.com) that came bundled with one of his drives and runs around $40 for a single license. Set it to sync automatically and take the human error out of the equation.
Joel explaining the main and backup drive setup
A single external drive is not a backup, it’s a single point of failure with more capacity. Grimes runs two matching drives labeled Main and Backup, keeping them mirrored. The catch he’s honest about: you have to actually remember to sync them. He admits he’s not always consistent about it and has almost certainly had gaps in his backup history because of that. The solution isn’t beating yourself up about the habit, it’s using software to automate it. He uses a sync tool called Intego (intego.com) that came bundled with one of his drives and runs around $40 for a single license. Set it to sync automatically and take the human error out of the equation.
Step 4: Keep Both Drives Running in the Field
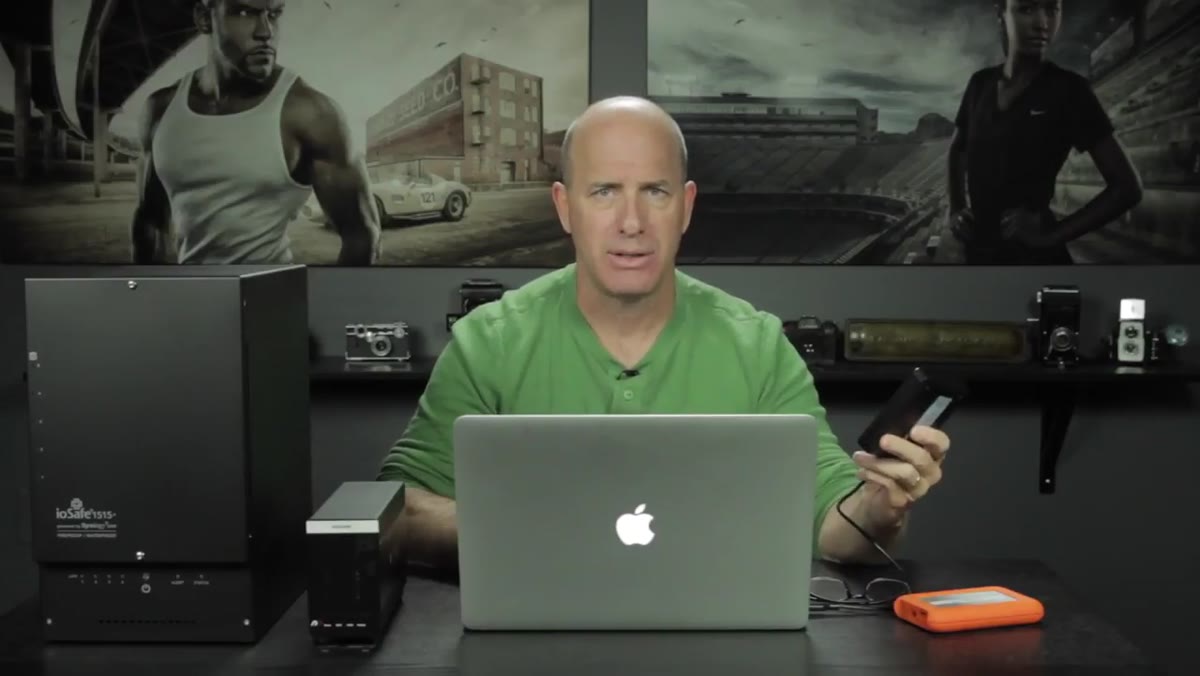 Joel describing carrying two drives on location
On location, Grimes carries two external drives and actively backs up between shooting locations. He describes doing a sync between setups at a Starbucks, which is exactly when the drop happened. The lesson he pulls from that isn’t to stop syncing on the go, it’s to physically secure the drive while it’s running. A spinning hard drive is vulnerable to impact in a way a drive at rest is not. His fix is simple and cheap: a velcro strip that attaches the drive to his bag or armrest so it can’t slide off a flat surface. Low tech, effective.
Joel describing carrying two drives on location
On location, Grimes carries two external drives and actively backs up between shooting locations. He describes doing a sync between setups at a Starbucks, which is exactly when the drop happened. The lesson he pulls from that isn’t to stop syncing on the go, it’s to physically secure the drive while it’s running. A spinning hard drive is vulnerable to impact in a way a drive at rest is not. His fix is simple and cheap: a velcro strip that attaches the drive to his bag or armrest so it can’t slide off a flat surface. Low tech, effective.
Step 5: Never Format Cards Until You Have Multiple Backups
 Joel talking through his memory card strategy
Grimes shoots with a set of 32GB cards, around 15 of them, and does not format a single one until he has confirmed at least two, ideally three, complete backups of that card’s contents. On a multi-day project, he may carry unformatted cards through the entire shoot rather than recycle them mid-job. The cards themselves function as an additional layer of backup. This feels inefficient until you realize that a 32GB card costs almost nothing compared to what reshooting a lost session would cost. Treat your cards as cheap insurance, not just temporary storage.
Joel talking through his memory card strategy
Grimes shoots with a set of 32GB cards, around 15 of them, and does not format a single one until he has confirmed at least two, ideally three, complete backups of that card’s contents. On a multi-day project, he may carry unformatted cards through the entire shoot rather than recycle them mid-job. The cards themselves function as an additional layer of backup. This feels inefficient until you realize that a 32GB card costs almost nothing compared to what reshooting a lost session would cost. Treat your cards as cheap insurance, not just temporary storage.
Step 6: Physically Protect Your Main Drive When You Leave Gear Behind
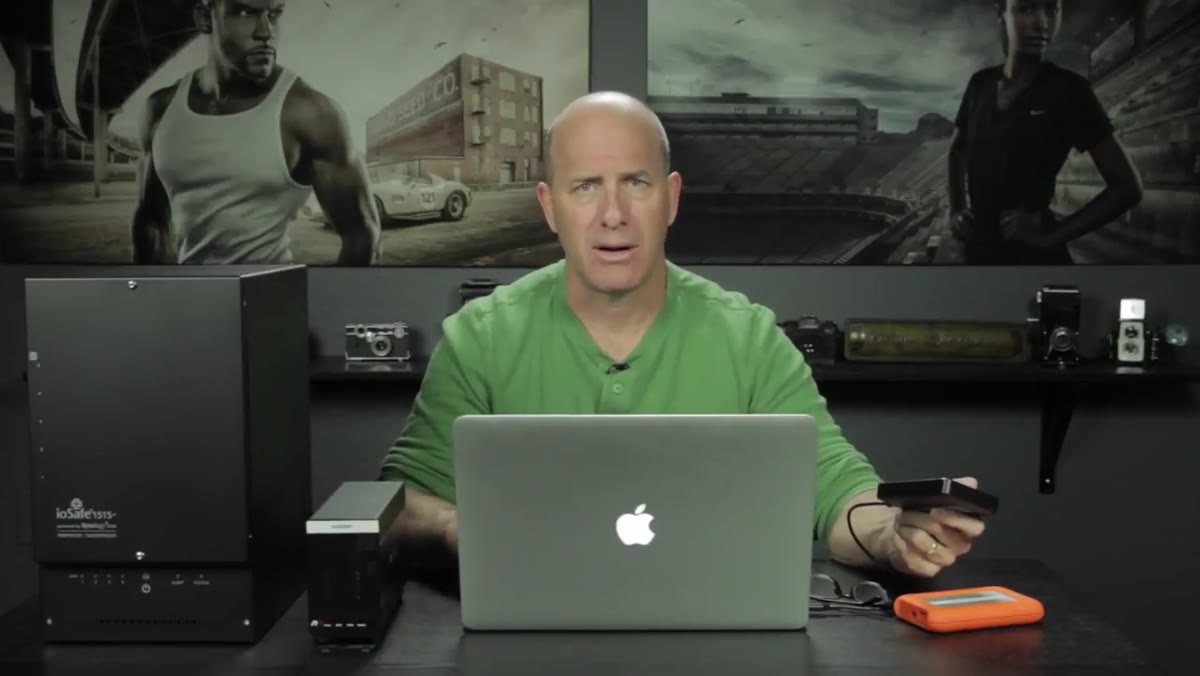 Joel explaining taking the main drive with him into restaurants
When Grimes leaves his gear in a vehicle, he takes one thing with him that never gets left behind: the main drive. Everything else can be replaced with money. The shoot files cannot. This is a field habit that costs nothing and protects against both theft and the kind of heat damage that can destroy a drive sitting in a parked car. If you’re shooting in any situation where gear leaves your direct sight, the drive with the irreplaceable files goes on your person.
Joel explaining taking the main drive with him into restaurants
When Grimes leaves his gear in a vehicle, he takes one thing with him that never gets left behind: the main drive. Everything else can be replaced with money. The shoot files cannot. This is a field habit that costs nothing and protects against both theft and the kind of heat damage that can destroy a drive sitting in a parked car. If you’re shooting in any situation where gear leaves your direct sight, the drive with the irreplaceable files goes on your person.
What I’d Add: SSDs Change the Risk Calculation
Grimes is working with traditional spinning hard drives in this tutorial, and most of what he says still applies directly. But if you’re buying new storage now, solid-state drives have dropped enough in price that the value case is legitimate. SSDs have no moving parts, which means the drop-while-spinning failure mode he experienced is essentially eliminated. They run hotter in enclosed spaces, but for travel and field use, the physical resilience is a real advantage. I’d still run two of them and still use sync software. The system doesn’t change, just the hardware inside it. For the budget-conscious: a reputable 2TB portable SSD from a brand like Samsung or Crucial can be found on sale regularly in the $80-100 range, which is not far off what a good spinning drive costs if you’re patient.
The single most important thing Grimes says in this whole tutorial is that you cannot be cheap when it comes to securing client data. Everything else is implementation. Buy quality drives, run two of them, automate your syncing, hold your cards until you have redundancy, and physically protect the irreplaceable stuff when you’re moving around. That’s the whole system.
Watch the full tutorial on YouTube to see Grimes walk through his actual drives and hear the story of the Starbucks drop in his own words. It’s a fast watch and worth it.
Comments (2)
Printing this out and pinning it next to my monitor. That good.
This is exactly what I needed today. Been struggling with this for weeks.
Leave a Comment