
I’ve spent a lot of time thinking about output. Not in an obsessive way, just practically. You can nail the shot, dial in the edit, and then hand a JPEG to a lab that treats it like any other file. The print comes back fine. Not great. Fine. So when I started seeing photographers display work on metal panels at galleries and pop-up exhibitions, I got curious about what was actually happening in that process and whether it was something worth understanding even if you’re not planning a gallery show anytime soon.
In this Nigel Danson tutorial, he takes his cameras into the print shop where his books and calendars have been produced for nearly a decade, to document the full process of creating aluminum composite prints for his “Discovering England” exhibition. Watch the full tutorial on YouTube before or after reading this. The video is worth your time, but if you want a breakdown you can actually reference later without scrubbing through footage, here’s what the process looks like from start to finish.
What struck me immediately is that this is not some niche boutique technology. The core tools here are a UV inkjet printer and a CNC cutting machine. Both exist at commercial print shops in most mid-sized cities. If you’ve been assuming metal prints require some exotic specialty vendor, this walkthrough will reset your expectations in a useful way.
Step 1: Choose and Layout Your Images in the Printer Software
 Printer software showing image layout on a large panel grid
Before anything touches a machine, you need to plan how your images will tile across the raw panel. Nigel’s team works inside the printer’s own layout software, arranging multiple images on a single aluminum composite sheet measuring 1.2 by 2.4 meters. The goal is to minimize waste while leaving enough margin around each image for the cutting machine to work accurately later. In his case, four images fit cleanly on one panel, which is a meaningful cost-saver since the panel itself is the primary material cost.
Printer software showing image layout on a large panel grid
Before anything touches a machine, you need to plan how your images will tile across the raw panel. Nigel’s team works inside the printer’s own layout software, arranging multiple images on a single aluminum composite sheet measuring 1.2 by 2.4 meters. The goal is to minimize waste while leaving enough margin around each image for the cutting machine to work accurately later. In his case, four images fit cleanly on one panel, which is a meaningful cost-saver since the panel itself is the primary material cost.
Think of this step like a print imposition layout in standard offset printing. You’re not printing one image at a time. You’re ganging multiple prints on one substrate and cutting them apart afterward. Knowing your final output dimensions before you arrive at the print shop matters here, so have your pixel dimensions and aspect ratios confirmed before you book the session.
Step 2: Understand What “Aluminum” Actually Means in This Context
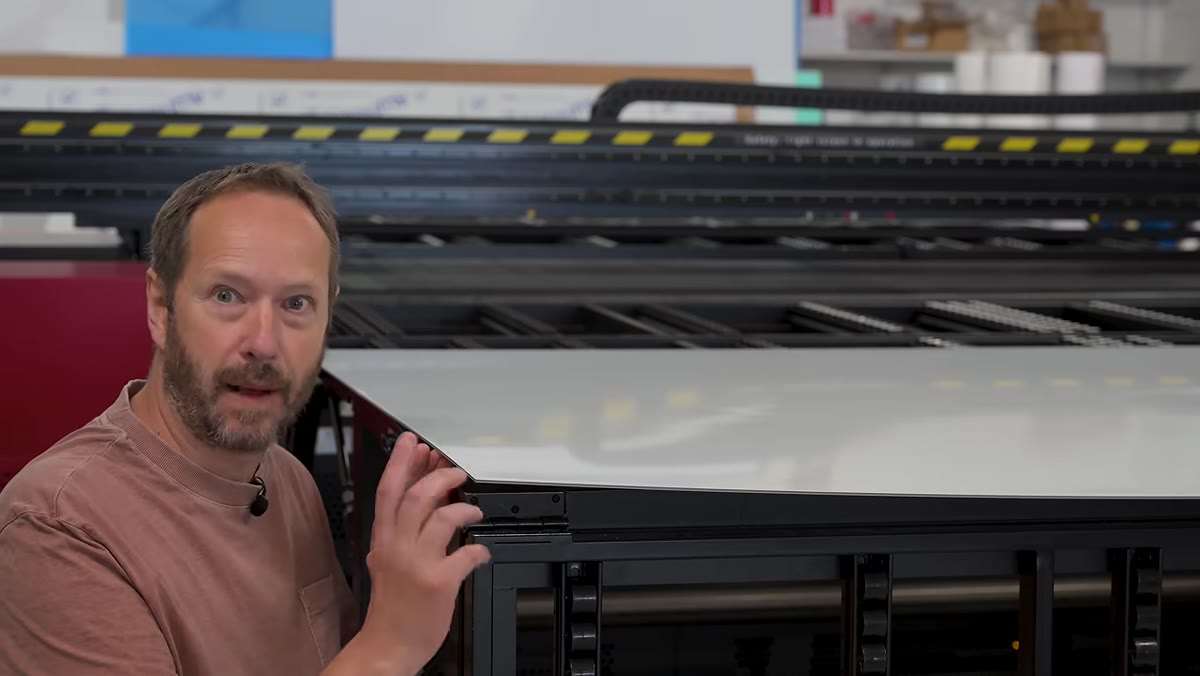 Close-up of aluminum composite panel cross-section showing layered construction
This one surprised me and it’ll probably surprise you too. The panels are not solid aluminum. They’re aluminum composite material, two thin foil layers bonded to a lightweight composite core in the middle. The surface is factory-coated in white on both sides. That white coating is not optional or cosmetic. It’s the actual printing surface that makes inkjet adhesion and color accuracy possible.
Close-up of aluminum composite panel cross-section showing layered construction
This one surprised me and it’ll probably surprise you too. The panels are not solid aluminum. They’re aluminum composite material, two thin foil layers bonded to a lightweight composite core in the middle. The surface is factory-coated in white on both sides. That white coating is not optional or cosmetic. It’s the actual printing surface that makes inkjet adhesion and color accuracy possible.
If you’ve ever tried printing on raw metal and gotten muddy, uneven color, now you know why. The white surface layer behaves similarly to the bright white coating on high-end photo paper. It gives the ink somewhere to sit with proper reflectivity. Without it, the CMYK inks would absorb unevenly and the gamut would collapse. This is worth knowing if you’re ever sourcing panels yourself or asking a vendor about substrate options.
Step 3: Load the Panel and Run It Through the UV Inkjet Printer
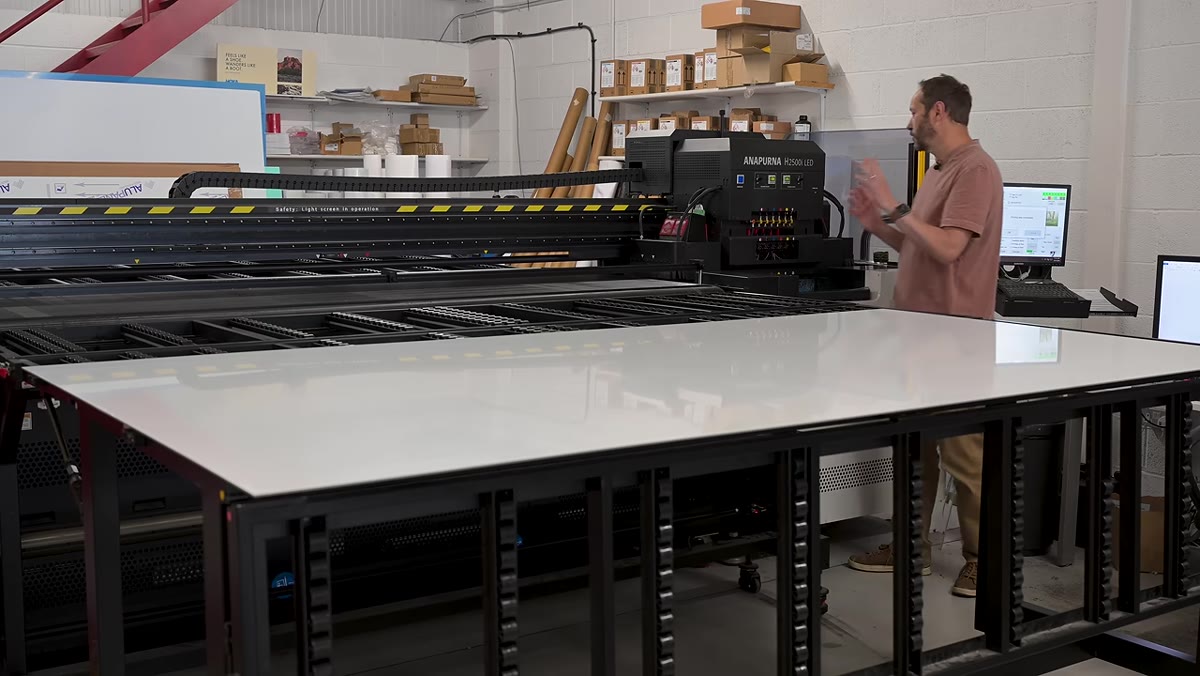 UV inkjet printer in operation with visible UV curing light illuminating the panel
The printer itself is a flatbed UV inkjet. It operates on the same basic CMYK principle as a standard inkjet, but it adds UV-curable inks and a curing lamp that travels with the print head. Nigel’s print shop runs a six-color setup, CMYK plus light magenta and light cyan, which extends the tonal range in skies and shadow areas. The printer also carries white ink channels, useful for printing on darker or transparent substrates, though on the white-coated aluminum panels those channels aren’t the primary focus.
UV inkjet printer in operation with visible UV curing light illuminating the panel
The printer itself is a flatbed UV inkjet. It operates on the same basic CMYK principle as a standard inkjet, but it adds UV-curable inks and a curing lamp that travels with the print head. Nigel’s print shop runs a six-color setup, CMYK plus light magenta and light cyan, which extends the tonal range in skies and shadow areas. The printer also carries white ink channels, useful for printing on darker or transparent substrates, though on the white-coated aluminum panels those channels aren’t the primary focus.
The UV curing happens immediately as the head passes. The lamp activates over the printed area and then switches off to prevent overheating the panel beneath it. That’s a smarter design than it might sound. Aluminum composite conducts heat, and a panel that warps mid-print would ruin a job. The curing cycle keeps the process stable and the output consistent.
Step 4: Pull the Protective Film and Inspect Before Cutting
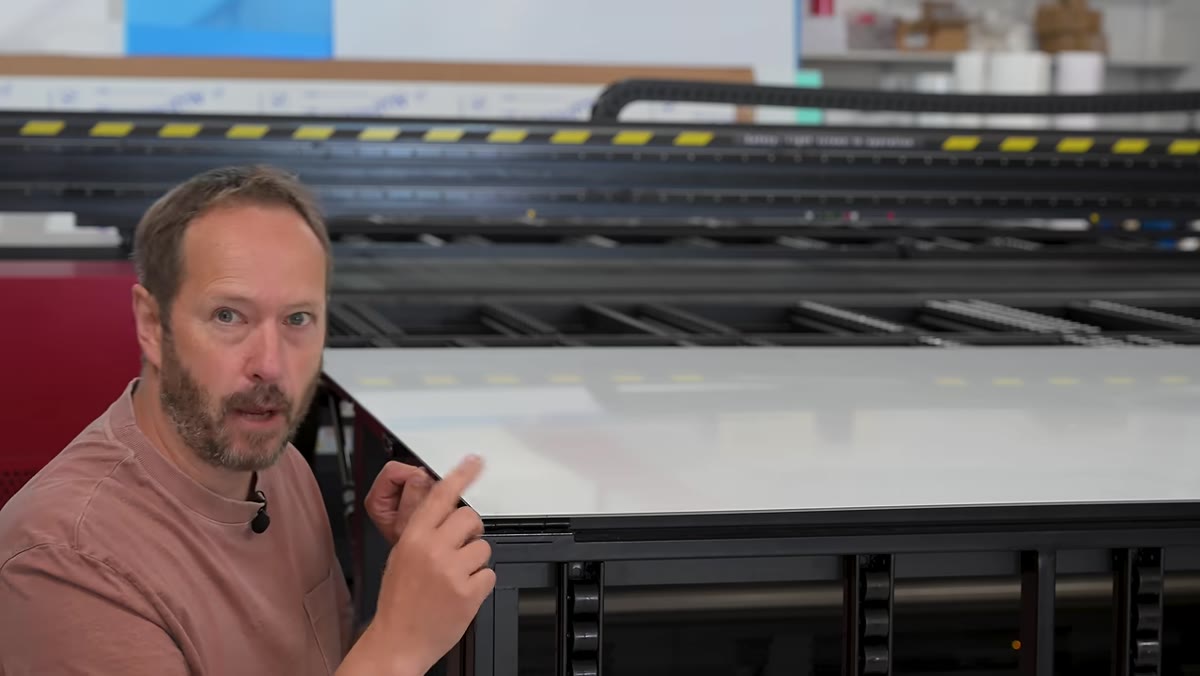 Technician peeling protective film from the aluminum panel surface before printing
The panels ship with a protective film over the white surface to prevent scratches during handling. That film comes off before the panel goes into the printer. Once the print run completes, this is also your best moment to check for any banding, color inconsistency, or adhesion issues before you commit to cutting. Mistakes found at this stage are recoverable. Mistakes found after the CNC machine has done its work are not.
Technician peeling protective film from the aluminum panel surface before printing
The panels ship with a protective film over the white surface to prevent scratches during handling. That film comes off before the panel goes into the printer. Once the print run completes, this is also your best moment to check for any banding, color inconsistency, or adhesion issues before you commit to cutting. Mistakes found at this stage are recoverable. Mistakes found after the CNC machine has done its work are not.
Nigel doesn’t dwell on this step in the video, but any experienced print production person will tell you that an inspection hold between print and cut is non-negotiable on a job with multiple images ganged on one sheet.
Step 5: Cut the Panels Using a CNC Router
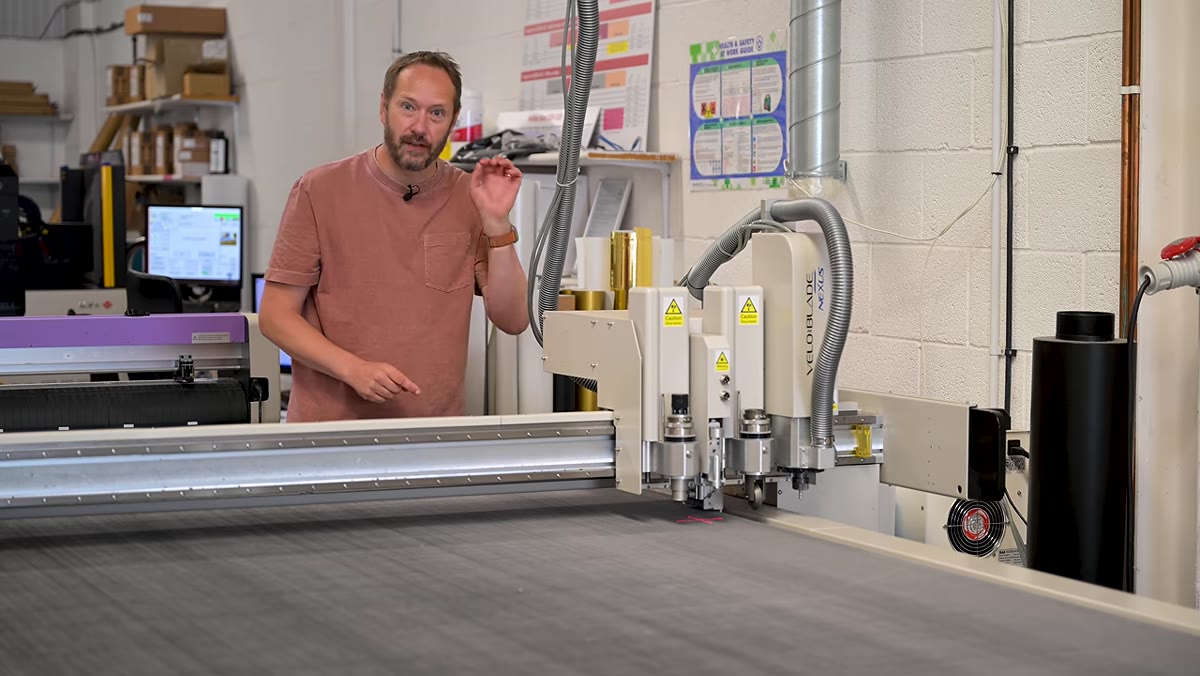 CNC router machine cutting printed aluminum panel into individual prints
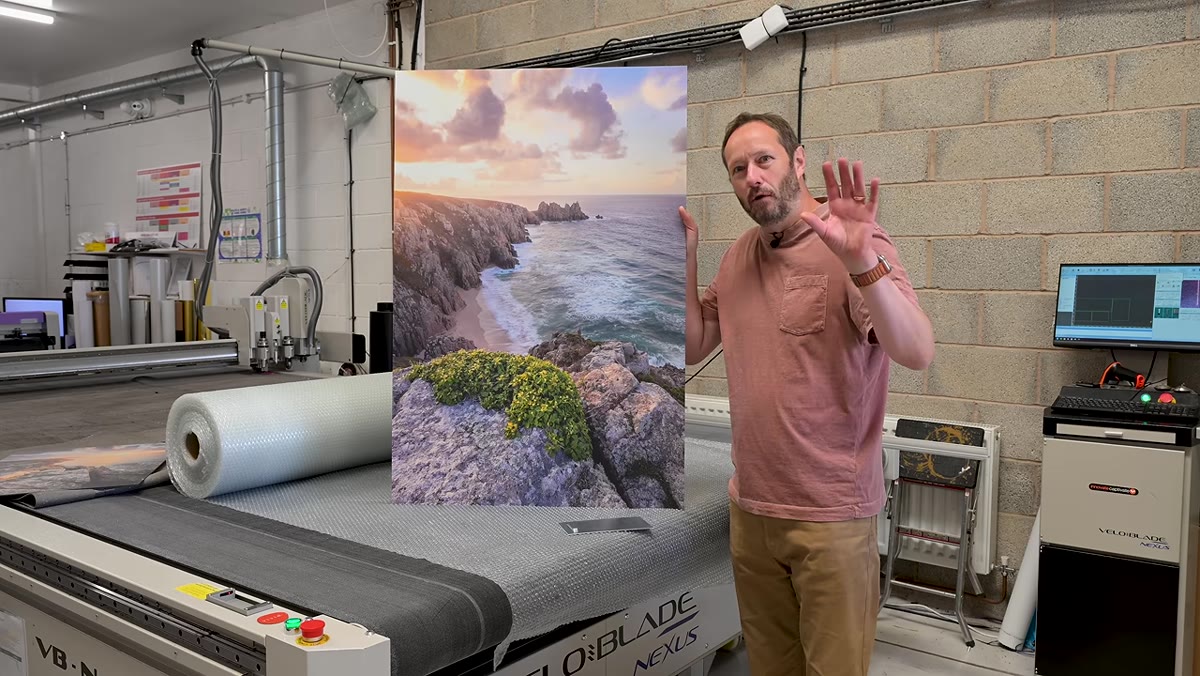
The Vella Blade Nexus CNC machine used here is a 3 by 2 meter router running a 6mm milling cutter. What makes this work cleanly is that the printer lays down registration marks during the print run. The CNC machine reads those marks optically and then follows a pre-programmed cutting path to separate each image from the sheet. The result is a clean, precise edge on every panel without manual measuring or marking.
CNC router machine cutting printed aluminum panel into individual prints
The Vella Blade Nexus CNC machine used here is a 3 by 2 meter router running a 6mm milling cutter. What makes this work cleanly is that the printer lays down registration marks during the print run. The CNC machine reads those marks optically and then follows a pre-programmed cutting path to separate each image from the sheet. The result is a clean, precise edge on every panel without manual measuring or marking.
This is the step where the quality of your upfront layout planning pays off. Sloppy registration marks or poorly spaced images can cause the router to cut into image areas. If you’re working with a print shop on a project like this, ask specifically how they handle registration between the print and cut stages. Not every shop has this level of automation.
Step 6: Attach Hanging Hardware to the Back
 Finished metal print panels with mounting hardware being attached to the reverse side
Once the panels are cut and inspected, the final production step is attaching the mounting hardware to the back. The specific hardware depends on your hanging system, but Nigel’s panels use standoff-style fasteners that hold the print slightly away from the wall. That floating gap creates a subtle shadow line that makes the print read as a three-dimensional object rather than just a flat surface. It’s a small detail that significantly changes how the work presents in a gallery context.
Finished metal print panels with mounting hardware being attached to the reverse side
Once the panels are cut and inspected, the final production step is attaching the mounting hardware to the back. The specific hardware depends on your hanging system, but Nigel’s panels use standoff-style fasteners that hold the print slightly away from the wall. That floating gap creates a subtle shadow line that makes the print read as a three-dimensional object rather than just a flat surface. It’s a small detail that significantly changes how the work presents in a gallery context.
For anyone hanging these at home, this is also the step where you want to confirm wall anchor placement before you commit holes to drywall. Aluminum composite panels are lighter than they look, but they still need proper support at the right points.
What I’d Add from the Budget Side of Things
Nigel works with a long-term print partner he trusts, and that relationship clearly smooths over a lot of variables. If you don’t have that, the practical equivalent is requesting a single-image test print before committing to a full run. Most commercial UV flatbed shops will do a test for a small fee, and it lets you verify color profile compatibility between your file and their machine before you’re looking at a finished panel that’s slightly too warm or too flat.
Also worth noting: aluminum composite panels cut to common aspect ratios are increasingly available through online print-on-demand services at prices that would genuinely shock you compared to what traditional labs charge for the same product. I’ve been watching pricing on a few of these and the per-print cost has dropped significantly in the last two years. Standard sizes like 20x30 from reputable vendors are well within reach for working photographers who want to start offering metal prints without investing in a full production relationship.
The single biggest thing I took away from this walkthrough is that metal printing is a standard commercial process, not a specialty art-world mystery. Understanding the substrate, the UV curing mechanism, and the CNC cutting workflow gives you enough vocabulary to ask the right questions at any print shop. That knowledge is worth more than any single piece of gear.
Watch the full tutorial on YouTube to see the actual print run and finished exhibition panels. Nigel’s walkthrough inside the print shop is genuinely one of the clearer behind-the-scenes looks at this process that exists on the platform right now.
Comments
Leave a Comment