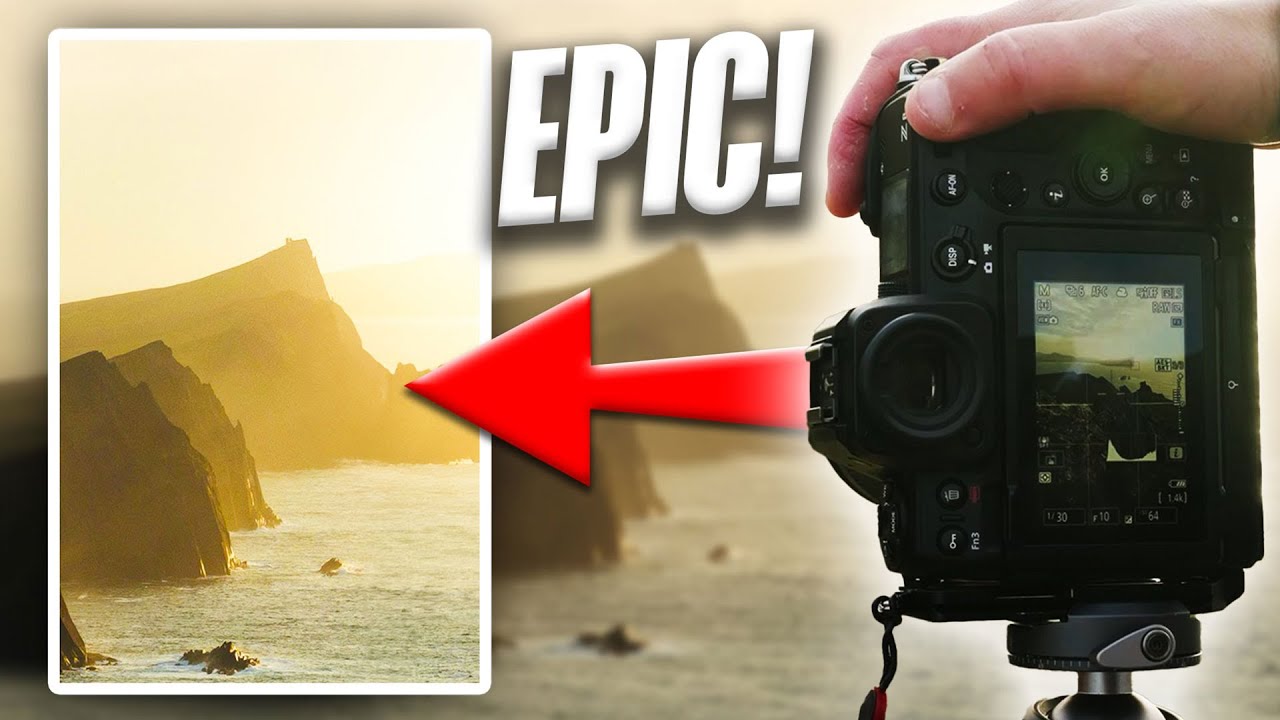
There’s a trap I fall into constantly: I show up to a location, light is doing something interesting, and I immediately start firing frames before I’ve actually looked at anything. I end up with 200 shots of the first angle I saw and nothing from the better one I noticed twenty minutes later. It’s a focus problem disguised as an enthusiasm problem.
That’s exactly the issue Nigel Danson addresses in this Ireland landscape tutorial, not as a lecture, but just by showing how he actually works. In this Nigel Danson tutorial filmed on the Irish coast, he’s shooting with a 24-200mm zoom, hiking to clifftop locations with no pre-planned shot list, and still walking away with compelling images. The field workflow he demonstrates is worth more than the gear he’s carrying, and it translates directly to anyone shooting landscapes with whatever zoom they own.
What I kept noticing as I watched was how much of his process happens before the camera comes out. He’s scouting, thinking out loud about balance and timing, and deliberately sitting with a scene instead of attacking it. That’s a learnable skill, and this video breaks it down in real time.
Step 1: Enter the Location Without Your Camera
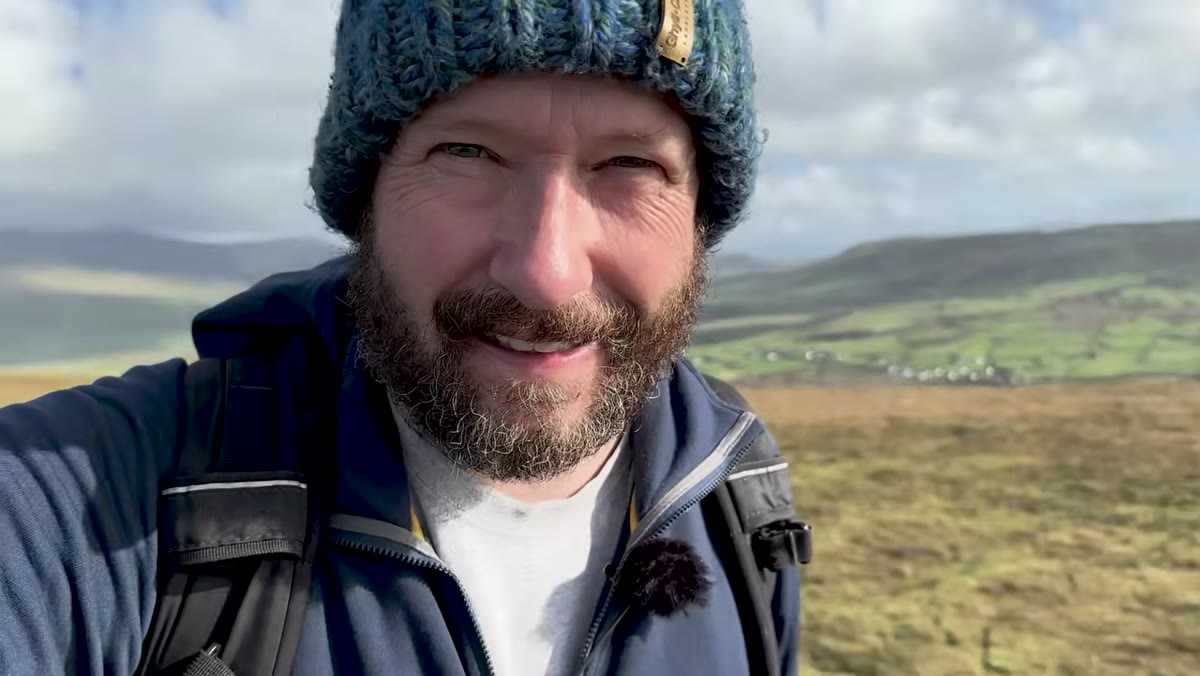 Nigel scanning cliffs with phone before raising camera
When Danson reaches the clifftop after a hard hike, his first instinct isn’t to shoot. He pulls out his phone instead and starts walking the area, looking at the light, identifying where the sun will set, and noting which rock formations have the most visual interest. He specifically mentions catching himself grabbing the camera too soon and correcting course.
Nigel scanning cliffs with phone before raising camera
When Danson reaches the clifftop after a hard hike, his first instinct isn’t to shoot. He pulls out his phone instead and starts walking the area, looking at the light, identifying where the sun will set, and noting which rock formations have the most visual interest. He specifically mentions catching himself grabbing the camera too soon and correcting course.
This isn’t precious artist behavior. It’s efficient. Scouting with your phone takes two minutes and prevents you from committing your tripod position to a mediocre angle. Walk the full location before you set up. Look at the scene from multiple distances and heights. Your first impression of a landscape is almost never your best composition.
Step 2: Read the Light Before You React to It
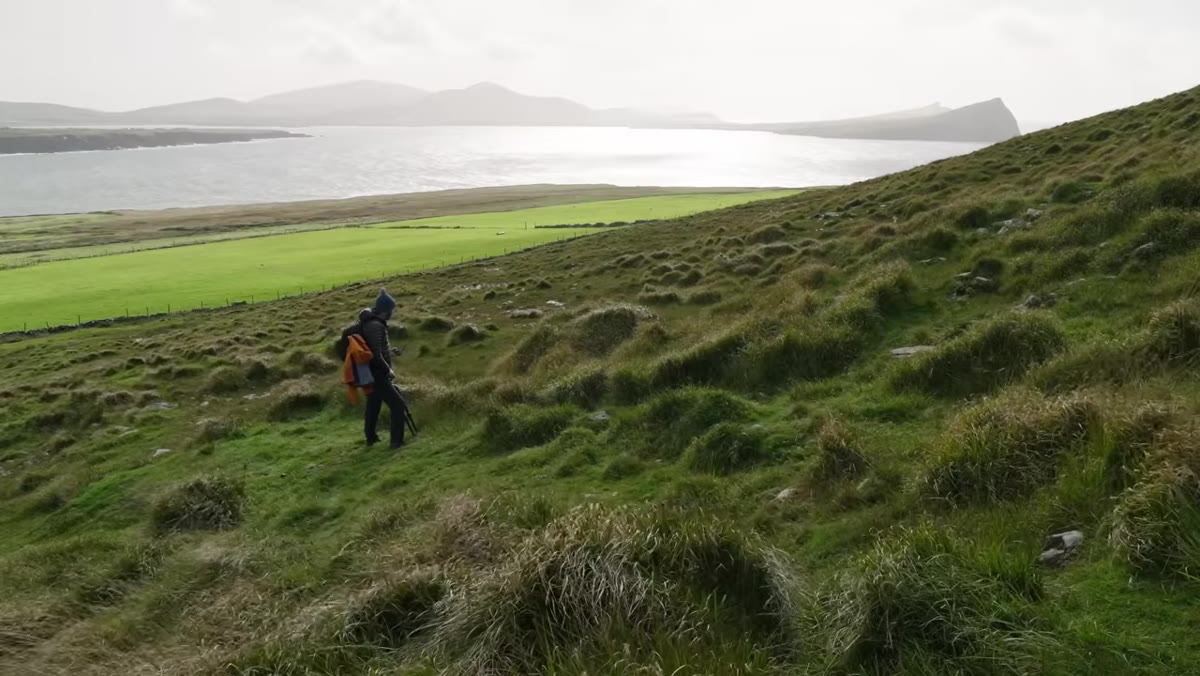 Backlit grasses catching golden sidelight on hillside
Partway up the hill, Danson stops at a patch of grasses that are catching backlight in a way he finds compelling. He doesn’t just shoot it reflexively. He pauses, explains what’s catching his eye (the way the light rakes across the texture), and thinks about whether the brightness levels are actually workable before deciding whether to bother.
Backlit grasses catching golden sidelight on hillside
Partway up the hill, Danson stops at a patch of grasses that are catching backlight in a way he finds compelling. He doesn’t just shoot it reflexively. He pauses, explains what’s catching his eye (the way the light rakes across the texture), and thinks about whether the brightness levels are actually workable before deciding whether to bother.
This is the habit that separates useful shots from throwaway ones. Ask yourself what specifically is interesting about the light you’re seeing right now, whether the highlights are blowing out, whether it will change in the next ten minutes, and whether this exact quality will be better or worse later. Sometimes the answer is “shoot it now because it won’t last.” Sometimes the answer is “wait, because the angle will improve.” Knowing which situation you’re in is worth more than any filter you could buy.
Step 3: Use the Zoom Range to Test Compositions Without Moving
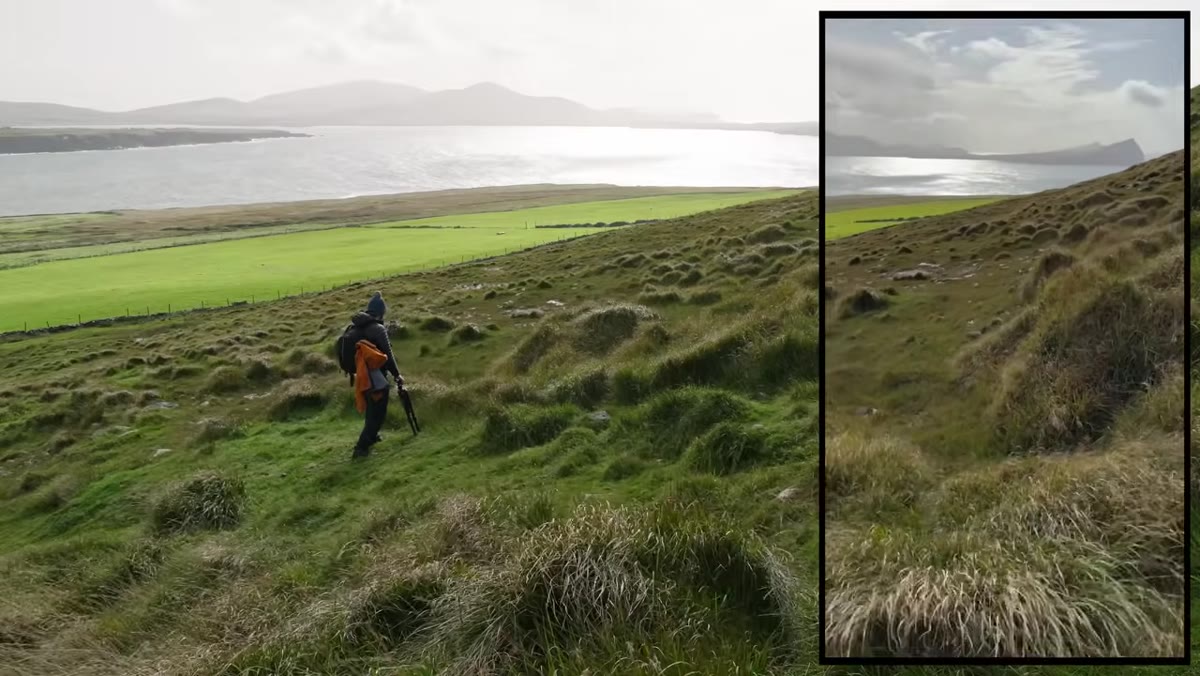 Lens zooming from wide to tighter on foreground grass detail
When Danson is evaluating the backlit grasses, he zooms out on his 24-200 to show how a wider field of view picks up more foreground context. He’s not just showing off the lens range. He’s using it as a compositional planning tool, essentially doing a fast preview of what a wider or tighter focal length would give him before he commits to a position.
Lens zooming from wide to tighter on foreground grass detail
When Danson is evaluating the backlit grasses, he zooms out on his 24-200 to show how a wider field of view picks up more foreground context. He’s not just showing off the lens range. He’s using it as a compositional planning tool, essentially doing a fast preview of what a wider or tighter focal length would give him before he commits to a position.
If you’re shooting a zoom lens, build this into your process. Start at your widest setting to understand the full scene. Zoom in to isolate specific elements. Find where the focal length starts to compress the background in a useful way. On a 24-200, that compression gets interesting around 100-135mm for cliffside scenes where you want to flatten layers of receding rock. Only after that scouting process should you decide where to actually stand.
Step 4: Identify the Compositional Problem Before Solving It
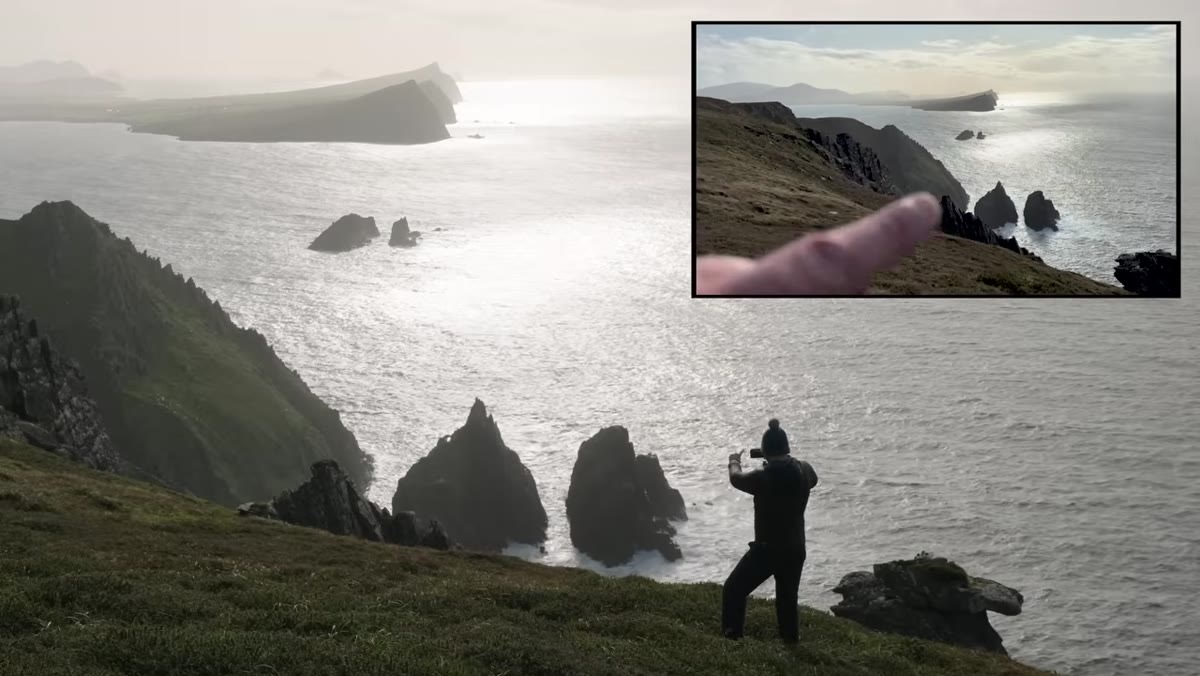 Nigel describing left-heavy composition needing right-side balance
At the main clifftop location, Danson is honest about the difficulty of the composition. He sees jagged rocks on the left that are visually strong, an isolated rock in the middle that’s interesting but awkward, and not enough on the right to balance the frame. He names the problem out loud instead of just hoping it works out.
Nigel describing left-heavy composition needing right-side balance
At the main clifftop location, Danson is honest about the difficulty of the composition. He sees jagged rocks on the left that are visually strong, an isolated rock in the middle that’s interesting but awkward, and not enough on the right to balance the frame. He names the problem out loud instead of just hoping it works out.
This is the move. When a composition feels off, stop and diagnose it like a technical issue. Is it a balance problem? A depth problem? A horizon problem? In Danson’s case, he decides the setting sun will eventually provide the right-side visual weight he needs. So instead of forcing a shot that isn’t ready yet, he waits. That patience is what makes the final image work rather than just exist.
Step 5: Let Anticipation Do the Work While You Wait
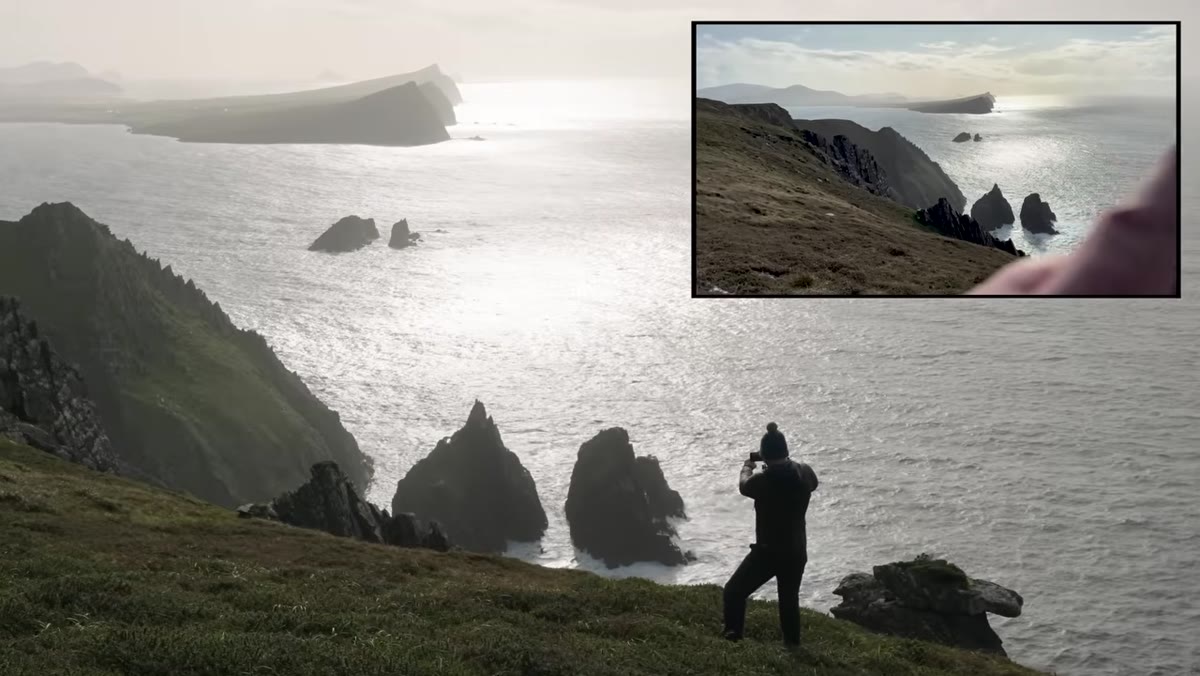 Sun position relative to horizon gap before sunset hits
Once Danson identifies that the light will do what he needs, he essentially banks on timing. He notes a gap on the horizon where the sun should break through and create sidelighting across the rock formations. He positions himself accordingly and waits rather than burning shots on suboptimal light.
Sun position relative to horizon gap before sunset hits
Once Danson identifies that the light will do what he needs, he essentially banks on timing. He notes a gap on the horizon where the sun should break through and create sidelighting across the rock formations. He positions himself accordingly and waits rather than burning shots on suboptimal light.
This is where having a versatile zoom lens earns its keep. With a 24-200, you don’t have to swap glass while you’re waiting and potentially miss the moment when the light finally does what you hoped. You’re already set up. You’ve already run your compositional tests. When the light changes, you’re responding rather than scrambling.
My Take: This Workflow Matters More on Budget Glass
I’ve tested a lot of lenses in the sub-$400 range, and one thing I’ve noticed is that budget zooms get a lot of the blame for images that are actually just compositional failures. Soft corners, mediocre contrast, whatever. But when I’ve looked at the actual field process behind those shots, the photographer rushed, didn’t wait for the light, and didn’t do any location scouting. The lens was innocent.
Danson’s approach in this video would make a $400 kit zoom perform better in the field because the image problems most people blame on cheap glass are usually solved at the location scouting and timing stage, not in post. I’ve shot a location twice with different lenses and gotten nearly identical results when my process was the same. That’s not a coincidence. Nail the light and the composition, and the glass matters a lot less than the marketing would have you believe.
The single biggest takeaway from this tutorial is that arriving at a landscape location is not the same as being ready to shoot. Danson’s deliberate, phone-first, wait-for-the-light approach produces better images than rushing ever will, regardless of what lens is on the camera. Watch him work through the whole session here: Watch the full tutorial on YouTube.
Comments
Leave a Comment