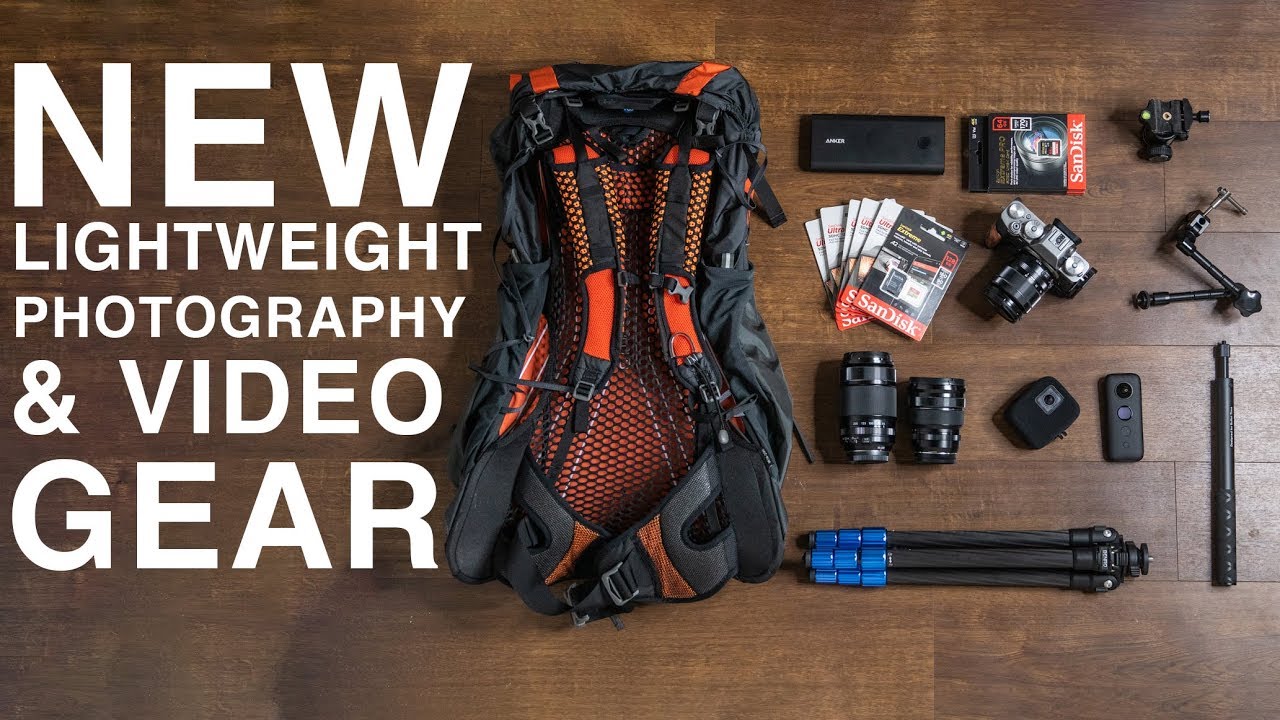
There’s a specific kind of misery that hits you about two miles into a steep trail when your pack is loaded with a full-frame body, three lenses, a secondary camera, a drone, and a carbon fiber tripod. I know it well. It’s the moment the photography stops feeling worth it. In Watch the full tutorial on YouTube, landscape photographer Thomas Heaton walks through a complete overhaul of his hiking camera kit, motivated by an upcoming Nepal expedition and years of carrying gear that was technically excellent but physically punishing.
What makes this video worth your time is that Heaton isn’t doing a sponsored run-through of products someone sent him for free. He spent thousands of pounds of his own money, and he’s honest about what disappointed him as much as what impressed him. That combination of genuine investment and no-filter feedback is exactly the kind of source material I like to dig into. I’ve built my whole approach around proving that smart gear choices matter more than expensive ones, and this video hits that nerve directly.
Step 1: Identify the real problem before you buy anything
 Heaton explaining why heavy gear hurts the creative process
Heaton’s framing here is important and easy to skip past. He doesn’t open with product specs. He starts by naming the actual consequence of heavy gear: it doesn’t just tire you out, it actively degrades your output. Difficult terrain plus heavy weight means you’re thinking about survival, not composition. Before you touch your credit card, be honest about the hikes you’re actually doing and whether your current kit is working against you on those specific routes.
Heaton explaining why heavy gear hurts the creative process
Heaton’s framing here is important and easy to skip past. He doesn’t open with product specs. He starts by naming the actual consequence of heavy gear: it doesn’t just tire you out, it actively degrades your output. Difficult terrain plus heavy weight means you’re thinking about survival, not composition. Before you touch your credit card, be honest about the hikes you’re actually doing and whether your current kit is working against you on those specific routes.
For most people the answer isn’t “buy everything new.” It’s identifying one or two bottlenecks. A lighter tripod, dropping a redundant lens, swapping a DSLR for a mirrorless body. Figure out where the weight is actually hurting you before you start spending.
Step 2: Make the system switch, not just the body
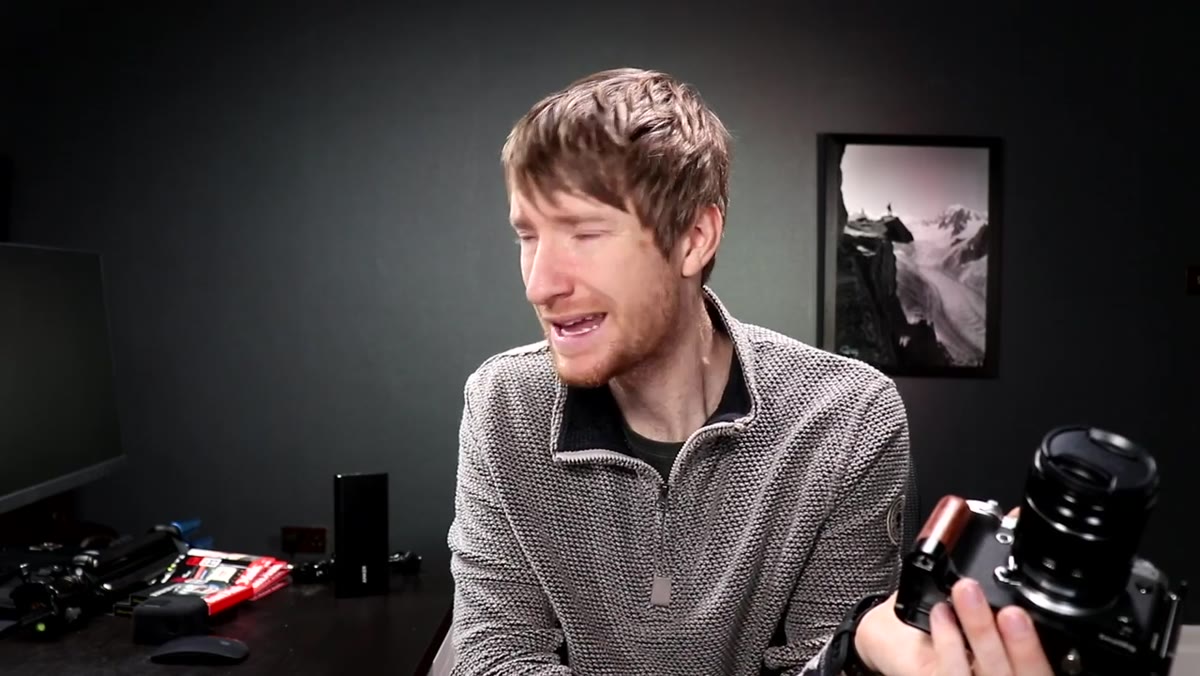
 Fujifilm XT3 body shown alongside three kit lenses
Heaton’s headline move is trading his Canon 5D Mark IV and a set of L-series glass for a Fujifilm XT3 paired with three kit lenses: the 18-55mm, the 55-200mm, and the 10-24mm wide angle. On a crop sensor, those cover a field of view roughly equivalent to a 16-35mm, a 24-70mm, and something in the 70-300mm range on full frame.
Fujifilm XT3 body shown alongside three kit lenses
Heaton’s headline move is trading his Canon 5D Mark IV and a set of L-series glass for a Fujifilm XT3 paired with three kit lenses: the 18-55mm, the 55-200mm, and the 10-24mm wide angle. On a crop sensor, those cover a field of view roughly equivalent to a 16-35mm, a 24-70mm, and something in the 70-300mm range on full frame.
The critical decision he makes here is sticking with the kit lenses rather than upgrading to Fujifilm’s premium glass. The moment you start buying the top-tier XF primes or fast zooms, the weight and cost advantages start collapsing. If the whole point is a compact, trail-friendly system, the kit lenses are the correct call, even if they’re not the sharpest glass Fujifilm makes.
Step 3: Go in with clear eyes on autofocus limitations
 Heaton reviewing footage showing autofocus hunting on video
Here’s where Heaton earns credibility. He’s direct that the XT3’s autofocus for video, specifically face detection during pieces to camera, was inconsistent. It hunted, lost his face, and created unusable clips. Coming from Canon’s dual-pixel autofocus, which remains a genuine benchmark for run-and-gun video, the drop in reliability was noticeable.
Heaton reviewing footage showing autofocus hunting on video
Here’s where Heaton earns credibility. He’s direct that the XT3’s autofocus for video, specifically face detection during pieces to camera, was inconsistent. It hunted, lost his face, and created unusable clips. Coming from Canon’s dual-pixel autofocus, which remains a genuine benchmark for run-and-gun video, the drop in reliability was noticeable.
If you’re shooting landscapes without a subject in frame, this matters much less. But if you’re a video creator who also appears on camera, you need to account for this. The practical workaround is manual focus pulls or locking focus before you hit record, which adds time on location. Factor that into whether this system fits your specific workflow.
Step 4: Budget aggressively for extra batteries
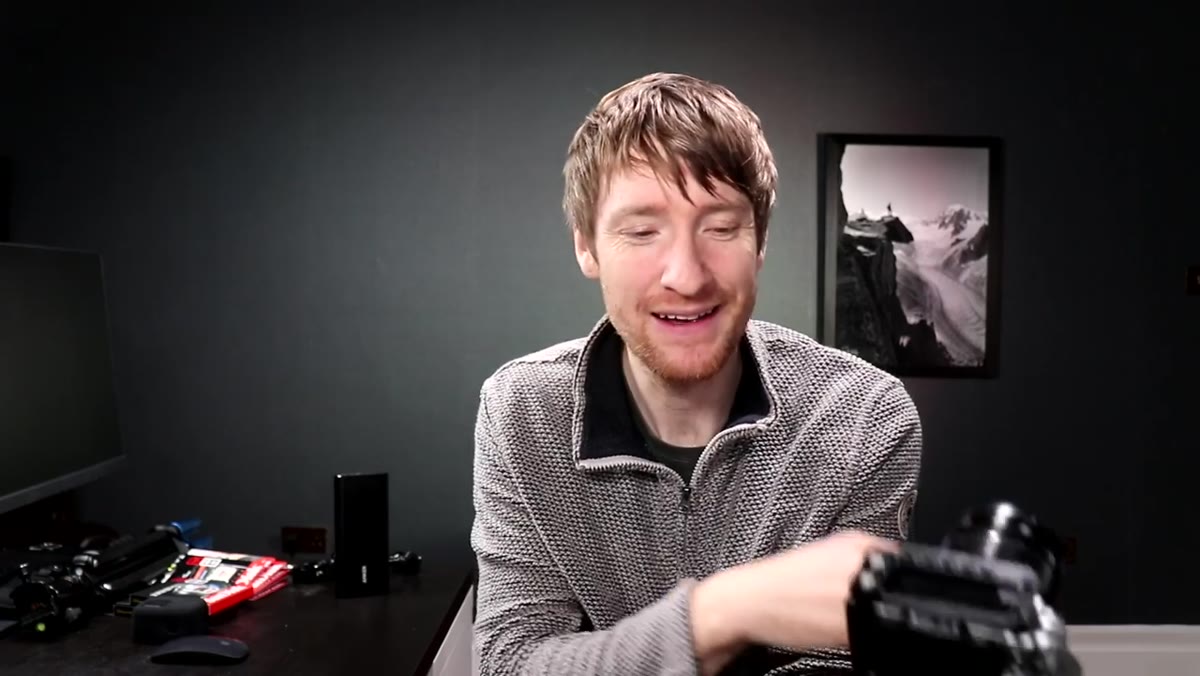 Heaton holding multiple Fujifilm batteries, discussing battery drain
Battery life on the XT3 is a known weakness, and Heaton experienced it immediately. Twenty minutes of footage and a handful of stills wiped a full charge. He ended up purchasing five genuine Fujifilm batteries to feel confident on a full day of hiking and filming. That’s not a workaround. That’s a mandatory addition to the kit cost.
Heaton holding multiple Fujifilm batteries, discussing battery drain
Battery life on the XT3 is a known weakness, and Heaton experienced it immediately. Twenty minutes of footage and a handful of stills wiped a full charge. He ended up purchasing five genuine Fujifilm batteries to feel confident on a full day of hiking and filming. That’s not a workaround. That’s a mandatory addition to the kit cost.
When you’re comparing the price of this system to what you’re replacing, add the battery stack to your math. Genuine OEM batteries are significantly more expensive per unit than third-party options, and while there are decent aftermarket alternatives, mixing battery quality on a remote trail isn’t a risk worth taking. Buy the real ones, buy enough of them.
Step 5: Learn the menu system before you’re on location
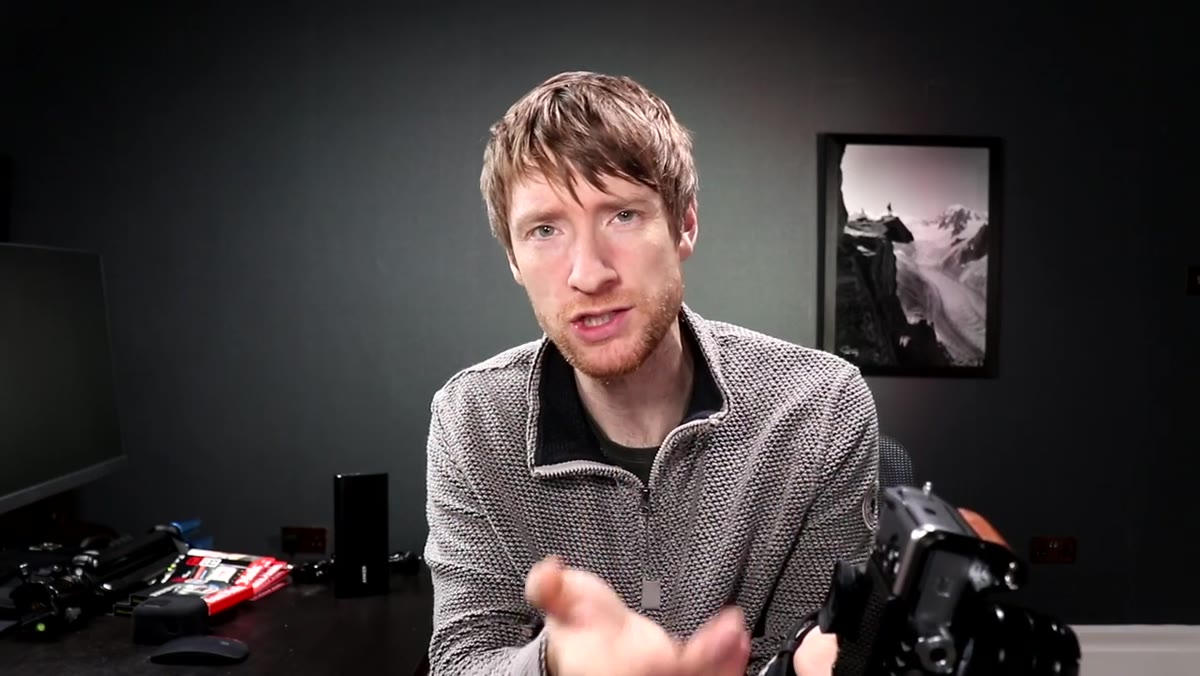 Heaton noting the XT3 forgets two-second timer settings between power cycles
This one sounds minor but it will irritate you constantly until you address it. Heaton noted that the XT3 doesn’t retain certain settings between power cycles, specifically the two-second shutter delay. On his Canon, that setting sticks. On the Fujifilm, it resets every time. When you’re working quickly on a tripod at golden hour, hunting through menus costs you shots.
Heaton noting the XT3 forgets two-second timer settings between power cycles
This one sounds minor but it will irritate you constantly until you address it. Heaton noted that the XT3 doesn’t retain certain settings between power cycles, specifically the two-second shutter delay. On his Canon, that setting sticks. On the Fujifilm, it resets every time. When you’re working quickly on a tripod at golden hour, hunting through menus costs you shots.
Spend time with the custom menu and button assignments before your first real trip. The XT3 has enough programmable controls that you can surface your most-used settings to a single button press. That setup time at home pays back on the trail. Don’t skip it.
Step 6: Accept that small tradeoffs are the whole point
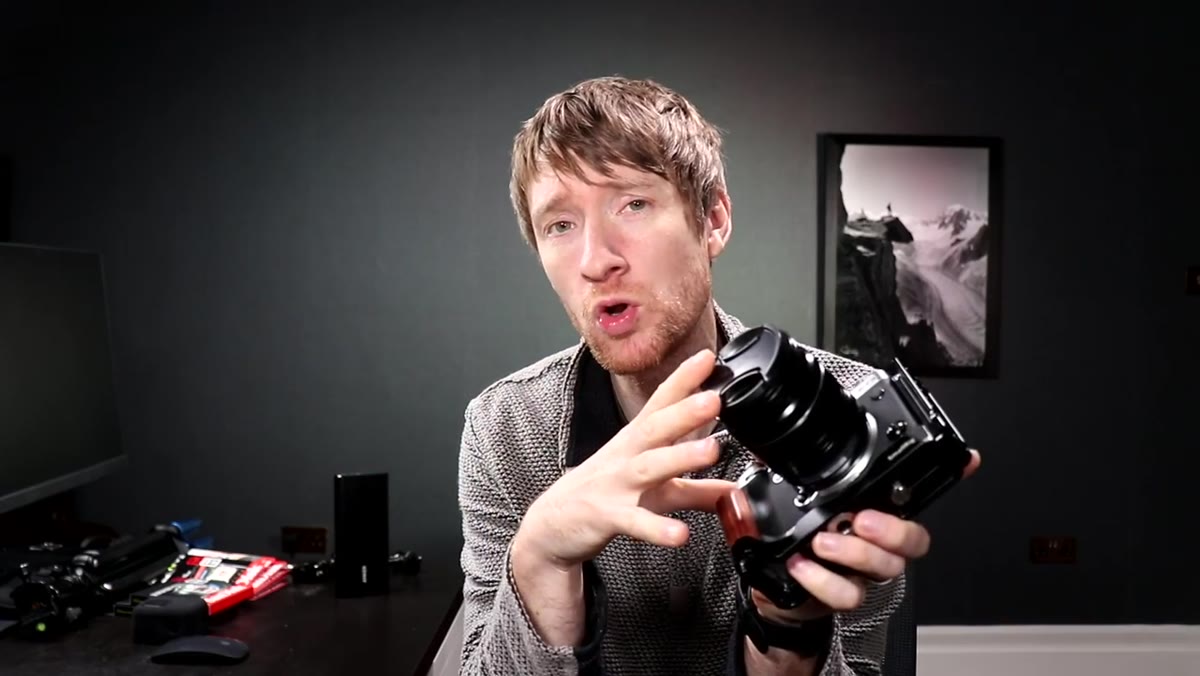 Heaton comparing full-frame setup to the new Fujifilm kit
Heaton’s conclusion at this stage of his testing is that no compact mirrorless system perfectly replicates a full-frame DSLR kit. It’s a different tool with different constraints. The XT3 gives you meaningfully less weight, a smaller pack, and a camera that doesn’t make you dread long approaches. What it costs you is some autofocus reliability, shorter battery sessions, and a few menu habits you have to unlearn.
Heaton comparing full-frame setup to the new Fujifilm kit
Heaton’s conclusion at this stage of his testing is that no compact mirrorless system perfectly replicates a full-frame DSLR kit. It’s a different tool with different constraints. The XT3 gives you meaningfully less weight, a smaller pack, and a camera that doesn’t make you dread long approaches. What it costs you is some autofocus reliability, shorter battery sessions, and a few menu habits you have to unlearn.
That’s a trade. It’s not a loss. If the weight reduction means you actually make it to better locations and come home with stronger images, the system is doing its job even if it’s technically inferior on a spec sheet.
What I’d Add From My Own Experience
Heaton’s kit is well-reasoned but he’s coming from a high-budget starting point. If you’re looking at the XT3 system and feeling the sticker shock, the older XT-2 and even the XT-20 cover a lot of the same ground for considerably less money. I’ve tested three Fujifilm bodies now and the image quality gap between generations is real but not dramatic for landscape work where you’re often shooting at base ISO on a tripod anyway.
Also worth noting: the lens choice matters more than the body on this platform. The 10-24mm wide angle Heaton chose is genuinely strong glass and worth prioritizing if you’re building a budget version of this kit one piece at a time. Start there.
The single most important lesson here is one Heaton states plainly and that I think most photographers underweight: gear that makes you dread carrying it will cost you more shots than gear with a lower spec sheet ever will. Optimize for the kit you’ll actually take on the hard days.
Watch the full tutorial on YouTube to see Heaton walk through his full kit and hear his real-world impressions after field testing.
Comments (2)
Solid advice. Especially the part about taking your time with it.
This is going in my reference folder. Incredibly useful.
Leave a Comment