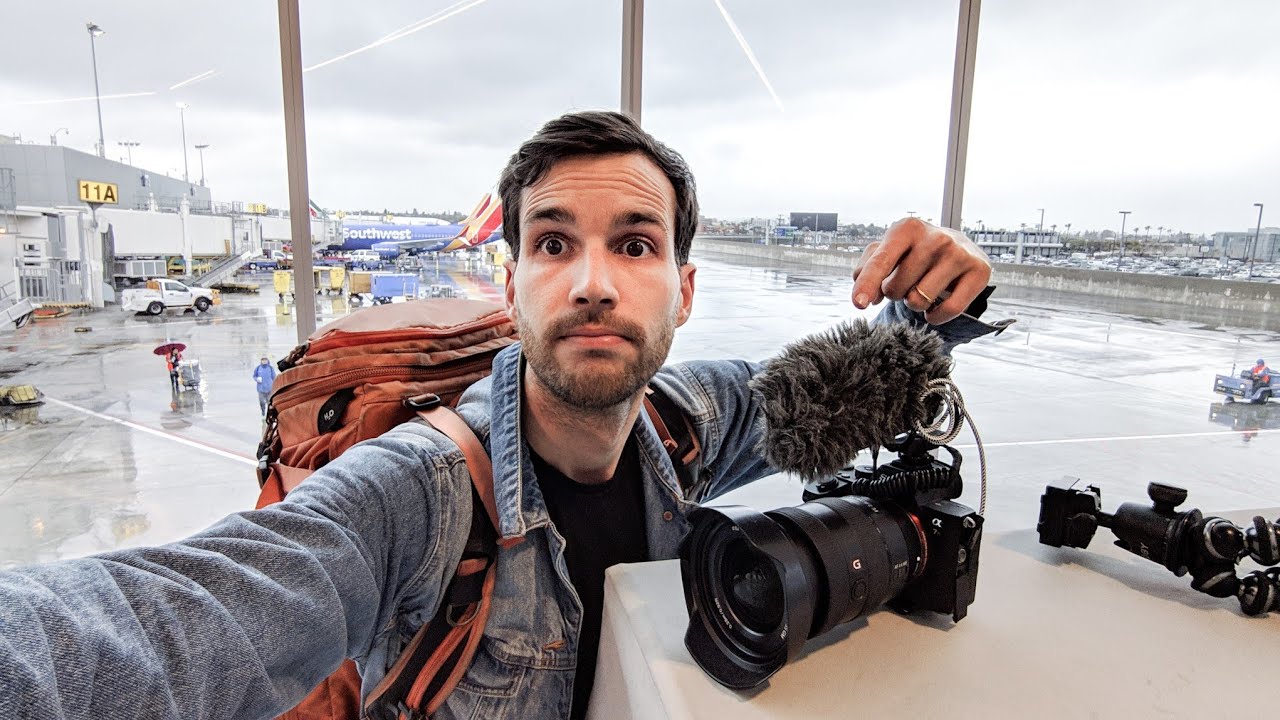
Every time I zip up my bag before a flight, I do a quick mental calculation: how much is in here, and how bad would it hurt if the airline lost it? After enough trips shooting on location, I’ve gotten religious about this. So when I came across Watch the full tutorial on YouTube from Pierre T. Lambert, a photographer who clearly travels more than most people sleep, I recognized the anxiety immediately. He opens the video hauling a carry-on bag that clocks in at nearly 39.5 pounds. That’s not a bag. That’s a commitment.
What makes this tutorial worth your time is that Pierre isn’t theorizing from his couch. He’s filming from an actual airport, walking to an actual gate, and answering real questions he collected from his Instagram audience. The advice is specific because it comes from someone who has tested it across dozens of trips. For anyone who shoots on location and has ever stood at a check-in counter wondering if today is the day they finally make you gate-check your camera bag, this breakdown is for you.
Step 1: Decide the Core Rule - Carry-On Holds What You Cannot Replace
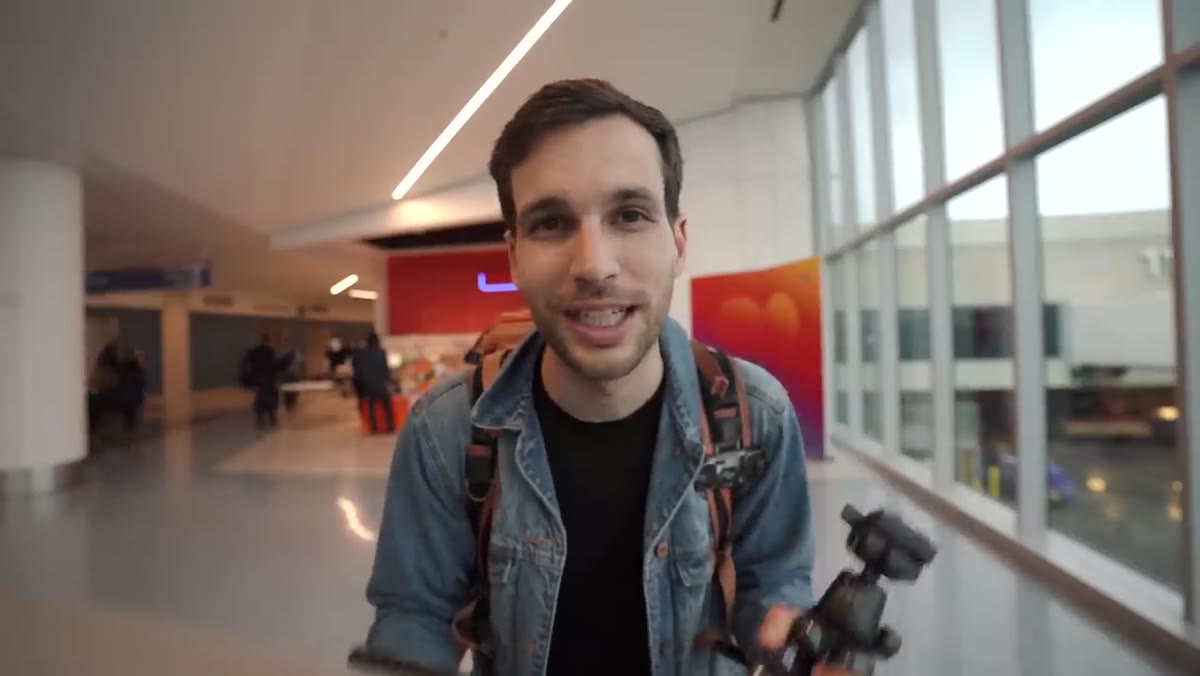 Photographer showing packed carry-on bag filled with camera gear
Before you even think about splitting your gear between bags, you need one rule to anchor every decision. Pierre’s is simple: if it gets stolen or lost, can you recover from it? Cameras, lenses, drones, audio gear - anything expensive and irreplaceable goes in the carry-on, full stop. Chargers, cables, and accessories with low replacement cost can ride in checked luggage.
Photographer showing packed carry-on bag filled with camera gear
Before you even think about splitting your gear between bags, you need one rule to anchor every decision. Pierre’s is simple: if it gets stolen or lost, can you recover from it? Cameras, lenses, drones, audio gear - anything expensive and irreplaceable goes in the carry-on, full stop. Chargers, cables, and accessories with low replacement cost can ride in checked luggage.
The practical split he uses is roughly 90 percent of his gear in the carry-on. That includes the camera body, lenses, a compact tripod, and audio equipment. Checked bags get the chargers and bulkier low-stakes items. The logic holds up. Airlines lose and damage checked bags regularly, and a stolen camera body from an airport carousel is not a recoverable situation. Chargers are annoying to replace on a trip but not catastrophic.
Step 2: Pack Spare Batteries in Your Carry-On - This Is Mandatory, Not Optional
 Spare camera batteries visible inside carry-on backpack
This is the one area where “best practice” and actual aviation regulation overlap directly. Lithium batteries - the kind in every mirrorless and DSLR camera - are restricted from checked baggage by most airlines and international aviation rules. The reason is fire risk. A lithium battery in the unpressurized cargo hold, rattling around loose, is a genuine hazard.
Spare camera batteries visible inside carry-on backpack
This is the one area where “best practice” and actual aviation regulation overlap directly. Lithium batteries - the kind in every mirrorless and DSLR camera - are restricted from checked baggage by most airlines and international aviation rules. The reason is fire risk. A lithium battery in the unpressurized cargo hold, rattling around loose, is a genuine hazard.
Spare batteries must travel in your carry-on. Pierre keeps all of his in the backpack itself, which adds weight but keeps him compliant. He also recommends keeping them charged. Some airports will ask to see that a battery-powered device can actually power on, especially for larger power banks. If you’re carrying a 20,000 mAh power bank, expect that to draw attention at the X-ray - more on that in the next step. The rule of thumb: if it has a lithium cell and it’s not already installed in a device, it goes in your carry-on bag.
Step 3: Understand What the X-Ray Operator Is Actually Looking For
 Discussion of camera gear going through airport X-ray inspection
Here’s where a lot of photographers stress unnecessarily. Pierre’s honest answer to “do I have to take everything out at security?” is: not usually, but sometimes. Standard protocol requires laptops out of the bag. Large electronics may or may not get flagged depending on how densely packed your bag reads on the scanner.
Discussion of camera gear going through airport X-ray inspection
Here’s where a lot of photographers stress unnecessarily. Pierre’s honest answer to “do I have to take everything out at security?” is: not usually, but sometimes. Standard protocol requires laptops out of the bag. Large electronics may or may not get flagged depending on how densely packed your bag reads on the scanner.
His practical move is to keep his camera body outside the bag and visible as he approaches the belt. A camera sitting on top of a bag immediately signals to the agent that this is a photography kit. It reduces the mystery. The times he does get pulled aside, it’s almost always because of a high-capacity power bank triggering a review. His advice: be cooperative, have your gear organized so you can open the bag quickly, and don’t pack anything in your carry-on that you’d never get through anyway (knives and similar items go in checked bags, obviously). The X-ray itself won’t harm your camera sensors, film excluded - digital sensors are safe.
Step 4: Use a Visible Tripod or Camera as a Bag Signal
 Camera and Joby tripod mounted visibly outside the main bag
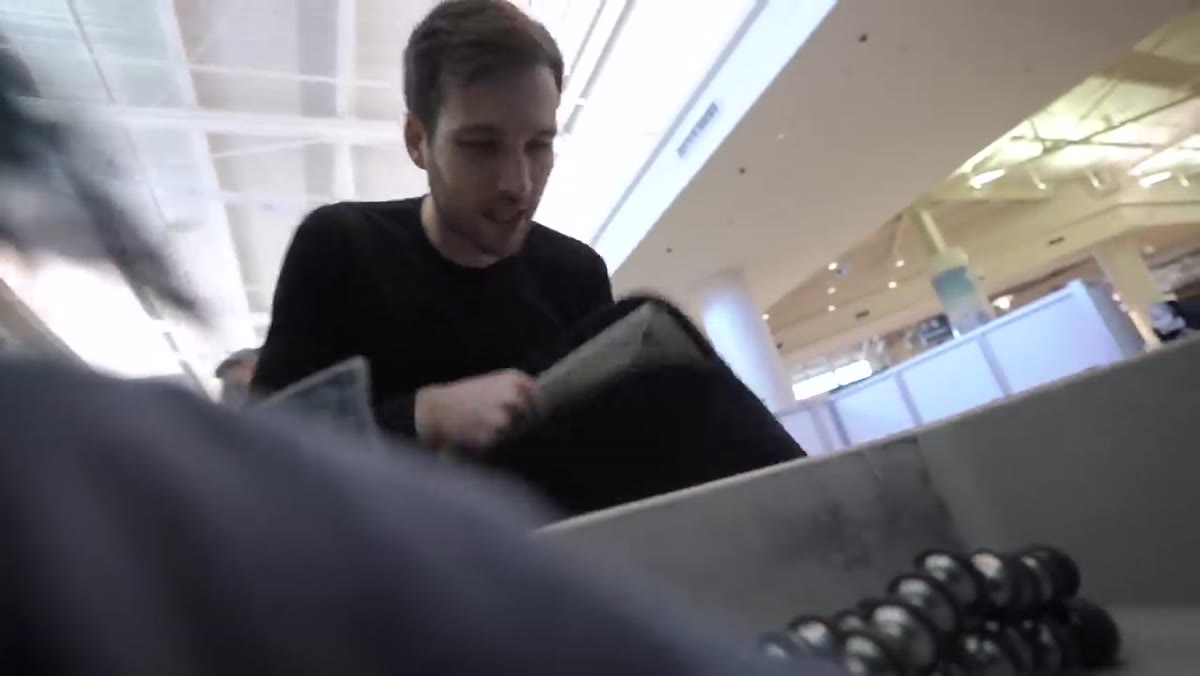
This is a small but smart detail. Pierre mentions attaching his Joby GorillaPod to the outside of his bag so that anyone glancing at it can immediately read “photographer.” This isn’t about gaming the system - it’s about reducing friction. Security agents process hundreds of bags per shift. A bag that looks like a camera kit gets treated differently than an anonymous black duffel that happens to contain the same gear.
Camera and Joby tripod mounted visibly outside the main bag
This is a small but smart detail. Pierre mentions attaching his Joby GorillaPod to the outside of his bag so that anyone glancing at it can immediately read “photographer.” This isn’t about gaming the system - it’s about reducing friction. Security agents process hundreds of bags per shift. A bag that looks like a camera kit gets treated differently than an anonymous black duffel that happens to contain the same gear.
Beyond the tripod, a camera strap worn around the neck or a camera body clipped to the outside of the pack does the same thing. It communicates intent and context before anyone opens a single zipper. For photographers carrying a lot of gear, first impressions at the checkpoint matter.
Step 5: Reconsider Leaving Chargers in Checked Bags
 Discussion of charger placement between carry-on and checked luggage
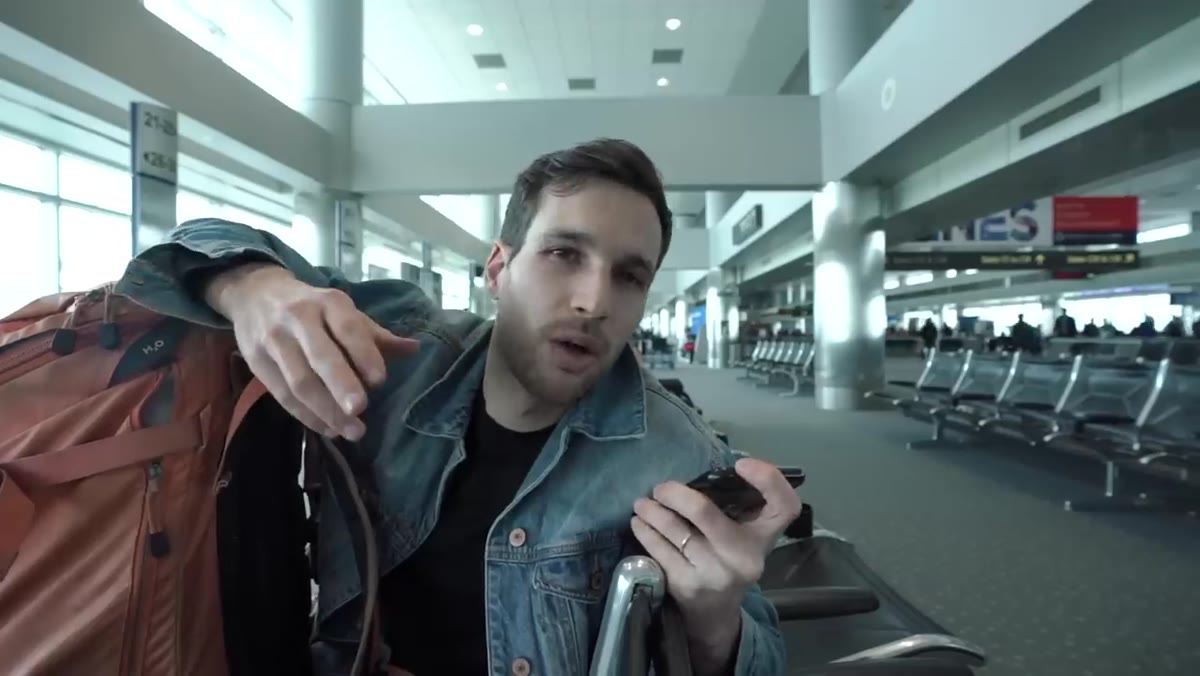
Pierre flags something here that I think deserves more emphasis than he gives it. He acknowledges that while he puts chargers in his checked bag, he’d actually prefer to have them in his carry-on. The reason: if the airline loses or delays your checked bag, you arrive at your destination with dead batteries and no way to charge them.
Discussion of charger placement between carry-on and checked luggage
Pierre flags something here that I think deserves more emphasis than he gives it. He acknowledges that while he puts chargers in his checked bag, he’d actually prefer to have them in his carry-on. The reason: if the airline loses or delays your checked bag, you arrive at your destination with dead batteries and no way to charge them.
For a working shooter, that’s not a minor inconvenience - it’s a failed job. If your carry-on weight allows it, bring at least one charger per camera system with you. The checked bag is for overflow, not for critical charging infrastructure.
What I’d Add From My Own Experience Hauling Gear
I’ve never traveled with a bag as heavy as Pierre’s 39.5 pounds, but I’ve gone through enough checkpoints with a stuffed backpack to add one thing he doesn’t cover: organization pays dividends. I use a single flat pouch for every battery and power bank, clearly visible when I unzip the bag. It saves me from digging around under agent supervision, which is uncomfortable for everyone.
I also keep a printed copy of the TSA lithium battery guidelines folded in my bag’s outer pocket. I’ve never needed it, but knowing it’s there keeps me calm when an agent wants to have a conversation about my power bank. Preparation is the best version of confidence.
The single most important thing to take from Pierre’s tutorial is the carry-on hierarchy: gear that loses you money if it disappears lives on your shoulder, not in the cargo hold. Everything else is logistics. He’s tested this across years of real travel and the framework holds. Watch the full tutorial on YouTube to see his actual bag setup and hear the full Q&A he walks through from the airport.
Comments
Leave a Comment