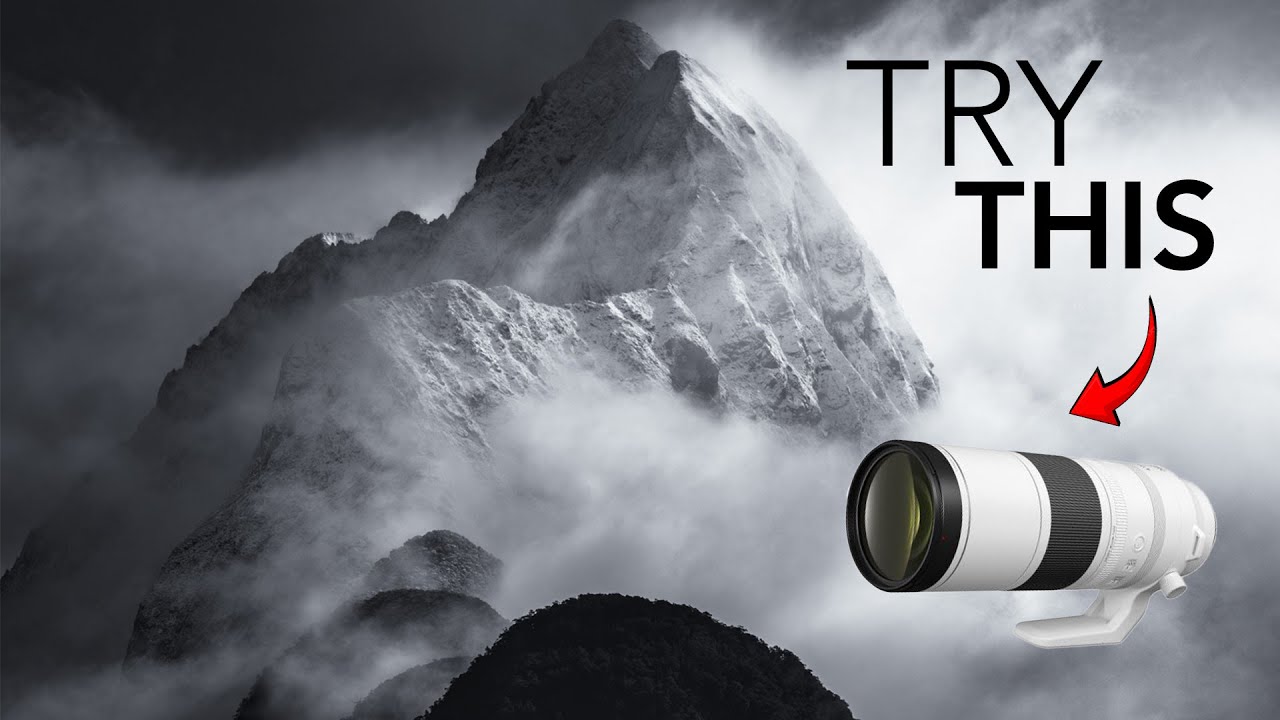
I came up through the budget-gear world convincing people that a kit lens could do more than they thought. And for years, I kind of overlooked the telephoto as a landscape tool because it felt like a specialty item, something wildlife shooters needed, not landscape photographers. Then I sat down with William Patino’s tutorial on making the most of your telephoto lens, and it reframed how I think about the whole focal length category. Watch the full tutorial on YouTube
What hit me hardest was how simple the core idea is. Wide-angle lenses show you everything. Telephoto lenses let you choose. That distinction sounds obvious until you’re standing in front of a mountain range with a 24-70 and wondering why your shots feel cluttered. The telephoto cuts the noise. It forces a decision about what actually matters in the frame, and that discipline alone makes you a sharper photographer.
Patino covers focal ranges, the two defining strengths of the telephoto, and how to approach composition differently when you’re zoomed way in. Here’s how to work through those ideas in practice.
Step 1: Understand Which Focal Lengths Count as Telephoto
 Three standard lens range categories explained on screen
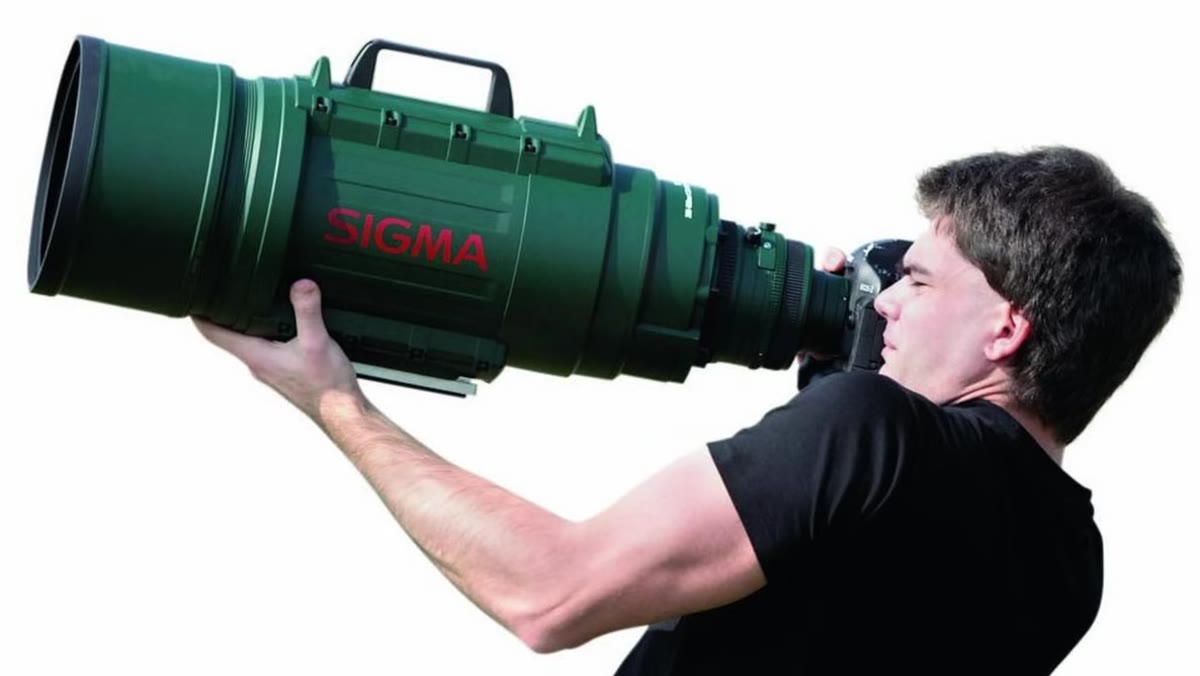
Most photographers already know wide-angle means something around 12-24mm and mid-range covers roughly 24-105mm. Telephoto starts after that, generally from 70mm and out. Patino focuses on two ranges that dominate real-world use: 70-200mm and 100-400mm. Beyond those, you get into 100-500, 200-600, and similar options, but the techniques apply across all of them.
Three standard lens range categories explained on screen
Most photographers already know wide-angle means something around 12-24mm and mid-range covers roughly 24-105mm. Telephoto starts after that, generally from 70mm and out. Patino focuses on two ranges that dominate real-world use: 70-200mm and 100-400mm. Beyond those, you get into 100-500, 200-600, and similar options, but the techniques apply across all of them.
If you’re shooting with a crop sensor camera, remember your effective focal length is longer. A 70-200mm on an APS-C body behaves more like a 105-300mm equivalent. That’s actually useful for landscape work since you get more reach out of a lens that’s often cheaper than its full-frame counterpart.
Step 2: Learn to Isolate Subject Matter as a Compositional Tool
 Demonstration of isolating a distant subject with telephoto
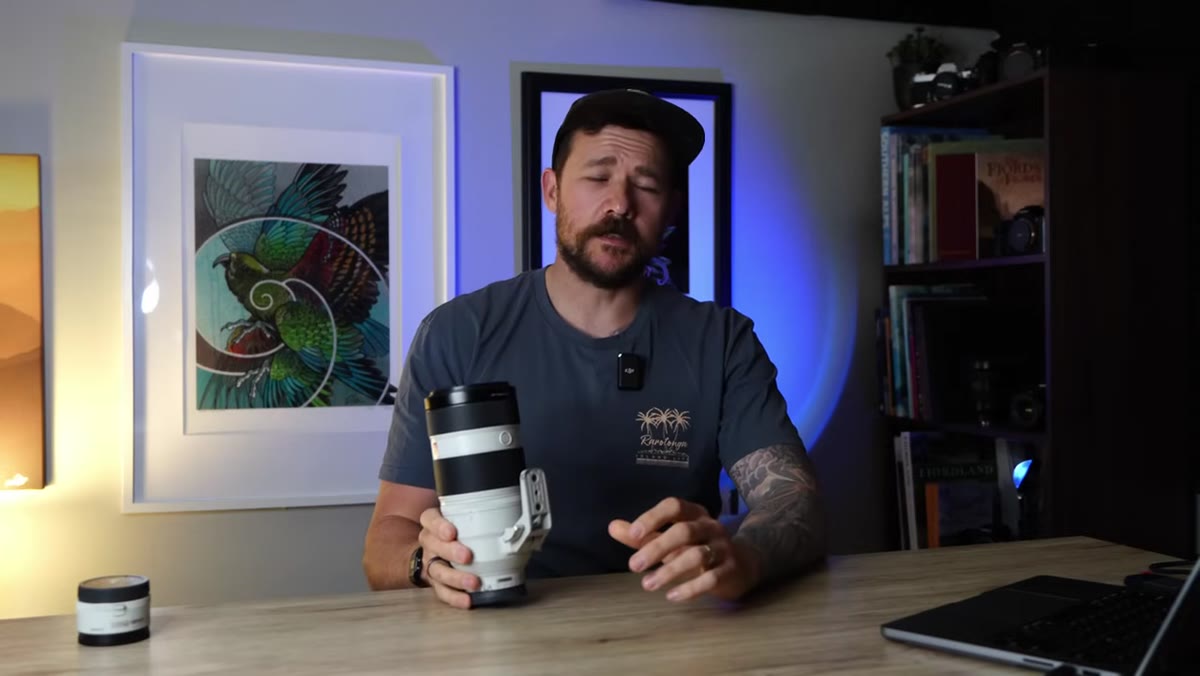
The biggest thing a telephoto gives you is the ability to pull a single subject out of a busy scene. Patino describes it as finding a frame within a frame. Where a wide-angle swallows an entire river valley, mountains, sky, and foreground all at once, the telephoto lets you point at just one mountain and fill the frame with it.
Demonstration of isolating a distant subject with telephoto
The biggest thing a telephoto gives you is the ability to pull a single subject out of a busy scene. Patino describes it as finding a frame within a frame. Where a wide-angle swallows an entire river valley, mountains, sky, and foreground all at once, the telephoto lets you point at just one mountain and fill the frame with it.
Think of it as shooting portraits of landscape elements. A lone tree on a hillside. A single breaking wave. The peak of a ridgeline at golden hour. You’re not documenting a scene, you’re making a deliberate subject selection. Practice this by standing in one spot and scanning through your focal length range until something locks in as a clear subject. That moment of “yes, that’s the shot” is exactly what the telephoto is built for.
Step 3: Use Compression to Create Depth and Drama
 Visual example of telephoto compression stacking landscape elements
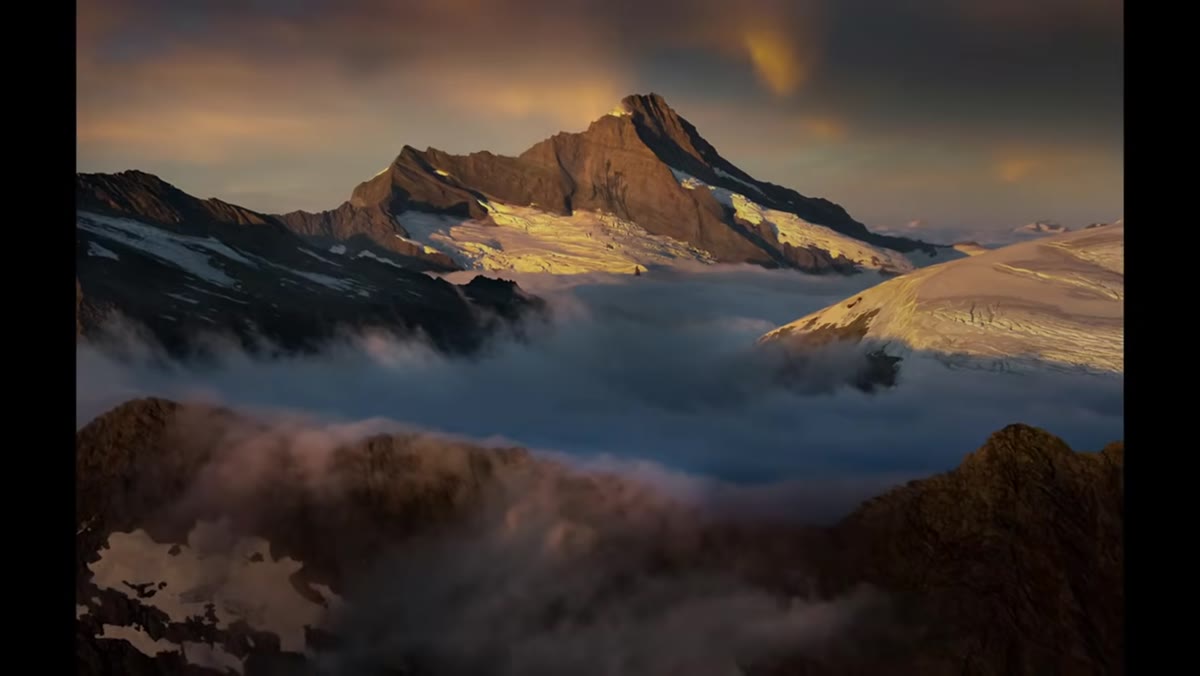
Compression is the second major strength Patino highlights, and it’s the one most beginners underuse. When you shoot at 200mm or beyond, elements at different distances appear much closer together than they actually are. The lens is literally stacking the scene. Mountains that are miles behind a foreground ridge look like they’re right there together.
Visual example of telephoto compression stacking landscape elements
Compression is the second major strength Patino highlights, and it’s the one most beginners underuse. When you shoot at 200mm or beyond, elements at different distances appear much closer together than they actually are. The lens is literally stacking the scene. Mountains that are miles behind a foreground ridge look like they’re right there together.
Patino points to moon photography as the clearest example. Everyone has seen those shots where the moon sits enormous and low behind a city skyline or a mountain peak. That’s compression at work. The same principle applies to waves rolling in from the ocean. At 300mm, you can make three separate wave crests look like they’re stacking on top of each other, which creates a sense of energy and power that a wide-angle just cannot replicate. To find the compression sweet spot, experiment with your distance from the foreground element. The farther back you stand and the more you zoom in, the more dramatic the stacking effect becomes.
Step 4: Adjust Your Compositional Thinking When You Zoom In
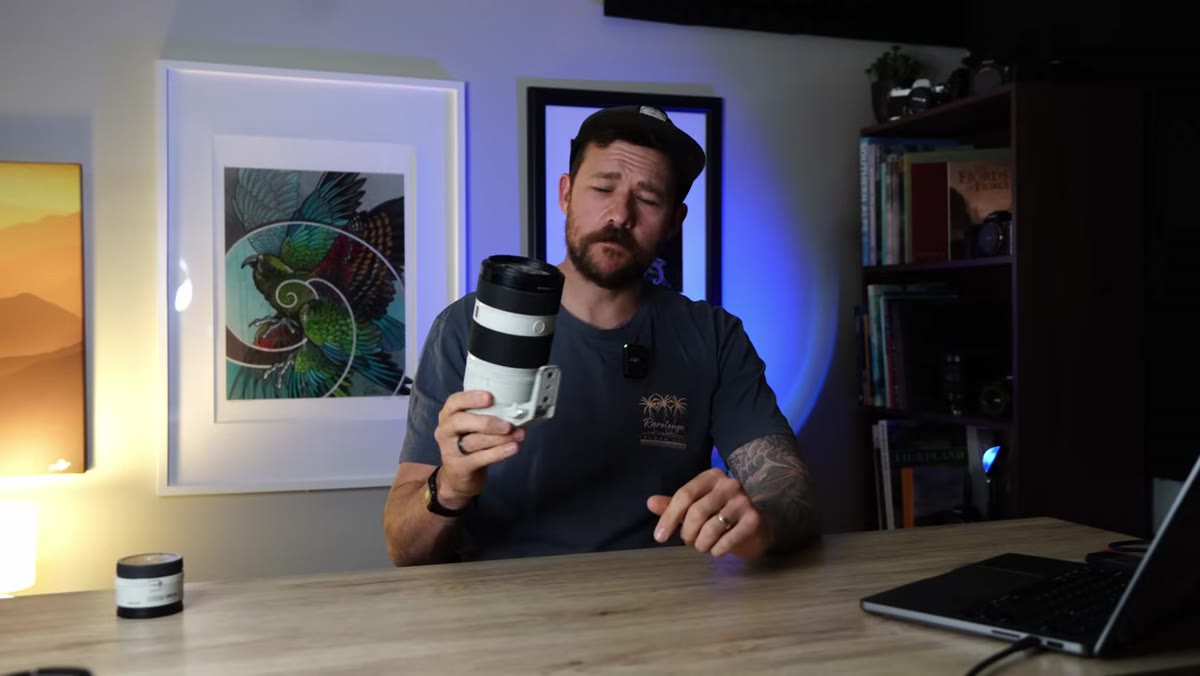 Single isolated subject filling the telephoto frame
Composition with a wide-angle requires juggling multiple elements: foreground interest, a midground anchor, a horizon, leading lines. It’s a lot to manage simultaneously. Telephoto composition is actually simpler, and Patino makes this point clearly. When you’re isolating one subject, you only have to ask one question: where does this subject sit in the frame?
Single isolated subject filling the telephoto frame
Composition with a wide-angle requires juggling multiple elements: foreground interest, a midground anchor, a horizon, leading lines. It’s a lot to manage simultaneously. Telephoto composition is actually simpler, and Patino makes this point clearly. When you’re isolating one subject, you only have to ask one question: where does this subject sit in the frame?
That said, simple doesn’t mean thoughtless. Pay attention to what’s immediately behind your subject. Because the telephoto compresses depth, the background will feel much closer and more prominent than it looks to your eye. A cluttered background that seems far away can ruin an otherwise clean shot. Scan for clean sky, smooth gradients, or contrasting tones behind your subject before you commit to the frame.
Step 5: Consider a 2x Teleconverter to Extend Your Reach
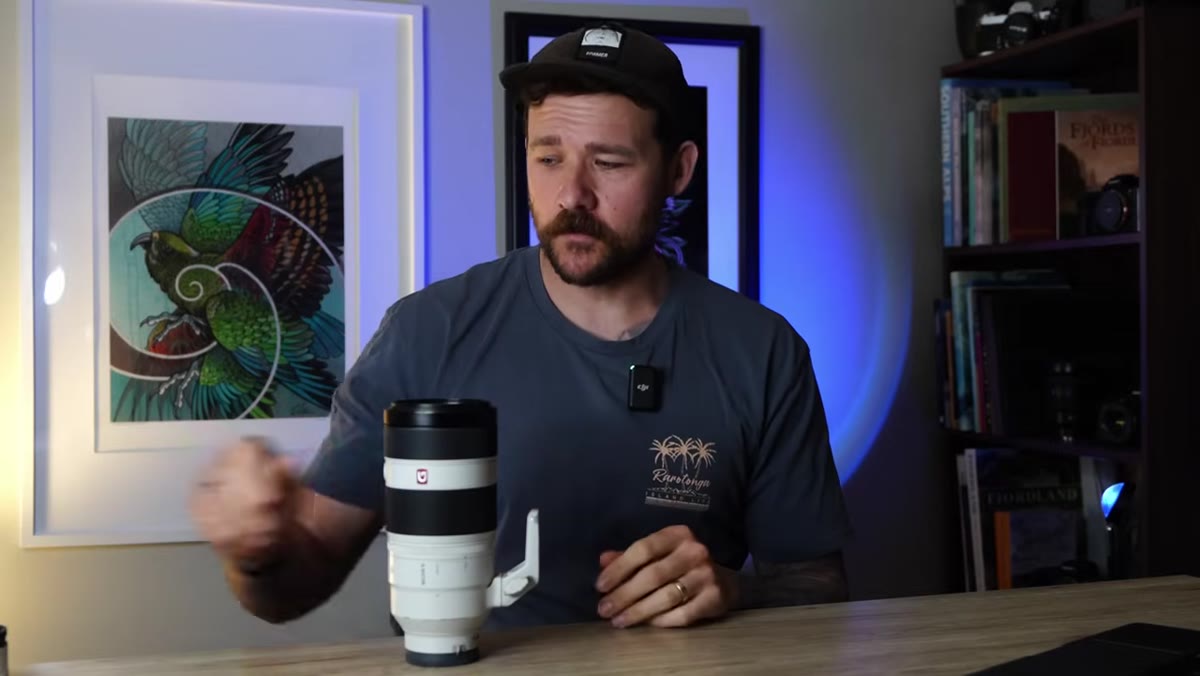 Reference to teleconverter use extending focal length range
Patino briefly mentions using a 2x teleconverter, and it’s worth pausing on this because it changes the math significantly. A 400mm lens with a 2x converter becomes an 800mm lens. That’s serious reach for landscape details, atmospheric haze effects, and compressed moon or sun shots.
Reference to teleconverter use extending focal length range
Patino briefly mentions using a 2x teleconverter, and it’s worth pausing on this because it changes the math significantly. A 400mm lens with a 2x converter becomes an 800mm lens. That’s serious reach for landscape details, atmospheric haze effects, and compressed moon or sun shots.
The tradeoff is light. A 2x converter typically costs you two full stops of aperture. So an f/5.6 lens becomes f/11 with the converter attached. In low-light landscape situations, particularly sunrise and sunset, that can push your ISO up or require a tripod to keep shutter speeds manageable. A tripod becomes essential at those focal lengths anyway since even small camera movements get amplified dramatically at 400mm and beyond.
Step 6: Build a Habit of Scanning Before You Shoot
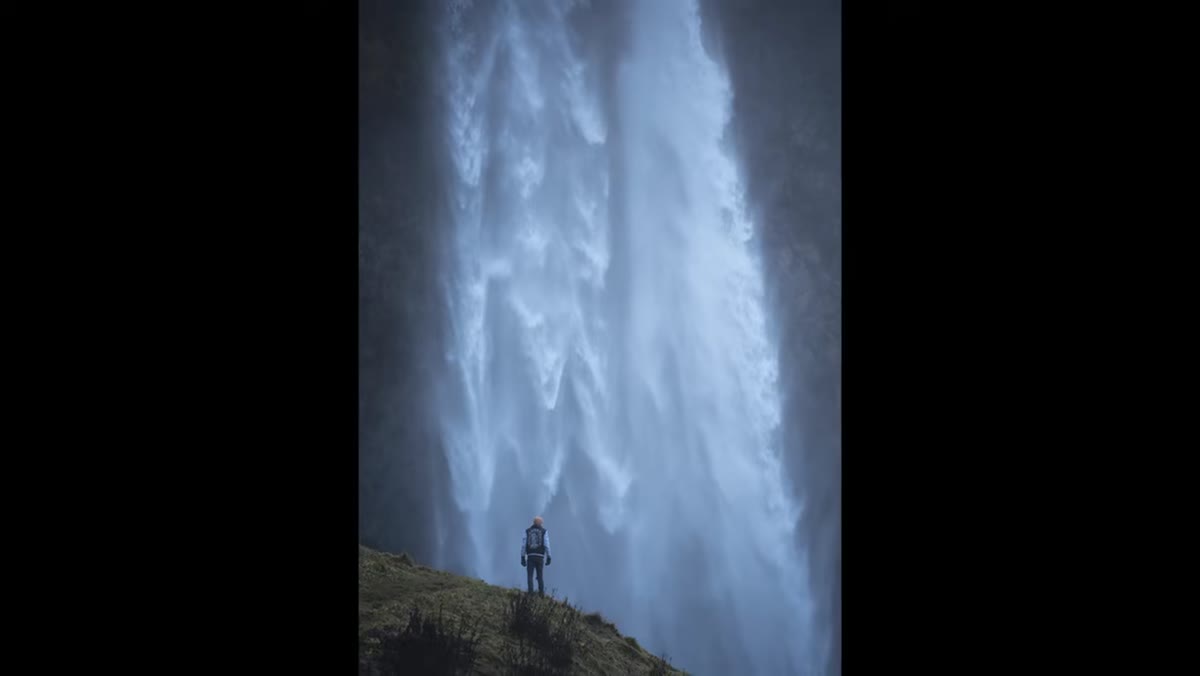 Telephoto used to search and isolate within a wider scene
One thing Patino implies throughout the tutorial is that the telephoto rewards a particular working style: scout wide, shoot narrow. Arrive at a location and look at it with your widest lens first, or even just your eyes. Identify the elements that are genuinely interesting, the peak, the texture, the reflection, the single dramatic wave. Then switch to the telephoto and extract that thing from the surrounding noise.
Telephoto used to search and isolate within a wider scene
One thing Patino implies throughout the tutorial is that the telephoto rewards a particular working style: scout wide, shoot narrow. Arrive at a location and look at it with your widest lens first, or even just your eyes. Identify the elements that are genuinely interesting, the peak, the texture, the reflection, the single dramatic wave. Then switch to the telephoto and extract that thing from the surrounding noise.
This is a workflow, not just a technique. It means you’re using the telephoto intentionally rather than defaulting to it because you already have it mounted. The photographers who get the best telephoto landscape shots are the ones who spend time looking before they start shooting.
What I’d Add: The Budget Angle Nobody Talks About
I’ve tested more telephoto options on the cheaper end than most people would bother with, and here’s what I’ve found: you do not need a $2,000 zoom to apply every technique in this tutorial. Third-party 70-300mm lenses from brands like Tamron and Sigma regularly land under $500 and deliver image quality that holds up at web resolution and even moderate print sizes. The compression effect works the same regardless of what glass you’re using. The isolation technique works the same. The compositional logic works the same. Spend your money on a solid tripod head before you obsess over the premium zoom upgrade.
The single most transferable idea from Patino’s tutorial is that the telephoto is a decision-making tool. It forces you to commit to a subject, strip away the clutter, and compress the scene into something that feels intentional rather than documentary. Every landscape photographer should spend at least one full session shooting exclusively telephoto to understand what they’ve been leaving on the table.
Watch the full tutorial on YouTube to see Patino’s portfolio examples and hear his full breakdown of each concept in context.
Comments
Leave a Comment