I used to spend 45 minutes before every shoot hunting down the same USB-C cable I knew I owned. It wasn’t lost. It was just in the wrong bag, or on my desk, or charging something else. That kind of friction doesn’t sound like a big deal until you’re running late to a client job and your laptop is at 4% battery. The fix isn’t buying better gear. It’s building smarter kits. In this Daniel Norton Photographer tutorial on organizing photo gear, Daniel lays out a system that working professionals use to make sure every piece of equipment they need is already packed and ready before they even think about leaving. Watch the full tutorial on YouTube
The core idea is deceptively simple: instead of maintaining one giant gear collection you dig through before each job, you build separate, self-contained kits for each type of work you do. Your corporate portrait kit lives together. Your video kit lives together. Your camera body kit lives together. Each one has everything it needs to function, including the boring stuff like chargers, cables, and adapters, so you never have to cross-reference your brain against a packing list. As someone who once had to borrow an SD card reader from a stranger at a coffee shop because I’d forgotten mine for the third time, this system clicked for me immediately.
Step 1: Identify the Types of Work You Actually Do
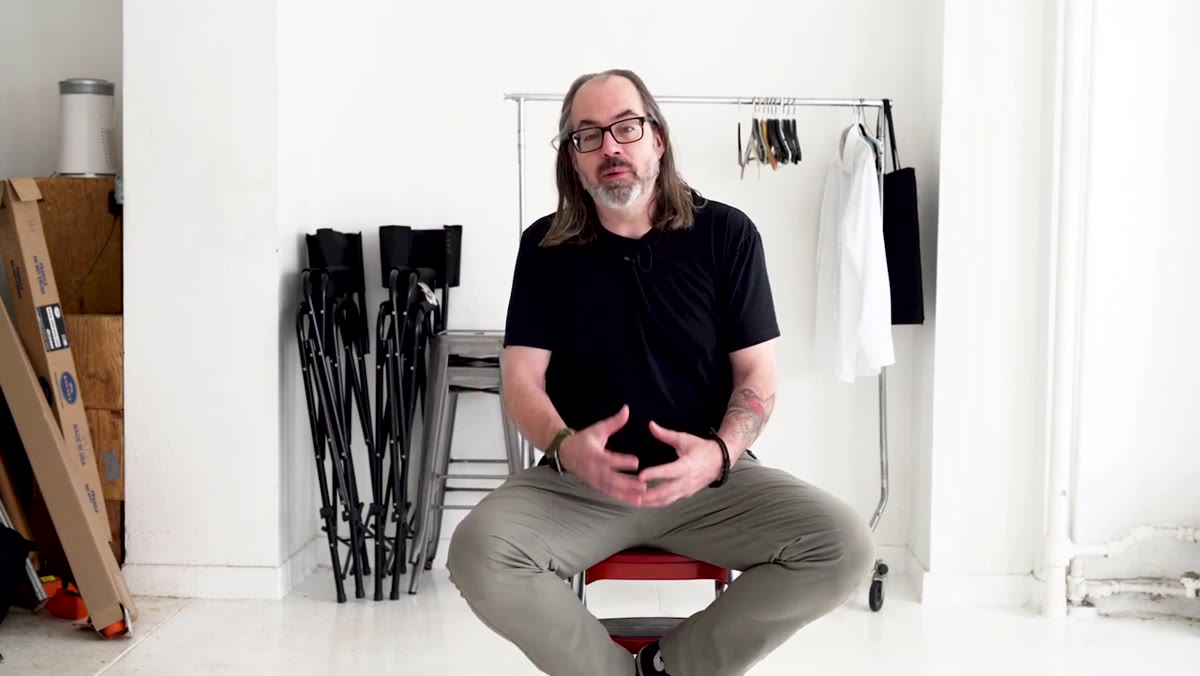 Daniel explaining the concept of project-specific kits
Start by listing out the distinct types of shoots you take on, not gear categories, but job types. Portrait sessions, product work, video content, event coverage, behind-the-scenes work. Each of these has a different set of equipment requirements, and that difference is the foundation of the whole system. Daniel’s point here is that you don’t need to have everything figured out on day one. Even two clearly defined kits is a better starting point than one chaotic pile of gear.
Daniel explaining the concept of project-specific kits
Start by listing out the distinct types of shoots you take on, not gear categories, but job types. Portrait sessions, product work, video content, event coverage, behind-the-scenes work. Each of these has a different set of equipment requirements, and that difference is the foundation of the whole system. Daniel’s point here is that you don’t need to have everything figured out on day one. Even two clearly defined kits is a better starting point than one chaotic pile of gear.
If you’re early in your career, that list might be short. That’s fine. The goal is to recognize that “I shoot portraits and I also shoot video” means you’re already operating two different workflows, and they deserve two different cases.
Step 2: Build a Dedicated Camera Kit
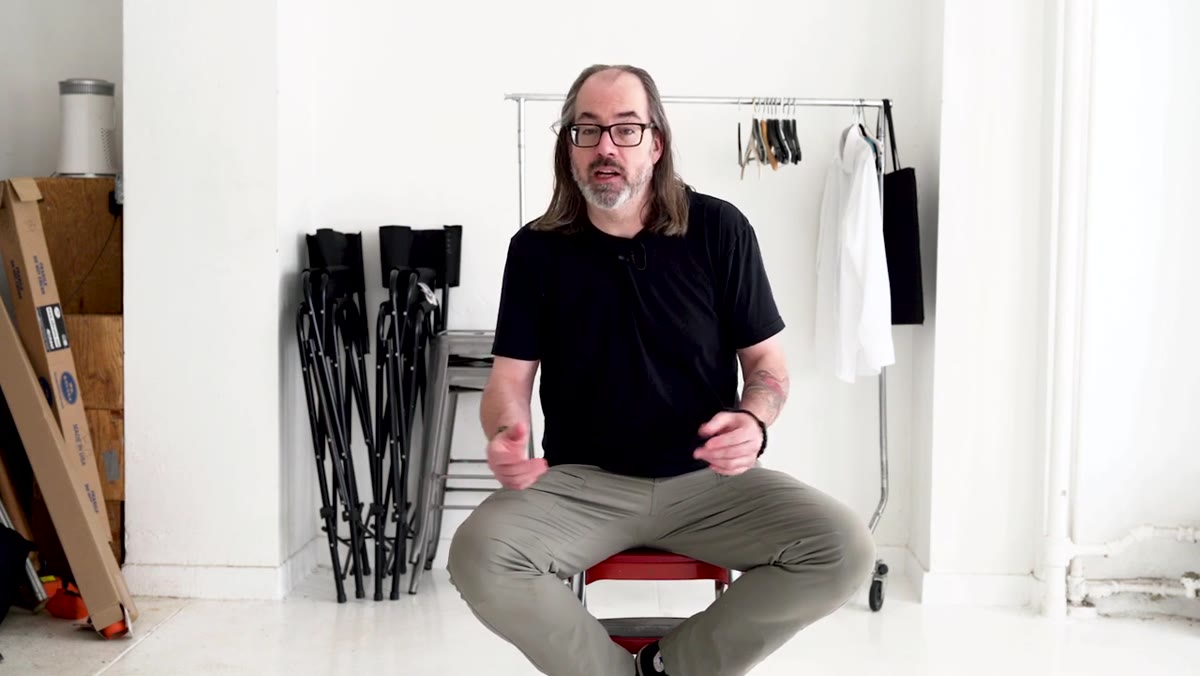 Daniel describing the camera as its own self-contained kit
Your camera body doesn’t belong to any one job. It belongs to all of them. So it earns its own kit. This means the camera body, your most-used lenses, extra batteries, memory cards, and any accessories that stay attached to the camera no matter what kind of shoot you’re on. Think of this as the kit that travels with everything else, but never gets cannibalized for parts.
Daniel describing the camera as its own self-contained kit
Your camera body doesn’t belong to any one job. It belongs to all of them. So it earns its own kit. This means the camera body, your most-used lenses, extra batteries, memory cards, and any accessories that stay attached to the camera no matter what kind of shoot you’re on. Think of this as the kit that travels with everything else, but never gets cannibalized for parts.
The practical benefit is that your camera kit is always complete. You’re not pulling batteries out of it to charge something else and forgetting to put them back. Everything stays together, fully charged, ready to grab.
Step 3: Build Job-Specific Kits Around That Camera Kit
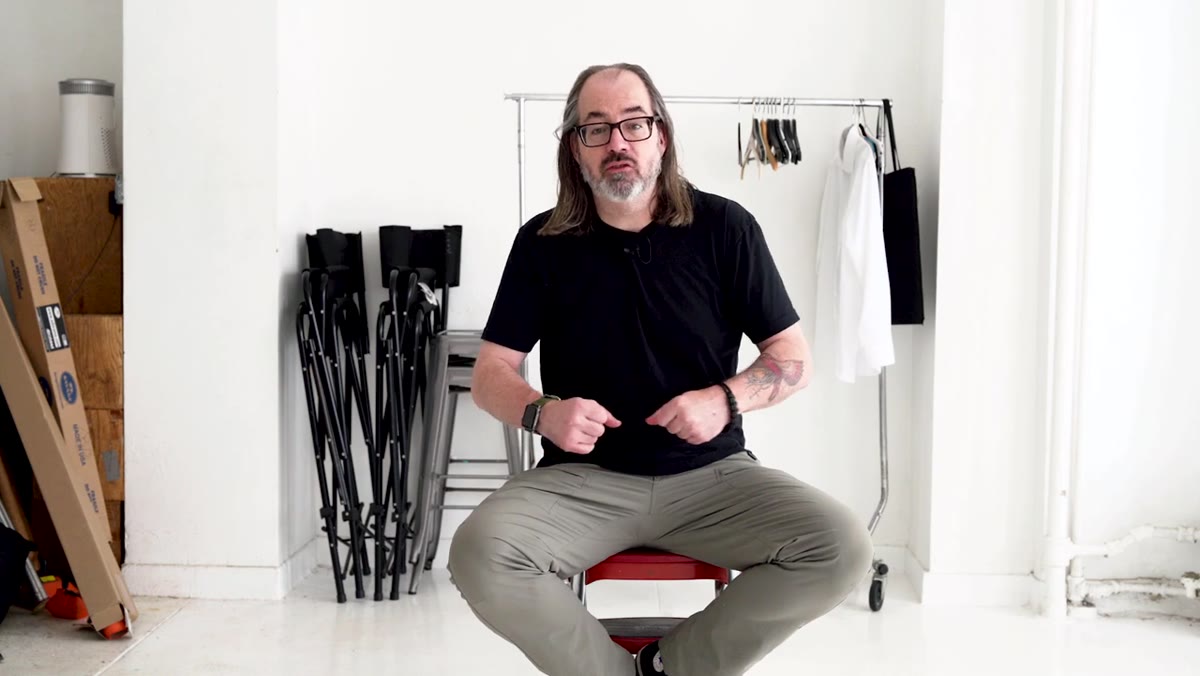 Daniel referencing his video kit in a Pelican-style case with cables and chargers
This is where the system gets real. For each job type you identified in Step 1, you build a kit that contains everything except the camera. So your corporate portrait lighting kit has your monolight or strobe, your modifiers, your triggers, your stands if they fit, and critically, its own set of cables, adapters, and chargers. Not borrowed ones. Dedicated ones that live in that case permanently.
Daniel referencing his video kit in a Pelican-style case with cables and chargers
This is where the system gets real. For each job type you identified in Step 1, you build a kit that contains everything except the camera. So your corporate portrait lighting kit has your monolight or strobe, your modifiers, your triggers, your stands if they fit, and critically, its own set of cables, adapters, and chargers. Not borrowed ones. Dedicated ones that live in that case permanently.
Daniel is upfront that this costs money. Buying duplicate cables and chargers adds up. But compare that cost to the cost of showing up to a paid job without a working setup. The math changes fast. Start with the kit you use most, build it out completely, then move to the next one as budget allows.
Step 4: Pack Every Kit With Its Own Consumables and Backup Accessories
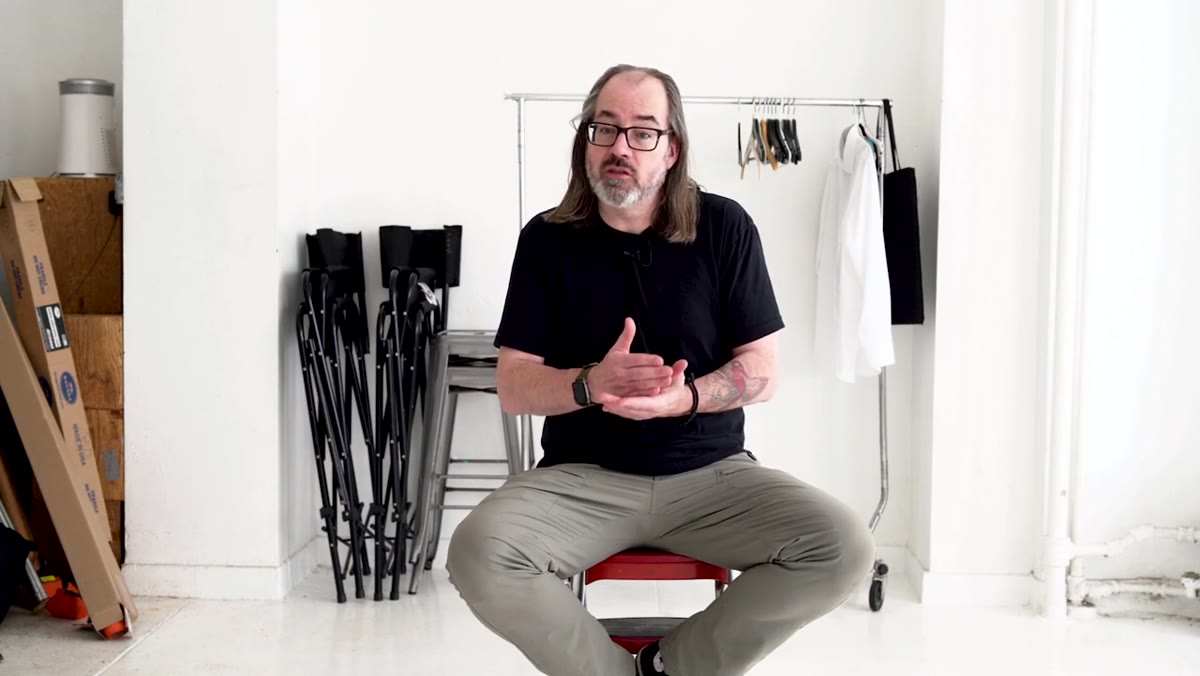 Daniel listing cables, chargers, adapters, and extension cords as kit essentials
This step is where most photographers stop short. They pack the lights and the modifiers but forget the extension cord. They remember the camera but not the extra memory card. Daniel is specific about this: every kit gets its own chargers, its own backup batteries, its own cables, and its own adapters. Not shared. Not “I’ll grab it from the other bag.”
Daniel listing cables, chargers, adapters, and extension cords as kit essentials
This step is where most photographers stop short. They pack the lights and the modifiers but forget the extension cord. They remember the camera but not the extra memory card. Daniel is specific about this: every kit gets its own chargers, its own backup batteries, its own cables, and its own adapters. Not shared. Not “I’ll grab it from the other bag.”
The test for whether a kit is complete is simple: if you grabbed only this case and drove to a location, could you do the job? If the answer is no because you’d still need to raid another bag for a power adapter, the kit isn’t done yet.
Step 5: Separate Your Lighting Gear as Your Kit Count Grows
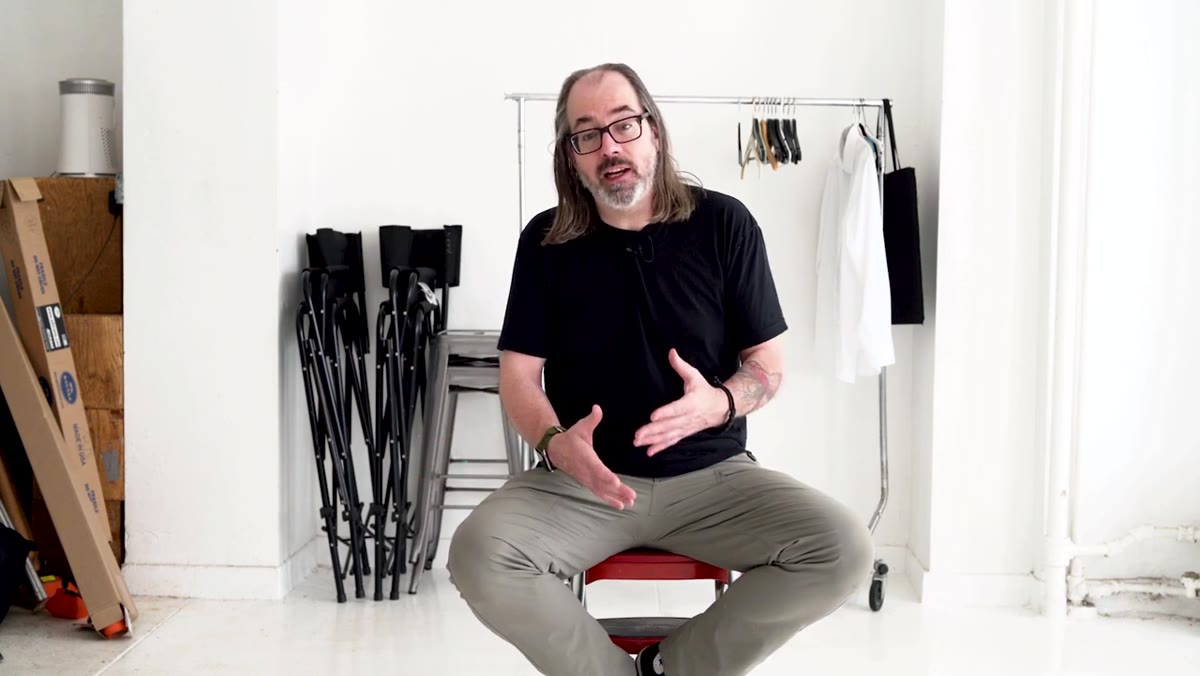 Daniel describing how his Profoto B10 kit contains only B10-specific gear and batteries
When you’re starting out, one lighting case might hold everything. Three heads, a couple of power packs, some umbrellas, a softbox, a grid. Daniel did exactly that early in his career. But as you take on more varied work, that combined case becomes a liability because you’re dragging everything to every job, even when you only need half of it.
Daniel describing how his Profoto B10 kit contains only B10-specific gear and batteries
When you’re starting out, one lighting case might hold everything. Three heads, a couple of power packs, some umbrellas, a softbox, a grid. Daniel did exactly that early in his career. But as you take on more varied work, that combined case becomes a liability because you’re dragging everything to every job, even when you only need half of it.
The next level of organization is separating lights by system or by use case. Your battery-powered strobe kit stays separate from your studio pack kit. Modifiers that only work with one light system live in that system’s case. This cuts down on what you carry to each job and makes it faster to confirm you have the right gear before you leave the house.
My Take: The Cheap Gear Version of This System Works Too
Here’s what Daniel doesn’t explicitly say but I’ll add from my own experience: this system scales down beautifully for budget kits. I run essentially this same structure across gear that cost a fraction of what most working pros use. My “portrait kit” is built around a $130 monolight and a $25 trigger. My “video kit” has a $9 USB hub and two spare cables I grabbed during an Amazon sale. The organizational logic is identical regardless of what the gear cost.
The real investment isn’t in the gear. It’s in duplicating the small stuff so every kit is self-sufficient. A three-pack of USB-C cables runs about $10. An extra memory card reader is another $8. That $18 is the difference between a kit that works and a kit that almost works. Almost working is the version that causes problems on real jobs.
The single most important idea in Daniel’s tutorial is this: a kit is only a kit if it can operate independently. If it borrows anything from another bag to function, it’s not a kit, it’s a pile. Build toward independence for each case you own, even if it takes a few months to get there.
Watch the full tutorial on YouTube to hear Daniel walk through his specific kit configurations and see how he thinks about organizing a professional studio setup from the ground up.
Comments (3)
The tip about how to build photography kits was the missing piece for me. Thank you.
Solid advice. Especially the part about taking your time with it.
Quality content like this is rare. Keep it up.
Leave a Comment