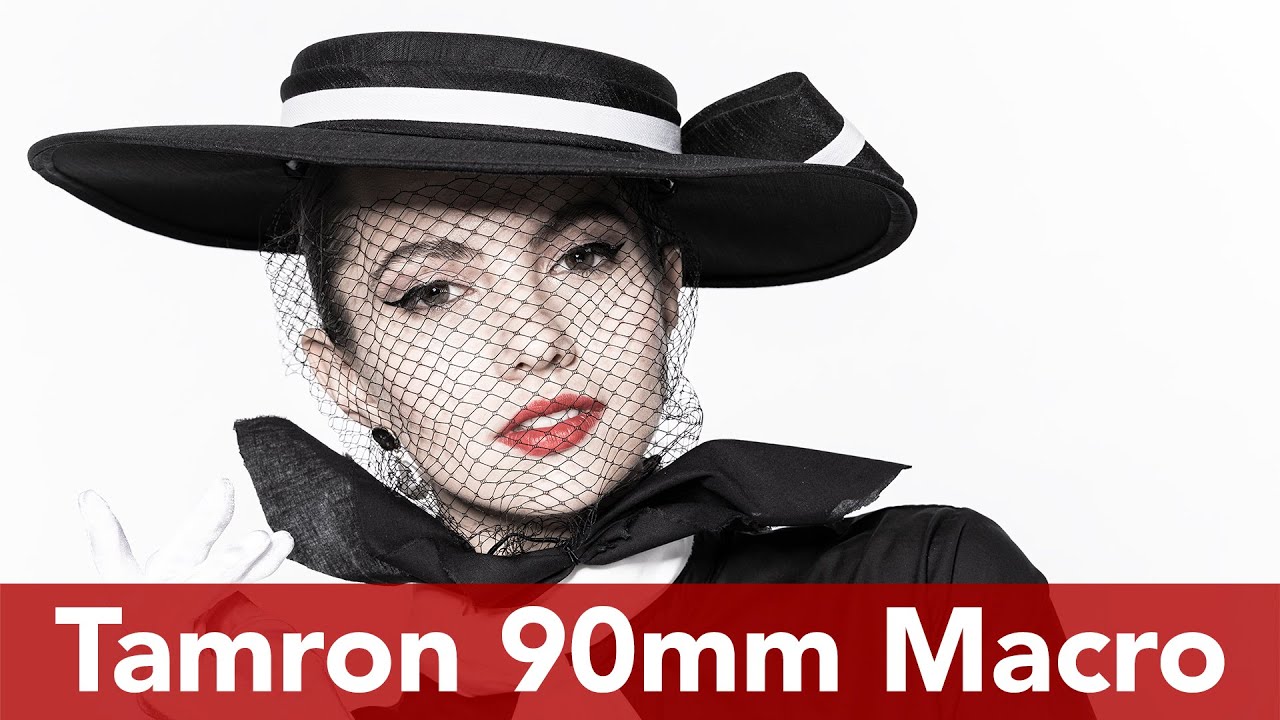
Here’s a problem I run into constantly: I want a solid portrait lens and a macro lens, but I don’t want to pay for both. For a long time I just assumed that was a compromise I’d have to make. Then I came across a tutorial from The Slanted Lens that reframed the whole question. Watch the full tutorial on YouTube before or after reading this, because the lighting breakdowns are worth seeing in motion.
The tutorial covers three retro portrait lighting setups built around the Tamron 90mm f/2.8 macro lens, available for both Nikon and Sony mounts. The setups are inspired by the editorial work of Irving Penn, particularly a portrait he shot in the 1960s of a woman in a black hat. What makes this useful for working photographers isn’t nostalgia. It’s that Penn’s lighting principles - hard directional sources, deliberate shadow, minimal fill - are straightforward to replicate with affordable gear. No softbox library required.
What I appreciate most about this breakdown is that it connects the why behind each lighting choice to the what you actually see on the subject’s face. That’s the gap most tutorials skip. So let me walk you through each setup as practically as I can.
Step 1: Understand Why 90mm Works as a Portrait Focal Length
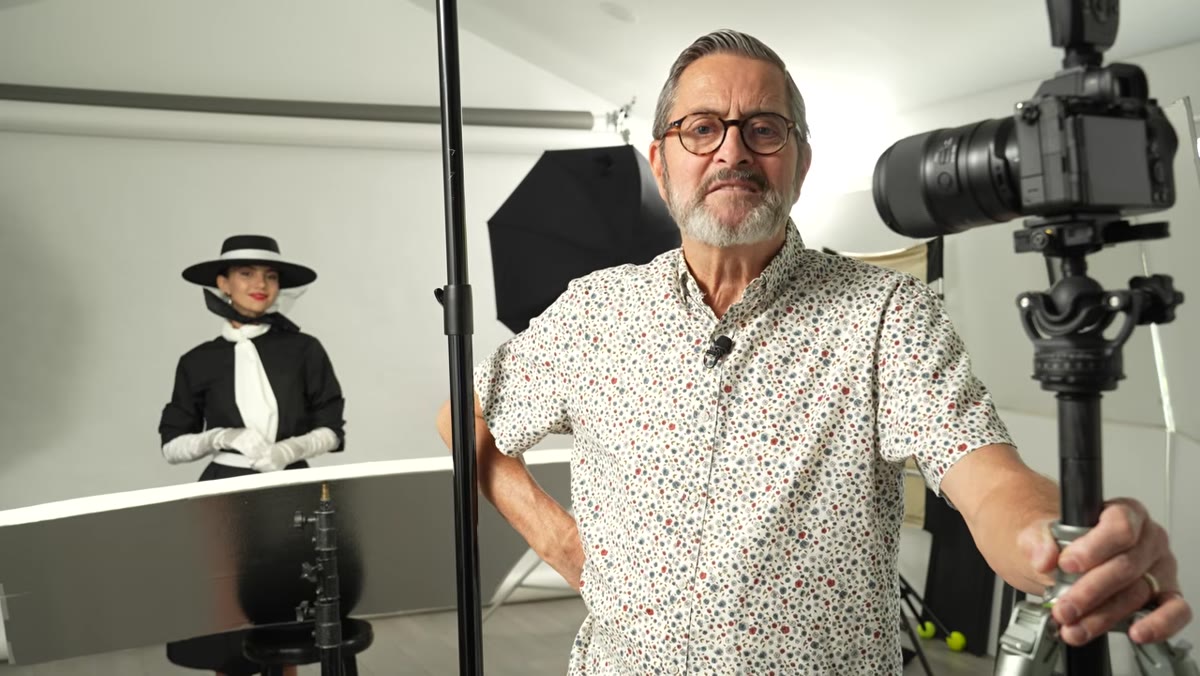 Host explaining 90mm portrait compression vs. 85mm lenses
Before any light gets set up, the tutorial makes a case for the lens itself - and it’s worth internalizing before you shoot. A 90mm focal length gives you the same flattering facial compression you’d expect from an 85mm, without the distortion that wider lenses introduce around the edges of the frame. The face looks natural, rounded, and proportional.
The practical advantage over a fast 85mm f/1.4 or f/1.2 is cost. Those lenses are expensive largely because of the wide maximum aperture. The Tamron 90mm f/2.8 gives up a stop or two of light, but f/2.8 still produces plenty of background separation and smooth bokeh for portrait work. And because it’s a true 1:1 macro lens, you can use the same glass to shoot tight detail shots - eyes, jewelry, texture - without swapping to a dedicated macro. One lens, two distinct use cases.
Step 2: Build Your First Setup Around a Hard Beauty Dish
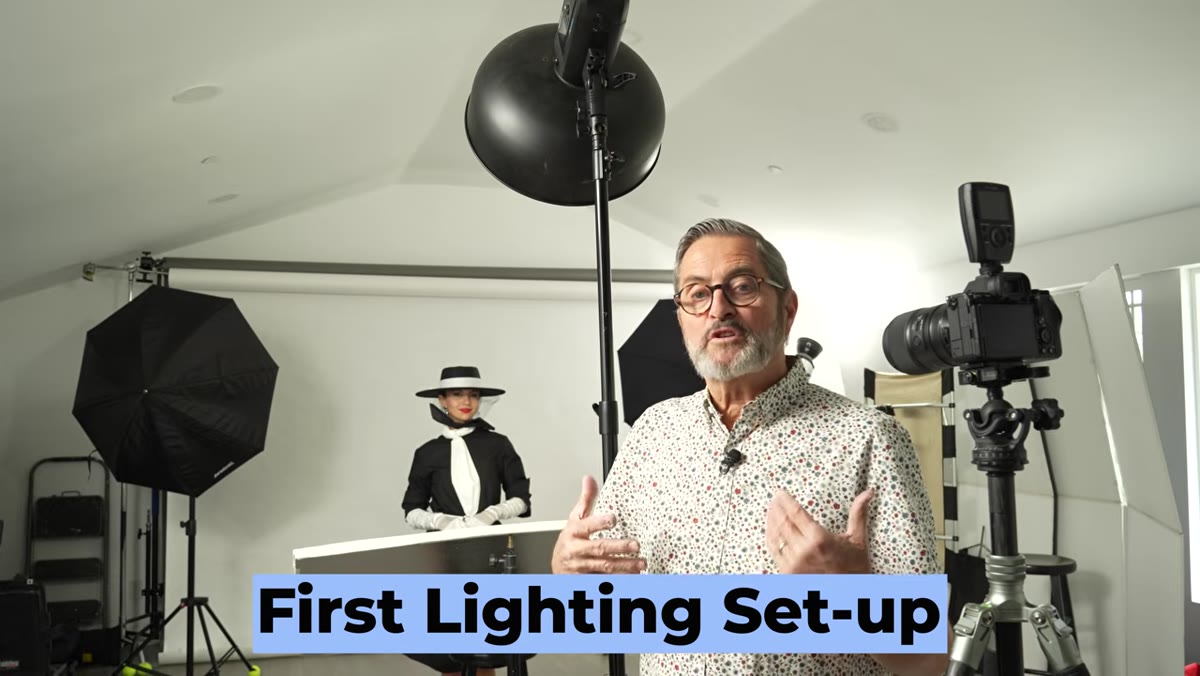 Small metal beauty dish positioned above subject at angle
The first lighting setup references the kind of hard reflector beauty dishes that were common before modern diffused modifiers took over. The key word here is hard. This is not a softbox. The dish is relatively small, which makes the light source small relative to the subject, which means the light is more directional and the shadows are more defined.
The construction of the dish matters for understanding the quality of light. A metal baffle inside the modifier blocks any light from hitting the subject directly from the flash tube. Instead, the light bounces off the interior of the dish before it reaches the face. The result is still punchy and contrasty compared to a large softbox, but it’s not as harsh as bare flash. You get defined shadows under the cheekbones and chin - exactly what Penn’s editorial style used to sculpt the face. Position this dish above and slightly to one side of the subject, angled down at roughly 45 degrees, and you’ll see those classic shadows start to form.
Step 3: Study the Shadow Patterns on the Face Before You Shoot
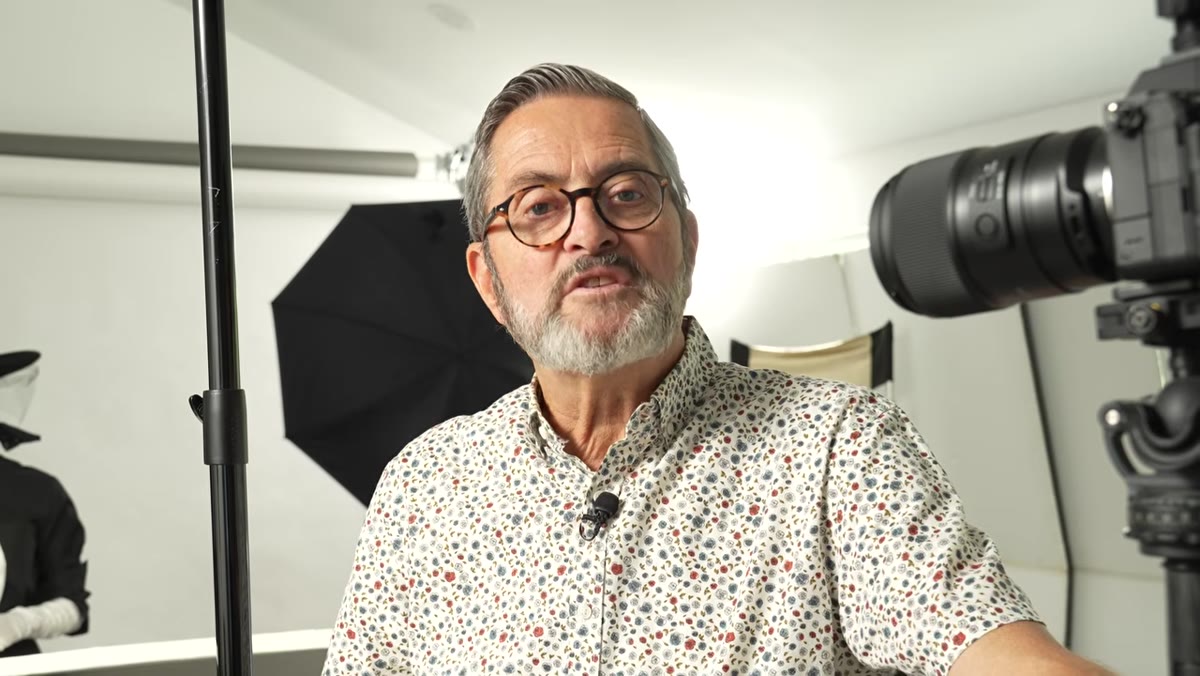 Host pointing to how directional light falls across subject’s features
This is a step most shooters rush past, and it’s the one that separates snapshots from portraits. Before you trigger the shutter, look at where the shadows land. With a hard beauty dish, you want to see the shadow under the nose sitting cleanly above the upper lip - not dragging down across it. The shadow under the chin should be visible but not dominant.
The subject’s head position changes everything here. Ask your subject to turn slightly away from the light source, then tilt their chin down just a touch. Watch how those shadow lines shift. This is the kind of micro-adjustment that takes 30 seconds and makes the difference between a portrait that looks sculpted and one that just looks dim. The Tamron’s close focusing also lets you tighten the crop significantly in camera, so you’re working with the full face as your composition - which makes getting the shadows right even more critical.
Step 4: Reference a Specific Historical Image as Your Lighting Target
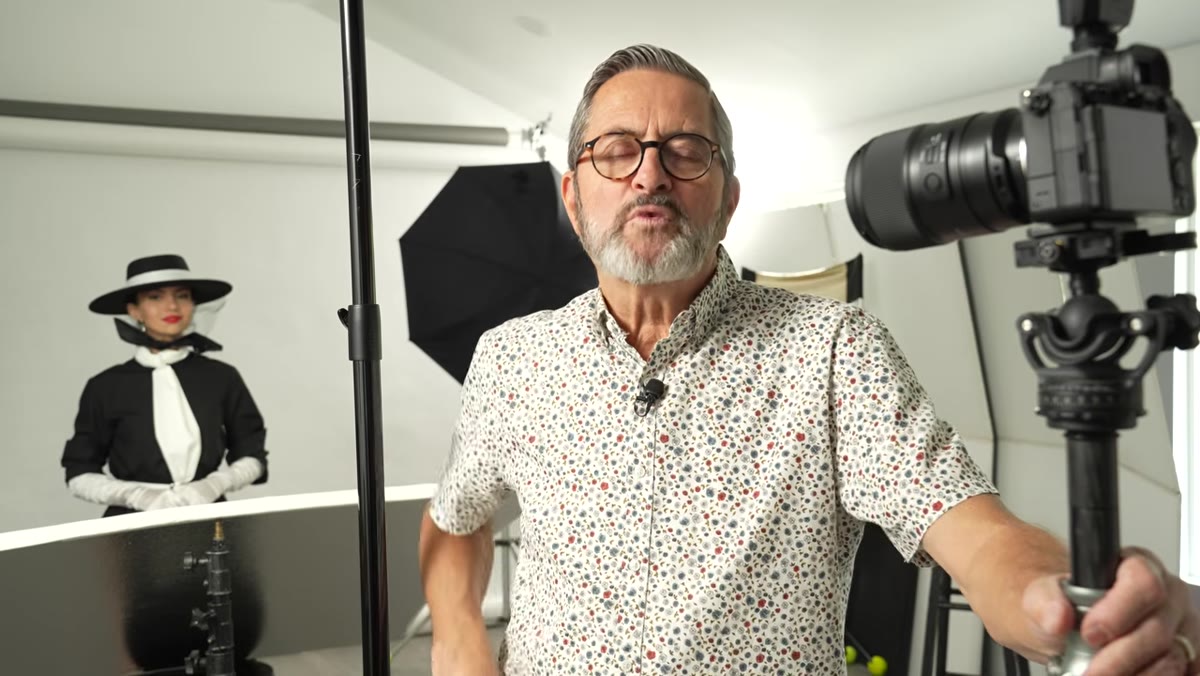 Discussion of Irving Penn’s work and editorial lighting era
Penn’s 1960s portrait work is worth pulling up on a second monitor while you shoot. The tutorial uses a specific Penn image as the visual target for the first setup - a woman in a black hat - and this approach of reverse-engineering a reference image is genuinely useful workflow practice.
Look at the catchlights in the eyes of Penn’s subjects. The shape and position of that highlight tells you exactly what modifier he used and roughly where it was placed. Hard, round catchlights usually mean a relatively small round source. Soft, rectangular ones mean a large softbox or window. When you match your lighting setup to the catchlight in your reference, you’re working backwards from the result rather than guessing forward from the equipment. That’s a faster path to intentional results.
Step 5: Leverage the Macro Capability for Detail Portraits
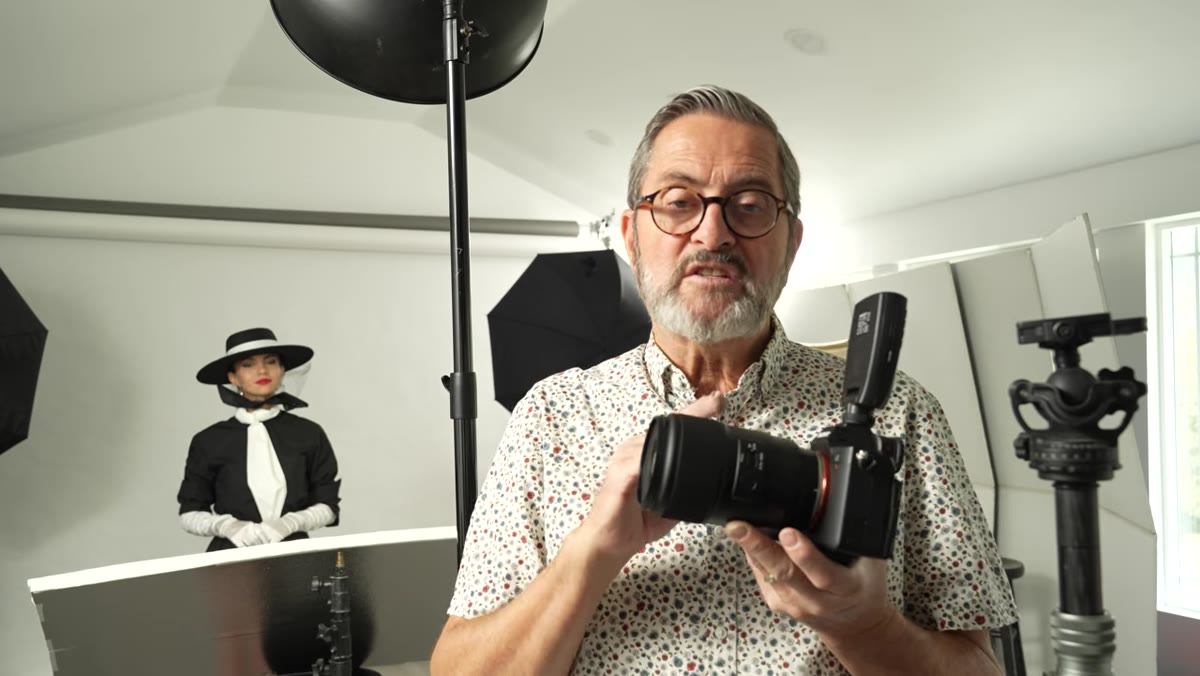 Demonstrating close-focus macro shot of subject’s eye
Once the main portrait lighting is dialed in, the 90mm’s macro mode opens up a second category of shots from the same session. At 1:1 magnification, you can fill the frame with a single eye, a detail of the costume, or any texture you want to isolate. The lighting setup you’ve already built - still in place - now becomes the light source for these macro shots too.
The practical note here is focus distance. At true macro distances, your depth of field gets extremely thin even at f/2.8. If you’re shooting an eye detail, focus on the iris and let the eyelashes fall slightly soft. Use a sturdy position or a tripod for these shots because the slightest camera movement at 1:1 magnification is visible in the final image.
What I’d Add from My Own Testing
I’ve run similar focal length comparisons in a more controlled way - the kind of spreadsheet-driven testing I do before recommending anything. What consistently shows up is that photographers overestimate how much they need f/1.4 for portraits in a controlled studio or indoor environment. When you’re using strobes or even a single continuous light, you’re setting your exposure to the light output, not to available light. f/2.8 gives you more than enough aperture for that scenario, and you gain sharpness across the frame compared to shooting a fast prime wide open.
If you’re already shooting portraits and considering a macro lens for product or detail work, I’d look hard at the Tamron 90mm before buying two separate lenses. The math usually works out in its favor.
The single biggest thing this tutorial reinforced for me: the modifier you choose shapes the mood of the portrait before the subject even sits down. A hard beauty dish is not a mistake or a compromise - it’s a deliberate aesthetic choice with a long editorial history behind it. Get comfortable with how it sculpts the face, and you’ve added a tool that no amount of post-processing can convincingly fake.
Watch the full tutorial on YouTube to see all three complete setups demonstrated on camera with the actual lighting positions shown.
Comments (1)
Would love to see a follow-up going deeper into this topic.
Leave a Comment