Every time I prep for a trip, I waste at least an hour second-guessing my gear. Do I need the extra lens? Is this tripod too heavy? Can I get away with just one camera body? I’ve been guilty of showing up to shoot a weekend trip with a bag so heavy my shoulders hated me by noon. That’s the real problem with travel photography gear advice — most of it is written by people who aren’t actually carrying the bag all day.
In this CreativeLive tutorial, an experienced travel photographer walks through exactly how he packs for a typical trip. Watch the full tutorial on YouTube — it’s a practical, no-fluff walkthrough that got me rethinking my own kit. What I appreciated most is that the priorities here are comfort and flexibility, not gear flexing. Here’s the full breakdown, step by step.
Step 1: Start With the Right Bag
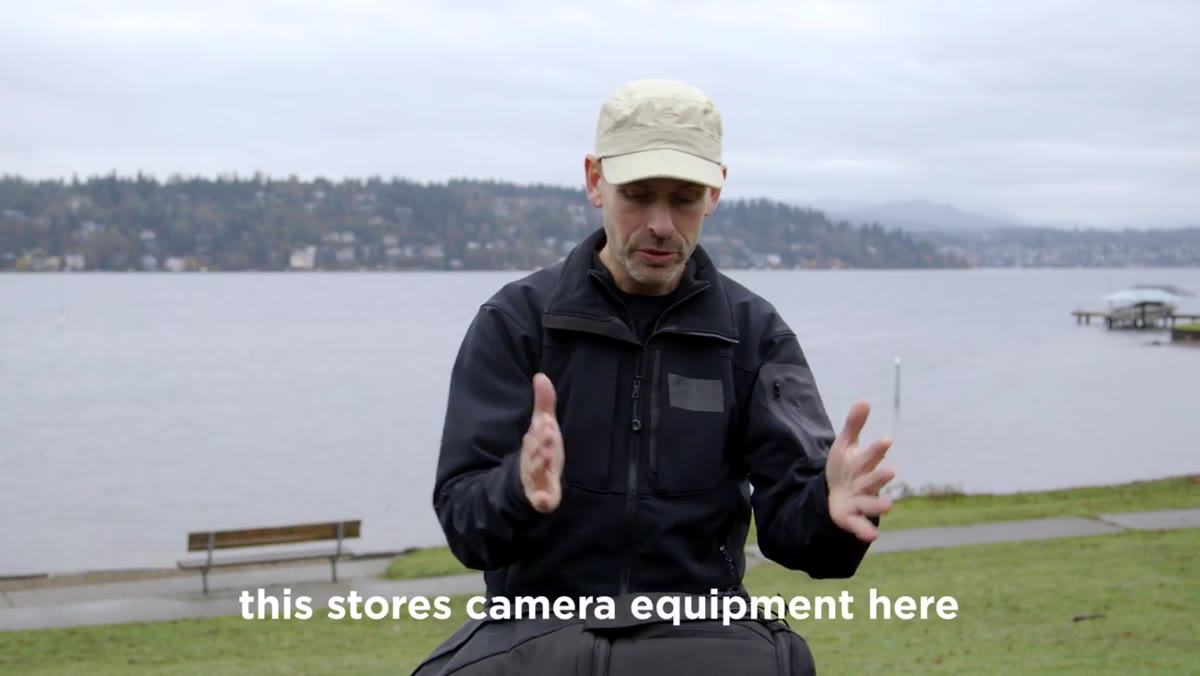 Photographer opening the camera bag compartment
The bag isn’t an afterthought — it sets hard limits on everything else. The guide emphasizes choosing the largest backpack you can comfortably walk a city in for hours. That’s the actual test, not how much it holds. The bag featured has two distinct sections: a dedicated camera compartment at the bottom with a side-access zipper, and a separate top section for all your non-camera essentials. That side zipper is a bigger deal than it sounds. Being able to grab your camera without digging through the whole bag means you’ll actually use it instead of walking past shots.
Photographer opening the camera bag compartment
The bag isn’t an afterthought — it sets hard limits on everything else. The guide emphasizes choosing the largest backpack you can comfortably walk a city in for hours. That’s the actual test, not how much it holds. The bag featured has two distinct sections: a dedicated camera compartment at the bottom with a side-access zipper, and a separate top section for all your non-camera essentials. That side zipper is a bigger deal than it sounds. Being able to grab your camera without digging through the whole bag means you’ll actually use it instead of walking past shots.
If you’re shopping for a travel camera backpack, look specifically for that side or rear-panel camera access. It changes how you shoot in the field.
Step 2: Choose a Mirrorless or Smaller-Sensor Camera as Your Primary Body
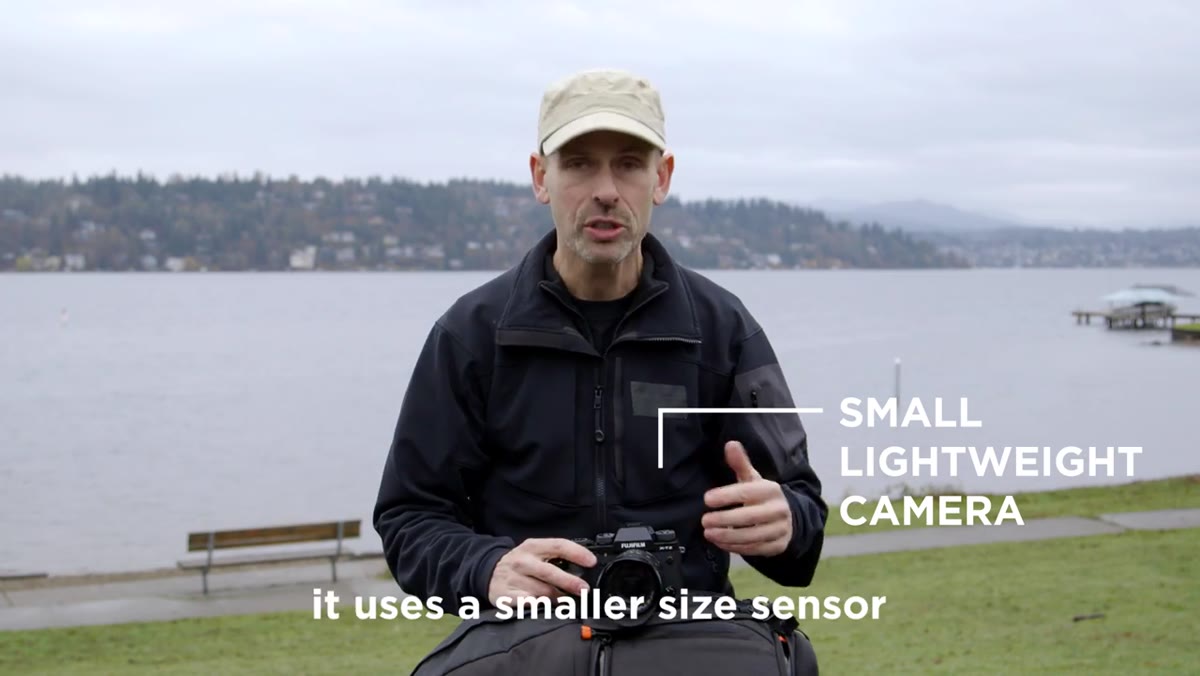 Fuji camera body with 18-55mm lens attached
The tutorial makes a strong case for mirrorless systems as travel cameras, specifically calling out Fuji’s APS-C lineup. The reasoning is straightforward: smaller sensor, smaller body, lighter bag. The camera shown is paired with an 18-55mm lens (equivalent to roughly 28mm on the wide end), and the key point is that this is the basic kit lens, not the premium version. For travel, the size and weight savings matter more than the extra stop of light you’d get from the pro glass.
Fuji camera body with 18-55mm lens attached
The tutorial makes a strong case for mirrorless systems as travel cameras, specifically calling out Fuji’s APS-C lineup. The reasoning is straightforward: smaller sensor, smaller body, lighter bag. The camera shown is paired with an 18-55mm lens (equivalent to roughly 28mm on the wide end), and the key point is that this is the basic kit lens, not the premium version. For travel, the size and weight savings matter more than the extra stop of light you’d get from the pro glass.
This resonates with me. I ran a comparison a while back where nobody at a photo meetup could tell which shots came from a $500 camera versus a $2,000 one. The gap is real in a studio. On the street, in good light? Much smaller than the price difference suggests.
Step 3: Pack a Short Telephoto for Distance and a Fast Prime for Low Light
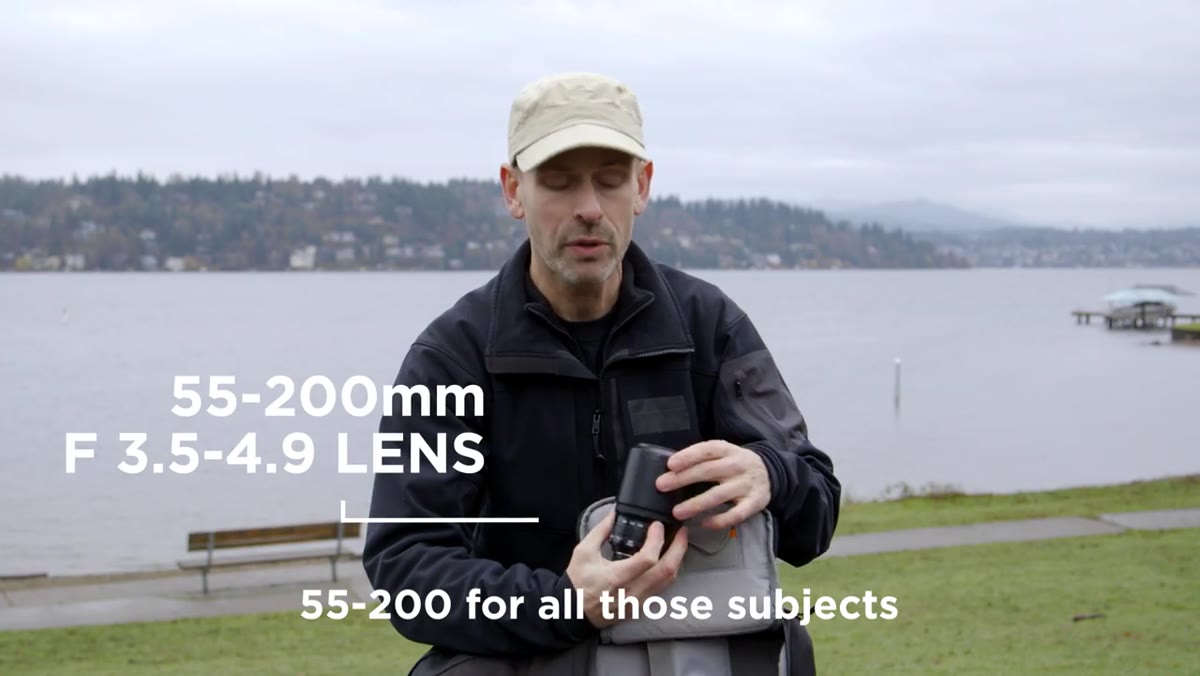 55-200mm lens shown in side bag pocket
Two additional lenses cover most situations you’ll encounter. The first is a 55-200mm telephoto, which handles subjects at a distance, whether that’s wildlife, street candids, or pulling in detail on architecture. It fits in a side pocket of the bag for quick access without opening the main compartment.
55-200mm lens shown in side bag pocket
Two additional lenses cover most situations you’ll encounter. The first is a 55-200mm telephoto, which handles subjects at a distance, whether that’s wildlife, street candids, or pulling in detail on architecture. It fits in a side pocket of the bag for quick access without opening the main compartment.
The second is a 35mm f/1.4 prime. This is your low-light, indoor, and evening lens. The wide aperture lets you shoot in restaurants, museums, and at dusk without cranking ISO into noise territory. A fast prime is also just more fun to shoot with, it forces you to move your feet and think compositionally rather than zooming from one spot.
Step 4: Add an Ultra-Wide for Tight Spaces and Big Landscapes
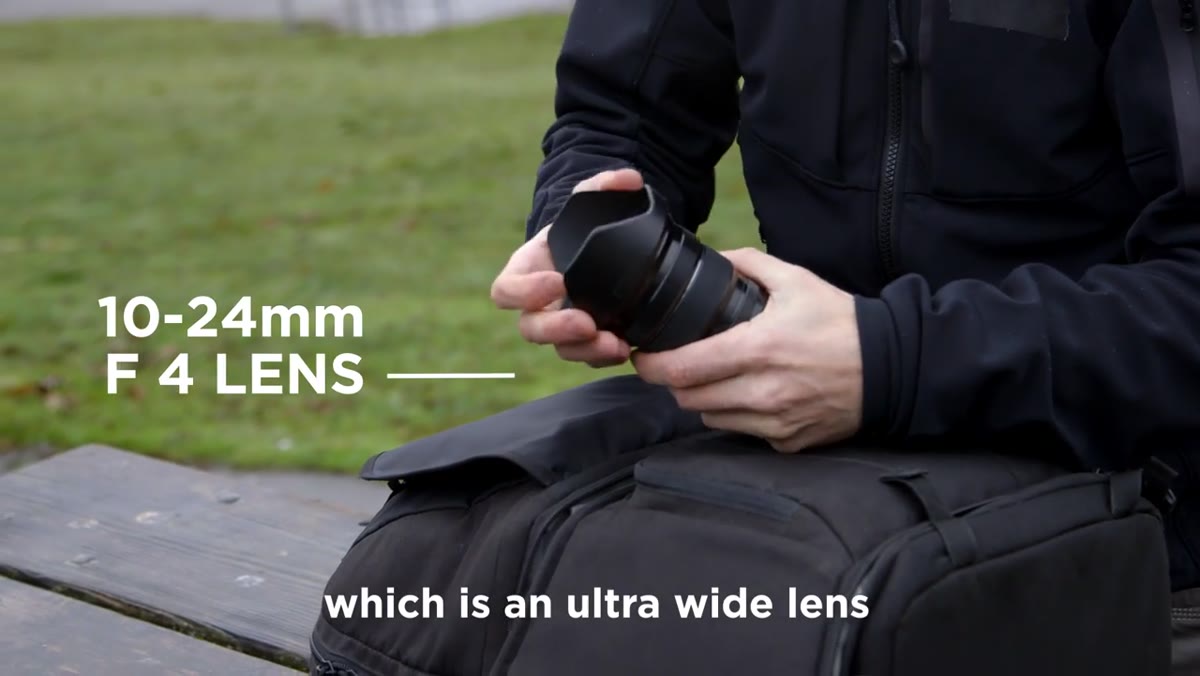 10-24mm ultra-wide lens held up to camera
The fourth lens is a 10-24mm ultra-wide, and it earns its weight in two specific situations: cramped interiors where you can’t back up, and sweeping landscapes where a standard wide just doesn’t do the scene justice. The tutorial is honest that this isn’t an everyday lens. It lives in the main compartment as a specialty tool, not a go-to.
10-24mm ultra-wide lens held up to camera
The fourth lens is a 10-24mm ultra-wide, and it earns its weight in two specific situations: cramped interiors where you can’t back up, and sweeping landscapes where a standard wide just doesn’t do the scene justice. The tutorial is honest that this isn’t an everyday lens. It lives in the main compartment as a specialty tool, not a go-to.
If you’re cutting weight, this is the lens to leave behind on a short urban trip. But if you’re hitting cathedrals, canyon viewpoints, or narrow alleyways, you’ll be glad you have it.
Step 5: Strap a Compact Travel Tripod to the Outside
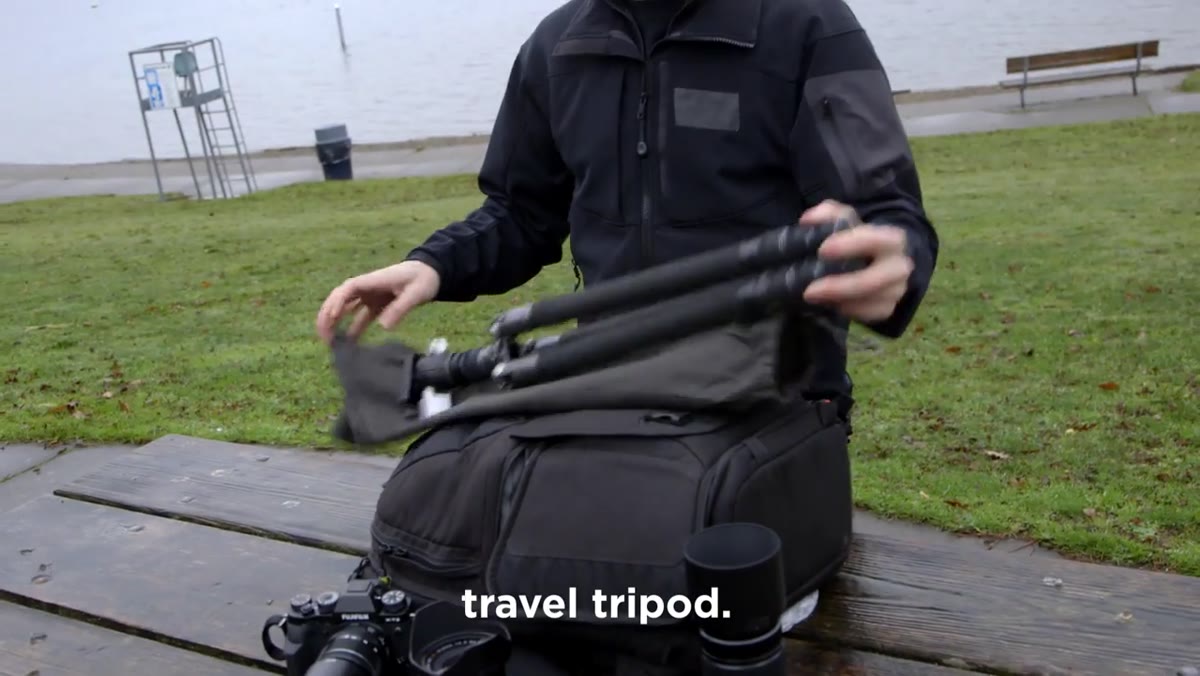 Compact GSO tripod extended to show low-angle position
The tripod goes on the exterior of the bag, usually in the water bottle slot or strapped to the side. The one in the tutorial is from Gitzo (referenced as “GSO”), a lightweight carbon fiber travel model. The specific feature called out is the ability to splay the legs flat and get the center column nearly at ground level. Low-angle shots are one of the most underused creative tools in travel photography, and having a tripod that physically allows that position matters.
Compact GSO tripod extended to show low-angle position
The tripod goes on the exterior of the bag, usually in the water bottle slot or strapped to the side. The one in the tutorial is from Gitzo (referenced as “GSO”), a lightweight carbon fiber travel model. The specific feature called out is the ability to splay the legs flat and get the center column nearly at ground level. Low-angle shots are one of the most underused creative tools in travel photography, and having a tripod that physically allows that position matters.
Yes, a quality travel tripod costs money. But it’s also gear you’ll carry on every single trip for years. I’ve bought five sub-$50 tripods trying to find a cheap workaround. Spoiler: none of them folded small enough, none of them were stable enough, and I eventually spent the money anyway.
Step 6: Fill the Top Compartment With Practical Survival Gear
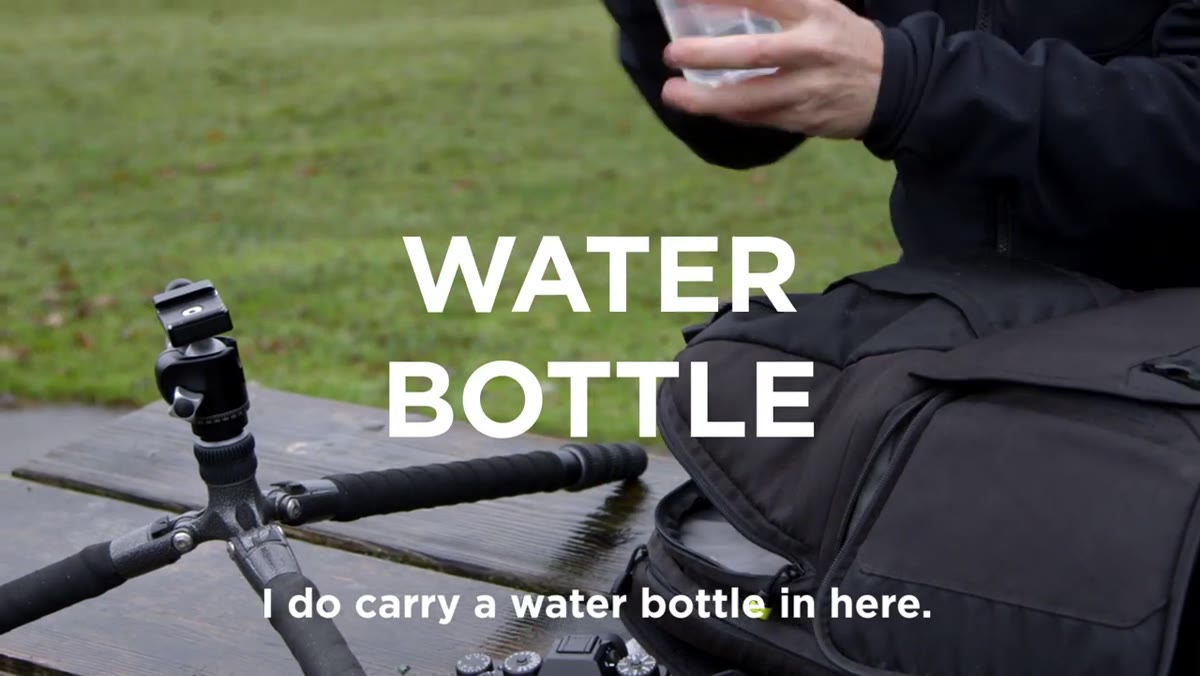 Emergency bag contents spread out showing headlamp, snacks, tape
This is the section most gear guides skip, and it’s genuinely useful. The top compartment carries: a sealed, leak-proof water bottle (critical — one spill near a sensor is a very bad day), an energy bar, a small headlamp, sunscreen, basic medical supplies, toilet paper, and a roll of black gaffer tape. The gaffer tape comes up in almost every working photographer’s kit list. It blocks unwanted lights, fixes loose gear, masks camera branding in sensitive locations, and about thirty other things you won’t anticipate until you need it.
Emergency bag contents spread out showing headlamp, snacks, tape
This is the section most gear guides skip, and it’s genuinely useful. The top compartment carries: a sealed, leak-proof water bottle (critical — one spill near a sensor is a very bad day), an energy bar, a small headlamp, sunscreen, basic medical supplies, toilet paper, and a roll of black gaffer tape. The gaffer tape comes up in almost every working photographer’s kit list. It blocks unwanted lights, fixes loose gear, masks camera branding in sensitive locations, and about thirty other things you won’t anticipate until you need it.
A lightweight jacket and a bandana also go in here. Staying physically comfortable directly affects how long you’ll keep shooting.
Step 7: Pack a Backup Camera Body, Even a Small One
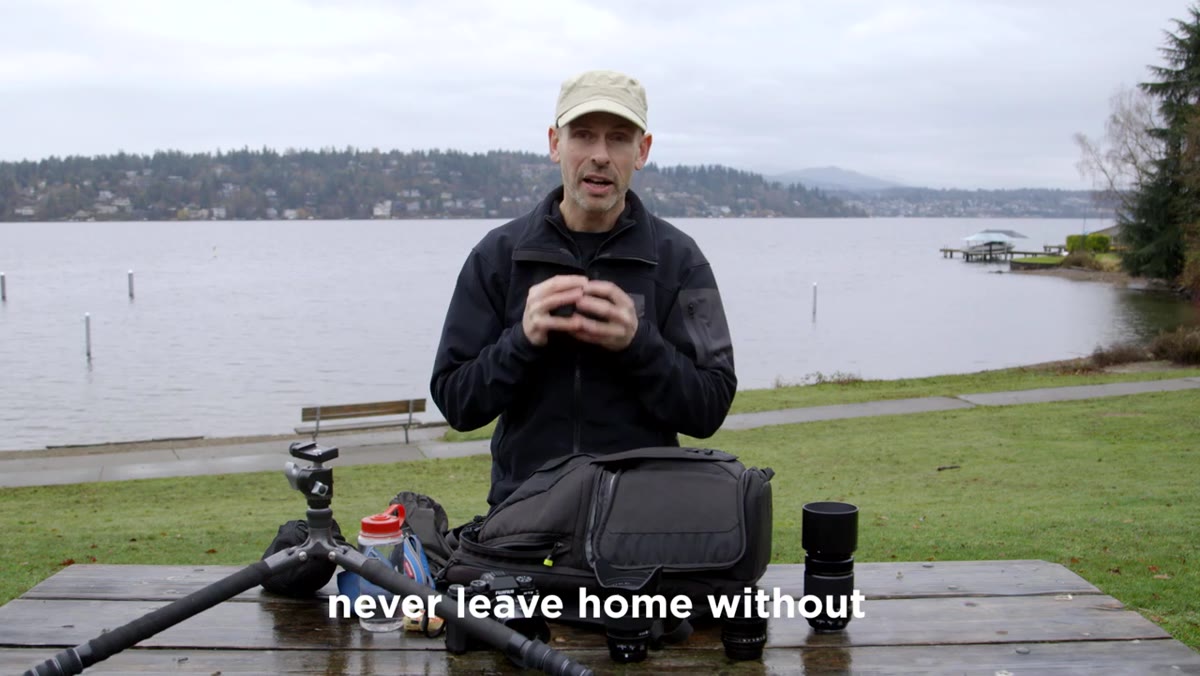 Second smaller camera body being pulled from padded section
The last item is the most important one most travelers leave out. A second camera body isn’t just insurance against equipment failure, though it is that. It’s also what lets you walk into a museum that bans large camera bags, go to dinner without hauling everything, or quickly switch between a wide and a telephoto setup without swapping lenses in dusty or wet conditions. The backup doesn’t need to match your primary. A compact mirrorless or even a high-end point-and-shoot fills the role.
Second smaller camera body being pulled from padded section
The last item is the most important one most travelers leave out. A second camera body isn’t just insurance against equipment failure, though it is that. It’s also what lets you walk into a museum that bans large camera bags, go to dinner without hauling everything, or quickly switch between a wide and a telephoto setup without swapping lenses in dusty or wet conditions. The backup doesn’t need to match your primary. A compact mirrorless or even a high-end point-and-shoot fills the role.
My One Caveat: Audit the Bag for Your Specific Trip
The gear list in this tutorial is genuinely solid. But I’d push back slightly on packing all four lenses every time. I’ve started doing a five-minute pre-trip audit where I look at the destination and cut anything with less than a 50% chance of being used. A beach week doesn’t need the ultra-wide. A city trip probably doesn’t need the 55-200. Every lens you leave behind is weight that doesn’t ruin your afternoon.
The bag-within-a-bag approach for emergency supplies, though? That I copied immediately. Having everything consolidated in one small pouch means you can move it between bags without repacking from scratch.
The single most transferable idea from this tutorial is simple: your gear kit should serve the trip, not impress anyone. The right bag, a capable mirrorless system, three or four purposeful lenses, and a compact tripod will cover 95% of what travel photography demands. Everything else is optional weight.
Watch the full tutorial on YouTube to see how the bag actually fits together and get a sense of the real-world sizing of each piece.
Comments
Leave a Comment