Lens flare is one of those problems that looks almost unfixable after the fact. You’re shooting into the light, the sun clips your front element, and suddenly there’s a smear of color across your subject that has nothing to do with the actual scene. I’ve lost more than a few otherwise solid shots to it, especially shooting outdoors with budget glass that doesn’t have the best coatings. Most of the quick fixes I’ve tried either smear the detail underneath or leave an obvious patch where the texture goes flat.
In this CreativeLive tutorial, the instructor walks through a Photoshop technique that actually works around that problem. Watch the full tutorial on YouTube before diving in, or follow along here and use the video to check your work. The approach is built around a single insight: the brightness information in a lens-flared area is often fine, it’s just the color that’s wrong. Once you see that, the fix becomes obvious.
This is the kind of technique I wish I’d known back when I was shooting on a kit lens with zero hood and wondering why my outdoor shots looked like a prog rock album cover. Better late than never.
Step 1: Identify the Flare and Create a New Empty Layer
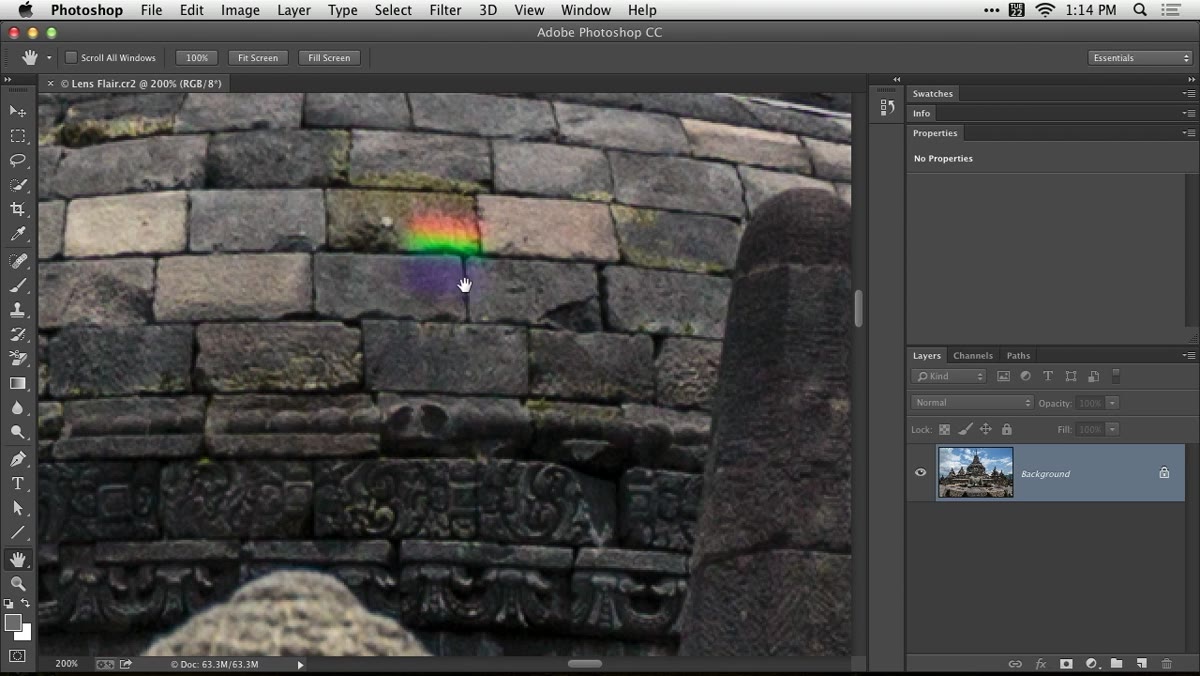 Colorful lens flare visible over architectural subject
Open your image in Photoshop and take a close look at the affected area. Lens flare shows up as a blob of shifted color, often with a greenish, purple, or rainbow cast sitting on top of whatever is actually in the scene. It’s usually obvious because the color doesn’t belong to any surface in the photo.
Colorful lens flare visible over architectural subject
Open your image in Photoshop and take a close look at the affected area. Lens flare shows up as a blob of shifted color, often with a greenish, purple, or rainbow cast sitting on top of whatever is actually in the scene. It’s usually obvious because the color doesn’t belong to any surface in the photo.
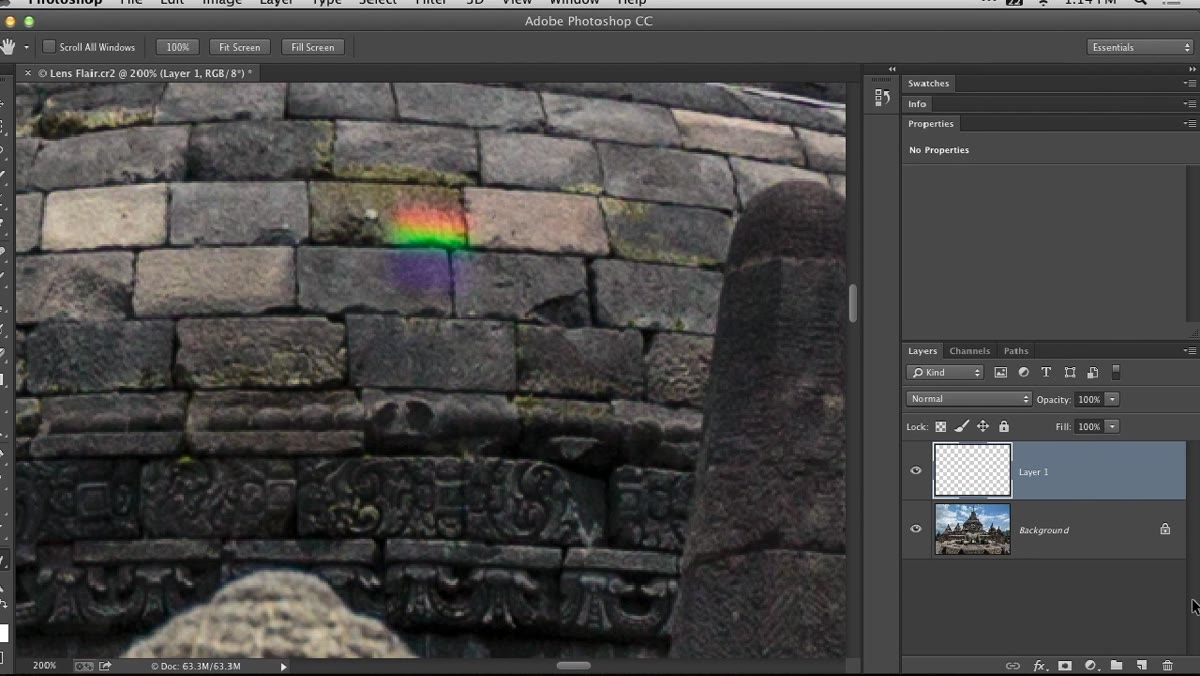
Once you’ve spotted it, go to the Layers panel and create a new blank layer by clicking the new layer icon at the bottom. You’re not duplicating the background or anything like that. You want a completely empty layer sitting above your photo, with nothing on it yet.
Step 2: Change the Layer’s Blend Mode to Color
 Blend mode dropdown open in Layers panel
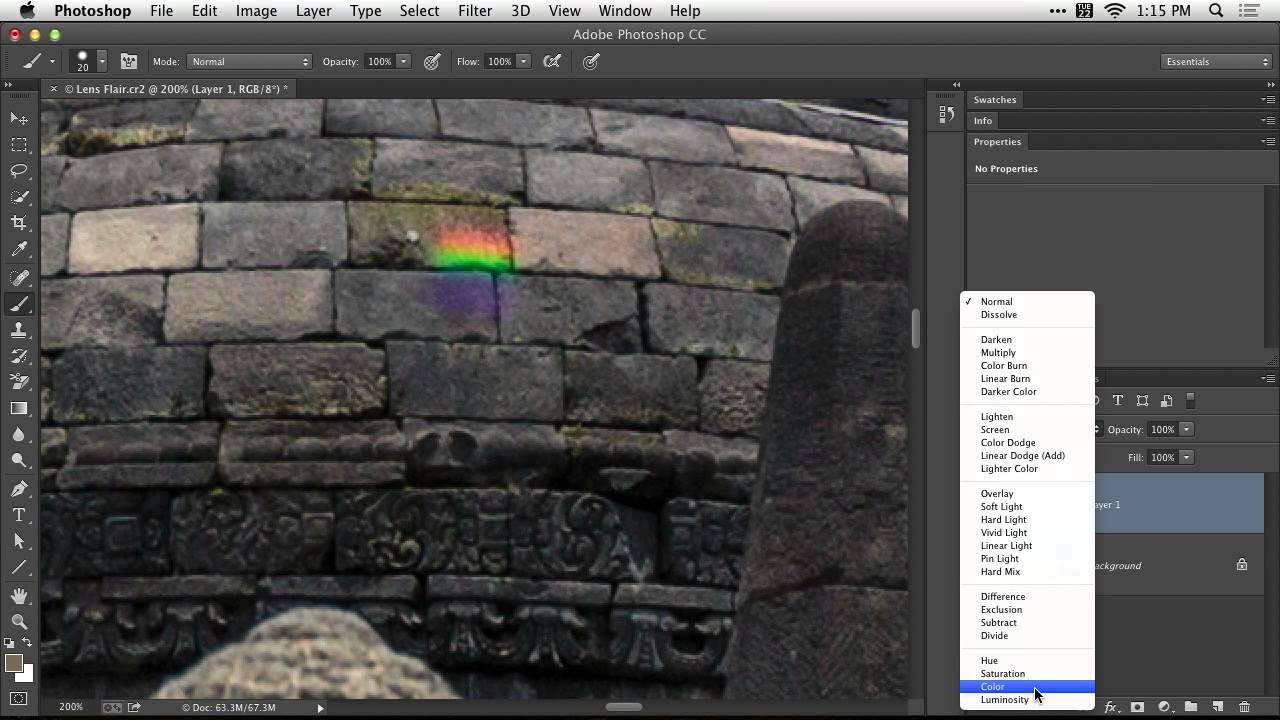
This is the move that makes the whole technique work. With your new empty layer selected, open the blend mode dropdown at the top of the Layers panel. It defaults to Normal. Change it to Color.
Blend mode dropdown open in Layers panel
This is the move that makes the whole technique work. With your new empty layer selected, open the blend mode dropdown at the top of the Layers panel. It defaults to Normal. Change it to Color.
In Normal mode, anything you paint on that layer just sits on top and covers what’s below, the same way a sticker covers a surface. Color mode is different. It only applies the hue and saturation of whatever you paint. The brightness of the pixels underneath stays completely untouched. That’s the key distinction here. You’re going to paint over the flare, but the texture and luminance detail of the actual architecture, fabric, or skin underneath will come through exactly as it was.
Step 3: Select the Paintbrush and Set It to Normal Mode at 100% Opacity
 Paintbrush tool selected with opacity and mode settings visible
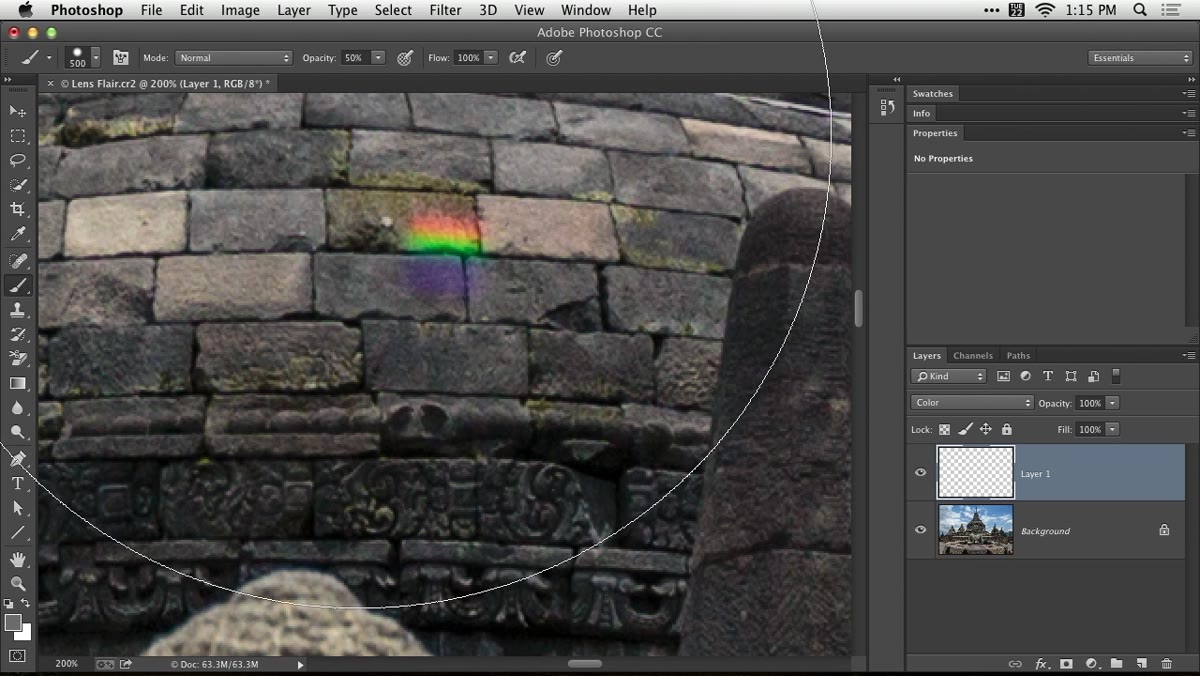
Grab the Brush tool (B) and check your settings in the options bar at the top of the screen. Make sure blend mode for the brush itself is set to Normal and opacity is at 100%. People sometimes leave odd settings in their brush from a previous task, and that will make the results unpredictable. Clean defaults only for this technique.
Paintbrush tool selected with opacity and mode settings visible
Grab the Brush tool (B) and check your settings in the options bar at the top of the screen. Make sure blend mode for the brush itself is set to Normal and opacity is at 100%. People sometimes leave odd settings in their brush from a previous task, and that will make the results unpredictable. Clean defaults only for this technique.
Choose a soft-edged brush at a size that’s slightly smaller than the flare area you’re working on. You’ll adjust size as you go, so don’t overthink it upfront.
Step 4: Sample Color Directly from the Photo Using the Eyedropper
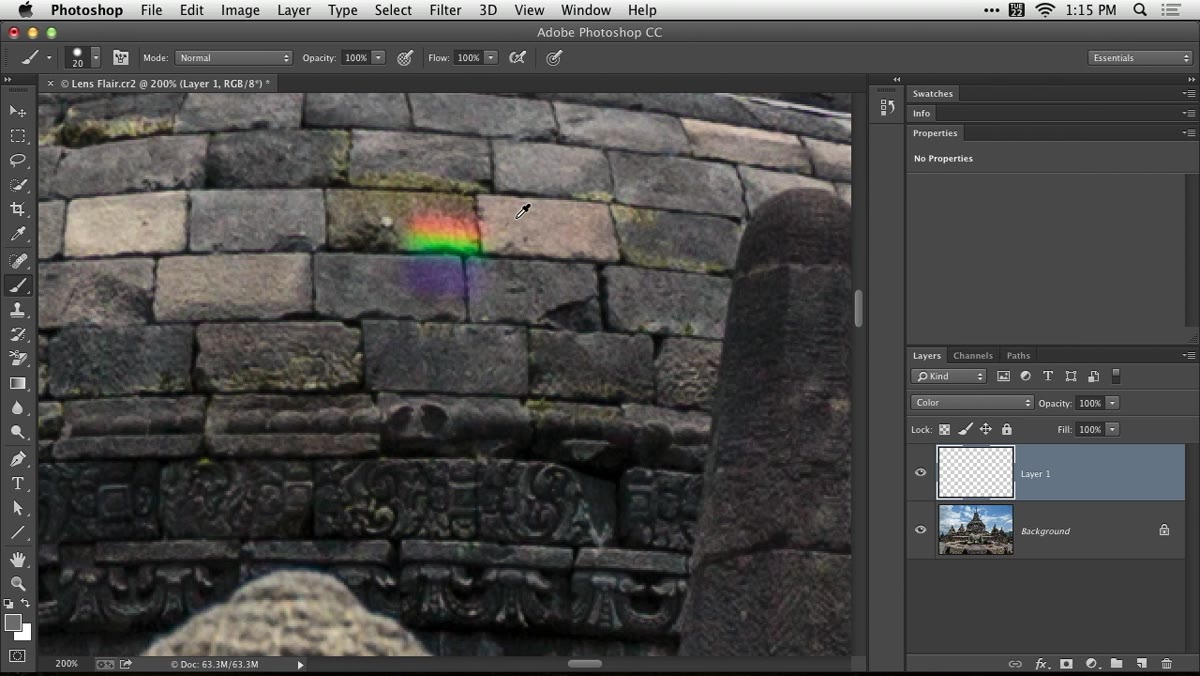 Eyedropper sampling color from photo adjacent to flare area
Here’s where you stop guessing and let the photo tell you what color to use. With the Brush tool active, hold down the Option key (Alt on Windows). This temporarily switches to the Eyedropper. Click on an area of your image right next to the flare, somewhere that shows what the correct color should be.
Eyedropper sampling color from photo adjacent to flare area
Here’s where you stop guessing and let the photo tell you what color to use. With the Brush tool active, hold down the Option key (Alt on Windows). This temporarily switches to the Eyedropper. Click on an area of your image right next to the flare, somewhere that shows what the correct color should be.
You’re not picking a color from your imagination or from the swatches panel. You’re pulling the actual color from an unaffected part of the same surface. If the flare is over a brick wall, sample the brick just outside the flare. If the edges transition in color, you’ll need to sample more than once and paint in sections.
Step 5: Paint Over the Flare Area in Sections, Re-Sampling as Needed
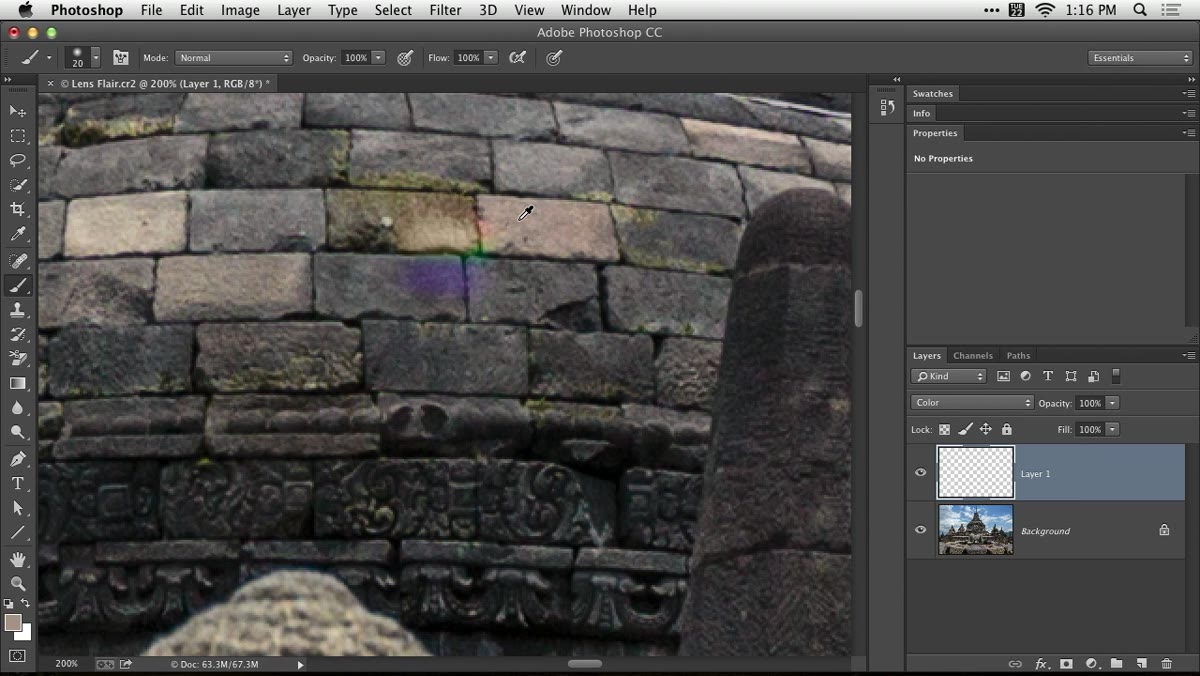 Painting over lens flare with color sampled from surrounding area
Start painting over the flare with your sampled color. Because the layer is set to Color blend mode, the brush can only change the hue of the pixels below. If there’s texture in that area, it stays. If there are shadows or highlights, they stay. You’re only replacing the wrong color with the right one.
Painting over lens flare with color sampled from surrounding area
Start painting over the flare with your sampled color. Because the layer is set to Color blend mode, the brush can only change the hue of the pixels below. If there’s texture in that area, it stays. If there are shadows or highlights, they stay. You’re only replacing the wrong color with the right one.
As you move across the flare, keep re-sampling from nearby areas. Surfaces often shift in tone across their length, and brick, stone, or skin all have variation baked in. Sampling once and painting across the whole area can leave an obvious flat patch. Sample frequently, reduce your brush size for edges, and work the transition zones carefully.
Step 6: Use Quick Mask Mode to Address Any Remaining Brightness Issues
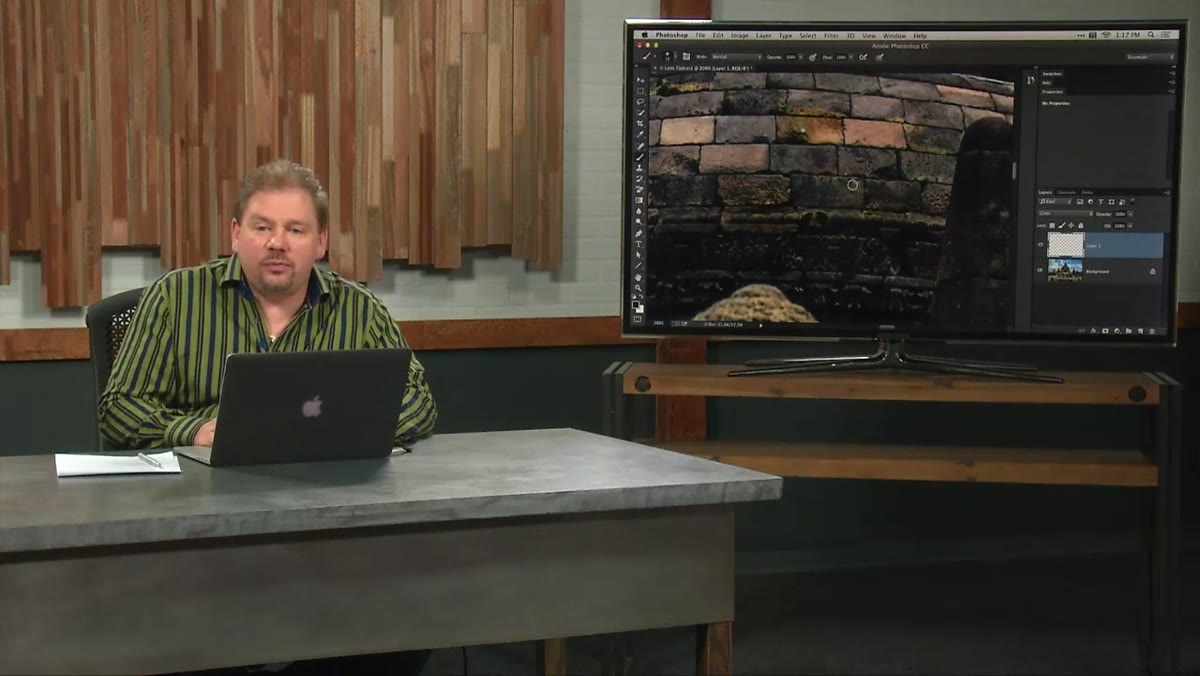 Quick Mask mode active with black painted over bright area
Sometimes the flare doesn’t just shift color. It also blows out the brightness in that spot, and the Color blend mode can’t fix that part since it only handles hue. If the area still looks too bright after you’ve corrected the color, you need a soft, targeted selection to pull the luminance down.
Quick Mask mode active with black painted over bright area
Sometimes the flare doesn’t just shift color. It also blows out the brightness in that spot, and the Color blend mode can’t fix that part since it only handles hue. If the area still looks too bright after you’ve corrected the color, you need a soft, targeted selection to pull the luminance down.
Press Q to enter Quick Mask mode. With nothing selected beforehand, the screen won’t visibly change, but you’re now in mask-painting mode. Paint with black over the area that’s still too bright. The red overlay will appear where you paint, showing you the shape of your future selection. When you’re done painting, press Q again to convert that painted mask into an active selection. From there, you can add a Curves or Levels adjustment layer and pull the brightness down just in that region, without hard edges or visible seams.
A Note on Doing This with Budget Glass
I shoot a lot of lenses in the under-$200 range for this site, and the honest truth is that cheaper glass tends to pick up flare more aggressively because the coatings just aren’t as good. That doesn’t mean the shots are ruined. It means this kind of Photoshop work becomes part of the regular workflow.
What I’ve found is that this Color mode technique handles about 80% of flare situations cleanly, particularly when the flare falls over a textured surface. Where it struggles is over skies or very smooth gradients, because there’s less detail underneath to preserve and the painted patch can look slightly flat compared to its surroundings. In those cases I’ll combine this approach with a bit of Content-Aware Fill first to rough in the tones, then paint the color correction on top. Layering the two methods together handles things that neither one solves alone.
The single biggest thing I took from this tutorial is the distinction between color and brightness in a damaged area. Flare doesn’t always destroy both at once. Treating them as separate problems and fixing them with separate tools is what keeps the result looking natural instead of patched. If you want to see the whole thing demonstrated live on an actual photo, go watch it yourself:
Watch the full tutorial on YouTube
Comments (3)
Solid advice. Especially the part about taking your time with it.
This is going in my reference folder. Incredibly useful.
Couldn't agree more. I've seen this make a huge difference in color grading work specifically.
Leave a Comment