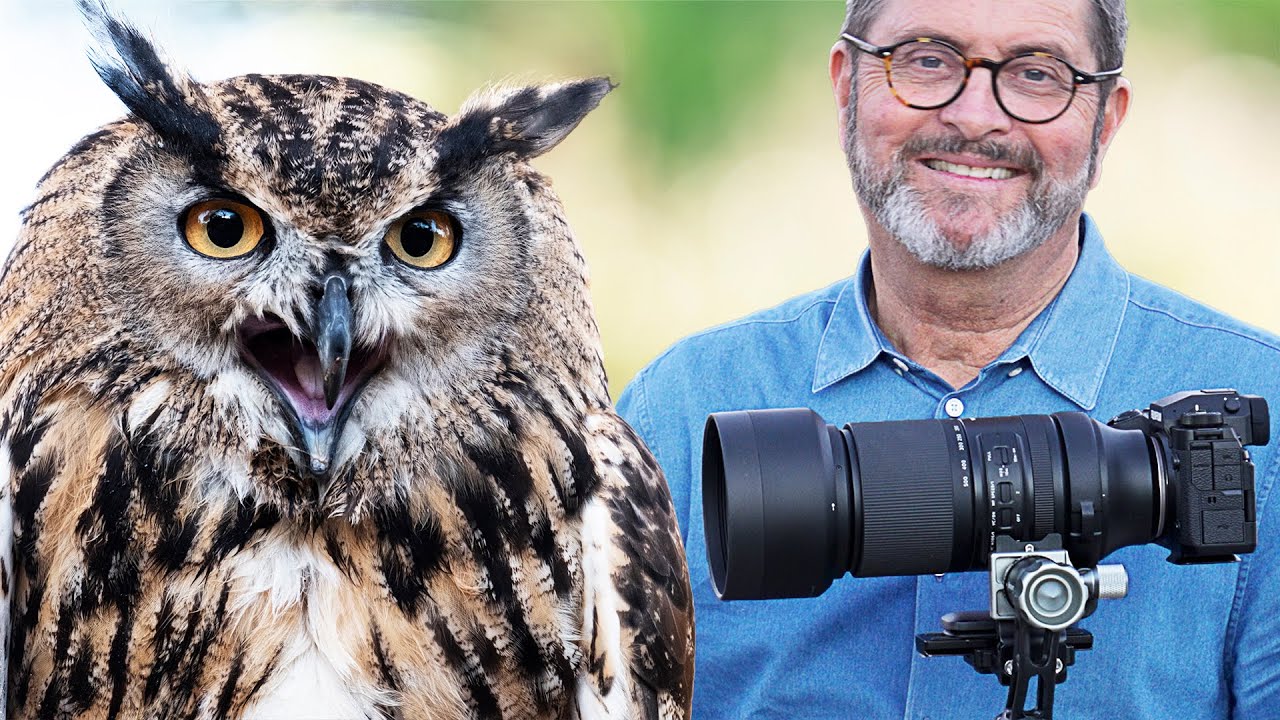
I’ll be honest: wildlife photography has always been the genre that made me feel like my budget philosophy falls apart. Fast-moving subjects, unpredictable light, and a traditional insistence on f/4 glass that costs more than my car. Every time I’d look into a serious telephoto setup, I’d end up on a spreadsheet comparing options I couldn’t justify buying. So when I saw The Slanted Lens put the Tamron 150-500mm on a Fujifilm X-H2 and walk away with genuinely stunning owl portraits, I needed to understand exactly how they pulled it off.
Watch the full tutorial on YouTube
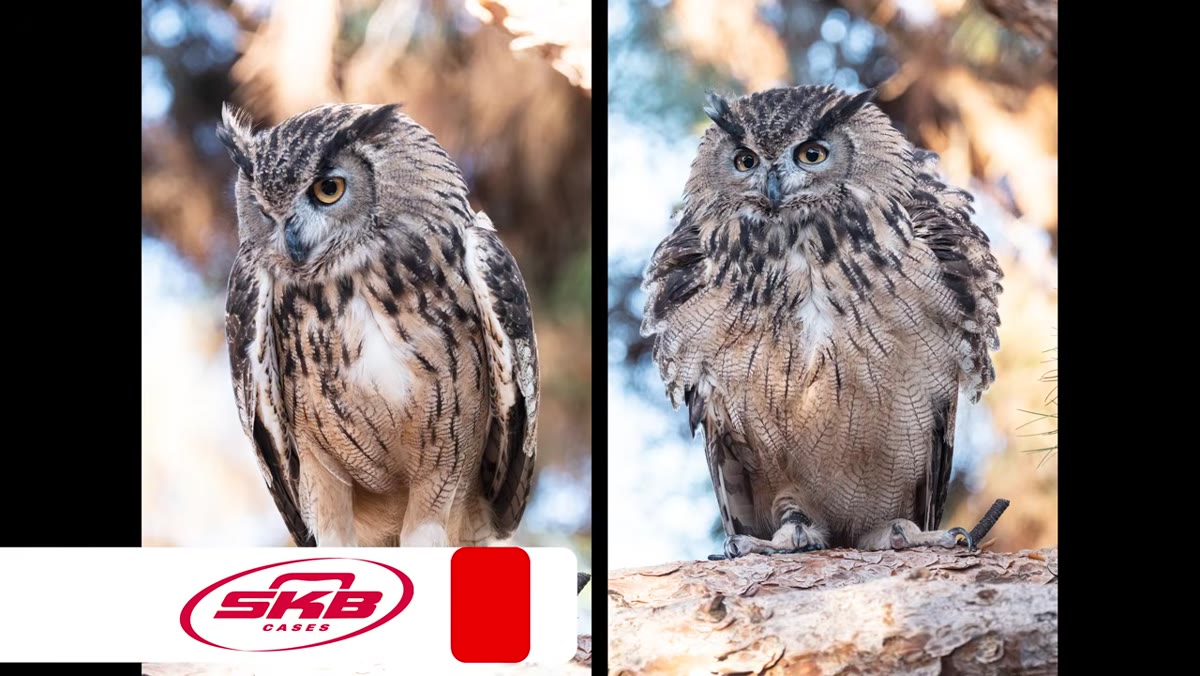
The subject is Nicodemus, a Eurasian Eagle Owl and, apparently, something of a celebrity in the trained-bird world. He’s massive, he has enormous amber eyes that are almost unsettlingly human, and he’s cooperative enough to let a photographer work through lens settings in real time. What makes this tutorial valuable isn’t just the pretty shots at the end. It’s the specific, reasoned argument for why this particular camera-and-lens pairing works for subjects that most people assume require far more expensive gear.
Step 1: Understand Why the X-H2 (Not the X-H2S) Makes Sense Here
 Presenter holding X-H2 body, explaining sensor choice
The instinct when shooting a moving bird is to grab the fastest body you can find. The X-H2S exists for exactly that reason. But the presenter makes a deliberate choice to use the X-H2 instead, and the logic is worth internalizing. The X-H2 carries a 40-megapixel sensor. More pixels means more room to crop aggressively after the fact, which is its own form of reach. If Nicodemus lands somewhere you can’t physically close the distance to, you don’t have to. You crop in post and you still have enough resolution to produce a usable, large print. For wildlife photographers who can’t always control their distance from the subject, that extra megapixel headroom is a practical tool, not a spec-sheet luxury.
Presenter holding X-H2 body, explaining sensor choice
The instinct when shooting a moving bird is to grab the fastest body you can find. The X-H2S exists for exactly that reason. But the presenter makes a deliberate choice to use the X-H2 instead, and the logic is worth internalizing. The X-H2 carries a 40-megapixel sensor. More pixels means more room to crop aggressively after the fact, which is its own form of reach. If Nicodemus lands somewhere you can’t physically close the distance to, you don’t have to. You crop in post and you still have enough resolution to produce a usable, large print. For wildlife photographers who can’t always control their distance from the subject, that extra megapixel headroom is a practical tool, not a spec-sheet luxury.
Step 2: Let the Crop Factor Do the Heavy Lifting
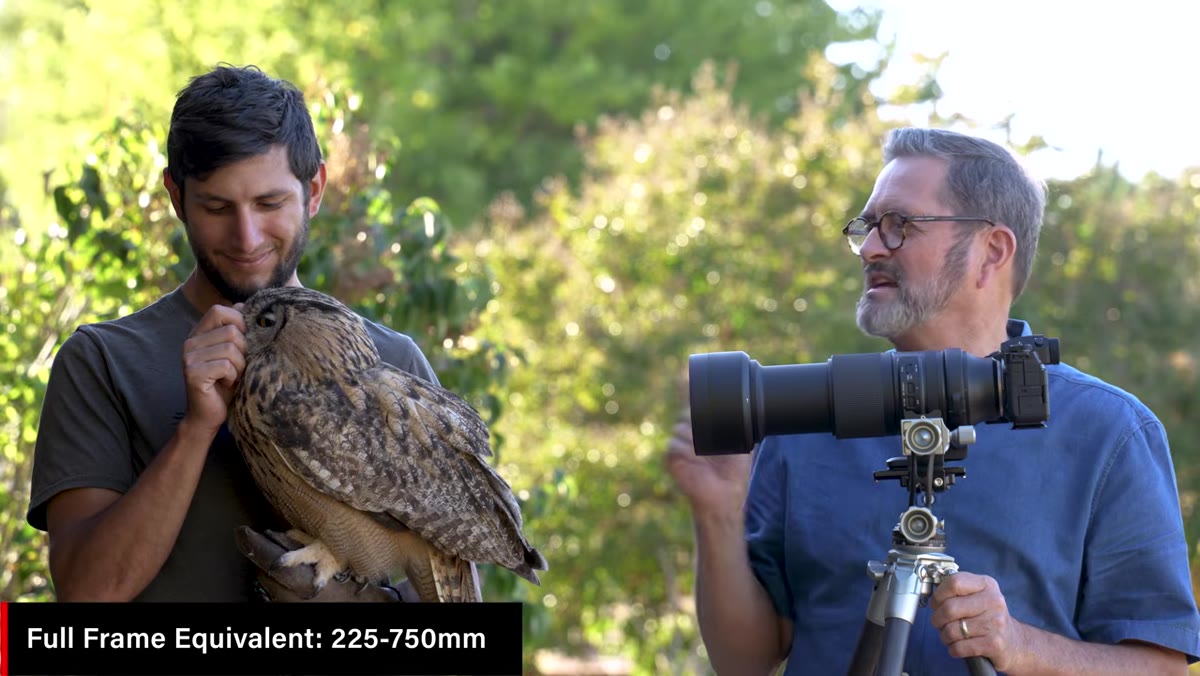
 On-screen text or verbal explanation of focal length conversion
The Tamron 150-500mm is built for full-frame cameras, but mounted on the APS-C X-H2 it behaves like a 225-750mm equivalent. That’s a significant jump in effective reach without spending a cent more. If you’re shooting on any APS-C body, this math applies every time you mount a full-frame lens, and it’s something I think a lot of shooters forget to factor in when they’re comparing lenses on paper. A 500mm on APS-C is not the same as 500mm on full frame, and in this case that difference works entirely in your favor. The long end of 750mm equivalent gives you frame-filling shots of a bird-sized subject from a distance that keeps the animal comfortable and unrushed.
On-screen text or verbal explanation of focal length conversion
The Tamron 150-500mm is built for full-frame cameras, but mounted on the APS-C X-H2 it behaves like a 225-750mm equivalent. That’s a significant jump in effective reach without spending a cent more. If you’re shooting on any APS-C body, this math applies every time you mount a full-frame lens, and it’s something I think a lot of shooters forget to factor in when they’re comparing lenses on paper. A 500mm on APS-C is not the same as 500mm on full frame, and in this case that difference works entirely in your favor. The long end of 750mm equivalent gives you frame-filling shots of a bird-sized subject from a distance that keeps the animal comfortable and unrushed.
Step 3: Know Your Minimum Focus Distances Before You Shoot
 Presenter close to owl, demonstrating near-focus capability
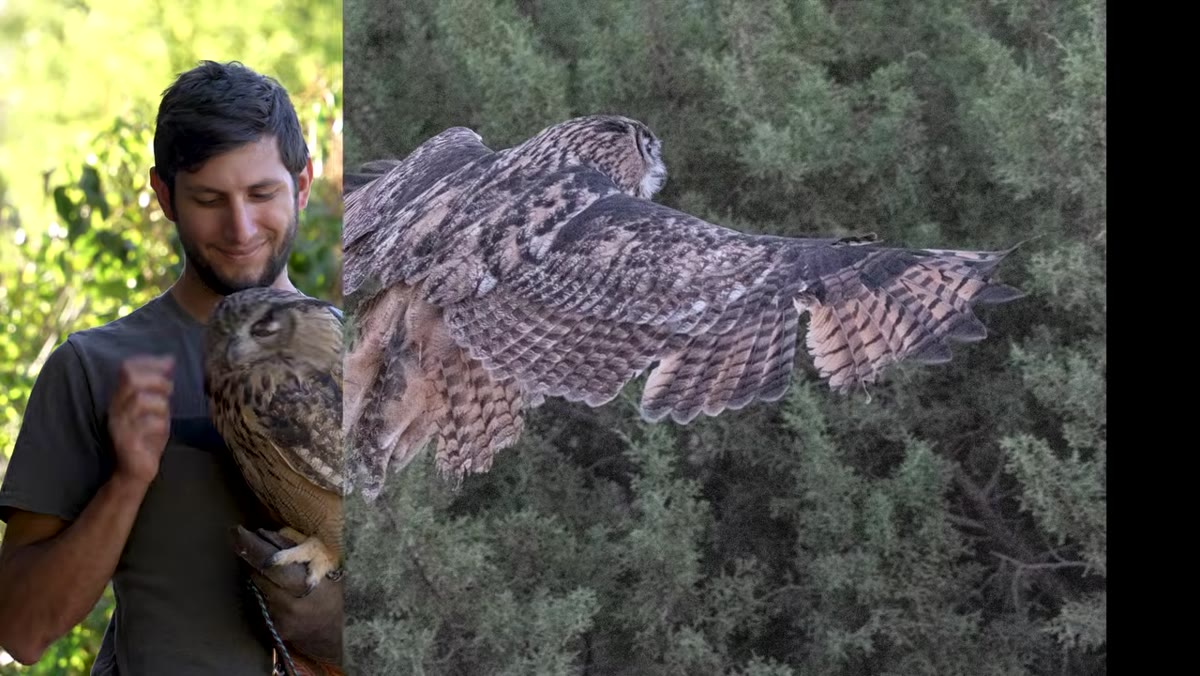
One thing that caught me off guard watching this: the Tamron 150-500mm focuses surprisingly close for a lens in its class. At the 150mm end, you’re looking at roughly 23 inches of minimum focus distance. At 500mm, that stretches to about 70 inches. In practical terms, this means the lens can handle intimate portrait work on a subject like an owl without you having to back up and lose detail. The presenter uses this to get tight shots of Nicodemus’s face that show individual feather texture. If you’re shopping this lens for birds, mammals, or even macro-adjacent work, those close-focus numbers matter more than most reviewers mention.
Presenter close to owl, demonstrating near-focus capability
One thing that caught me off guard watching this: the Tamron 150-500mm focuses surprisingly close for a lens in its class. At the 150mm end, you’re looking at roughly 23 inches of minimum focus distance. At 500mm, that stretches to about 70 inches. In practical terms, this means the lens can handle intimate portrait work on a subject like an owl without you having to back up and lose detail. The presenter uses this to get tight shots of Nicodemus’s face that show individual feather texture. If you’re shopping this lens for birds, mammals, or even macro-adjacent work, those close-focus numbers matter more than most reviewers mention.
Step 4: Accept the Aperture Range and Work With It
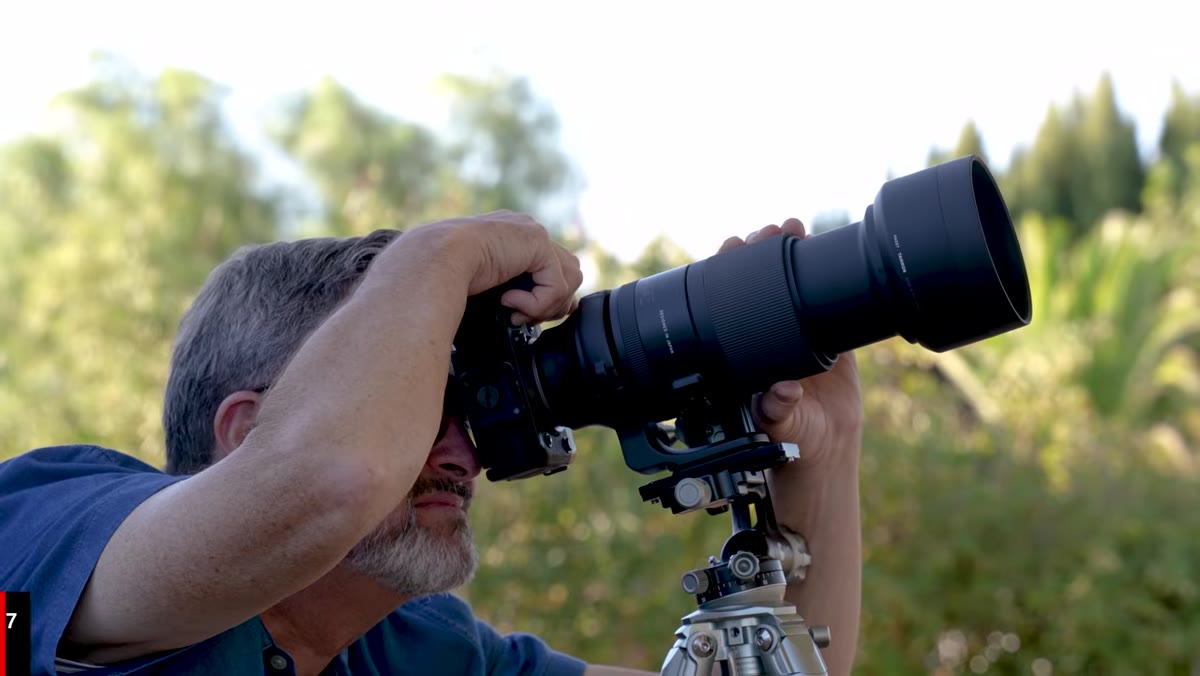 Presenter discussing f/5 to f/6.7 aperture range
The lens runs f/5 to f/6.7 across its zoom range. That’s not f/4, and f/4 in this focal range costs somewhere north of ten thousand dollars. The real question is whether f/5 to f/6.7 is a dealbreaker for the work you’re doing, and for most wildlife shooting in reasonable daylight, the honest answer is no. What you get in return is workable bokeh at 500mm that genuinely separates a bird from its background. The tutorial shows this clearly: at the long end, backgrounds go soft and smooth in a way that flatters the subject. The tradeoff is that you’ll need to push ISO higher in lower light. Know that going in, plan your shoots for good light when you can, and the aperture limitation stops feeling like a limitation.
Presenter discussing f/5 to f/6.7 aperture range
The lens runs f/5 to f/6.7 across its zoom range. That’s not f/4, and f/4 in this focal range costs somewhere north of ten thousand dollars. The real question is whether f/5 to f/6.7 is a dealbreaker for the work you’re doing, and for most wildlife shooting in reasonable daylight, the honest answer is no. What you get in return is workable bokeh at 500mm that genuinely separates a bird from its background. The tutorial shows this clearly: at the long end, backgrounds go soft and smooth in a way that flatters the subject. The tradeoff is that you’ll need to push ISO higher in lower light. Know that going in, plan your shoots for good light when you can, and the aperture limitation stops feeling like a limitation.
Step 5: Use the Linear Motor’s Focus Limiter to Speed Up Tracking
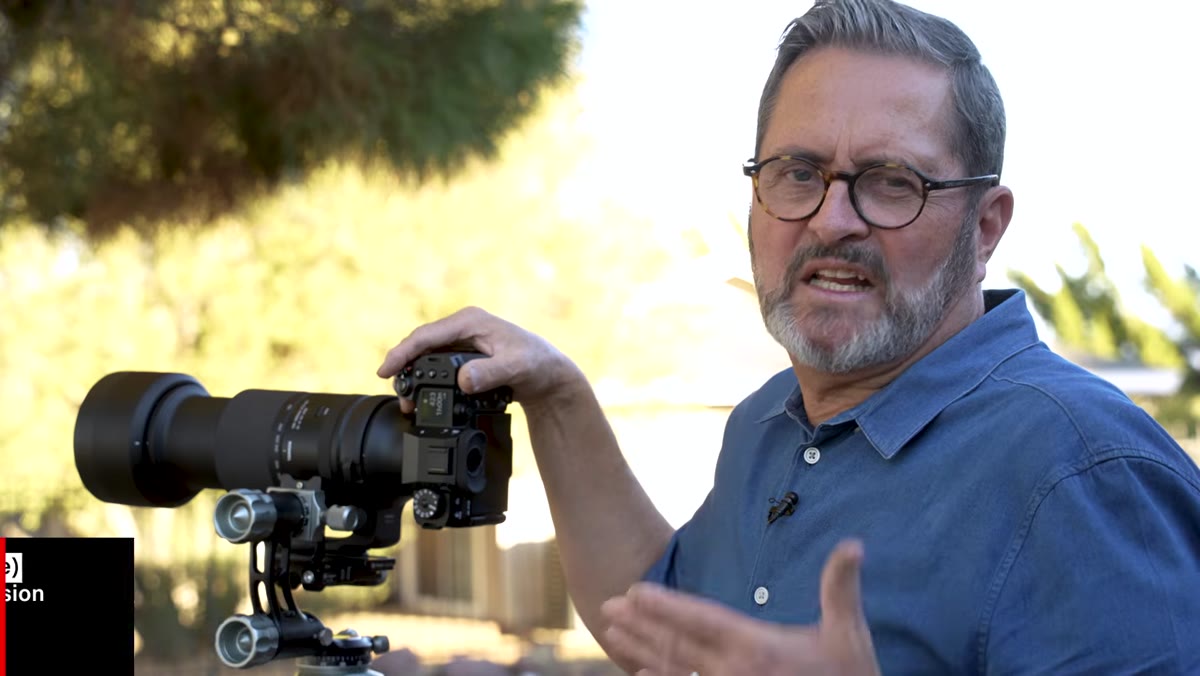 Presenter explaining focus limiter switch on lens barrel
The Tamron 150-500mm uses a linear motor for autofocus, and this matters for two reasons. First, the motor is quiet, which keeps wildlife calmer and keeps video audio cleaner if you’re shooting any moving footage alongside stills. Second, the lens includes a focus limiter that lets you restrict the autofocus range to a specific distance window. Instead of hunting from minimum focus distance all the way to infinity every time you half-press the shutter, you tell the lens to search only within a range where your subject actually is. On a moving bird, that narrower search window means faster lock, fewer missed shots, and less hunting in continuous autofocus. Set the limiter before you start shooting, not after you’ve already missed the action.
Presenter explaining focus limiter switch on lens barrel
The Tamron 150-500mm uses a linear motor for autofocus, and this matters for two reasons. First, the motor is quiet, which keeps wildlife calmer and keeps video audio cleaner if you’re shooting any moving footage alongside stills. Second, the lens includes a focus limiter that lets you restrict the autofocus range to a specific distance window. Instead of hunting from minimum focus distance all the way to infinity every time you half-press the shutter, you tell the lens to search only within a range where your subject actually is. On a moving bird, that narrower search window means faster lock, fewer missed shots, and less hunting in continuous autofocus. Set the limiter before you start shooting, not after you’ve already missed the action.
Step 6: Let Eye Detection Handle the Rest
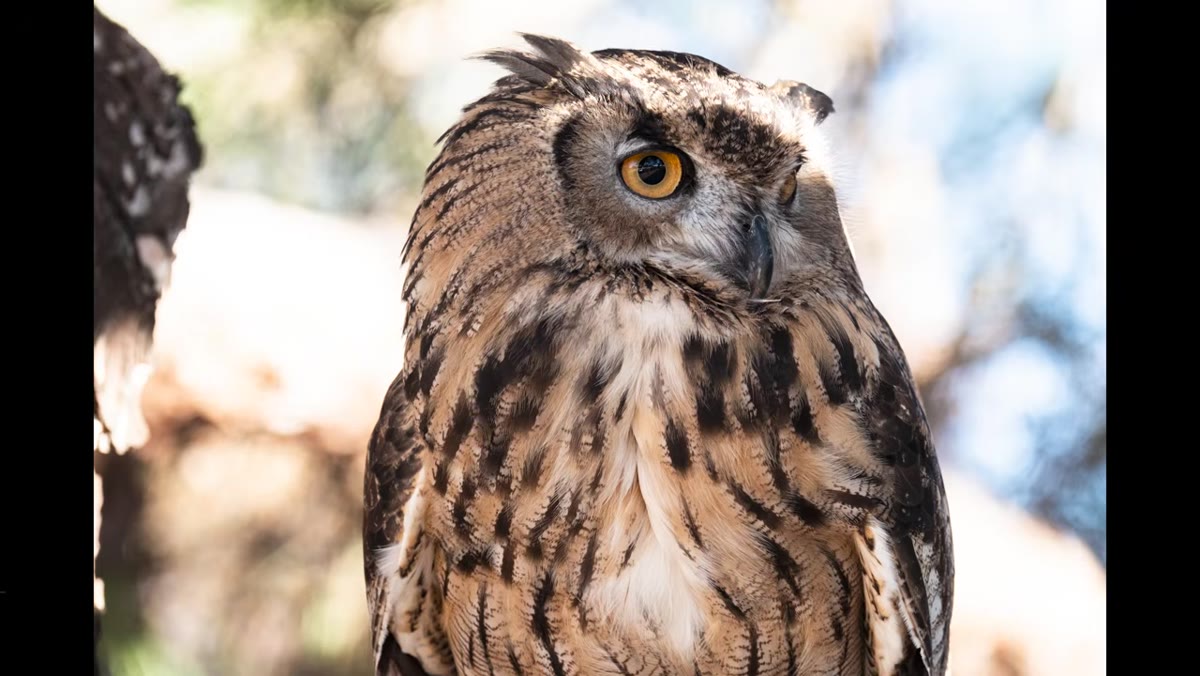 Autofocus locking onto owl’s eye in live view
The presenter notes something worth pausing on: the X-H2’s eye-detection autofocus works almost as well on the owl as it does on a human subject. The reason is straightforward, Nicodemus has enormous, forward-facing eyes that read easily as eye-shaped to the camera’s detection algorithm. If you’re shooting birds with prominent, visible eyes, modern eye-detection is going to perform better than most people expect. Where it struggles is with birds seen in profile, birds partially obscured by foliage, or species with smaller, less defined eyes. For a subject like this, though, you can lean on the camera’s subject tracking and spend your mental energy on composition instead of manual focus points.
Autofocus locking onto owl’s eye in live view
The presenter notes something worth pausing on: the X-H2’s eye-detection autofocus works almost as well on the owl as it does on a human subject. The reason is straightforward, Nicodemus has enormous, forward-facing eyes that read easily as eye-shaped to the camera’s detection algorithm. If you’re shooting birds with prominent, visible eyes, modern eye-detection is going to perform better than most people expect. Where it struggles is with birds seen in profile, birds partially obscured by foliage, or species with smaller, less defined eyes. For a subject like this, though, you can lean on the camera’s subject tracking and spend your mental energy on composition instead of manual focus points.
What I’d Add: Filter Strategy With an 82mm Front Element
The lens takes an 82mm filter, which is on the larger end and costs more per filter than the 77mm you find on most mid-range glass. My practical workaround: buy your quality filters at 82mm and step them down to smaller lenses with inexpensive step-down rings. The presenter mentions doing exactly this, and it’s the right call. You buy one good circular polarizer at 82mm and it works across your entire kit. I’ve been doing this for years and it’s one of those small decisions that pays off every time you add a new lens to the bag.
The single biggest takeaway from this tutorial is that the crop factor plus high resolution is a legitimate substitute for raw focal length. You don’t need a 600mm prime to shoot compelling wildlife images. A 500mm zoom on an APS-C body, combined with a sensor that gives you cropping room, gets you most of the way there at a fraction of the cost. It’s the same principle I’ve been applying to budget gear for years: understand what the numbers actually mean in use, not just what they look like on a spec sheet.
Watch the full tutorial on YouTube to see the full Nicodemus shoot and the final images, which speak for themselves.
Comments (2)
I've been looking for exactly this kind of tutorial. Perfect timing.
Excellent tutorial. I'd add that from a landscape standpoint, this technique is incredibly versatile.
Leave a Comment