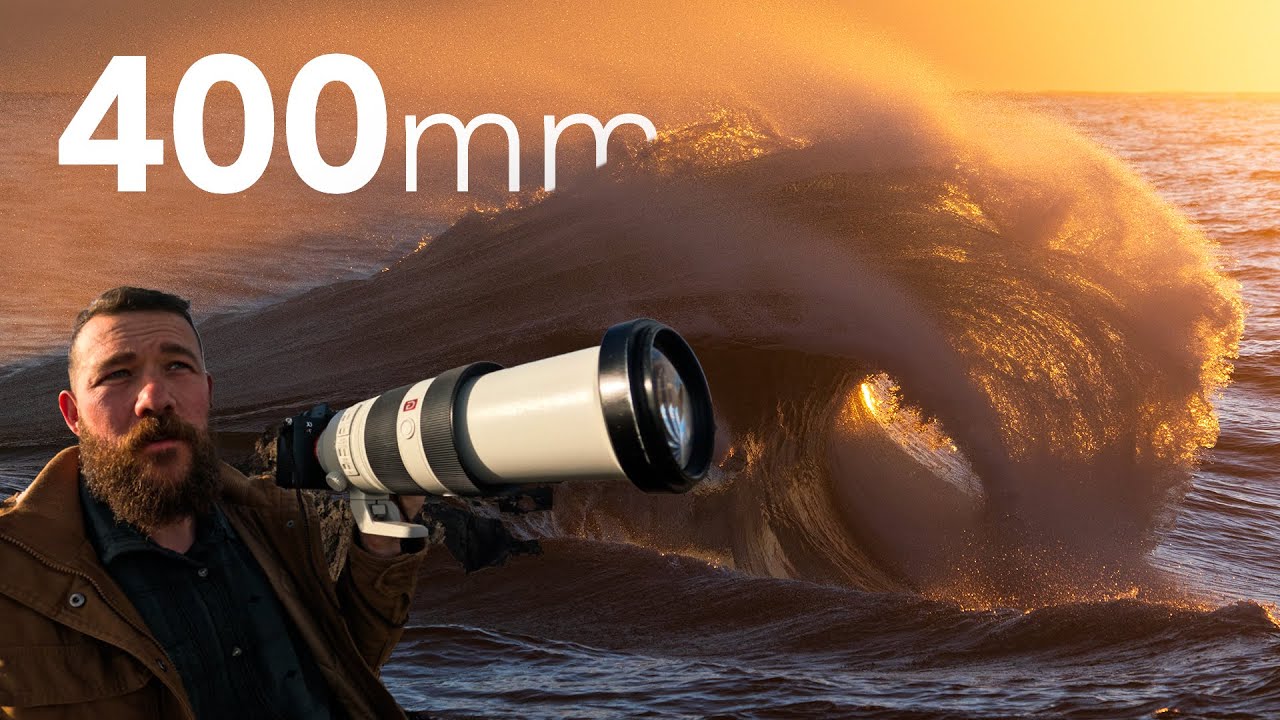
Most photographers point a wide angle at the ocean and call it a day. I get it. The drama is right there, the horizon is gorgeous, and wide lenses are forgiving. But I kept looking at my seascape shots and feeling like something was missing. They looked like postcards, not photographs. It wasn’t until I watched William Patino work a coastal break with a 100-400mm that something clicked for me. Watch the full tutorial on YouTube before or after reading this, because seeing the actual wave action he’s working with puts the technique in context.
Patino’s framing is simple and kind of brilliant: the telephoto lens is how you shoot a portrait of the sea the same way you’d shoot a portrait of a mountain. You’re not documenting a scene, you’re isolating a subject. That reframe alone changed how I thought about showing up to any body of water with a long lens. This tutorial is a field session, not a classroom lecture, and the instruction is baked into what he’s actually doing while the waves crash around him. Here’s what I pulled out of it, step by step.
Step 1: Treat the Ocean Like a Wildlife Subject
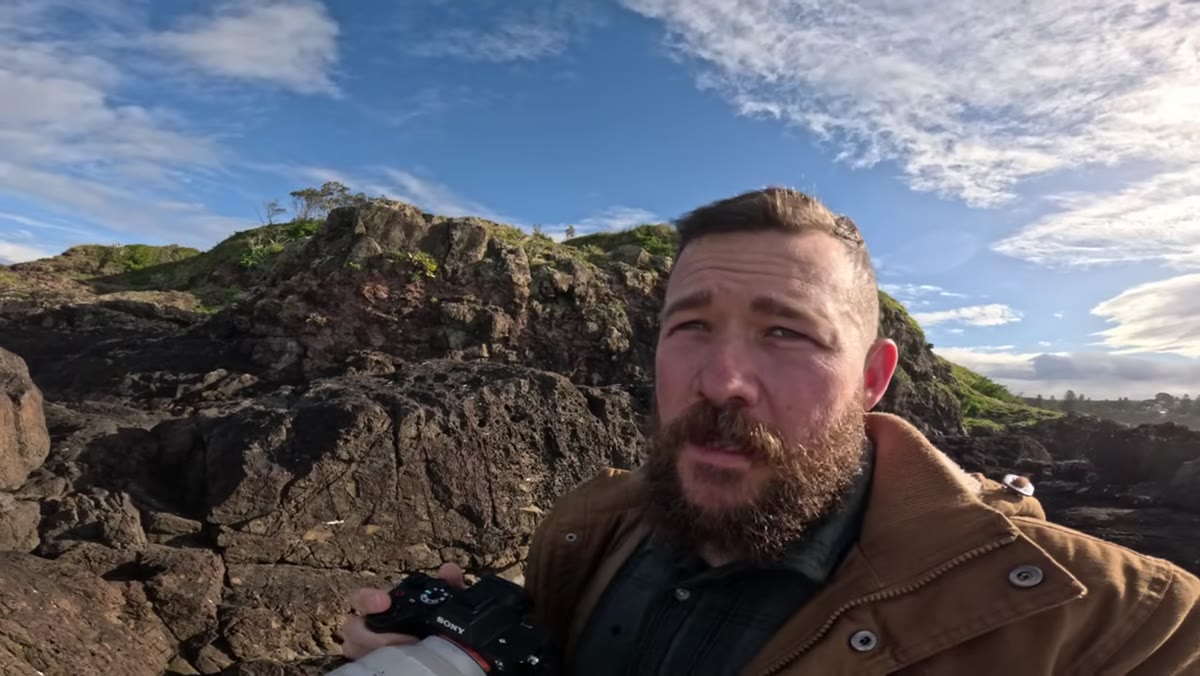 Photographer zoomed in tight on breaking wave at the coast
Before you touch your settings, shift your mindset. Patino talks about shooting hundreds of frames at a chaotic break the same way a wildlife photographer works a watering hole. You’re not composing a static scene. You’re waiting for the subject to do something interesting, and you’re ready when it does. That means keeping the camera up, staying locked on a zone of water, and accepting that most frames will be throwaway. The payoff is that one bizarre, abstract shape the ocean creates for about a quarter of a second.
Photographer zoomed in tight on breaking wave at the coast
Before you touch your settings, shift your mindset. Patino talks about shooting hundreds of frames at a chaotic break the same way a wildlife photographer works a watering hole. You’re not composing a static scene. You’re waiting for the subject to do something interesting, and you’re ready when it does. That means keeping the camera up, staying locked on a zone of water, and accepting that most frames will be throwaway. The payoff is that one bizarre, abstract shape the ocean creates for about a quarter of a second.
The practical implication here is that you don’t chimp. Patino is explicit about this. There’s no time to review frames between sets. You shoot, you stay ready, and you check the results when you’re back home. If you’re the type who reviews every shot on location, this style of shooting will feel uncomfortable at first. That discomfort is the point.
Step 2: Set a Fast Shutter Speed and Keep It There
 Camera display showing shutter speed settings during wave shooting
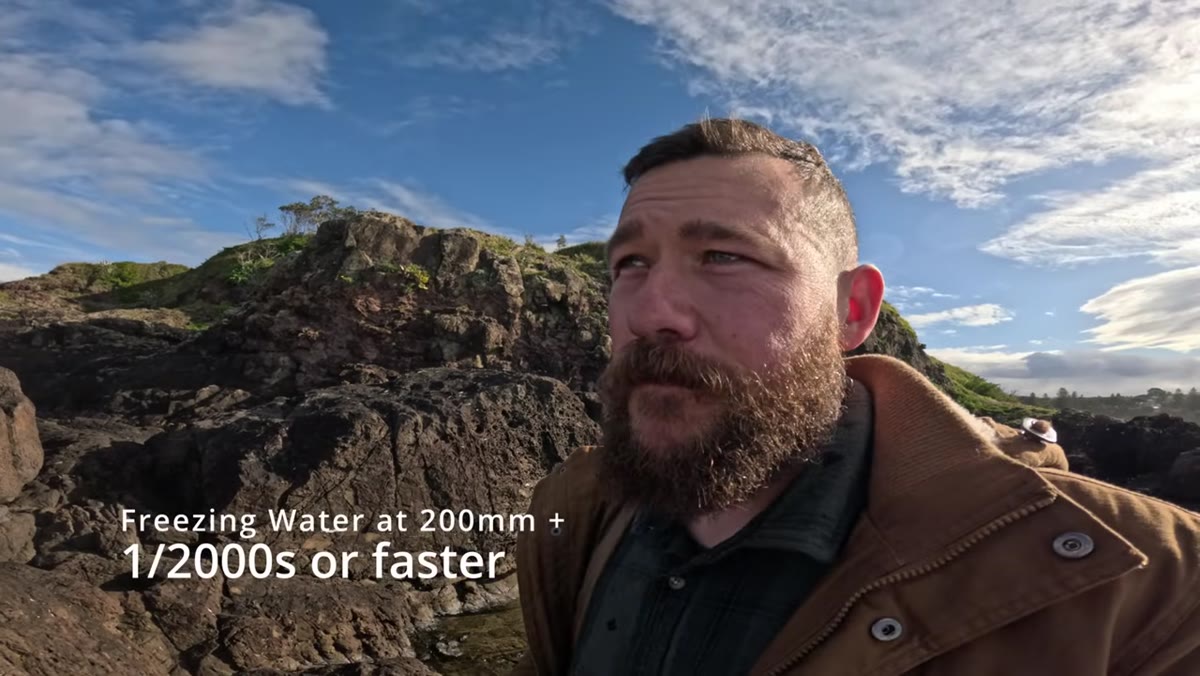
Patino shoots at a minimum of 1/2000th of a second and pushes to 1/3200th when the light allows. In bright afternoon conditions, that’s very achievable without punishing your ISO. The goal is to freeze the water completely, which sounds obvious until you realize how radically different frozen ocean water looks versus the silky long-exposure version everyone defaults to. Frozen spray and curling lips of waves become sculptures. They have weight and edge and texture that a slow shutter completely erases.
Camera display showing shutter speed settings during wave shooting
Patino shoots at a minimum of 1/2000th of a second and pushes to 1/3200th when the light allows. In bright afternoon conditions, that’s very achievable without punishing your ISO. The goal is to freeze the water completely, which sounds obvious until you realize how radically different frozen ocean water looks versus the silky long-exposure version everyone defaults to. Frozen spray and curling lips of waves become sculptures. They have weight and edge and texture that a slow shutter completely erases.
If you’re shooting in less-than-ideal light, prioritize shutter speed over ISO cleanliness. A little grain is recoverable. Motion blur in a shot meant to isolate a tight abstract shape just kills the image entirely.
Step 3: Use the Full Focal Range, Not Just the Long End
 Photographer adjusting zoom at various focal lengths on 100-400mm lens
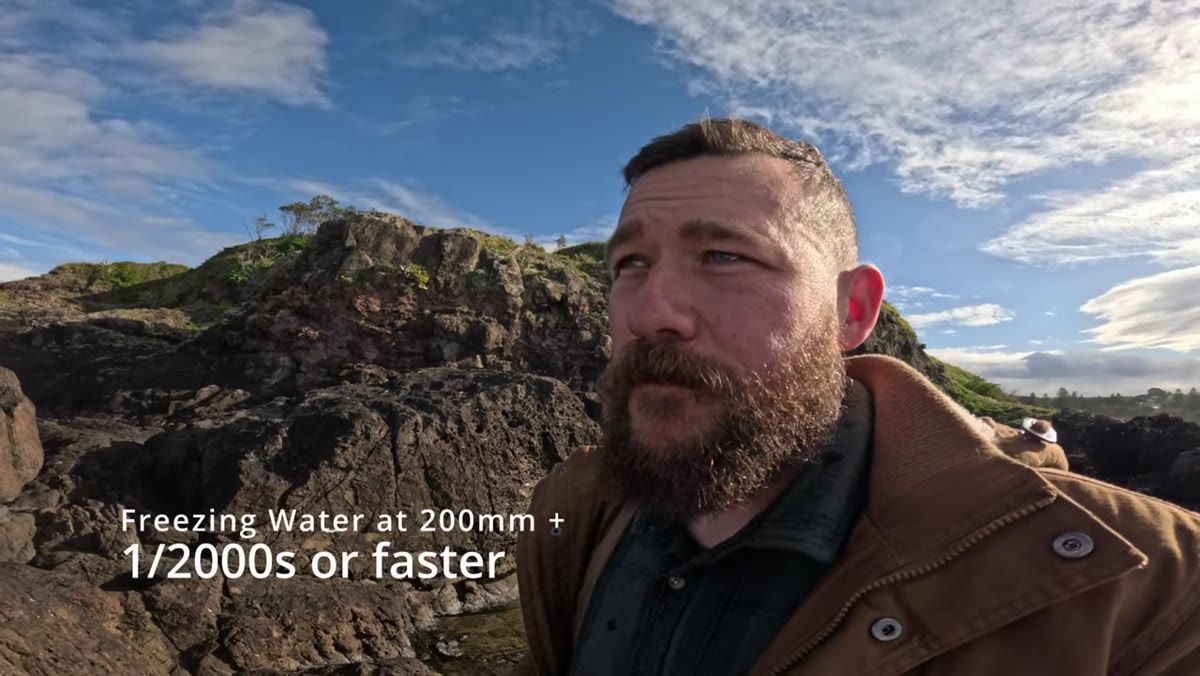
One thing Patino mentions that often gets glossed over in telephoto tutorials is that he’s zooming through the full 100-400mm range actively while shooting. He’s not locked at 400mm the whole time. Different moments in a wave’s lifecycle call for different compression and framing. A wide curl might work at 200mm. A tight abstract detail in the foam might need every millimeter of reach you have.
Photographer adjusting zoom at various focal lengths on 100-400mm lens
One thing Patino mentions that often gets glossed over in telephoto tutorials is that he’s zooming through the full 100-400mm range actively while shooting. He’s not locked at 400mm the whole time. Different moments in a wave’s lifecycle call for different compression and framing. A wide curl might work at 200mm. A tight abstract detail in the foam might need every millimeter of reach you have.
This is also where the 100-400mm genuinely beats the 70-200mm for this kind of work. Patino says it directly: once you’ve used the longer range in a scenario like this, it’s hard to go back. That extra reach at the top end lets you pull subjects out of a chaotic background in ways a 200mm just can’t match. For the budget-conscious, a third-party 100-400mm option is worth serious consideration here because the technique demands that range, and the optical difference at these distances is smaller than the marketing suggests.
Step 4: Compose for Abstraction, Not Waves
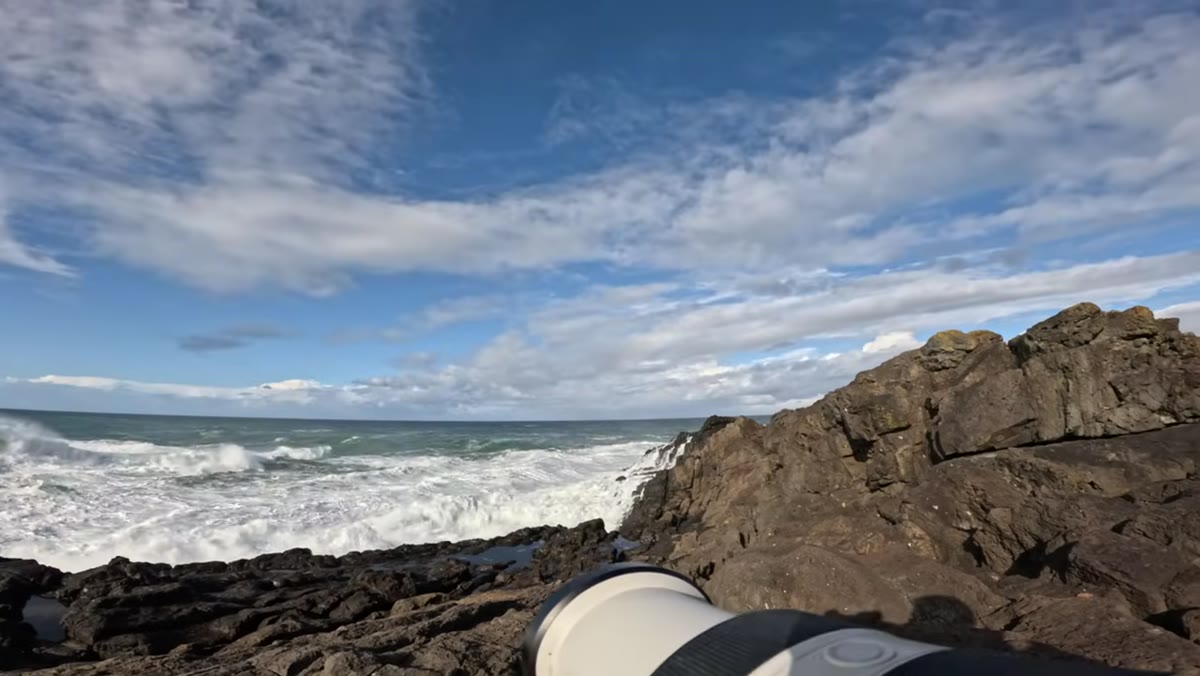 Tight telephoto frame showing abstract water texture and color, no sky
This is the step that separates this technique from regular ocean photography. Patino is specifically hunting for shapes and textures that don’t read as a conventional wave photo. No sky. No horizon. No context. Just the surface, the color, the geometry of water under pressure. He references an image from 2014 called “Ascension” as an example of the kind of abstract result he’s after.
Tight telephoto frame showing abstract water texture and color, no sky
This is the step that separates this technique from regular ocean photography. Patino is specifically hunting for shapes and textures that don’t read as a conventional wave photo. No sky. No horizon. No context. Just the surface, the color, the geometry of water under pressure. He references an image from 2014 called “Ascension” as an example of the kind of abstract result he’s after.
When you’re framing, try to eliminate every reference point that tells the viewer they’re looking at the ocean. Push in until the image could almost be a macro shot of something else entirely. The blue translucence of a wave’s back wall, the white chaos of foam hitting rock, the curved lip just before a break. These are your subjects. Frame them like portraits.
Step 5: Adapt When the Light Changes
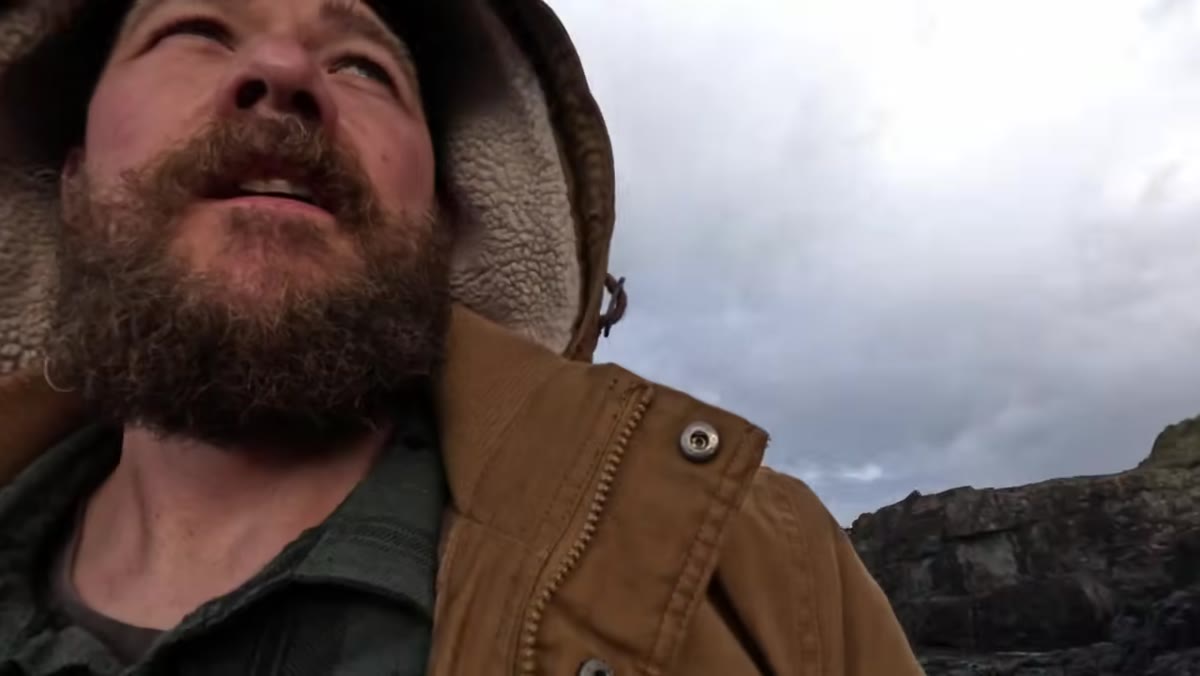 Overcast sky above coastal break, flat light on water surface
Light conditions shifted on Patino during his session. The strong sun dropped out and the waves started looking flat and uninspiring under overcast skies. Instead of packing up, he pivoted to intentional camera movement at around 1/20th of a second, panning with the wave motion to create blur that suggests energy rather than freezing it. He stopped down to f/11 to manage exposure at that slower speed and brought ISO down accordingly.
Overcast sky above coastal break, flat light on water surface
Light conditions shifted on Patino during his session. The strong sun dropped out and the waves started looking flat and uninspiring under overcast skies. Instead of packing up, he pivoted to intentional camera movement at around 1/20th of a second, panning with the wave motion to create blur that suggests energy rather than freezing it. He stopped down to f/11 to manage exposure at that slower speed and brought ISO down accordingly.
This is a legit two-technique session: fast-freeze for the abstract portrait work, ICM for the moody, impressionistic stuff when the light won’t cooperate. Having both in your toolkit means you can keep shooting productively regardless of what the sky does, which matters a lot if you’ve traveled to a location and don’t have multiple days to wait for perfect conditions.
Step 6: Return at Sunrise for a Different Quality of Light
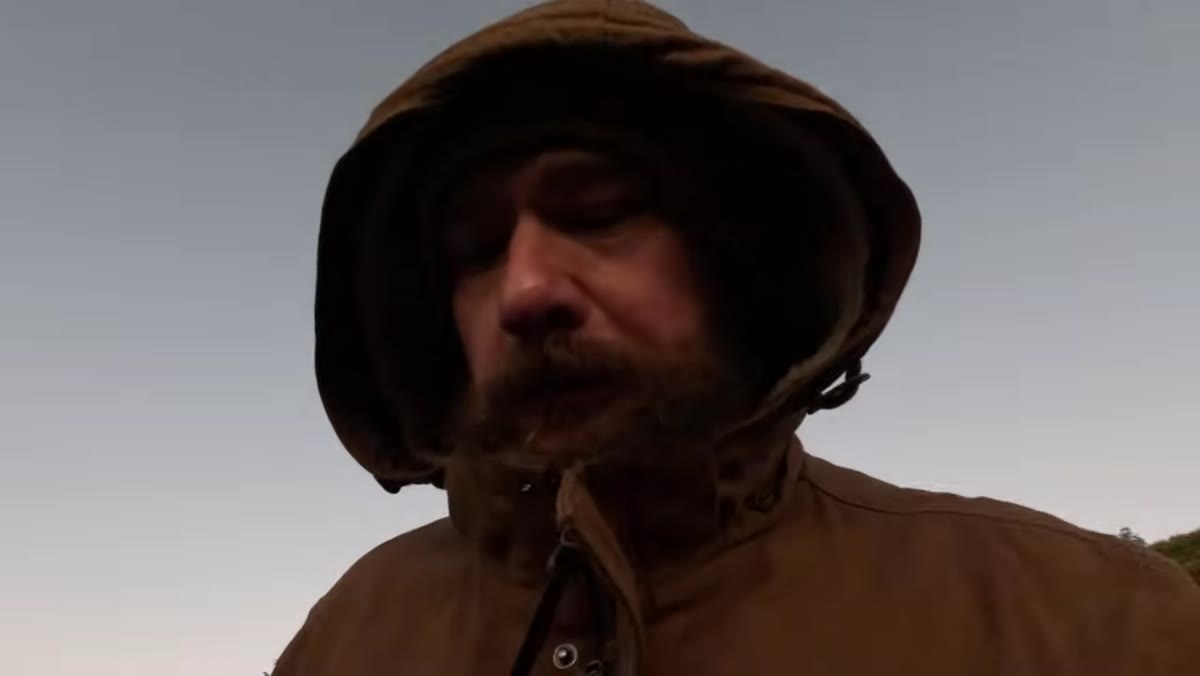 Early morning light hitting water surface at coastal location
Patino closes his session with a sunrise return to the same break. The swell had dropped, but the morning sidelight hitting the water created a completely different mood. He talks about positioning himself so the light hits the water at an angle rather than shooting directly toward the sun, which keeps the texture and detail visible across the wave face.
Early morning light hitting water surface at coastal location
Patino closes his session with a sunrise return to the same break. The swell had dropped, but the morning sidelight hitting the water created a completely different mood. He talks about positioning himself so the light hits the water at an angle rather than shooting directly toward the sun, which keeps the texture and detail visible across the wave face.
This is worth noting for session planning: the same location, the same lens, and roughly the same technique will produce dramatically different results depending on time of day. The afternoon session gave him power and drama. The morning gave him softer color and more nuanced texture. If you have access to a location over multiple visits, plan both.
My Take: Budget Long Lenses Are Ready for This
I’ve run third-party 100-400mm lenses against the Canon and Sony first-party versions in my own testing, and for exactly this kind of work, static subjects (even fast-moving water is a static subject in the sense that the lens isn’t tracking a bird mid-flight), the performance gap is much smaller than the price gap. You’re not demanding the absolute peak of autofocus tracking. You’re shooting bursts, accepting a high cull rate, and relying mostly on manual zone focusing or single-point AF on a defined area of water. A $600 Sigma or Tamron in this range will get you the technique Patino is demonstrating without the $1,500-plus investment in a first-party option.
The single most transferable idea from this tutorial is the portrait framing concept. Stop trying to capture the whole ocean. Zoom in until you have one thing, one shape, one moment, and treat it like a subject with its own identity. That’s the shift that makes telephoto seascape work actually interesting.
Watch the full tutorial on YouTube to see Patino’s actual wave sessions and hear his real-time commentary as the swell rolls through.
Comments
Leave a Comment