Every time I book a flight to shoot somewhere new, I spend about three days obsessing over what to pack and maybe thirty minutes actually planning the shots. I’ve shown up to airports with a bag that triggered secondary screening, forgotten which parking garage level my car was on, and once nearly missed a connection because I didn’t account for the security line eating twenty minutes of my buffer time. These are not glamorous problems, but they are real ones that cost you time, money, and the mental energy you actually need for shooting.
In this Tony & Chelsea Northrup tutorial from their Picture This! podcast series, Tony and Chelsea walk through a genuinely useful set of travel tips aimed specifically at photographers. Watch the full tutorial on YouTube. This isn’t a “here’s a beautiful flatlay of my camera bag” video. It’s practical, a little chaotic, and full of the kind of advice that comes from people who have actually been lost in a parking garage at JFK with four days of shooting gear and no idea what floor their rental car is on. Been there. Let me break it down.
Step 1: Use a Smart Navigation App Before You Leave the House
 Tony introducing travel tips for photographers on podcast
The Northrups recommend Waze for driving to airports and shooting locations, and the specific feature worth knowing about is the planned departure tool. You type in your destination and your required arrival time, and it calculates when you need to leave based on predicted traffic patterns for that specific day and time. For photographers, this matters more than it sounds. You’re not just catching a flight. You’re often driving to a location before sunrise, hauling gear, and operating on a schedule where being fifteen minutes late means missing the light entirely. Build your departure time around the app’s recommendation, not your gut.
Tony introducing travel tips for photographers on podcast
The Northrups recommend Waze for driving to airports and shooting locations, and the specific feature worth knowing about is the planned departure tool. You type in your destination and your required arrival time, and it calculates when you need to leave based on predicted traffic patterns for that specific day and time. For photographers, this matters more than it sounds. You’re not just catching a flight. You’re often driving to a location before sunrise, hauling gear, and operating on a schedule where being fifteen minutes late means missing the light entirely. Build your departure time around the app’s recommendation, not your gut.
Step 2: Take a Photo of Where You Parked
 Tony describing taking a photo of parking spot location
This one sounds embarrassingly simple, and yet. The tip is to photograph your car in front of a level or section sign the moment you park, before you do anything else. Not a mental note. An actual image in your camera roll, timestamped and geotagged. If you’re parking at an airport for a multi-day trip, you will not remember Row E4 on day three when you’re jet-lagged and rolling a heavy case through a concrete structure that all looks identical. Tony also mentions that Google Assistant and Siri can sometimes log your parking location automatically if you have location services enabled. Worth checking your settings before your next trip.
Tony describing taking a photo of parking spot location
This one sounds embarrassingly simple, and yet. The tip is to photograph your car in front of a level or section sign the moment you park, before you do anything else. Not a mental note. An actual image in your camera roll, timestamped and geotagged. If you’re parking at an airport for a multi-day trip, you will not remember Row E4 on day three when you’re jet-lagged and rolling a heavy case through a concrete structure that all looks identical. Tony also mentions that Google Assistant and Siri can sometimes log your parking location automatically if you have location services enabled. Worth checking your settings before your next trip.
Step 3: Get TSA PreCheck
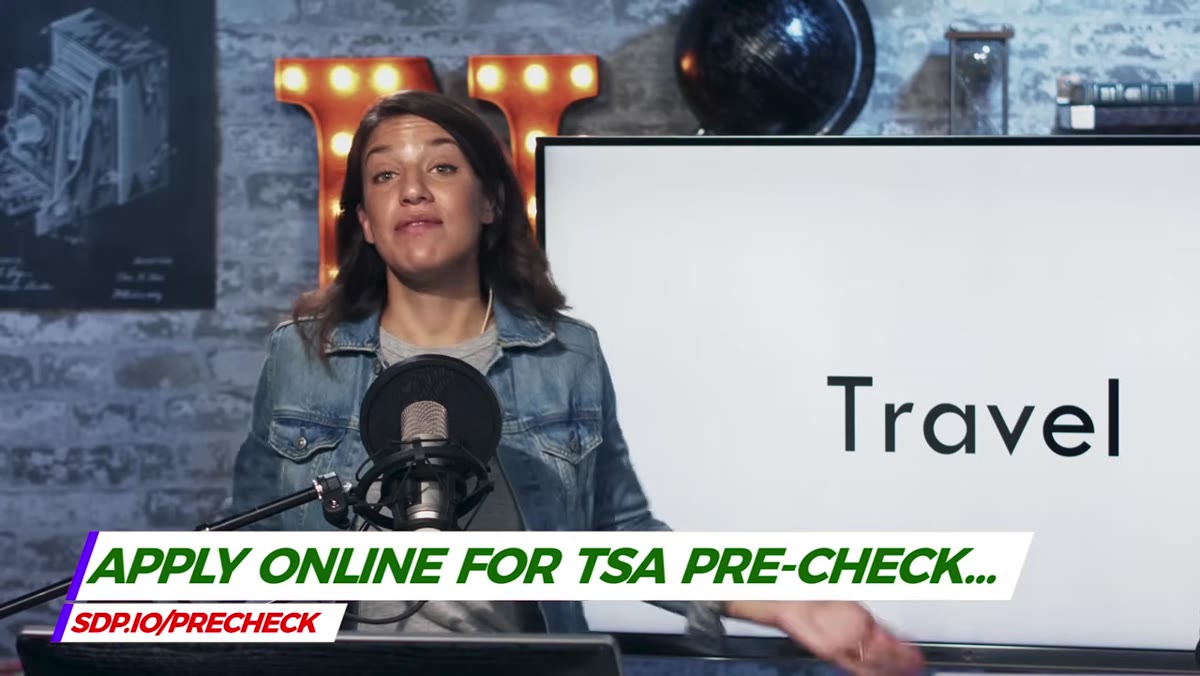 Tony explaining benefits of TSA PreCheck for photographers
If you’re flying with camera gear and you don’t have TSA PreCheck, this is the single highest-return investment you can make for under $100. PreCheck lets you move through a dedicated, faster security lane. More importantly for photographers, you generally don’t have to remove laptops or other electronics from your bag, and you keep your shoes on. That combination alone cuts a typical security experience from anywhere between ten and thirty minutes down to roughly two minutes. When you’re traveling with a camera bag full of lenses and accessories, anything that reduces the number of times you’re pulling equipment out and repacking it in a public tray is a win.
Tony explaining benefits of TSA PreCheck for photographers
If you’re flying with camera gear and you don’t have TSA PreCheck, this is the single highest-return investment you can make for under $100. PreCheck lets you move through a dedicated, faster security lane. More importantly for photographers, you generally don’t have to remove laptops or other electronics from your bag, and you keep your shoes on. That combination alone cuts a typical security experience from anywhere between ten and thirty minutes down to roughly two minutes. When you’re traveling with a camera bag full of lenses and accessories, anything that reduces the number of times you’re pulling equipment out and repacking it in a public tray is a win.
Step 4: Prep Your Pockets Before You Reach the Belt
 Tony describing pulling out phone and keys while waiting in line
While you’re still standing in the security line, not when you get to the conveyor belt, pull your phone, keys, wallet, and anything else metal out of your pockets and drop them straight into your carry-on bag. By the time you reach the belt, you should have nothing in your pockets. This sounds minor, but it prevents the scramble that holds up the line and puts your gear at risk. Rushed repacking at the security belt is exactly how lens caps get left behind and how you end up with a phone or a card reader sitting in a tray while you’re already ten feet away. Do it in line. It takes thirty seconds.
Tony describing pulling out phone and keys while waiting in line
While you’re still standing in the security line, not when you get to the conveyor belt, pull your phone, keys, wallet, and anything else metal out of your pockets and drop them straight into your carry-on bag. By the time you reach the belt, you should have nothing in your pockets. This sounds minor, but it prevents the scramble that holds up the line and puts your gear at risk. Rushed repacking at the security belt is exactly how lens caps get left behind and how you end up with a phone or a card reader sitting in a tray while you’re already ten feet away. Do it in line. It takes thirty seconds.
Step 5: Put Your Entire Itinerary on Your Phone
 Tony recommending storing full travel agenda in phone
Flight numbers, departure times, hotel addresses, confirmation codes. All of it goes into your phone before you leave. The Northrups suggest this as a backup for when you’re somewhere without reliable internet and need to reference booking details quickly. For photographers specifically, I’d extend this to include location scouting notes, permit information if you’re shooting in a national park or a restricted area, and the contact number for your accommodation in case you arrive late with gear and need someone to let you in. A notes app works. A dedicated travel app works better. The format matters less than the habit.
Tony recommending storing full travel agenda in phone
Flight numbers, departure times, hotel addresses, confirmation codes. All of it goes into your phone before you leave. The Northrups suggest this as a backup for when you’re somewhere without reliable internet and need to reference booking details quickly. For photographers specifically, I’d extend this to include location scouting notes, permit information if you’re shooting in a national park or a restricted area, and the contact number for your accommodation in case you arrive late with gear and need someone to let you in. A notes app works. A dedicated travel app works better. The format matters less than the habit.
Step 6: Plan Your Gear List Around the Trip, Not Your Fear of Missing a Shot
 Chelsea discussing packing and trip planning considerations
The Northrups get into packing strategy, and the core principle is worth hammering home: your gear list should be built around what you are actually going to shoot on this specific trip, not around a worst-case scenario where you might need everything. Every extra lens you pack is weight you carry through every airport, every cobblestone street, every hike to a viewpoint. Ask yourself what the primary subjects are, what the lighting conditions will likely be, and whether a second body is genuinely necessary or just anxiety. Then pack that. Leave the rest.
Chelsea discussing packing and trip planning considerations
The Northrups get into packing strategy, and the core principle is worth hammering home: your gear list should be built around what you are actually going to shoot on this specific trip, not around a worst-case scenario where you might need everything. Every extra lens you pack is weight you carry through every airport, every cobblestone street, every hike to a viewpoint. Ask yourself what the primary subjects are, what the lighting conditions will likely be, and whether a second body is genuinely necessary or just anxiety. Then pack that. Leave the rest.
What I’d Add From My Own Experience
I review budget gear for a living, and one thing Tony and Chelsea’s advice reinforces is that travel is where the “less is more” philosophy pays off most visibly. I’ve done trips with a full kit and trips with a single mirrorless body and two primes, and the shots from the lighter trips are consistently better. Not because the gear was better, but because I moved faster, got into better positions, and didn’t spend half my energy managing a heavy bag.
If you’re weighing what to cut, start with the longest and heaviest lens you own. Ask whether you could crop in post instead. Nine times out of ten, the answer is yes, and your back will thank you on day two.
The single most important takeaway from this tutorial is that travel friction compounds. Every small delay, every unpacked bag at security, every wrong turn, every forgotten hotel address adds up to lost shooting time and mental fatigue. The organizational habits Tony and Chelsea describe are not glamorous, but they are the difference between a trip where you actually get the shots and one where you spend half your time recovering from logistics.
Watch the full tutorial on YouTube for the complete conversation, including more on trip planning and gear selection straight from Tony and Chelsea.
Comments (2)
The before and after really sells it. Incredible difference.
Quality content like this is rare. Keep it up.
Leave a Comment