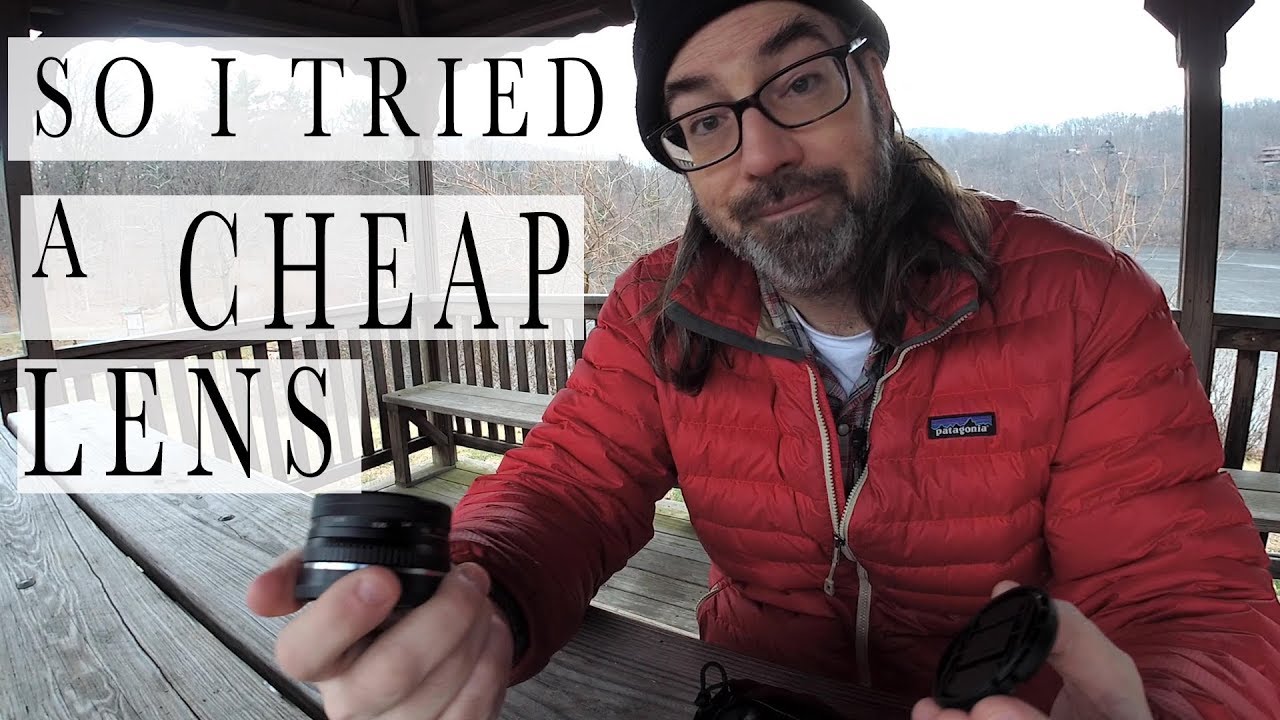
There’s a conversation that keeps coming up in photography communities, and I’m tired of watching it go sideways. Someone asks about budget gear, someone else fires back that cheap glass ruins shots, and nobody walks away with anything useful. What actually cuts through the noise is a working professional picking up a cheap lens, mounting it on a real camera, and shooting a real job with it. That’s exactly what happens in this Daniel Norton Photographer tutorial, and the results are worth paying attention to whether you’re a working shooter trying to stretch a tight kit budget or just curious where the floor is on usable glass.
Watch the full tutorial on YouTube
I’ve built a running spreadsheet of every budget lens I’ve personally tested, and the pattern I keep seeing is that the failure modes matter more than the specs. A lens can look great on paper and fall apart in the field for reasons that have nothing to do with optical formula. What Daniel’s video does well is document the full arc of the experience, from the moment the lens arrives to actual footage output, which is a more honest test than most reviews you’ll find.
Step 1: Set Your Expectations Before the Lens Even Ships
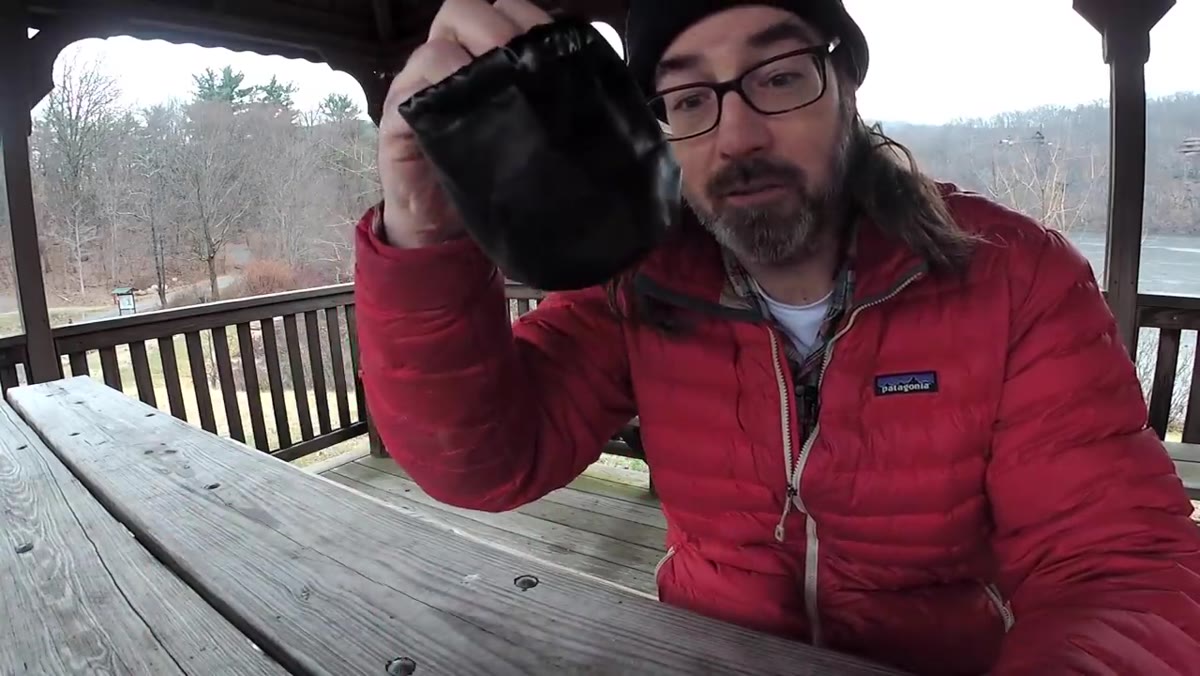 Daniel describing the $70 lens arriving covered in oil
Before you buy any budget lens, decide what you actually need it to do. Daniel was clear from the start: he wanted the lens for video on a Sony APS-C body, specifically his Sony a6500, where a 32mm focal length lands close to a normal field of view. He wasn’t chasing a bokeh monster or trying to replace a professional prime. That framing matters because it sets the evaluation criteria correctly. If you go in expecting a $70 lens to perform like a $700 Sony G lens, you’ve already written a bad review before you’ve taken a single frame.
Daniel describing the $70 lens arriving covered in oil
Before you buy any budget lens, decide what you actually need it to do. Daniel was clear from the start: he wanted the lens for video on a Sony APS-C body, specifically his Sony a6500, where a 32mm focal length lands close to a normal field of view. He wasn’t chasing a bokeh monster or trying to replace a professional prime. That framing matters because it sets the evaluation criteria correctly. If you go in expecting a $70 lens to perform like a $700 Sony G lens, you’ve already written a bad review before you’ve taken a single frame.
Step 2: Inspect the Physical Condition Immediately on Arrival
 Daniel examining the lens after removing it from packaging
When the lens arrived, Daniel found it coated in oil inside the bag. That’s a quality control red flag, and it’s the kind of thing you need to catch before you mount the glass on your camera. His approach was methodical: he checked that the front and rear elements were clean under the caps, worked the focus ring to free it up, wiped everything down, and then let it sit to confirm the oil wasn’t actively leaking from internal components. Once he was satisfied nothing was migrating toward the glass, he moved forward.
Daniel examining the lens after removing it from packaging
When the lens arrived, Daniel found it coated in oil inside the bag. That’s a quality control red flag, and it’s the kind of thing you need to catch before you mount the glass on your camera. His approach was methodical: he checked that the front and rear elements were clean under the caps, worked the focus ring to free it up, wiped everything down, and then let it sit to confirm the oil wasn’t actively leaking from internal components. Once he was satisfied nothing was migrating toward the glass, he moved forward.
If you’re buying budget lenses online, especially from unfamiliar brands, inspect them the same way you’d inspect a used lens from a stranger. Check the aperture blades through the rear element, look for fungus or haze on the glass, and cycle the focus ring through its full range before you ever attach it to your body. A little extra time at unboxing prevents a lot of pain later.
Step 3: Do a Quick Flare and Characteristic Test Before Your Actual Shoot
 Daniel pointing the lens at lights to test for flare
One of the smarter things Daniel did was aim the lens at practical lights to see what its optical character looked like before committing it to a real project. His hope was that a cheap lens might produce interesting, usable flare that could add something creative to a shot. What he found was that it didn’t flare dramatically in either direction. It wasn’t producing ugly, distracting artifacts, but it also wasn’t doing anything cinematic or distinctive.
Daniel pointing the lens at lights to test for flare
One of the smarter things Daniel did was aim the lens at practical lights to see what its optical character looked like before committing it to a real project. His hope was that a cheap lens might produce interesting, usable flare that could add something creative to a shot. What he found was that it didn’t flare dramatically in either direction. It wasn’t producing ugly, distracting artifacts, but it also wasn’t doing anything cinematic or distinctive.
That’s genuinely useful information. A lot of vintage and budget lenses earn their place in a kit because they have character, whether that’s swirly bokeh, certain color rendering, or strong flare patterns. If a cheap lens doesn’t have character and doesn’t have technical precision, there’s not much of a case for it. If it avoids bad character while staying optically neutral, that’s actually a reasonable result for video work where consistency matters more than personality.
Step 4: Deploy It on a Real Shoot with a Defined Role
 Daniel describing using the lens for an actual video shoot
Rather than running synthetic tests in a studio, Daniel put the lens to work on an actual video shoot, specifically a backlit portrait session. This is the right call. Controlled lab tests tell you something, but real shoots tell you whether the lens holds up under the kinds of decisions and pressures that actually define a working day. He used it as the only lens on the camera, no switching back to his trusted Sony glass, which forced an honest assessment.
Daniel describing using the lens for an actual video shoot
Rather than running synthetic tests in a studio, Daniel put the lens to work on an actual video shoot, specifically a backlit portrait session. This is the right call. Controlled lab tests tell you something, but real shoots tell you whether the lens holds up under the kinds of decisions and pressures that actually define a working day. He used it as the only lens on the camera, no switching back to his trusted Sony glass, which forced an honest assessment.
When you’re evaluating a budget lens for your own kit, give it one defined job on a real project rather than running it through a checklist of abstract scenarios. A 32mm lens on APS-C is a walkaround focal length. Take it somewhere that actually needs a walkaround lens. You’ll learn more in two hours of genuine shooting than in an afternoon of pixel peeping.
Step 5: Evaluate Autofocus Behavior Honestly
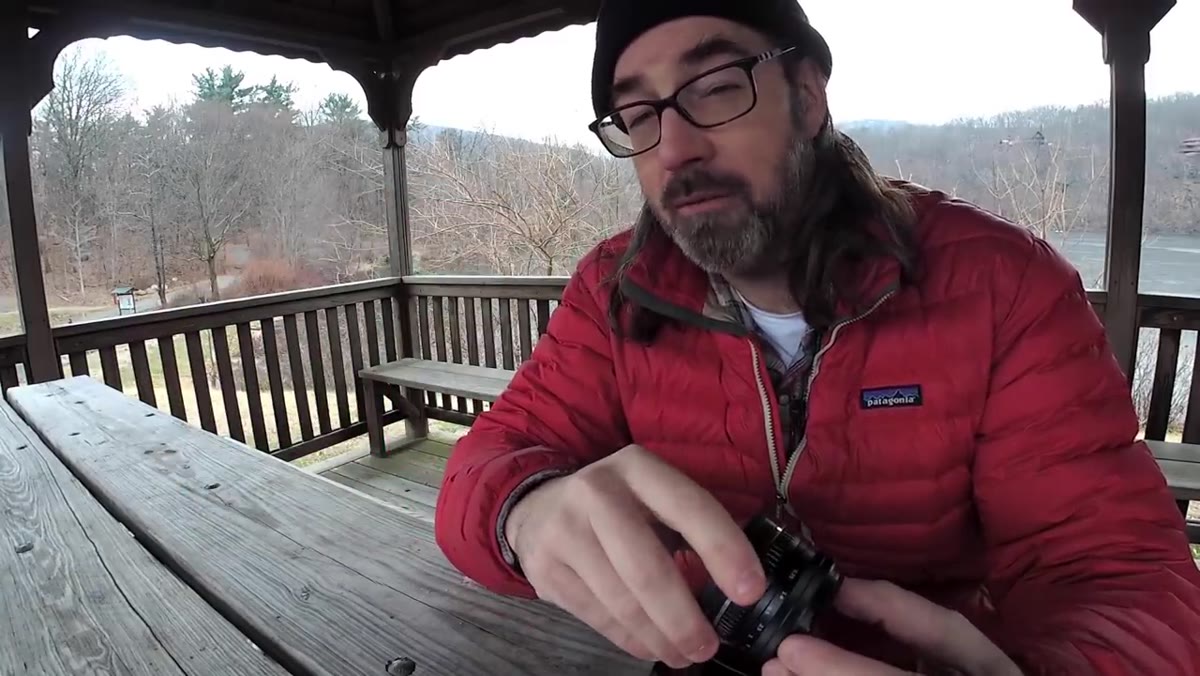 Daniel noting the lens worked as a manual focus option when AF was problematic
One of the more candid moments in the video is when Daniel notes that his Sony a6500 was having autofocus issues during that shoot, and switching to this fully manual lens actually solved his problem by removing autofocus from the equation entirely. It’s worth being honest about what that means: the lens has no autofocus. If you need AF, this lens isn’t an option. But for video work where you’re pulling focus manually anyway, or for shooters who prefer manual control, that limitation disappears entirely.
Daniel noting the lens worked as a manual focus option when AF was problematic
One of the more candid moments in the video is when Daniel notes that his Sony a6500 was having autofocus issues during that shoot, and switching to this fully manual lens actually solved his problem by removing autofocus from the equation entirely. It’s worth being honest about what that means: the lens has no autofocus. If you need AF, this lens isn’t an option. But for video work where you’re pulling focus manually anyway, or for shooters who prefer manual control, that limitation disappears entirely.
Know what autofocus behavior you require before buying any third-party budget lens. Many in this price range are manual focus only. Some have electronic aperture control but no AF motor. Understanding that before purchase prevents the frustration of mounting a lens and discovering the camera body can’t communicate with it the way you expected.
What I’d Add From My Own Testing
The thing Daniel’s video reinforces for me is that the packaging and quality control story is often more revealing than the optical test. I’ve tested a lot of budget glass, and the lenses that arrive covered in oil, with stiff focus rings, or with loose mount tolerances are almost always from brands that cut corners across the board. The fact that this lens survived the unboxing inspection and produced usable footage doesn’t mean all $70 lenses will. It means this one cleared a low bar that some don’t even clear.
If you’re buying budget glass, I’d push toward slightly used versions of the same lens rather than new-old-stock from unknown retailers. A used lens from a real person has usually been tested by someone who cared about the results. That matters more than a fresh factory seal when quality control is inconsistent.
The single most important thing this video demonstrates is that a $70 lens can be a legitimate production tool when you assign it the right job. It won’t replace precision glass. It won’t give you the clinical sharpness of an expensive prime. But if your camera is having AF issues and you need a manual fallback, or you need a compact normal lens for video on a crop-sensor body without putting serious money down, options in this range exist and some of them work. The key is going in with honest criteria instead of hoping cheap gear performs like expensive gear.
Watch the full tutorial on YouTube
Comments
Leave a Comment