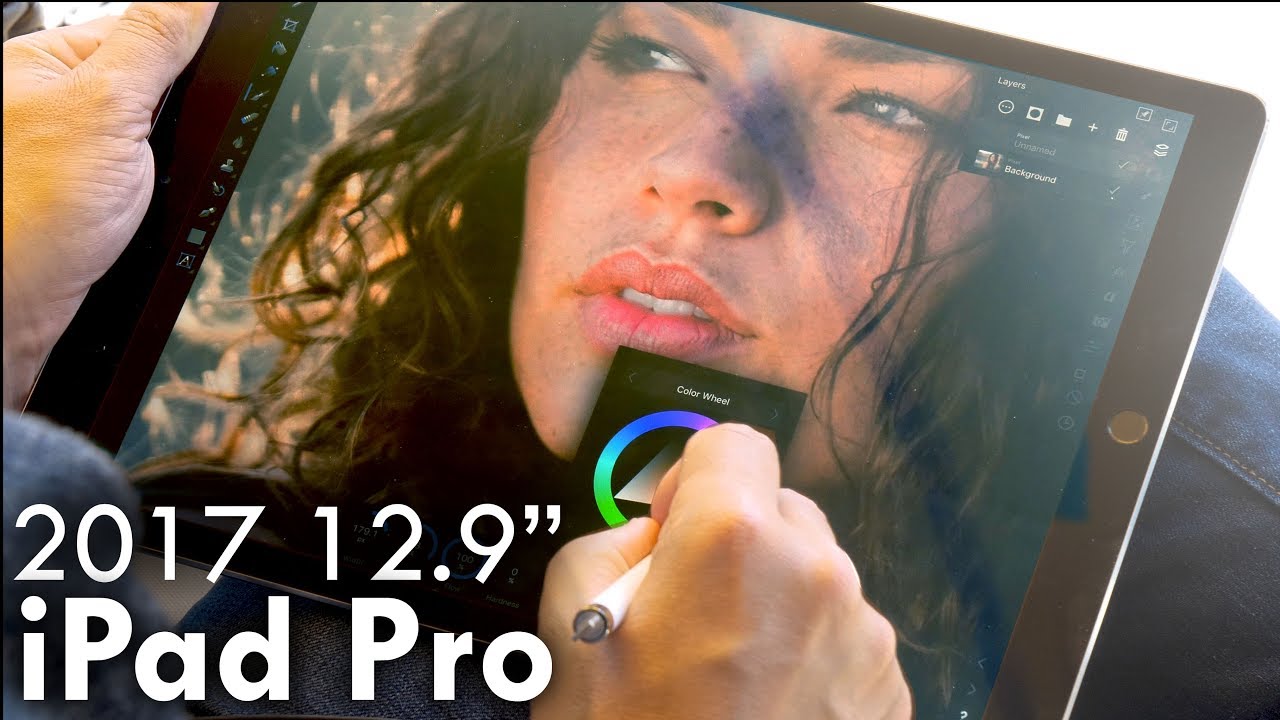
I’ll be honest: I spent years assuming the iPad was a consumption device. You watch videos on it. You scroll Instagram. You do not edit RAW files on it at a professional level. That assumption cost me a lot of unnecessary weight in my camera bag and a lot of frustrating evenings hunched over a hot laptop in hotel rooms, waiting for Lightroom to catch up with me. Then I came across a Tony & Chelsea Northrup tutorial where Tony walks through his full photo editing workflow on the 12.9-inch iPad Pro, and it reframed how I think about mobile editing entirely. Watch the full tutorial on YouTube
What got my attention immediately was not the iPad itself but the performance claim. Tony is not a guy who travels with budget gear, and he’s saying the iPad processed Lightroom faster than his overclocked desktop. That is a specific, falsifiable claim from someone who has the receipts. The reason, as he explains it, is not raw horsepower but code quality. Lightroom on the desktop runs on an aging codebase that was never optimized for modern hardware. Lightroom Mobile was built from scratch for these chips. You are not comparing the iPad to a desktop. You are comparing a fresh codebase to a legacy one. That distinction matters, and it is the foundation for everything that follows in the tutorial.
If you shoot on the road, whether that is travel portraits, landscape work, event coverage, or anything else where you are away from your main workstation, this workflow is worth understanding step by step.
Step 1: Get Your Files Onto the iPad
 SD card reader being plugged into iPad Pro Thunderbolt port
Skip the wireless transfer workflows. Tony’s approach here is refreshingly old-school: pull the SD card from your camera, plug a Thunderbolt SD card reader directly into the iPad Pro’s Thunderbolt port, and import. No companion apps, no Bluetooth pairing, no waiting for a hotspot. The iPad recognizes the card reader and the files are accessible immediately. This is the kind of simple solution I always respect because it has no failure points. The reader Tony uses connects to the Thunderbolt port on the iPad Pro, so make sure you have a reader that matches your iPad’s connector. A USB-C to SD card reader works for most current iPad Pro models.
SD card reader being plugged into iPad Pro Thunderbolt port
Skip the wireless transfer workflows. Tony’s approach here is refreshingly old-school: pull the SD card from your camera, plug a Thunderbolt SD card reader directly into the iPad Pro’s Thunderbolt port, and import. No companion apps, no Bluetooth pairing, no waiting for a hotspot. The iPad recognizes the card reader and the files are accessible immediately. This is the kind of simple solution I always respect because it has no failure points. The reader Tony uses connects to the Thunderbolt port on the iPad Pro, so make sure you have a reader that matches your iPad’s connector. A USB-C to SD card reader works for most current iPad Pro models.
Step 2: Import and Sync Through Lightroom Mobile
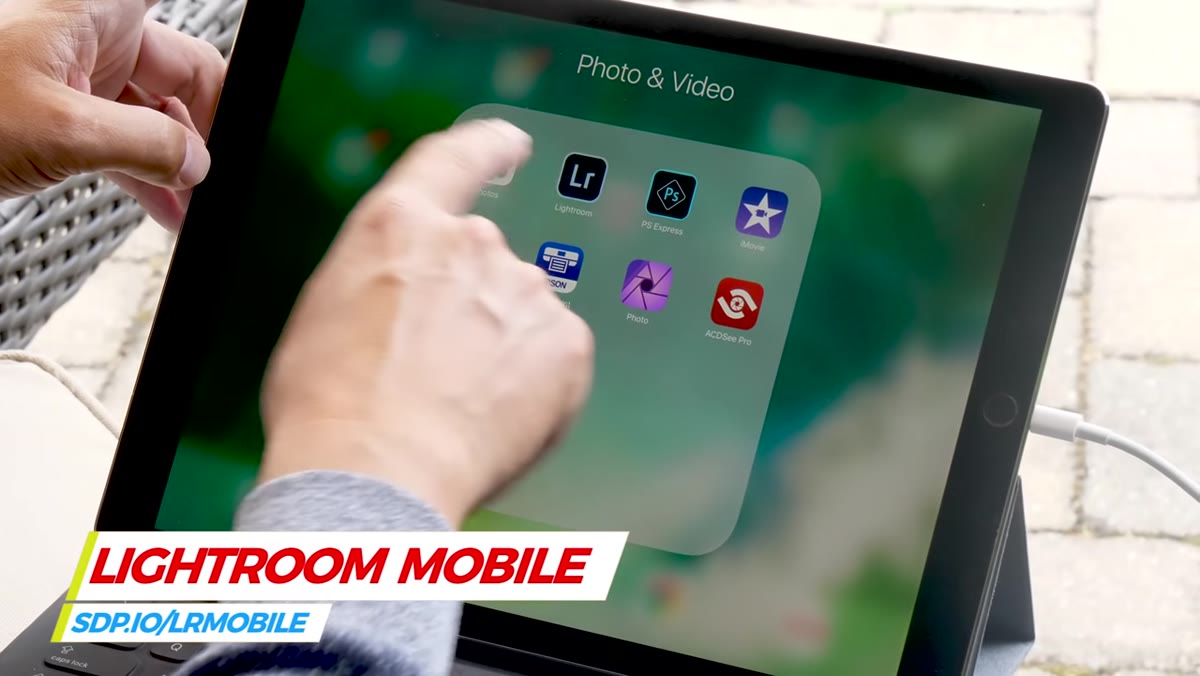 Lightroom Mobile open on iPad showing import screen
Once your card is connected, open Lightroom Mobile and use the “Add Photos” option to pull your images into the app’s catalog. This is where the Creative Cloud sync becomes a genuine workflow advantage rather than a marketing bullet point. If you have a Creative Cloud subscription, every image you import on the iPad, along with every edit you make, syncs automatically to your desktop Lightroom the next time it opens. You are not creating a separate mobile library that you later have to reconcile. You are working in the same catalog, on the same files, from two different devices. For anyone who has ever dealt with catalog merges or duplicate import issues on desktop Lightroom, this is a meaningful quality-of-life improvement.
Lightroom Mobile open on iPad showing import screen
Once your card is connected, open Lightroom Mobile and use the “Add Photos” option to pull your images into the app’s catalog. This is where the Creative Cloud sync becomes a genuine workflow advantage rather than a marketing bullet point. If you have a Creative Cloud subscription, every image you import on the iPad, along with every edit you make, syncs automatically to your desktop Lightroom the next time it opens. You are not creating a separate mobile library that you later have to reconcile. You are working in the same catalog, on the same files, from two different devices. For anyone who has ever dealt with catalog merges or duplicate import issues on desktop Lightroom, this is a meaningful quality-of-life improvement.
Step 3: Cull Quickly Using Touch Gestures
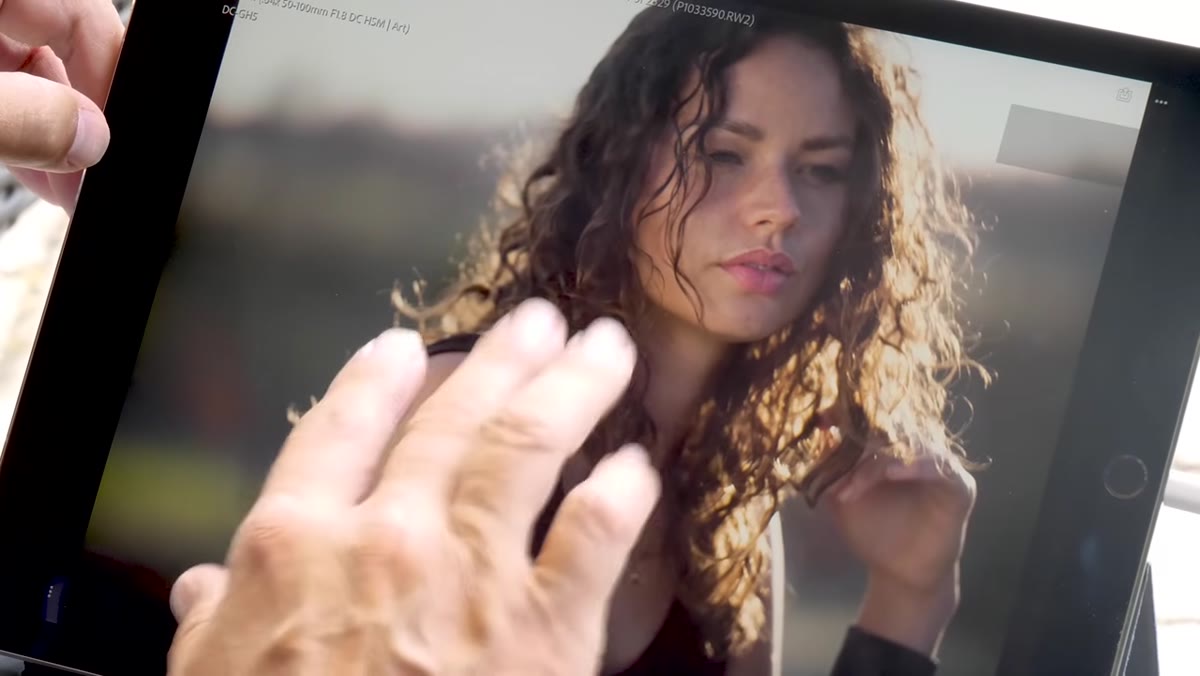 Zooming into portrait to check sharpness on iPad screen
This is where the iPad earns its place in a professional workflow. Tony demonstrates culling portraits by using pinch-to-zoom to check sharpness, flicking between images, and flagging keepers, all with touch gestures that feel direct and immediate in a way that clicking through images on a trackpad does not. When you are checking whether eyes are sharp on a portrait where you dragged the shutter a little too slow, being able to snap to 100 percent with a quick pinch and swipe to the next frame is faster than any keyboard shortcut I have used on desktop. The iPad’s responsiveness in Lightroom Mobile makes this specific task, culling a large shoot down to selects, significantly less tedious than the desktop equivalent.
Zooming into portrait to check sharpness on iPad screen
This is where the iPad earns its place in a professional workflow. Tony demonstrates culling portraits by using pinch-to-zoom to check sharpness, flicking between images, and flagging keepers, all with touch gestures that feel direct and immediate in a way that clicking through images on a trackpad does not. When you are checking whether eyes are sharp on a portrait where you dragged the shutter a little too slow, being able to snap to 100 percent with a quick pinch and swipe to the next frame is faster than any keyboard shortcut I have used on desktop. The iPad’s responsiveness in Lightroom Mobile makes this specific task, culling a large shoot down to selects, significantly less tedious than the desktop equivalent.
Step 4: Edit RAW Files with Full Lightroom Controls
 Lightroom Mobile edit panel showing exposure and tint sliders
Lightroom Mobile processes the same RAW files as desktop Lightroom and gives you access to the full tonal range. Tony shows highlight recovery and shadow lifting on portraits, and the results are identical to what you would get running the same sliders on desktop. The editing interface uses a swipe-based panel system: swipe along the bottom to move between crop, color, tone, and detail tools. Adjustments like exposure and tint are controlled by dragging up and down on the screen, which sounds awkward until you try it and realize it keeps your thumb off the area of the image you are evaluating. The responsiveness Tony keeps emphasizing is real. There is no lag between moving a slider and seeing the result.
Lightroom Mobile edit panel showing exposure and tint sliders
Lightroom Mobile processes the same RAW files as desktop Lightroom and gives you access to the full tonal range. Tony shows highlight recovery and shadow lifting on portraits, and the results are identical to what you would get running the same sliders on desktop. The editing interface uses a swipe-based panel system: swipe along the bottom to move between crop, color, tone, and detail tools. Adjustments like exposure and tint are controlled by dragging up and down on the screen, which sounds awkward until you try it and realize it keeps your thumb off the area of the image you are evaluating. The responsiveness Tony keeps emphasizing is real. There is no lag between moving a slider and seeing the result.
Step 5: Use Selective Adjustments for Detail Work
 Selective adjustment brush brightening subject’s eye
Lightroom Mobile includes selective adjustment tools, which means you are not limited to global edits. Tony demonstrates painting a brightening adjustment directly onto a subject’s eye, dragging the selection size up or down with a simple gesture, and dialing in the effect. This is not a stripped-down version of the selective tools. The radial filter, brush, and linear gradient are all present. The one area where Lightroom Mobile genuinely lags behind desktop is in features like panorama stitching and multi-image processing. If those are core parts of your workflow, you will still need desktop Lightroom for that specific work. But for the shoot-review-select-export pipeline that most travel photographers actually run in the field, nothing critical is missing.
Selective adjustment brush brightening subject’s eye
Lightroom Mobile includes selective adjustment tools, which means you are not limited to global edits. Tony demonstrates painting a brightening adjustment directly onto a subject’s eye, dragging the selection size up or down with a simple gesture, and dialing in the effect. This is not a stripped-down version of the selective tools. The radial filter, brush, and linear gradient are all present. The one area where Lightroom Mobile genuinely lags behind desktop is in features like panorama stitching and multi-image processing. If those are core parts of your workflow, you will still need desktop Lightroom for that specific work. But for the shoot-review-select-export pipeline that most travel photographers actually run in the field, nothing critical is missing.
Step 6: Export and Share Directly from the iPad
 Export and share options shown in Lightroom Mobile
Once edits are done, Lightroom Mobile exports directly to your iPad’s photo library or to other apps. From there you can share to a client gallery, post directly to social platforms, or airdrop to a collaborator on the spot. No round-trip to a desktop required. For anyone who has ever had a client or editor asking for same-day turnaround on event images, this closes the loop in a way that dragging a laptop everywhere used to be the only solution for.
Export and share options shown in Lightroom Mobile
Once edits are done, Lightroom Mobile exports directly to your iPad’s photo library or to other apps. From there you can share to a client gallery, post directly to social platforms, or airdrop to a collaborator on the spot. No round-trip to a desktop required. For anyone who has ever had a client or editor asking for same-day turnaround on event images, this closes the loop in a way that dragging a laptop everywhere used to be the only solution for.
A Note on What This Workflow Actually Costs
I want to be straight about the entry point here because this site is about value as much as capability. The 12.9-inch iPad Pro Tony uses is not a budget device, and a Creative Cloud Photography plan adds a recurring cost on top of that. If you are already paying for Creative Cloud and already own an iPad Pro, this workflow costs you nothing extra. If you are buying in fresh, do the math against what a capable travel laptop would run you. In many cases, especially if you already use an iPad for other work, the iPad Pro editing setup comes out ahead on both price and portability. Affinity Photo is also worth noting as a one-time-purchase alternative to the subscription stack if you want to avoid the ongoing cost.
The single biggest takeaway from this tutorial is that mobile editing on the iPad Pro is not a compromise workflow. It is a different workflow with different strengths, and for the culling-editing-sharing pipeline that travel and event photographers actually need in the field, those strengths are exactly the right ones. The performance case is real. The sync is genuinely seamless. The touch interface for culling is better than a trackpad.
Watch the full tutorial on YouTube to see Tony walk through the complete session in real time, including side-by-side speed comparisons with desktop Lightroom that are worth seeing for yourself.
Comments (4)
The before and after really sells it. Incredible difference.
Applied this to my portfolio shots and the improvement is noticeable.
This is the kind of content that keeps me coming back.
The tip about ipad pro as a travel editing p was the missing piece for me. Thank you.
Leave a Comment