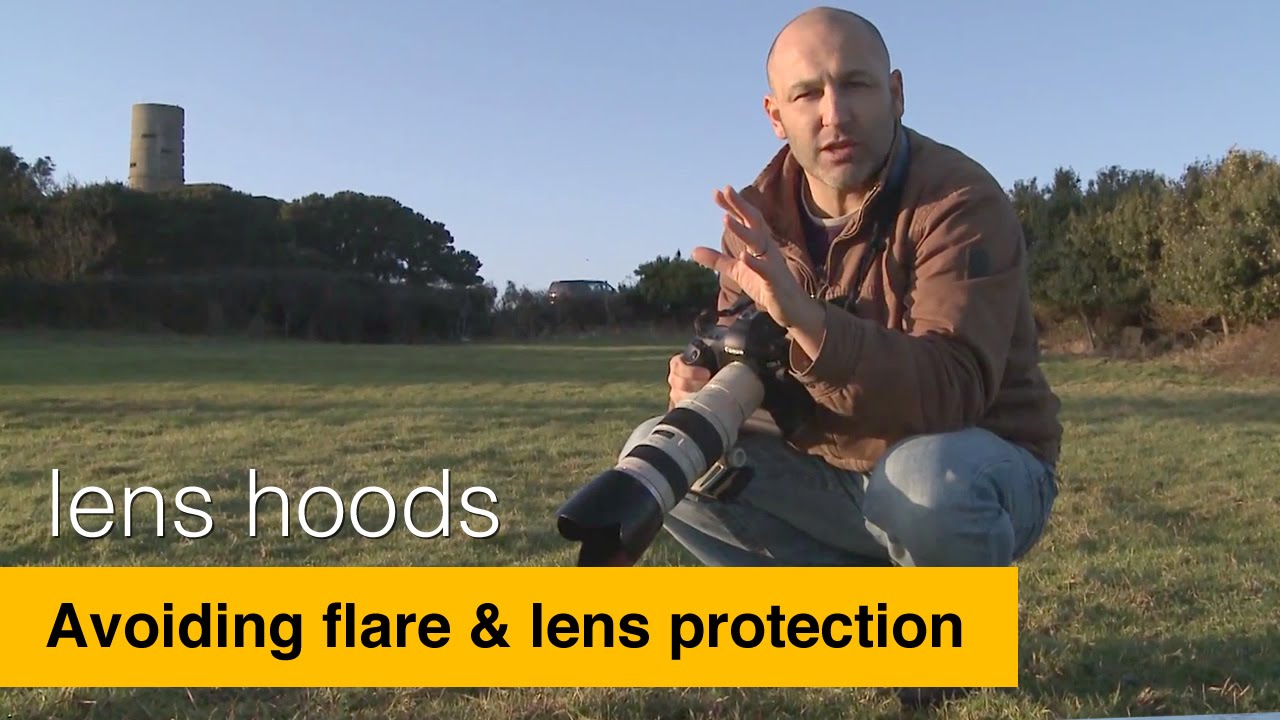
Lens flare is one of those problems that sneaks up on you. You’re out in the field, the light looks gorgeous, you fire off a hundred shots, and then you get home and half of them have that washed-out, hazy look that no amount of Lightroom work can fully rescue. I ran into this constantly when I was starting out, shooting in Denver where we get brutal midday sun and wide-open skies that seem designed to wreck backlit compositions. It took me an embarrassingly long time to understand what was actually happening inside my lens, and an even longer time to realize the fix cost almost nothing.
In this Visual Education tutorial, photographer Carl Taylor breaks down lens flare in plain terms, demonstrates it live in the field, and explains how a lens hood solves the problem. It’s a short, practical video aimed at beginners, but the concept applies at every level. Watch the full tutorial on YouTube and follow along with the walkthrough below.
Step 1: Understand What Lens Flare Actually Is
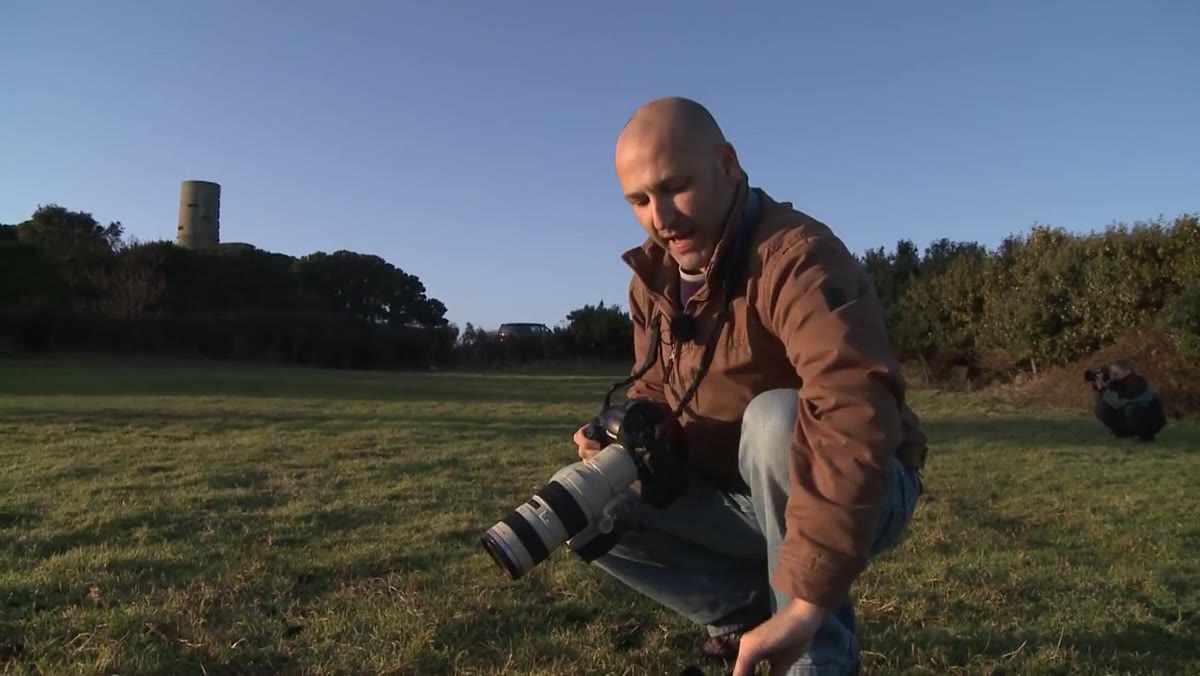 Photographer holding lens without hood attached outdoors
Flare is not just a visual style choice. It’s what happens when stray light, usually coming from a bright source like the sun, enters your lens and bounces between the internal glass elements. Instead of contributing to a clean, focused exposure, that scattered light spreads across your image and reduces contrast, washes out shadows, and sometimes leaves artifact streaks or bright blobs in the frame. The effect is most pronounced when your light source is in the frame or just outside it, which is exactly the situation you’re in whenever you shoot backlit subjects.
Photographer holding lens without hood attached outdoors
Flare is not just a visual style choice. It’s what happens when stray light, usually coming from a bright source like the sun, enters your lens and bounces between the internal glass elements. Instead of contributing to a clean, focused exposure, that scattered light spreads across your image and reduces contrast, washes out shadows, and sometimes leaves artifact streaks or bright blobs in the frame. The effect is most pronounced when your light source is in the frame or just outside it, which is exactly the situation you’re in whenever you shoot backlit subjects.
Knowing this matters because it changes how you diagnose your images. If your backlit shot looks flat or hazy and you’re tempted to add contrast in post, stop and check whether flare is the root problem. Post-processing can mask it, but it can’t fully recover detail that was lost to scattered light at capture.
Step 2: Identify When You’re Most at Risk
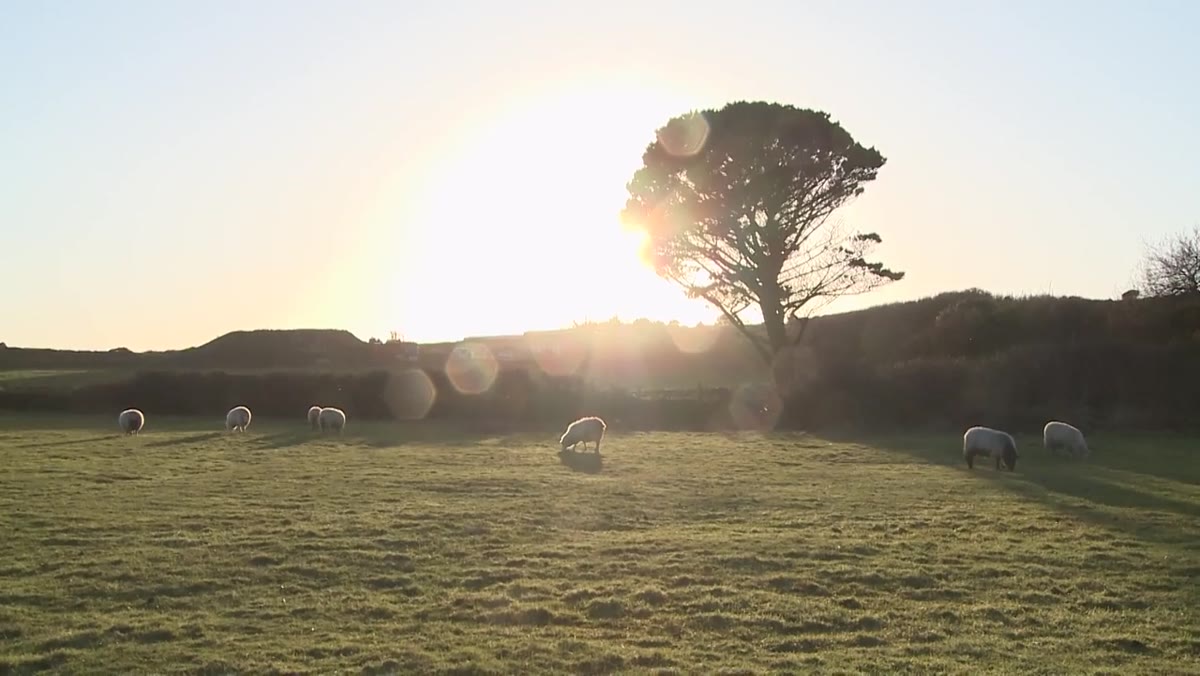 Backlit sheep in field with sun behind them
Carl demonstrates the problem by shooting sheep that are backlit by the sun, pointing his lens toward the light source. This is the classic high-risk scenario: subject between you and the sun, bright background, light source either in frame or close to the edge of it. Backlit portraits, golden-hour landscapes, shooting through windows, and any scene where you’re facing into direct sunlight all put you in flare territory.
Backlit sheep in field with sun behind them
Carl demonstrates the problem by shooting sheep that are backlit by the sun, pointing his lens toward the light source. This is the classic high-risk scenario: subject between you and the sun, bright background, light source either in frame or close to the edge of it. Backlit portraits, golden-hour landscapes, shooting through windows, and any scene where you’re facing into direct sunlight all put you in flare territory.
The risk increases if your lens is older, has more elements, or has an anti-reflective coating that’s worn or scratched. Budget lenses vary a lot here. I’ve tested lenses in the $80 to $150 range where flare was almost a non-issue, and others where even slight off-axis light turned the whole image into a foggy mess. Knowing your specific glass helps you anticipate when you need to be extra careful.
Step 3: Try the Shot Without Protection First
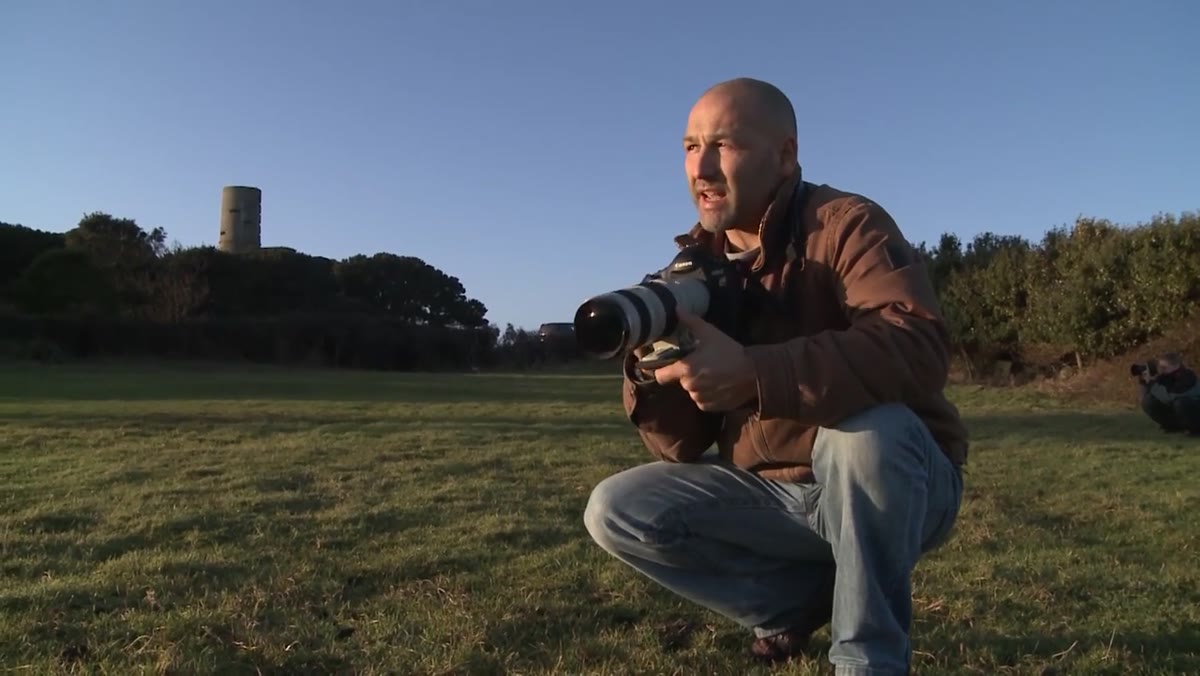 Camera aimed at backlit scene without lens hood
Before reaching for a solution, it’s worth seeing the problem clearly. Carl takes a shot without a lens hood so the flare is visible and undeniable. Doing this yourself, even once, is genuinely useful. It gives you a reference point and trains your eye to recognize the subtle versions of flare, not just the dramatic sunburst streaks, but the softer loss of contrast that can make an image feel “off” without an obvious cause.
Camera aimed at backlit scene without lens hood
Before reaching for a solution, it’s worth seeing the problem clearly. Carl takes a shot without a lens hood so the flare is visible and undeniable. Doing this yourself, even once, is genuinely useful. It gives you a reference point and trains your eye to recognize the subtle versions of flare, not just the dramatic sunburst streaks, but the softer loss of contrast that can make an image feel “off” without an obvious cause.
If you’re in a situation where some flare is unavoidable and you’re weighing whether to shoot at all, having seen what different levels of flare look like helps you make a smarter call. Sometimes a touch of flare adds atmosphere. Most of the time it just hurts the shot.
Step 4: Attach a Lens Hood
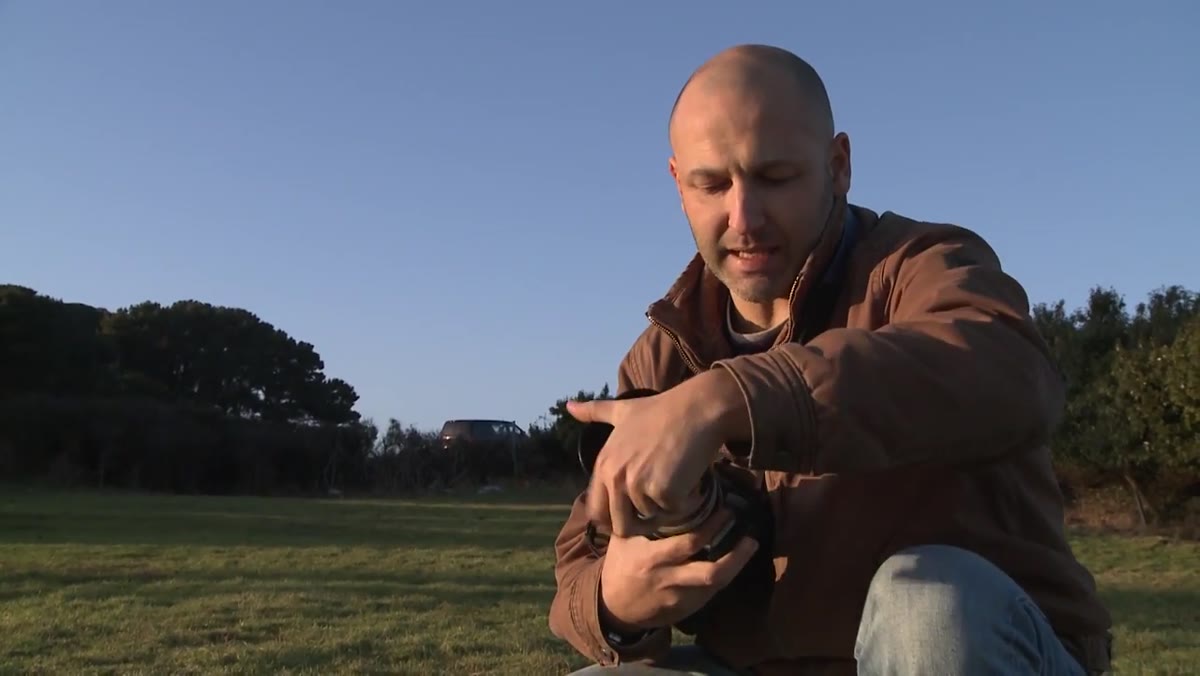 Lens hood being placed onto front of lens
The lens hood is the primary fix here, and Carl is direct about why it works. It physically blocks light coming from outside the angle of view before it can hit the front glass element. Think of it the way you’d shade your eyes with your hand on a bright day. The moment your hand blocks the direct sun, everything in your field of view gets sharper and more defined. The lens hood does the same thing for your glass.
Lens hood being placed onto front of lens
The lens hood is the primary fix here, and Carl is direct about why it works. It physically blocks light coming from outside the angle of view before it can hit the front glass element. Think of it the way you’d shade your eyes with your hand on a bright day. The moment your hand blocks the direct sun, everything in your field of view gets sharper and more defined. The lens hood does the same thing for your glass.
Most lenses ship with a compatible hood, though plenty of people leave them in the box. If yours didn’t come with one, or you bought a used lens without it, third-party hoods are cheap and easy to find. I’ve picked up perfectly functional aftermarket hoods for under $10 on Amazon. The fit and thread size are what matter. Get those right and an $8 hood does exactly what a $40 branded one does.
Step 5: Compare the Results
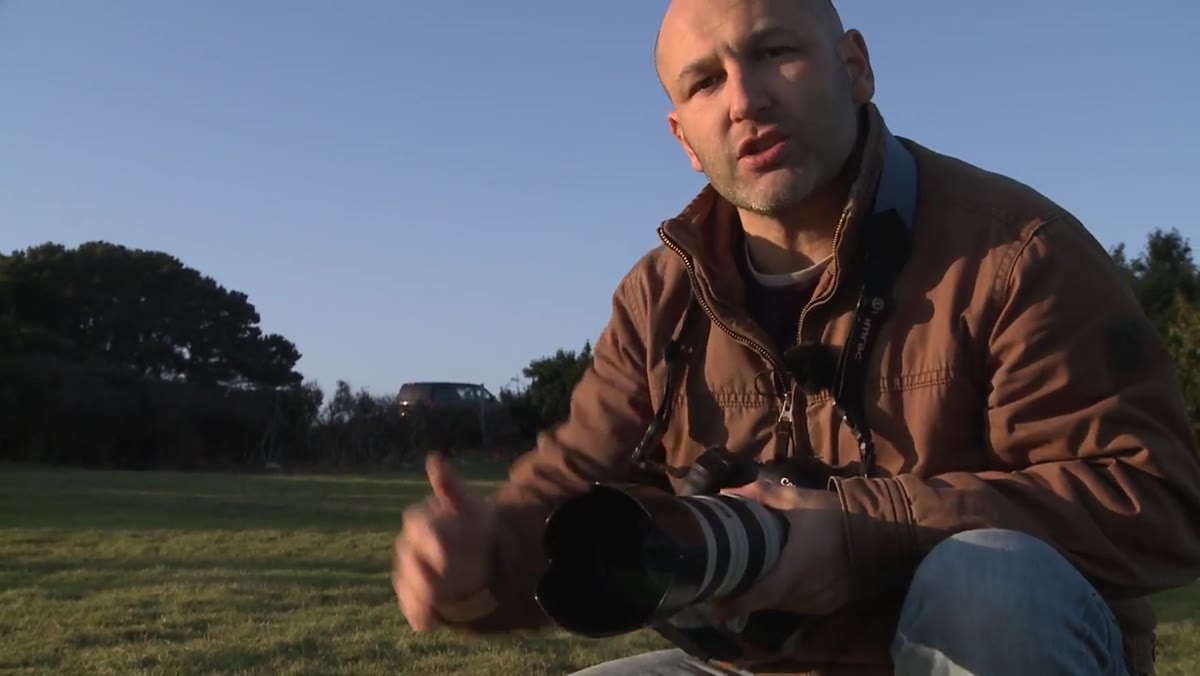 Same backlit scene photographed with lens hood attached
With the hood on, Carl shoots the same backlit scene and the difference is visible immediately. Shadow areas hold more detail, the overall image has better contrast, and that milky haze is gone. This is the kind of improvement that would take serious work in post to approximate, and even then you’d be recovering rather than capturing.
Same backlit scene photographed with lens hood attached
With the hood on, Carl shoots the same backlit scene and the difference is visible immediately. Shadow areas hold more detail, the overall image has better contrast, and that milky haze is gone. This is the kind of improvement that would take serious work in post to approximate, and even then you’d be recovering rather than capturing.
Side-by-side comparisons like this are worth doing yourself when you get a new lens or a new hood. Shoot the same scene with and without, in conditions where flare is likely, and you’ll know exactly how much protection your specific setup provides. It takes five minutes and gives you real data about your gear.
Step 6: Recognize the Bonus Benefit
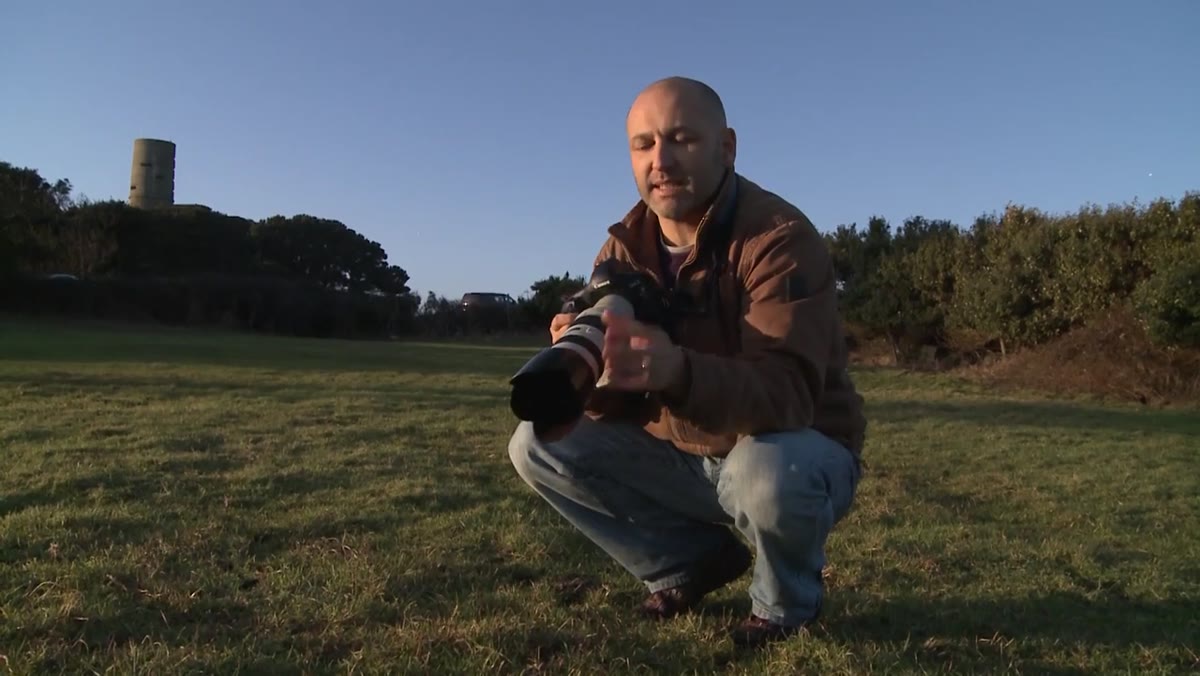 Lens hood shown extending beyond front element of lens
Carl points out something that doesn’t get mentioned enough: the lens hood also protects the front element physically. The hood extends past the glass, which means if you bump the camera against a wall, brush past a branch, or someone walks into you at a crowded event, the hood takes the hit instead of the lens. That’s not nothing. A scratched front element can cost more to replace than the lens is worth, depending on the glass.
Lens hood shown extending beyond front element of lens
Carl points out something that doesn’t get mentioned enough: the lens hood also protects the front element physically. The hood extends past the glass, which means if you bump the camera against a wall, brush past a branch, or someone walks into you at a crowded event, the hood takes the hit instead of the lens. That’s not nothing. A scratched front element can cost more to replace than the lens is worth, depending on the glass.
This physical protection angle is especially relevant for run-and-gun shooting, event photography, or any situation where you’re moving fast and not babying the camera. A rigid plastic hood on a working camera is a practical tool, not just an optical one.
My Take: The Spreadsheet Case for Lens Hoods
I’ve tested a lot of budget lenses, and the one thing I’ve noticed is that cheaper lenses tend to suffer more from flare because the coatings are less sophisticated. That makes the lens hood even more important on budget glass, not less. If you’re shooting with an affordable kit lens or a sub-$200 prime, a lens hood isn’t optional, it’s part of making that lens perform at its ceiling.
If your lens didn’t come with a hood, search for the exact model name plus “lens hood” and check the thread size in the lens specs. Aftermarket options almost always work fine. It’s one of the few accessories where I’d say the cheap version performs identically to the expensive version in real-world use.
The single most actionable thing from this tutorial: put the lens hood on before every outdoor shoot, especially when you’re working anywhere near a bright light source. It costs nothing once you have it, takes three seconds, and it’s the difference between an image that holds up and one that looks defeated before you even open it in editing.
Watch the full tutorial on YouTube to see Carl demonstrate the before-and-after comparison in real field conditions.
Comments (5)
Simple but effective. Sometimes that's all you need.
Been doing this wrong for years apparently. Thanks for the wake-up call.
Really solid breakdown. This pairs perfectly with the lighting work I've been writing about.
Bookmarked. Coming back to this one for sure.
Love this. I referenced a similar technique in one of my recent posts. Always good to see other perspectives.
Leave a Comment