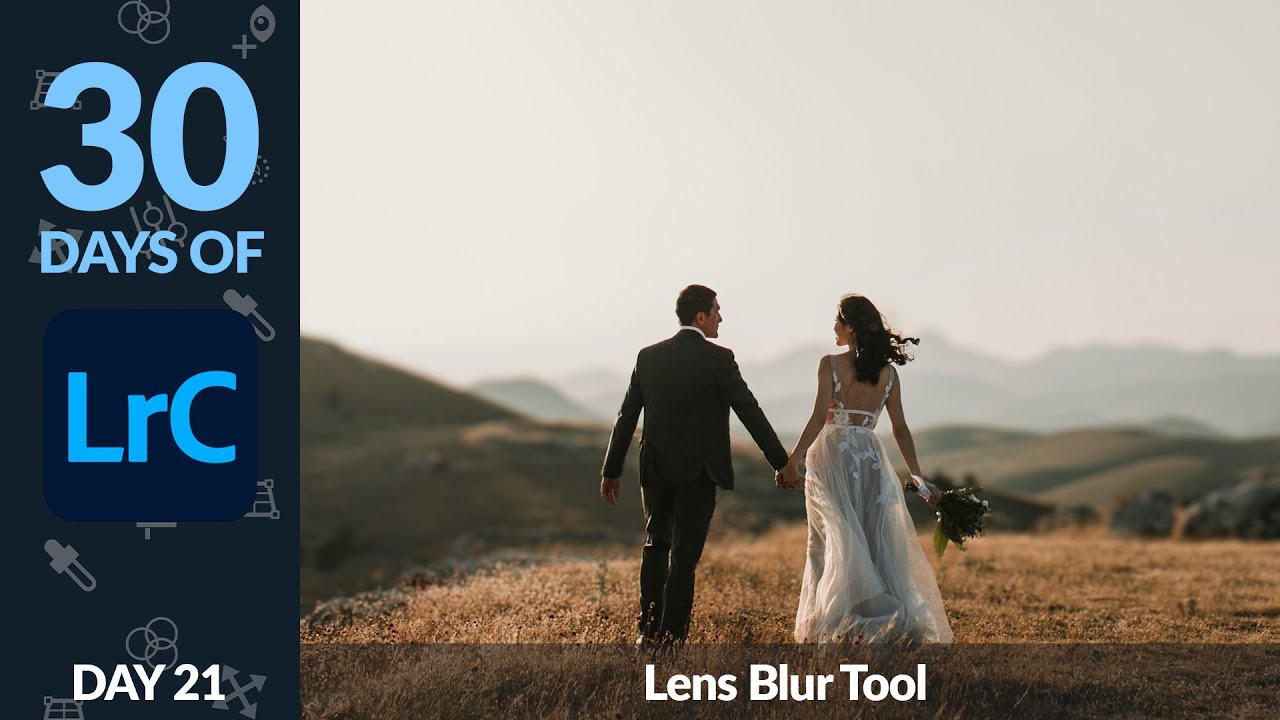
One of the most consistent complaints I hear from photographers shooting budget glass is that their backgrounds never separate the way they want. You nail the shot, exposure is clean, subjects are sharp — but everything reads flat because your kit lens stopped down at f/5.6 couldn’t give you that background separation. Buying a faster lens fixes it, sure, but a decent f/1.8 prime still costs money, and if you’re working with a phone shot or a JPEG from a client, you can’t go back and reshoot it. That’s the exact problem Lightroom’s Lens Blur feature was built to solve, and in this Aaron Nace (PHLEARN) tutorial, the whole tool gets laid out in a way that’s genuinely useful.
I’ll be honest — when Adobe first dropped this feature I was skeptical. “AI blur” tools have a reputation for looking like someone smeared Vaseline on the background in Photoshop circa 2009. But after watching Aaron walk through it and testing it myself on a few wide-angle shots that felt too flat, I’m converted. The results sit comfortably in the “subtle and believable” zone when you use it right. Here’s how to actually do it.
Step 1: Crop and Set Up Your Image First
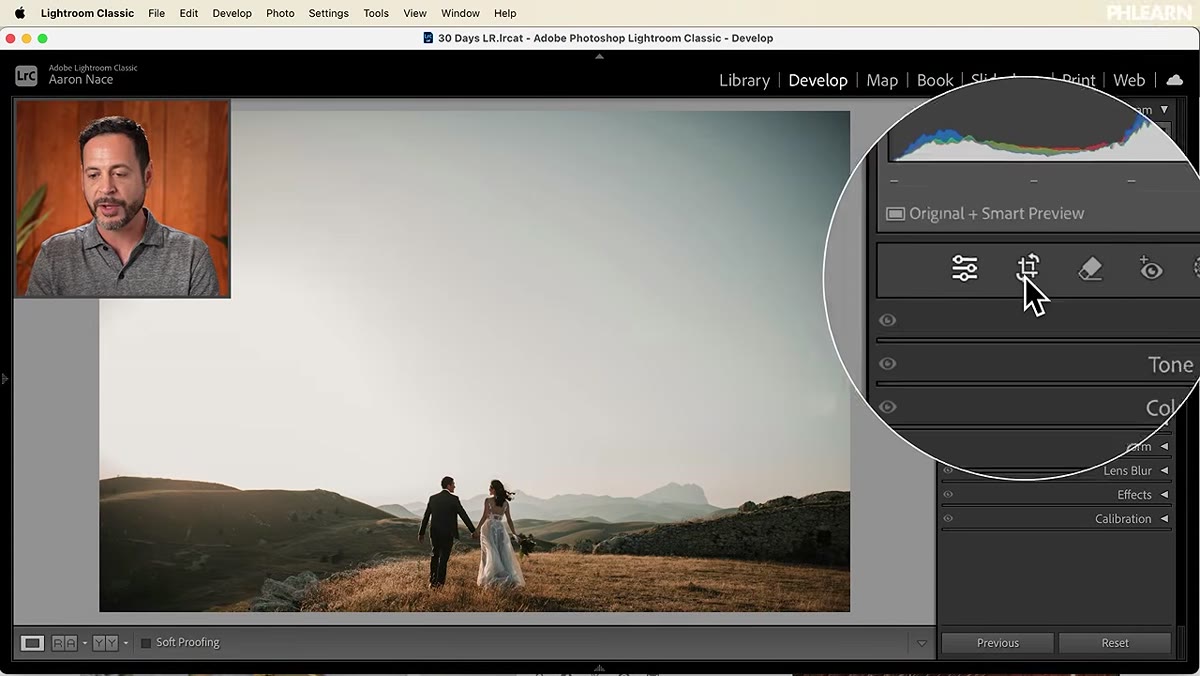 Wide angle photo open in Lightroom Develop module
Before you touch the Lens Blur panel, get your composition locked. Aaron starts by cropping his wide-angle shot to cut dead space at the top and tighten the framing around the subjects. This matters because Lens Blur’s subject detection works better when your subjects actually fill more of the frame. Use the Crop tool in the Develop module, hold Shift to lock the aspect ratio, and make your adjustments before applying any blur. Trying to crop after the fact can create weird edge artifacts in the blur mask.
Step 2: Open the Lens Blur Panel and Hit Apply
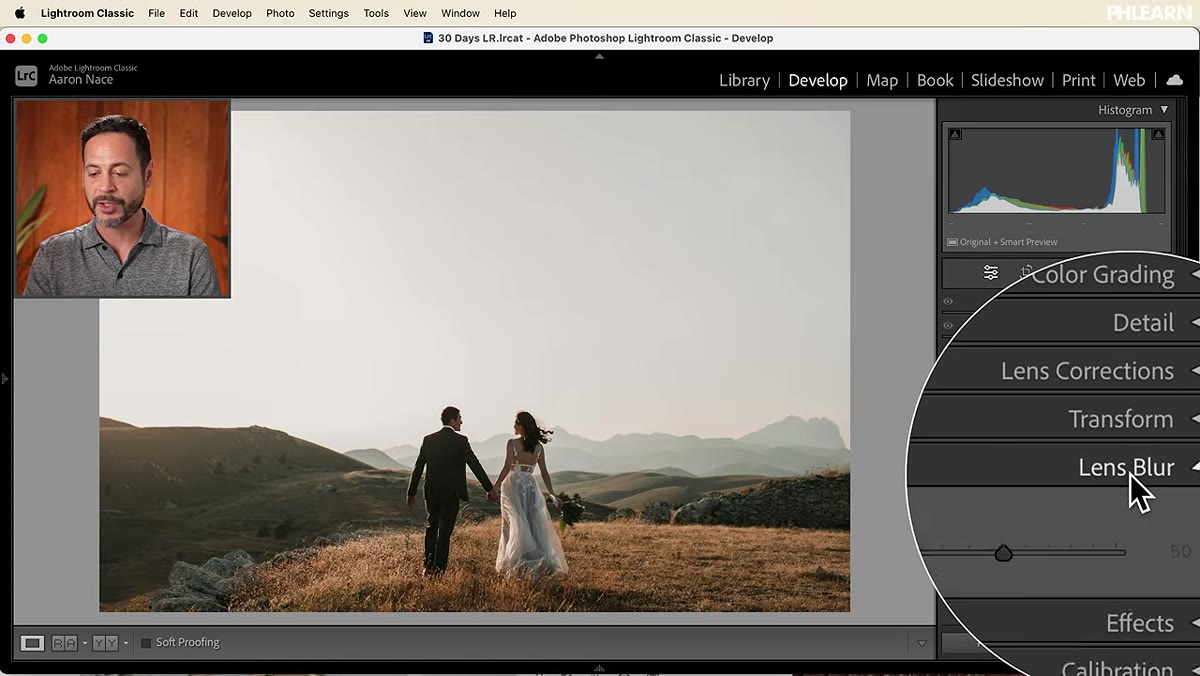 Lens Blur panel open on right side of Develop module
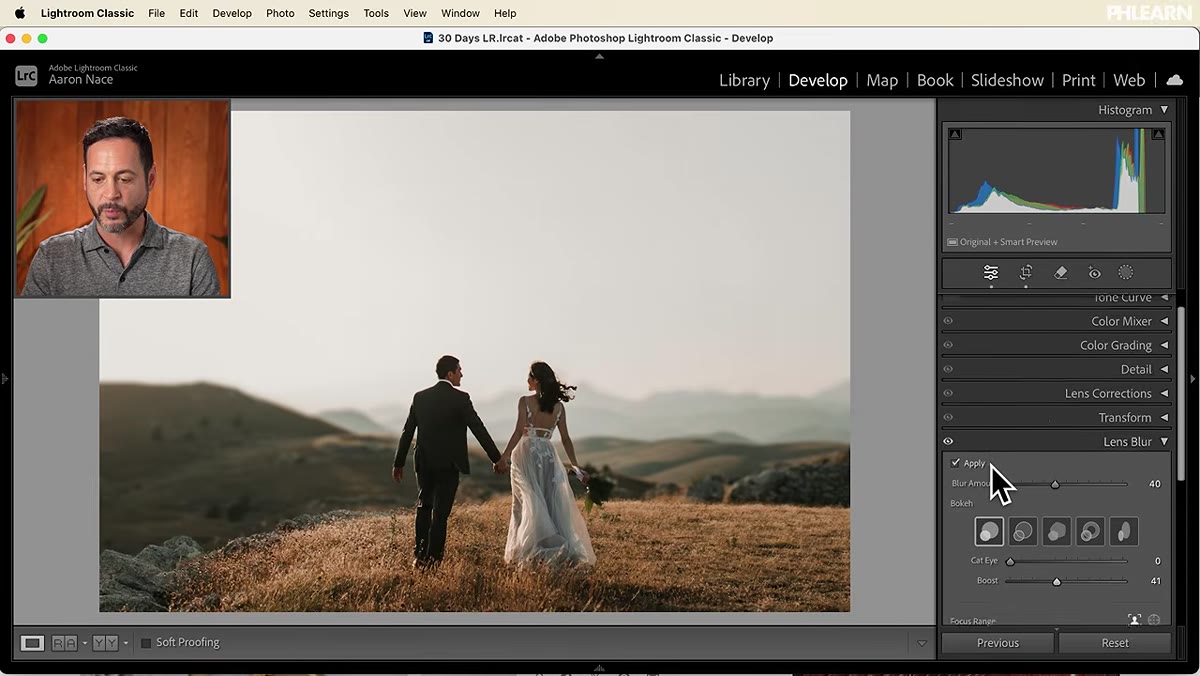
In the Develop module, scroll down the right-hand panel until you find Lens Blur. Click to expand it, then hit the Apply button. That’s it. Lightroom’s AI immediately analyzes the image, identifies the subject, and blurs everything behind them. The first time you see this work on a real image it’s a little disorienting — the tool does in two seconds what used to take a careful Photoshop masking session. Click Apply a second time to toggle between before and after so you can see exactly what changed.
Step 3: Dial in the Blur Amount Without Going Overboard
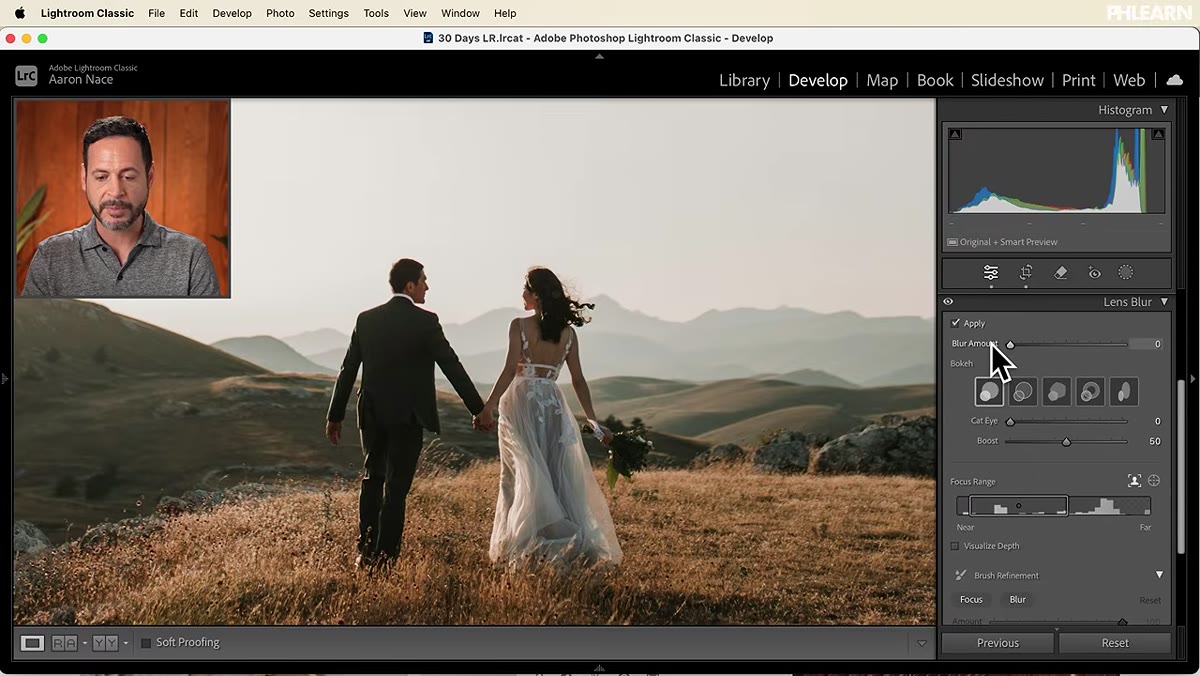 Blur Amount slider being adjusted in Lens Blur panel
The Blur Amount slider is the one setting that will make or break whether this looks real or ridiculous. Drag it too far right and the background turns into the kind of mush that screams “edited.” Aaron’s advice is to aim for the middle range — enough blur to separate the subject cleanly, but not so much that your background looks like a watercolor accident. Think of it this way: you’re trying to simulate f/2.0, not f/0.5. A little restraint goes a long way here. I typically set it around 40-60 and then evaluate at full zoom.
Step 4: Choose Your Bokeh Shape
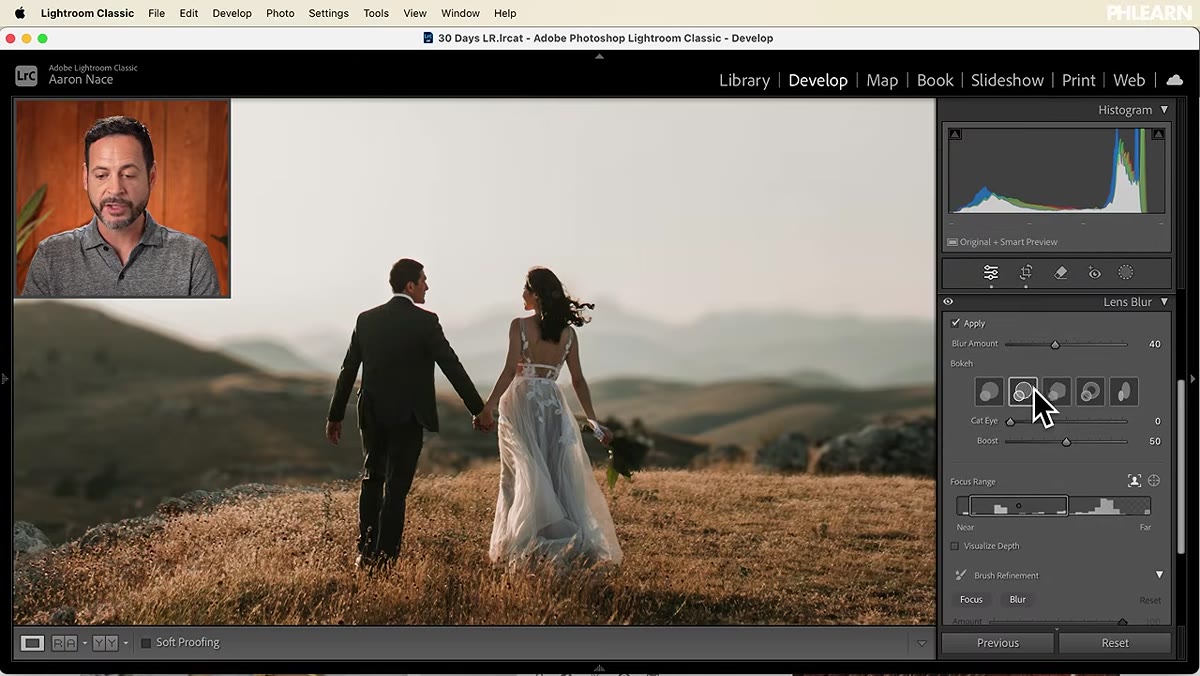 Bokeh shape options displayed in Lens Blur panel
Below the blur slider you’ll see a row of bokeh shape options. These control how out-of-focus highlight points are rendered — the little circles of light that appear in backgrounds with specular highlights like sunlight through leaves or streetlights. The shapes range from circular to more complex forms, and one option adds a “cat eye” effect that creates oval-shaped bokeh toward the edges of the frame, mimicking how fast lenses actually render at wider apertures. None of these options is wrong, it’s purely aesthetic preference. If your background doesn’t have many specular highlights, this setting won’t change much.
Step 5: Boost Highlights If Needed
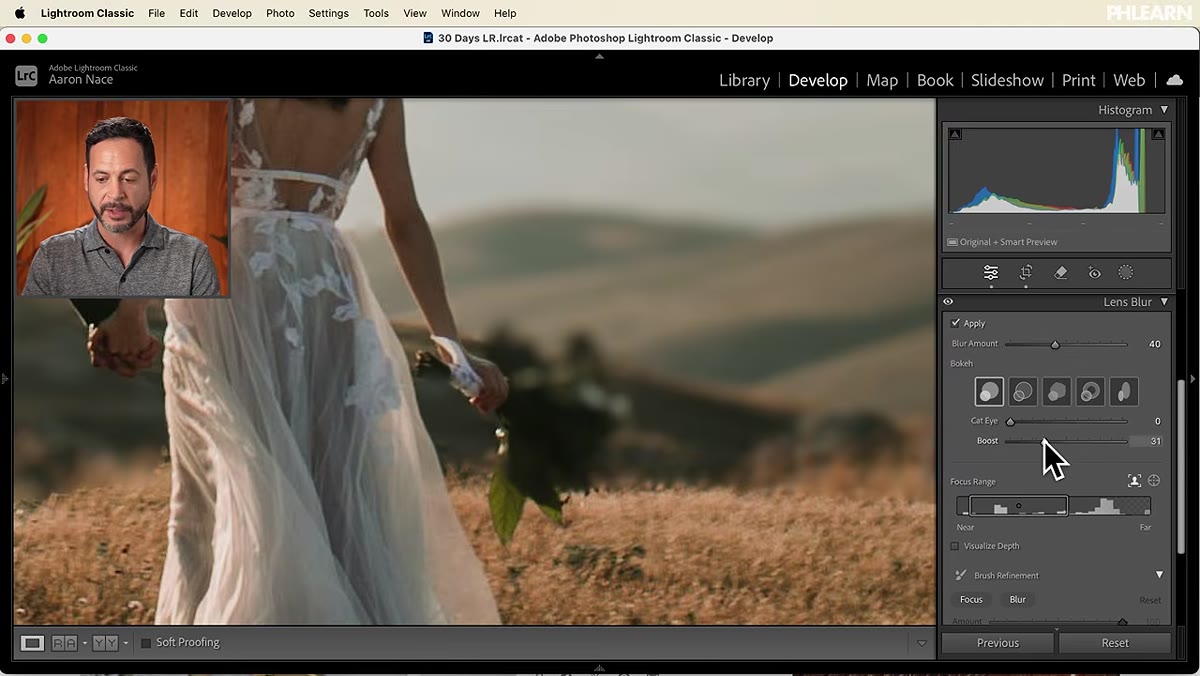 Boost slider highlighted in the Lens Blur panel
The Boost slider pushes the brightness of out-of-focus highlights, making them pop more visibly in the blur. On images with strong catchlights or reflective backgrounds, this can add a nice glow to the bokeh. On images with flat, low-contrast backgrounds, you probably won’t notice any difference at all. Aaron’s sample image doesn’t have strong enough highlights for the Boost to do much, so he moves on quickly. Don’t overthink this one — toggle it and trust your eyes.
Step 6: Use the Focus Range Tool to Tell Lightroom What to Keep Sharp
 Focus Range selector being dragged over subjects in image
This is the step most people skip, and it’s the one that actually makes the tool precise. By default, Lightroom guesses what your subject is. But if it gets it wrong — or if you’re working with an image where the depth cues aren’t obvious — you can take manual control using the Focus Range tool. Find the small icon inside the Lens Blur panel (it looks like a selector target) and click it. Then click and drag directly over the area you want to stay sharp. Lightroom reads the depth information embedded in the image and snaps the focus range to match your selection. On wide-angle shots where everything is technically “in focus,” this is how you force Lightroom to understand what should stay sharp and what should go soft.
My Caveat: This Tool Has a Sweet Spot By Image Type
I’ve tested Lens Blur across a pretty wide range of images at this point — RAW files from mirrorless cameras, JPEGs from a client’s phone, even some older DSLR shots. The results are not equal across all of them. Images shot on a longer focal length with some natural background separation to begin with respond best. The AI has real depth cues to work with and the result looks convincing. Images shot on a wide-angle lens at f/8 where the background is genuinely sharp all the way through? Lightroom is essentially generating fake depth from nothing, and on complex backgrounds with lots of fine detail — think tree branches, chain-link fences, anything with hard edges — the masking can get a little rough around the subject outline. It’s worth zooming in to 100% to check the subject edges before you call a shot done. A quick trip into Masking to refine the subject selection can clean that up if needed.
The bottom line: Lens Blur in Lightroom is a legitimate tool, not a gimmick. For photographers who can’t always control their depth of field at capture — whether that’s because of lens limitations, phone photography, or client-submitted images — it closes a real gap. Keep the blur amount subtle, use the manual focus selection when the AI needs help, and check your edges on complex backgrounds.
Watch the full tutorial on YouTube to see Aaron walk through each setting in real time — seeing the before-and-after toggle in motion makes the blur amount calibration a lot easier to understand.
Comments (2)
I've watched a dozen tutorials on this and yours is the clearest by far.
Excellent tutorial. I'd add that from a workflows standpoint, this technique is incredibly versatile.
Leave a Comment