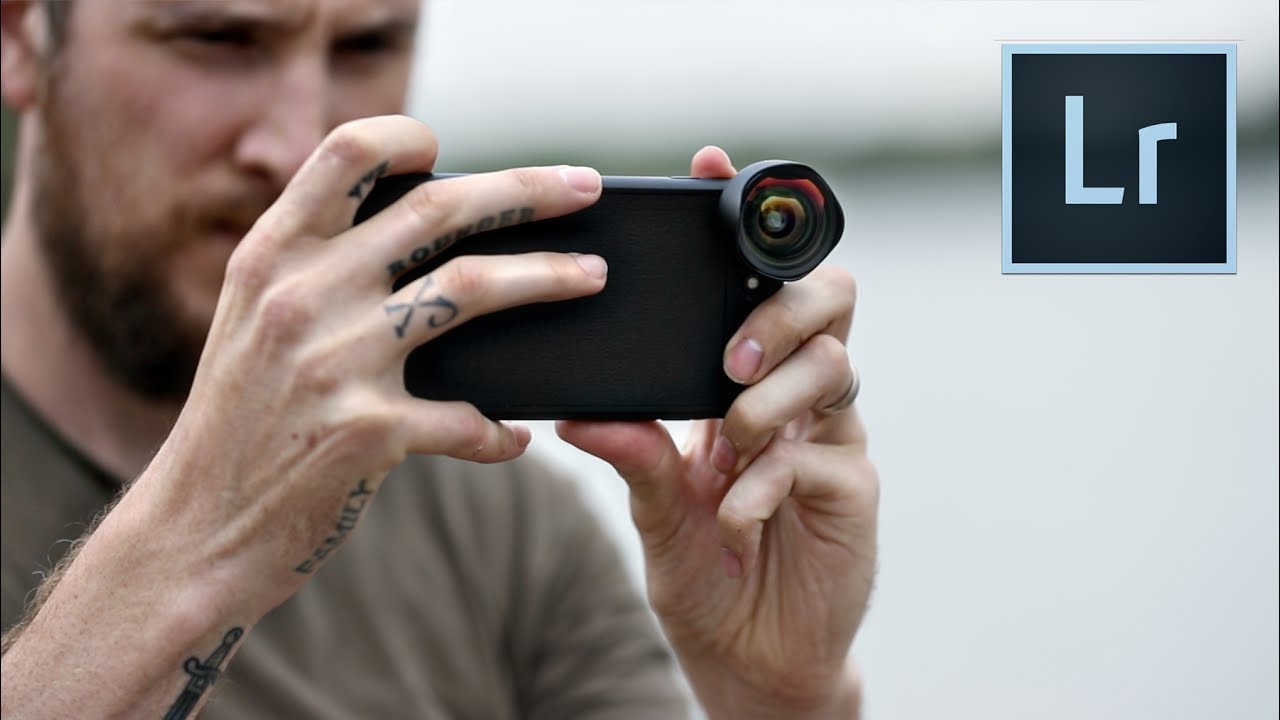
There’s a version of me that hauls a full kit everywhere. Spare body, three lenses, a filter wallet, the works. Then there’s the version of me that grabs his phone off the nightstand and walks out the door in under two minutes. For a long time I thought those two versions of me had nothing to talk about. Mobile photography felt like a compromise, not a tool. That changed when I started paying attention to what serious shooters were actually doing with their phones, not just the casual snappers.
In this Peter McKinnon tutorial on mobile photography, he runs through the hardware he’s been testing, the apps he’s editing with, and whether the whole category is even worth engaging with seriously. Watch the full tutorial on YouTube before or after reading this. McKinnon doesn’t chase hype, and this video is a good example of that. He came in skeptical, stayed honest, and landed somewhere genuinely useful. My job here is to pull out the actionable pieces and add what I’ve learned from testing this category myself.
Step 1: Reset Your Expectations Before You Buy Anything
 Peter holding Moment lens up to camera, examining glass element
McKinnon opens with something I wish more gear reviewers would say upfront: adding a lens to your phone does not change your image sensor. You are not getting more megapixels. You are not magically upgrading the computational photography pipeline your phone already runs. What you are getting is a different focal length option, which is genuinely useful but is not a miracle. Go in with that understanding and you will not be disappointed. Go in expecting a DSLR replacement and you will resell it within a month.
Peter holding Moment lens up to camera, examining glass element
McKinnon opens with something I wish more gear reviewers would say upfront: adding a lens to your phone does not change your image sensor. You are not getting more megapixels. You are not magically upgrading the computational photography pipeline your phone already runs. What you are getting is a different focal length option, which is genuinely useful but is not a miracle. Go in with that understanding and you will not be disappointed. Go in expecting a DSLR replacement and you will resell it within a month.
The practical takeaway here is to ask yourself what problem you are actually trying to solve before spending anything. If the answer is “I want to shoot wider or tighter than my phone’s fixed lenses allow,” that is a real problem with a real solution. If the answer is “I want my phone to take professional camera photos,” no lens attachment fixes that.
Step 2: Understand the Moment Lens System and How It Mounts
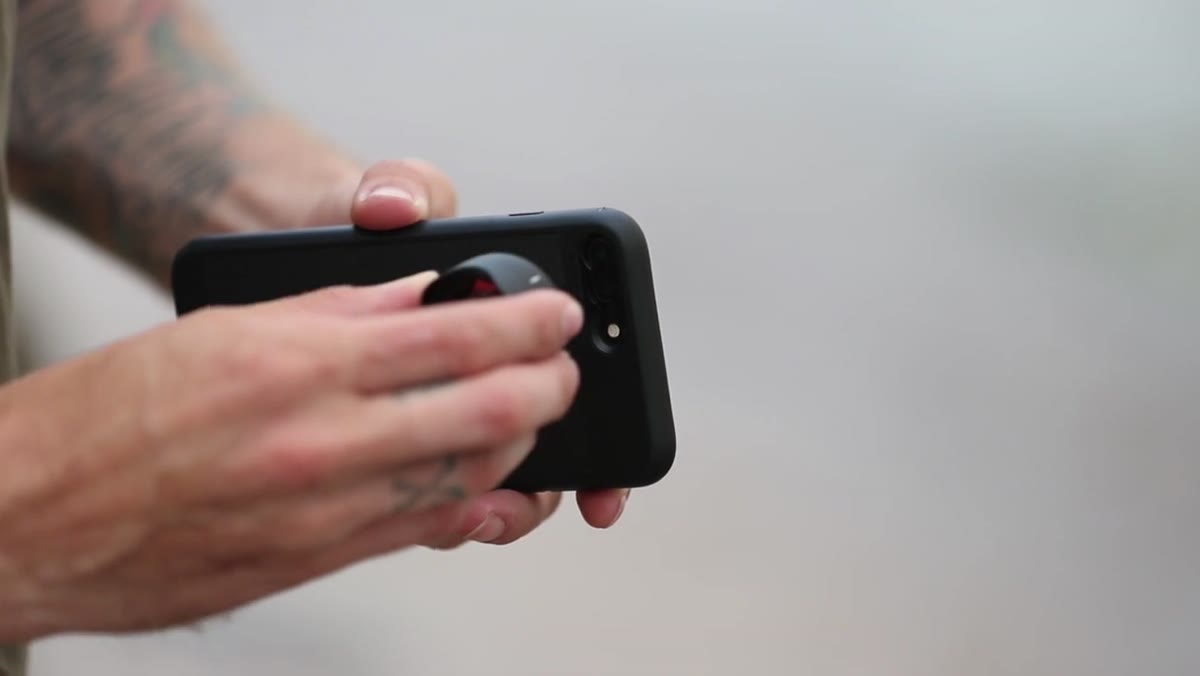 Moment lens being twisted onto phone case mount, alignment lines visible
The Moment lens lineup covered in the video includes an 18mm wide, a fisheye, a telephoto, and a macro. The system requires a Moment-specific case on your phone. That case has a mounting bay built into the corner, and you attach the lens by lining up two indicator marks and twisting until it locks. It takes about three seconds once you have done it once. The elegance of the system is that the case stays on your phone full time, so the lens is always one twist away, not buried in a bag somewhere.
Moment lens being twisted onto phone case mount, alignment lines visible
The Moment lens lineup covered in the video includes an 18mm wide, a fisheye, a telephoto, and a macro. The system requires a Moment-specific case on your phone. That case has a mounting bay built into the corner, and you attach the lens by lining up two indicator marks and twisting until it locks. It takes about three seconds once you have done it once. The elegance of the system is that the case stays on your phone full time, so the lens is always one twist away, not buried in a bag somewhere.
This is the part that matters most for everyday use. A lens attachment you have to dig out and fumble with is a lens attachment you will stop using. The low-friction mount is not a marketing point, it is a workflow point. I have tested cheaper clip-on lenses that take longer to align than the shot takes to disappear.
Step 3: Know Who These Lenses Are Actually For
 Peter showing compact lens next to phone for size comparison
McKinnon makes a distinction here that I think is underappreciated. He identifies two different audiences who both benefit from mobile lens systems, and they are not the same person. The first is someone who is curious about photography but not ready to commit to a mirrorless or DSLR system. For that person, Moment lenses offer a way to experiment with focal lengths and composition decisions without a major investment. That is legitimate.
Peter showing compact lens next to phone for size comparison
McKinnon makes a distinction here that I think is underappreciated. He identifies two different audiences who both benefit from mobile lens systems, and they are not the same person. The first is someone who is curious about photography but not ready to commit to a mirrorless or DSLR system. For that person, Moment lenses offer a way to experiment with focal lengths and composition decisions without a major investment. That is legitimate.
The second audience is working photographers who already own serious cameras but want to leave the house without their kit some days. This is also legitimate, and honestly it is the use case I relate to more. There are days when bringing a camera bag means I do not go, and not going means no photos at all. A phone with a wide lens in my pocket beats a camera at home every time.
Step 4: Use Lightroom Mobile as Your Primary Shooting and Editing App
 Lightroom mobile app open on phone, camera interface visible
This is the part of McKinnon’s video that has the most practical weight for everyday shooters. He has shifted to using Adobe Lightroom Mobile not just for editing but for actually capturing photos. The app gives you manual control over shutter speed, ISO, and white balance directly from the capture interface, which the native camera app on most phones does not expose cleanly.
Lightroom mobile app open on phone, camera interface visible
This is the part of McKinnon’s video that has the most practical weight for everyday shooters. He has shifted to using Adobe Lightroom Mobile not just for editing but for actually capturing photos. The app gives you manual control over shutter speed, ISO, and white balance directly from the capture interface, which the native camera app on most phones does not expose cleanly.
More importantly, Lightroom Mobile can shoot in DNG format, which is a raw file. That means you are capturing more tonal information than a compressed JPEG, and when you go to edit, you have real latitude to recover highlights, lift shadows, and adjust white balance without the image falling apart. If you have been editing phone photos in the native gallery app and wondering why the results look plasticky, the format you shot in is likely part of the problem.
Step 5: Edit Within Lightroom Mobile Rather Than Switching Apps
 Lightroom mobile edit panel showing sliders for exposure and color
Because you captured in Lightroom, your edits live in the same place. McKinnon does not advocate for a complicated multi-app workflow, and neither do I. The Lightroom Mobile editing tools are deep enough for serious work. Tone curves, HSL color controls, selective adjustments, and sync across devices if you have a Creative Cloud subscription. The tools you use on your desktop Lightroom catalog work the same way here.
Lightroom mobile edit panel showing sliders for exposure and color
Because you captured in Lightroom, your edits live in the same place. McKinnon does not advocate for a complicated multi-app workflow, and neither do I. The Lightroom Mobile editing tools are deep enough for serious work. Tone curves, HSL color controls, selective adjustments, and sync across devices if you have a Creative Cloud subscription. The tools you use on your desktop Lightroom catalog work the same way here.
One thing worth noting: you do not need a paid subscription to access the core camera and editing features in Lightroom Mobile. Adobe has kept the free tier functional enough for this kind of workflow. The paid tier adds things like healing brushes and geometry correction, which are useful but not essential if you are just getting started.
My Take: The Budget Case for Going This Route
I have tested a lot of clip-on lenses in the under-twenty-dollar range. Most of them are optically soft at the edges, vignette aggressively, and fall off the phone if you look at them wrong. The Moment system sits at a higher price point for a reason. But here is the thing I keep coming back to: the lens is only half the equation. I have seen phone shots taken with a stock camera app and a cheap clip-on that looked worse than shots taken with no lens at all but shot raw in Lightroom Mobile and edited carefully. The app and the file format do more heavy lifting than most people realize.
If you are trying to decide where to spend money first, spend it on a Lightroom subscription before you spend it on glass. Learn what you can do with raw files from the camera you already have in your pocket. Then, if you find yourself wishing for wider or tighter options, the Moment system is worth the investment because the build quality is there.
The single most important thing McKinnon demonstrates in this tutorial is not a specific lens or app. It is the mindset that mobile photography is a legitimate creative tool with real constraints, and that working within those constraints intentionally produces better results than pretending they do not exist. Shoot raw, edit deliberately, and use glass that is actually worth attaching.
Watch the full tutorial on YouTube to see the actual sample shots and hear McKinnon’s full breakdown of how each lens performs in real conditions.
Comments
Leave a Comment