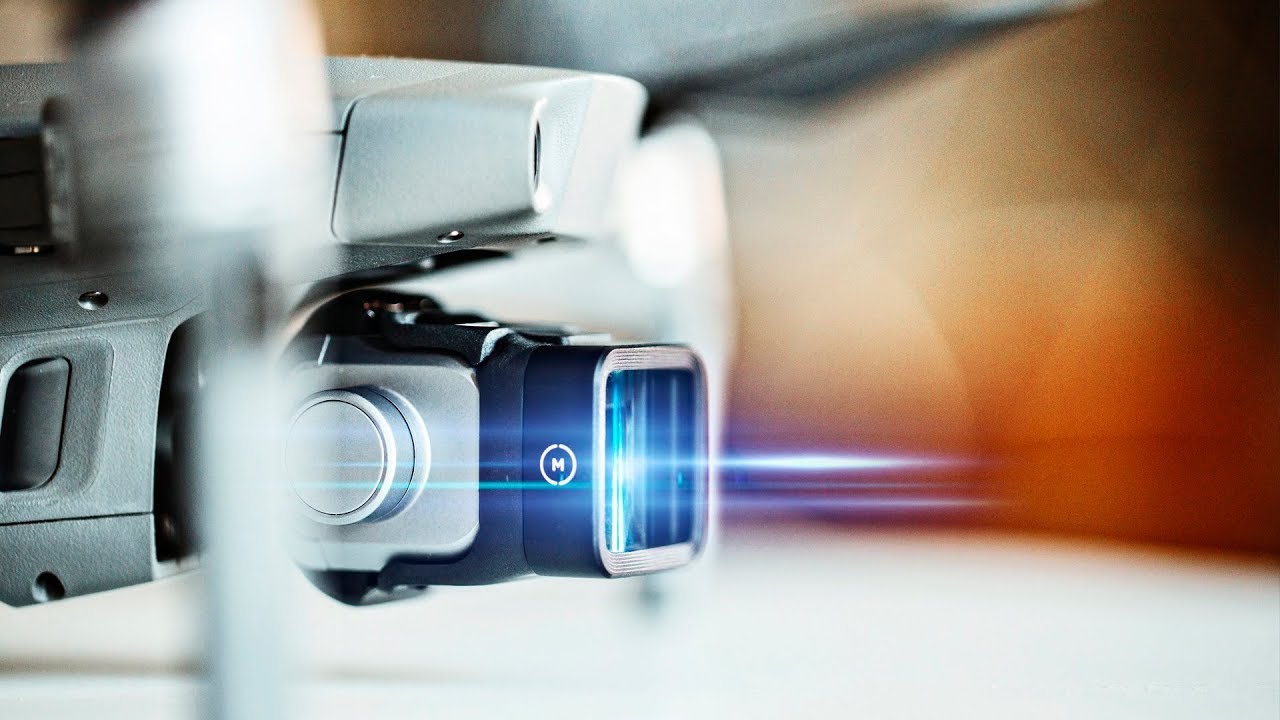
Drone footage has a sameness problem. I noticed it a while back when I was cutting a short travel piece and kept cycling through clip after clip of the same top-down reveal, the same slow dolly-forward, the same color-graded sky. The shots were technically clean. They were also completely forgettable. Regulations have pushed everyone into similar flight envelopes, and when everyone’s working with the same restrictions and the same default wide angle, the footage starts to blur together. Drone shots have been commodified, as Peter McKinnon puts it bluntly in his video on the Moment anamorphic drone lens.
In this Peter McKinnon tutorial, Watch the full tutorial on YouTube, he walks through what Moment’s anamorphic lens actually does to drone footage, how it was tested in real conditions, and how to handle the footage in post. I’ve been following Moment’s lens lineup since their first mobile anamorphic dropped, and I’ll say this: the drone application caught me off guard in a good way. Here’s a full breakdown of the technique so you can follow along without pausing the video every thirty seconds.
Step 1: Understand What Anamorphic Actually Does to Your Image
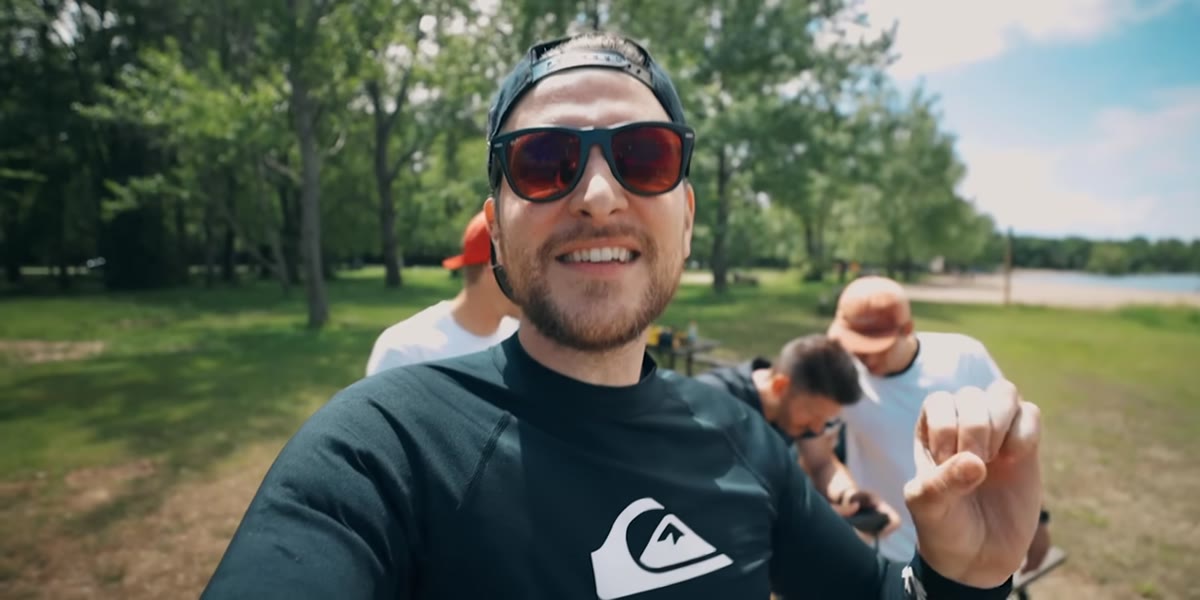
 Peter explaining anamorphic highlights and lens flares
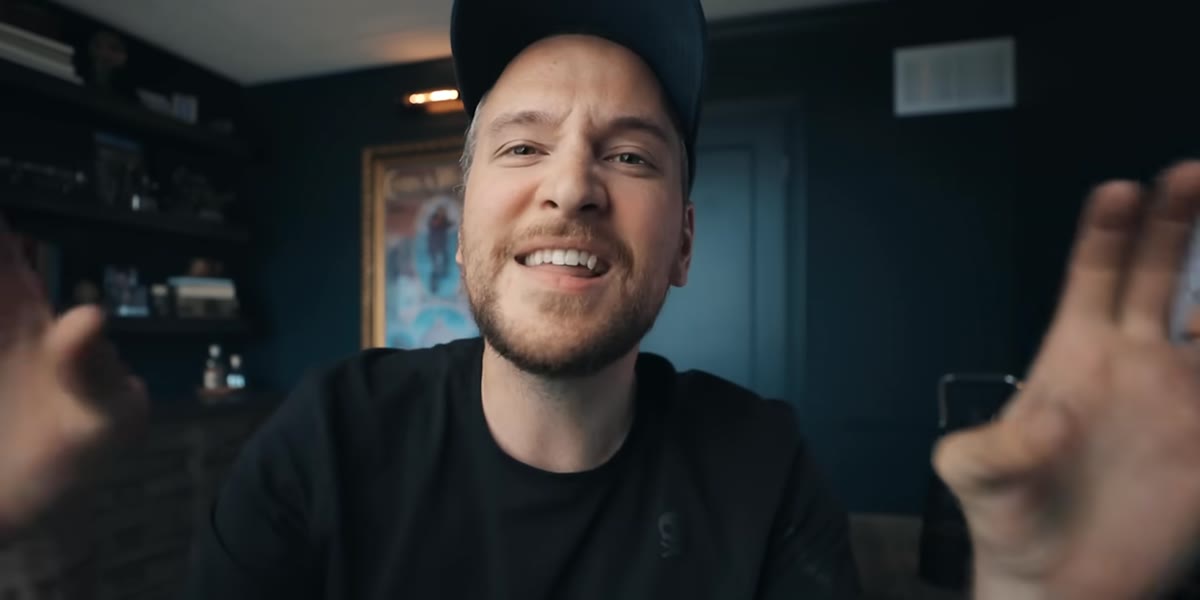
Anamorphic glass compresses the horizontal field of view during capture, which produces two signature results: wide cinematic aspect ratios when the image is de-squeezed, and those distinctive horizontal lens flares that spread light across the frame. This is not a filter effect or a LUT trick applied in post. It happens optically, at the lens, which means the flares respond naturally to light sources in your scene. For drone footage specifically, this matters because you’re often shooting toward open sky, bodies of water, or low sun, all of which become flare opportunities instead of exposure headaches. The anamorphic lens turns a challenging lighting situation into a visual asset.
Peter explaining anamorphic highlights and lens flares
Anamorphic glass compresses the horizontal field of view during capture, which produces two signature results: wide cinematic aspect ratios when the image is de-squeezed, and those distinctive horizontal lens flares that spread light across the frame. This is not a filter effect or a LUT trick applied in post. It happens optically, at the lens, which means the flares respond naturally to light sources in your scene. For drone footage specifically, this matters because you’re often shooting toward open sky, bodies of water, or low sun, all of which become flare opportunities instead of exposure headaches. The anamorphic lens turns a challenging lighting situation into a visual asset.
Step 2: Attach the Moment Lens to Your Drone Payload
 Drone with Moment anamorphic lens attached flying over water
Moment designed this lens specifically for drone use, which means the mounting system accounts for weight and aerodynamic balance, two things that matter a lot when you’re bolting glass onto something flying at altitude. When McKinnon’s team tested it, they were shooting over open water with a jet ski subject below, and the rig handled that kind of dynamic, fast-moving shoot without issue. Before your first flight, confirm the lens is seated and locked correctly. Any play in the mount will show up as micro-vibration in the footage, and that kind of artifact is almost impossible to fix cleanly in post. Check the fit on the ground, hover for thirty seconds, and review a clip before committing to a full flight.
Drone with Moment anamorphic lens attached flying over water
Moment designed this lens specifically for drone use, which means the mounting system accounts for weight and aerodynamic balance, two things that matter a lot when you’re bolting glass onto something flying at altitude. When McKinnon’s team tested it, they were shooting over open water with a jet ski subject below, and the rig handled that kind of dynamic, fast-moving shoot without issue. Before your first flight, confirm the lens is seated and locked correctly. Any play in the mount will show up as micro-vibration in the footage, and that kind of artifact is almost impossible to fix cleanly in post. Check the fit on the ground, hover for thirty seconds, and review a clip before committing to a full flight.
Step 3: Compose for the De-Squeezed Frame, Not the Monitor
 Drone footage looking narrow and compressed on monitor before de-squeeze
This is the part that trips up most first-time anamorphic shooters. When you’re looking at your live feed or reviewing in-camera footage, the image appears narrower and slightly distorted. It hasn’t been de-squeezed yet, so what you see is not what your final frame will look like. You have to mentally account for the horizontal stretch that happens in post. McKinnon flags this specifically: the footage looks confusing on the monitor while you’re shooting it. The practical fix is to overshoot your subject placement a little toward the center of frame, and trust that the de-squeeze will restore the natural proportions. Some apps and monitors support anamorphic preview modes, which is worth investigating before a high-stakes shoot.
Drone footage looking narrow and compressed on monitor before de-squeeze
This is the part that trips up most first-time anamorphic shooters. When you’re looking at your live feed or reviewing in-camera footage, the image appears narrower and slightly distorted. It hasn’t been de-squeezed yet, so what you see is not what your final frame will look like. You have to mentally account for the horizontal stretch that happens in post. McKinnon flags this specifically: the footage looks confusing on the monitor while you’re shooting it. The practical fix is to overshoot your subject placement a little toward the center of frame, and trust that the de-squeeze will restore the natural proportions. Some apps and monitors support anamorphic preview modes, which is worth investigating before a high-stakes shoot.
Step 4: Expose for Highlights, Not Midtones
 Anamorphic footage with wide sky and water, rich highlight detail
Anamorphic lenses are at their best when there’s real light in the frame. The flares and the way highlights bloom and roll off are what make the format distinctive, and if you crush your exposure to protect the sky, you lose exactly what makes the lens interesting. When shooting drone footage with an anamorphic attachment, dial down your exposure compensation slightly and protect the brightest parts of your image. Shoot in a log or flat profile if your drone camera supports it. You want latitude in post to recover shadows rather than fighting blown highlights that carry your flares. The Iceland footage McKinnon rolls in the tutorial, shot on black sand beaches with glowing suits in the dark, is a good reference for how much visual drama this format can pull from a scene with strong practical light sources.
Anamorphic footage with wide sky and water, rich highlight detail
Anamorphic lenses are at their best when there’s real light in the frame. The flares and the way highlights bloom and roll off are what make the format distinctive, and if you crush your exposure to protect the sky, you lose exactly what makes the lens interesting. When shooting drone footage with an anamorphic attachment, dial down your exposure compensation slightly and protect the brightest parts of your image. Shoot in a log or flat profile if your drone camera supports it. You want latitude in post to recover shadows rather than fighting blown highlights that carry your flares. The Iceland footage McKinnon rolls in the tutorial, shot on black sand beaches with glowing suits in the dark, is a good reference for how much visual drama this format can pull from a scene with strong practical light sources.
Step 5: Import and De-Squeeze in Premiere Pro
 Right-click modify menu in Premiere Pro showing anamorphic de-squeeze option
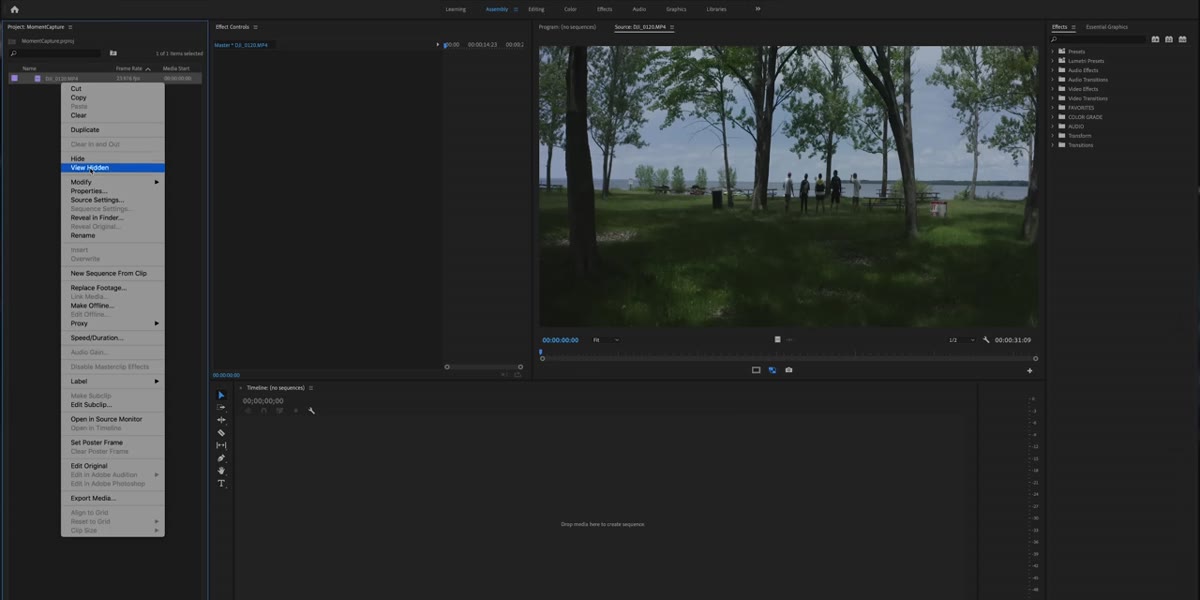
Once your footage is in Premiere Pro, right-click your clip in the project panel, select Modify, and look for the pixel aspect ratio option. Change it to the anamorphic setting. When you drag that clip to the timeline, Premiere applies the de-squeeze automatically and the footage snaps into the wide cinematic ratio you were visualizing when you shot it. This is a non-destructive change, so if you applied the wrong setting you can go back and fix it without re-importing. Other NLEs handle this differently. DaVinci Resolve lets you set a project-level de-squeeze ratio, which is cleaner if you’re working with a lot of footage from one session.
Right-click modify menu in Premiere Pro showing anamorphic de-squeeze option
Once your footage is in Premiere Pro, right-click your clip in the project panel, select Modify, and look for the pixel aspect ratio option. Change it to the anamorphic setting. When you drag that clip to the timeline, Premiere applies the de-squeeze automatically and the footage snaps into the wide cinematic ratio you were visualizing when you shot it. This is a non-destructive change, so if you applied the wrong setting you can go back and fix it without re-importing. Other NLEs handle this differently. DaVinci Resolve lets you set a project-level de-squeeze ratio, which is cleaner if you’re working with a lot of footage from one session.
Step 6: Review for Flares and Color Grade to Lean Into the Look
 Finished cinematic drone footage with anamorphic lens flares visible
After de-squeezing, play through your footage specifically looking at how light sources are behaving. Anamorphic flares should appear as horizontal streaks, not circular blobs. If you’re seeing circular artifacts, something went wrong with the lens mount or exposure. Once you confirm the footage is clean, grade toward the look. Anamorphic glass tends to lift shadows slightly and reduce overall contrast compared to a standard spherical lens. Lean into that by keeping your blacks slightly lifted and letting the highlights breathe. Heavy contrast curves fight the format rather than working with it.
Finished cinematic drone footage with anamorphic lens flares visible
After de-squeezing, play through your footage specifically looking at how light sources are behaving. Anamorphic flares should appear as horizontal streaks, not circular blobs. If you’re seeing circular artifacts, something went wrong with the lens mount or exposure. Once you confirm the footage is clean, grade toward the look. Anamorphic glass tends to lift shadows slightly and reduce overall contrast compared to a standard spherical lens. Lean into that by keeping your blacks slightly lifted and letting the highlights breathe. Heavy contrast curves fight the format rather than working with it.
What I’d Add From My Own Testing
I haven’t shot with this specific Moment drone lens yet, but I’ve put their mobile anamorphic through a lot of situations and the lesson transfers directly: anamorphic rewards patience with light. You cannot manufacture the look in post, and a bad lighting situation does not get saved by the format. The single best thing you can do before attaching any anamorphic glass to your drone is scout your location for an hour in the same light conditions you plan to shoot in. Know where your sun is going to be. Know which direction your flares will streak. The Iceland footage in McKinnon’s video looks stunning not just because of the lens, but because someone thought hard about where to point the camera before the drone left the ground.
The real takeaway here is that the anamorphic drone lens is not a shortcut. It’s a creative commitment. Drone footage has been flattened by familiarity, and this is one of the more practical tools available right now to push past that sameness. If you’re serious about your drone work and want footage that actually reads differently, this format is worth learning properly.
Watch the full tutorial on YouTube to see the Iceland footage and the jet ski sequence in full resolution. They’re worth it.
Comments (4)
Just subscribed. If the rest of your content is this good, I'm in.
Bookmarked. Coming back to this one for sure.
Excellent tutorial. I'd add that from a retouching standpoint, this technique is incredibly versatile.
Tried this technique this morning. Game changer for real.
Leave a Comment