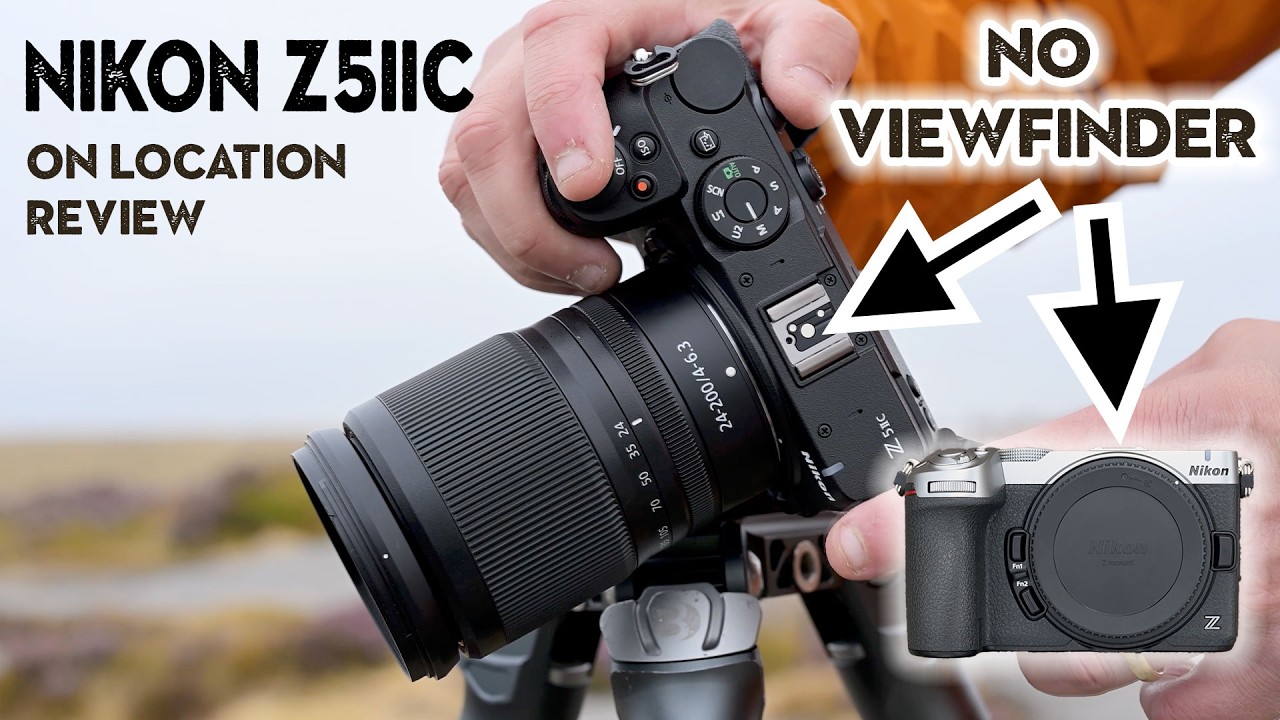
There’s a version of this conversation I’ve had a hundred times on photography forums: someone asks whether they should skip APS-C and go straight to full-frame, and half the thread tells them they’re crazy for even considering it at their level. I used to be skeptical too. I started with a $300 kit camera and shot a wedding that ended up in a local magazine, so I know firsthand that sensor size isn’t the whole story. But I also know that when the right full-frame body hits a price point that actually makes sense, it changes the math completely. That’s what caught my attention when I came across this Nikon Z5II C tutorial from Nigel Danson. Watch the full tutorial on YouTube
Danson takes the Z5II C out into the Peak District during heather season, compares it against his old Nikon D800, and shoots real landscape work with it. This isn’t a spec sheet reading. He’s making actual compositional decisions, talking through focus stacking, and being upfront about what got cut from this body to hit the entry-level price. That kind of honest field test is exactly what I look for before I write anything up. Here’s the full breakdown, step by step, of what he covers and how you can apply it.
Step 1: Understand Why Full-Frame Makes Sense at Entry Level
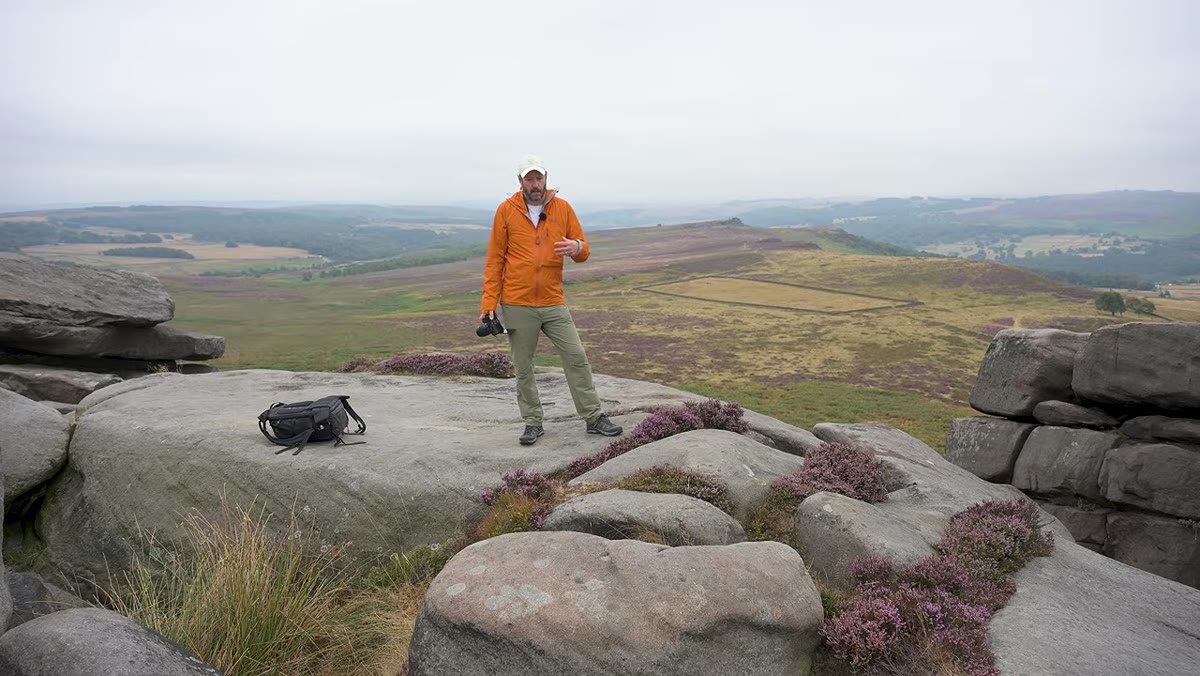 Danson explaining full-frame benefits while walking in heather field
The Z5II C is Nikon’s answer to the question: what do you give someone who wants full-frame quality without paying Z6 or Z8 money? Danson lays out three practical reasons to choose full-frame over crop sensor at this stage. First, low-light noise performance is noticeably better on a larger sensor. Second, dynamic range tends to be wider, which matters a lot when you’re shooting landscapes with blown skies or deep shadows. Third, for portrait and wildlife shooters, the shallower depth of field you get wide open is a creative tool that crop sensors just can’t replicate at the same focal lengths. He’s honest that full-frame isn’t necessarily the best choice for every landscape photographer, but for low-light work specifically, he shoots full-frame every time.
Danson explaining full-frame benefits while walking in heather field
The Z5II C is Nikon’s answer to the question: what do you give someone who wants full-frame quality without paying Z6 or Z8 money? Danson lays out three practical reasons to choose full-frame over crop sensor at this stage. First, low-light noise performance is noticeably better on a larger sensor. Second, dynamic range tends to be wider, which matters a lot when you’re shooting landscapes with blown skies or deep shadows. Third, for portrait and wildlife shooters, the shallower depth of field you get wide open is a creative tool that crop sensors just can’t replicate at the same focal lengths. He’s honest that full-frame isn’t necessarily the best choice for every landscape photographer, but for low-light work specifically, he shoots full-frame every time.
Step 2: Get Familiar With the Screenonly Design
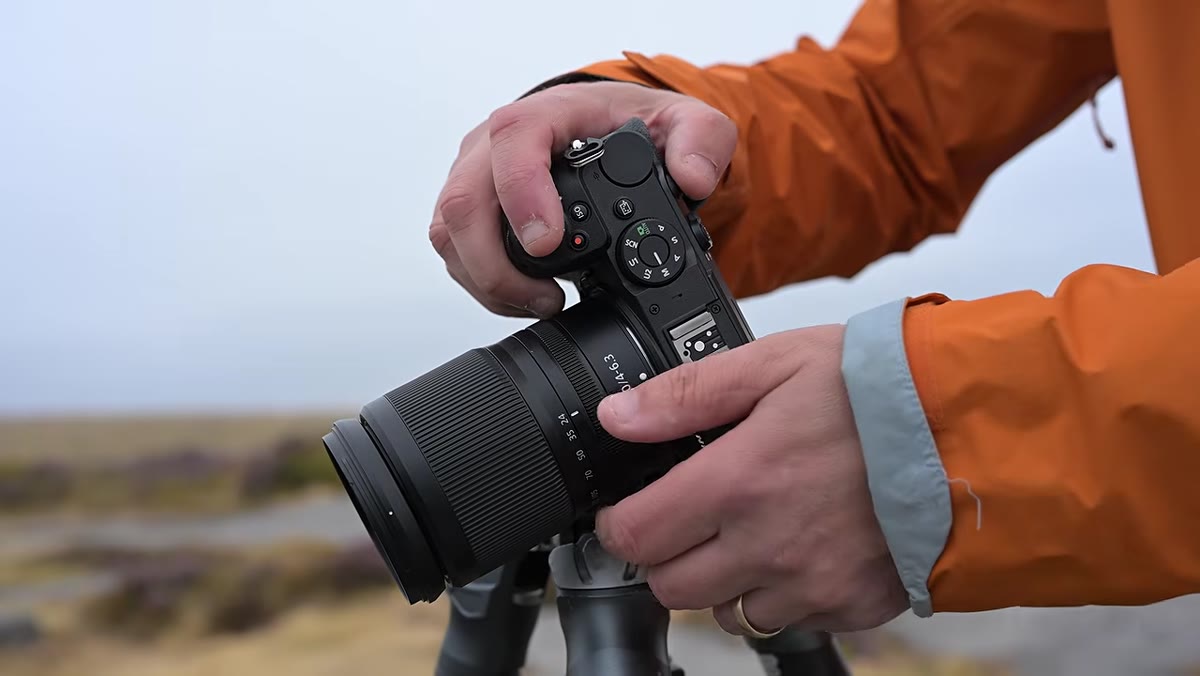 Camera body shown without viewfinder hump, screen visible
One of the first things Danson flags is that the Z5II C has no built-in viewfinder. There’s no hump on top, no eyepiece. Just a rear screen. For photographers coming from DSLRs or higher-end mirrorless bodies, this will feel like a downgrade. Danson’s take is more measured: he rarely uses the viewfinder on his Z8 either, especially for landscape work on a tripod where you’re composing off the screen anyway. The loss stings more for handheld street or wildlife shooting, where an EVF gives you stabilization against your face. Know your shooting style before you decide this is a dealbreaker.
Camera body shown without viewfinder hump, screen visible
One of the first things Danson flags is that the Z5II C has no built-in viewfinder. There’s no hump on top, no eyepiece. Just a rear screen. For photographers coming from DSLRs or higher-end mirrorless bodies, this will feel like a downgrade. Danson’s take is more measured: he rarely uses the viewfinder on his Z8 either, especially for landscape work on a tripod where you’re composing off the screen anyway. The loss stings more for handheld street or wildlife shooting, where an EVF gives you stabilization against your face. Know your shooting style before you decide this is a dealbreaker.
Step 3: Set Up Your Shooting Position and Use the Screen to Compose
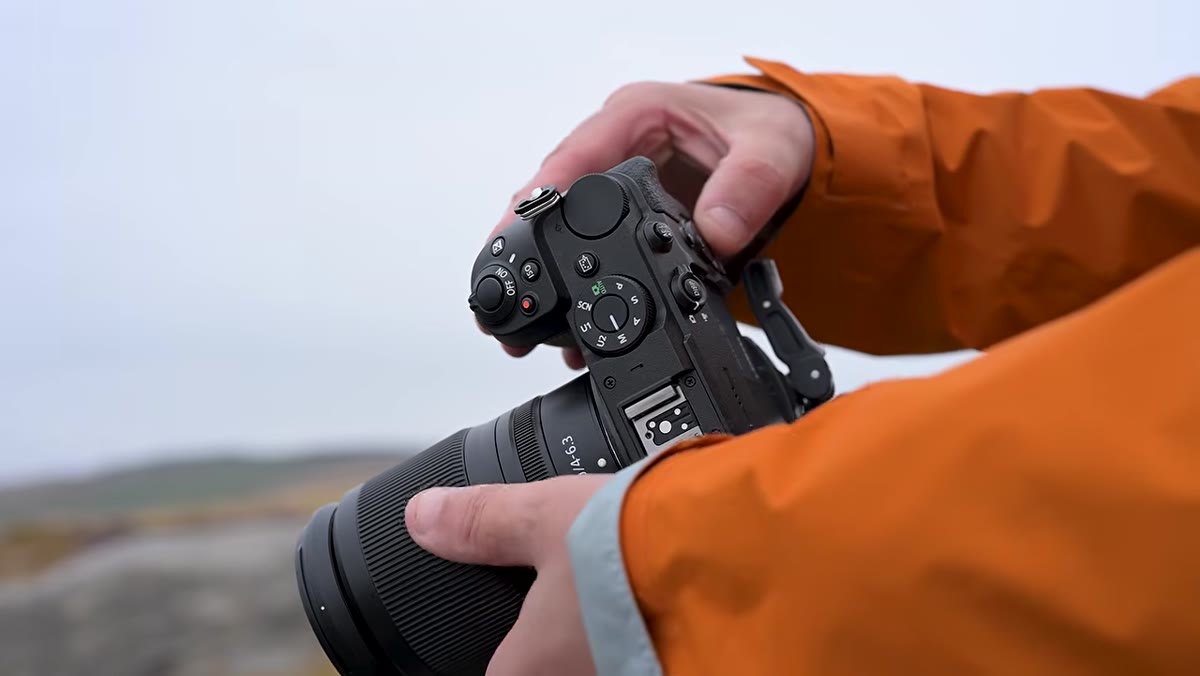 Danson positioning tripod, looking at rear screen to compose
Danson sets his tripod up on a diagonal composition running from the corner of the frame through the heather. He uses the rear screen to dial in his framing rather than estimating from eye level. The key takeaway here is practical: a tiltable screen on a landscape camera is not a gimmick. It lets you get low without lying on wet ground, and it lets you see your composition clearly in bright conditions if you crank the brightness. Treat it as a feature, not a consolation prize.
Danson positioning tripod, looking at rear screen to compose
Danson sets his tripod up on a diagonal composition running from the corner of the frame through the heather. He uses the rear screen to dial in his framing rather than estimating from eye level. The key takeaway here is practical: a tiltable screen on a landscape camera is not a gimmick. It lets you get low without lying on wet ground, and it lets you see your composition clearly in bright conditions if you crank the brightness. Treat it as a feature, not a consolation prize.
Step 4: Dial In Your Settings Before You Touch the Focus
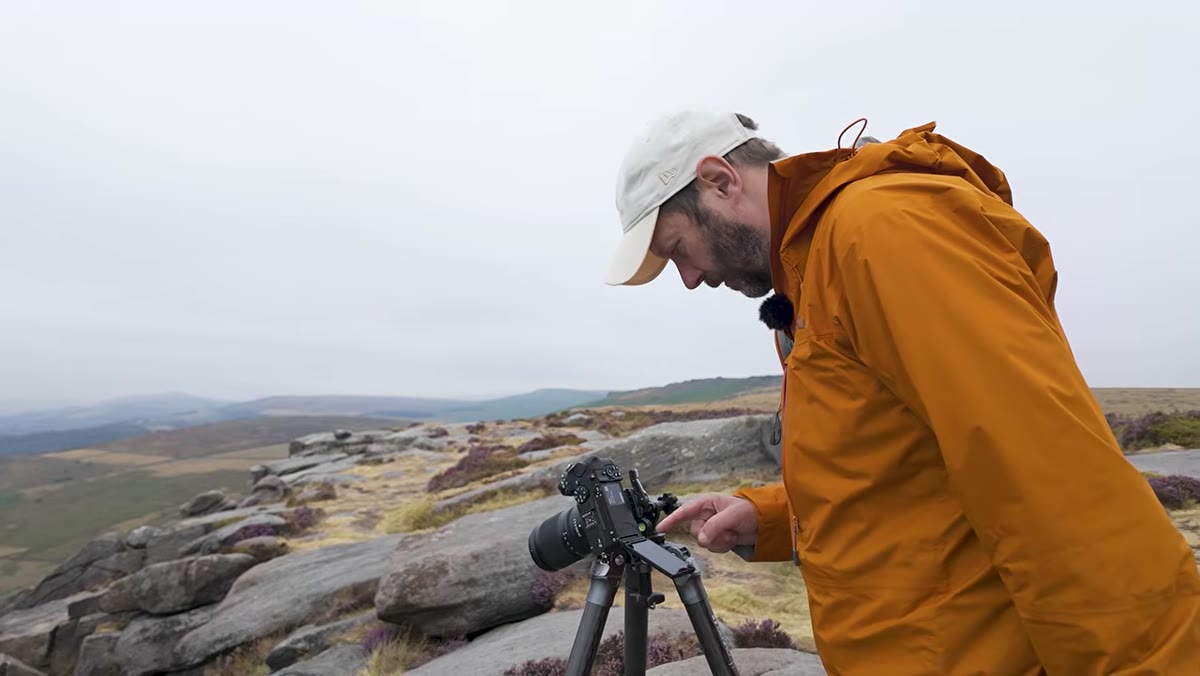 Danson setting aperture to F11 before focusing
Before Danson focuses on anything, he locks in his exposure. He’s shooting at F11, base ISO 100, which gives him the maximum dynamic range the sensor can deliver. His shutter speed lands at around 1/60th of a second. With 7.5 stops of in-body image stabilization on the Z5II C, 1/60th handheld is genuinely usable. He makes the point that the stabilization is strong enough to shoot handheld near waterfalls at speeds where you’d normally need a tripod. Get your aperture and ISO set first, then let the meter tell you the shutter speed. Don’t leave ISO on auto when you’re after maximum image quality.
Danson setting aperture to F11 before focusing
Before Danson focuses on anything, he locks in his exposure. He’s shooting at F11, base ISO 100, which gives him the maximum dynamic range the sensor can deliver. His shutter speed lands at around 1/60th of a second. With 7.5 stops of in-body image stabilization on the Z5II C, 1/60th handheld is genuinely usable. He makes the point that the stabilization is strong enough to shoot handheld near waterfalls at speeds where you’d normally need a tripod. Get your aperture and ISO set first, then let the meter tell you the shutter speed. Don’t leave ISO on auto when you’re after maximum image quality.
Step 5: Focus Stack for Sharp Foreground-to-Background Landscape Shots
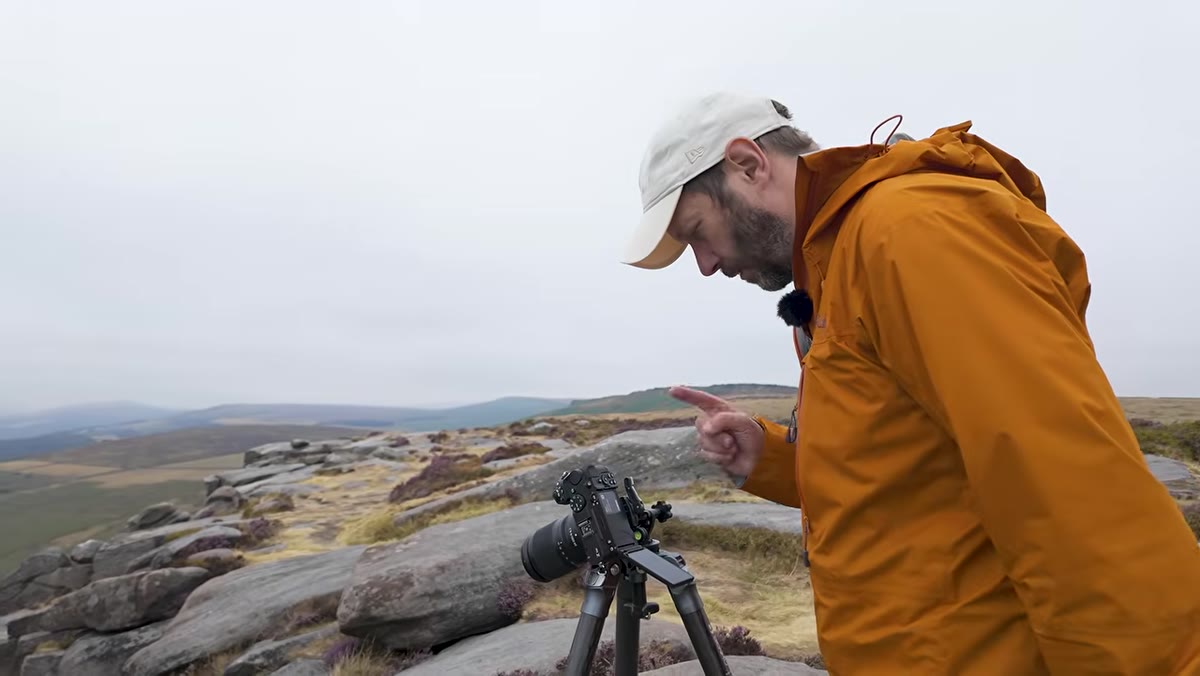 Danson tapping focus points on screen across foreground and background
This is the most practically useful section of the whole video. Because there’s no joystick on the Z5II C to move the focus point around the way higher-end Nikon bodies let you, Danson taps focus directly on the screen. He takes three separate shots: one focused on the background, one in the middle distance, and one on the foreground. These three frames get blended in post to create a final image where everything from the closest heather to the distant hills is sharp. F11 handles a lot of the heavy lifting already, but for scenes with a strong close foreground, stacking the focus gives you insurance. The lack of a joystick sounds annoying in theory, but in practice the touch screen works cleanly for this technique.
Danson tapping focus points on screen across foreground and background
This is the most practically useful section of the whole video. Because there’s no joystick on the Z5II C to move the focus point around the way higher-end Nikon bodies let you, Danson taps focus directly on the screen. He takes three separate shots: one focused on the background, one in the middle distance, and one on the foreground. These three frames get blended in post to create a final image where everything from the closest heather to the distant hills is sharp. F11 handles a lot of the heavy lifting already, but for scenes with a strong close foreground, stacking the focus gives you insurance. The lack of a joystick sounds annoying in theory, but in practice the touch screen works cleanly for this technique.
Step 6: Try the Handheld Single-Shot Approach at Wide Focal Lengths
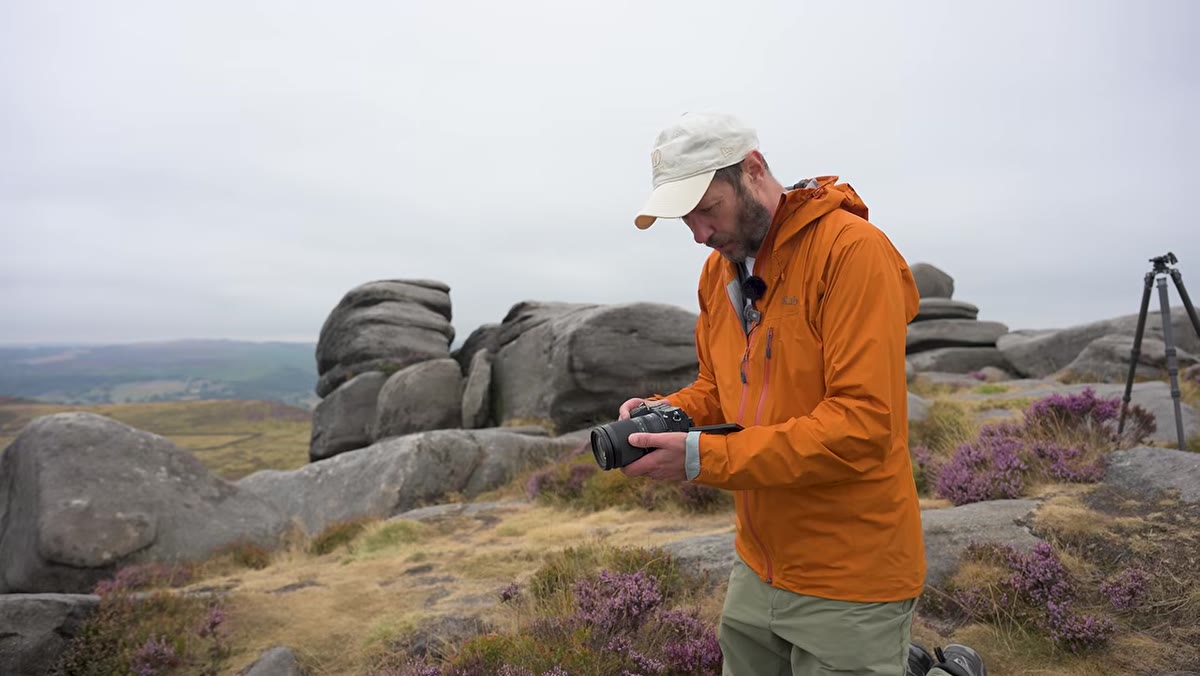 Danson shooting handheld at 24mm, no tripod
Later in the session, Danson picks up the camera and shoots handheld at 24mm, F11, ISO 100, 1/60th of a second. At 24mm with that stabilization rating, the camera is doing real work to keep the image clean. He focuses on a rock a few feet in front of him, knowing that at F11 on a full-frame body at 24mm, the depth of field will carry through to infinity. This approach is faster and more spontaneous than tripod work, and it’s a good reminder that you don’t always need to slow down and stack. Sometimes the single shot at the right aperture is enough.
Danson shooting handheld at 24mm, no tripod
Later in the session, Danson picks up the camera and shoots handheld at 24mm, F11, ISO 100, 1/60th of a second. At 24mm with that stabilization rating, the camera is doing real work to keep the image clean. He focuses on a rock a few feet in front of him, knowing that at F11 on a full-frame body at 24mm, the depth of field will carry through to infinity. This approach is faster and more spontaneous than tripod work, and it’s a good reminder that you don’t always need to slow down and stack. Sometimes the single shot at the right aperture is enough.
What I’d Add From My Own Testing
I haven’t had the Z5II C in my hands yet, but I’ve run enough budget body comparisons to know that what usually gets cut at the entry level is autofocus speed and burst rate, not image quality. For landscape photographers, that tradeoff is often invisible in real shooting. The frame rate doesn’t matter if you’re shooting a still hillside. Where I’d push Danson’s advice further is this: rent before you buy if you’re unsure about the no-viewfinder design. I’ve seen photographers pick up a screen-only camera and adapt in an afternoon. I’ve also seen others who genuinely can’t work without an eyepiece. It costs about $50 to rent for a weekend and know for certain, which is a much smaller bet than the camera itself.
The single thing this tutorial drove home for me is that entry-level full-frame has genuinely arrived. The Z5II C isn’t a compromised camera with a full-frame badge slapped on it. It’s a body that makes deliberate cuts in the right places and keeps the sensor quality that actually drives image results. If your shooting is mostly tripod-based landscape or portrait work, the missing joystick and viewfinder probably won’t slow you down at all.
Watch the full tutorial on YouTube to see the Peak District shots come together in real time and hear Danson’s direct comparison against his old D800.
Comments (2)
Clear and practical. No fluff. Appreciate that.
I've watched a dozen tutorials on this and yours is the clearest by far.
Leave a Comment