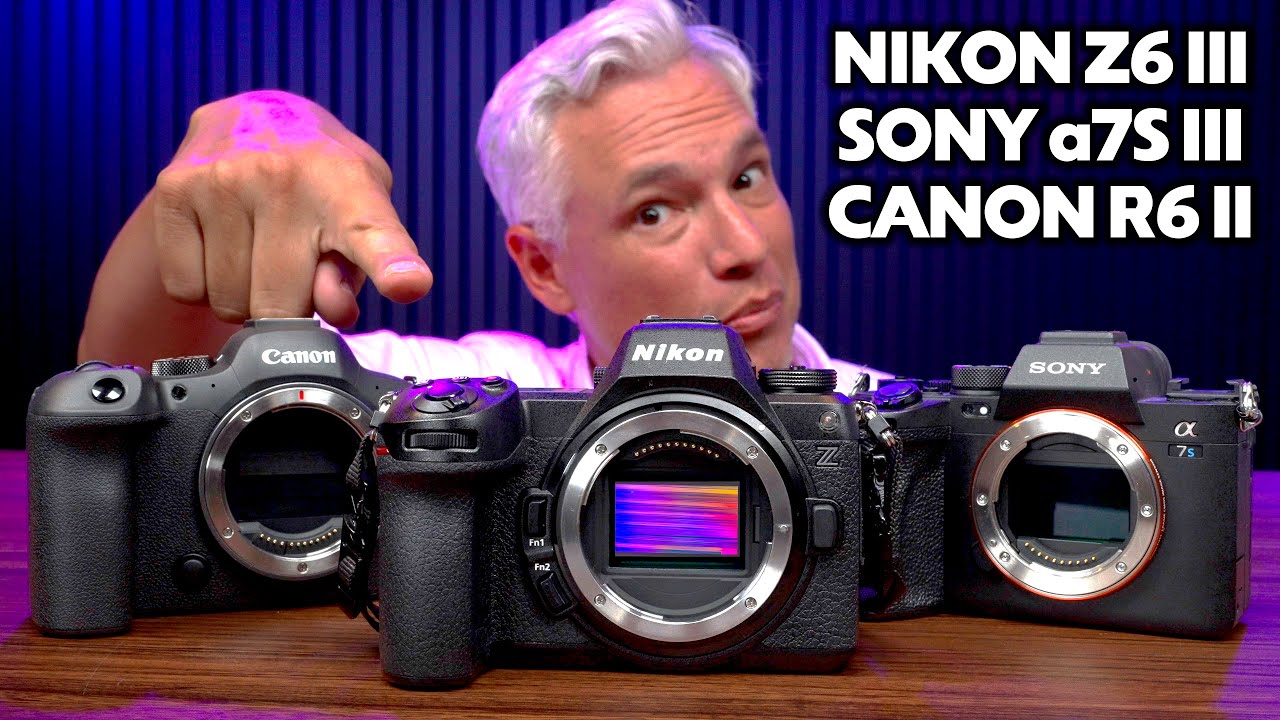
Every few months someone in a photography forum tells me cameras are all good enough now and I should stop overthinking it. I get it. I’ve said similar things myself. But when you’re deciding where to drop $2,000 to $3,500 on a hybrid camera system, “good enough” is a genuinely bad answer. The differences between top-tier cameras are real, they show up in your footage, and they matter more in some shooting situations than others.
In this Tony & Chelsea Northrup tutorial, Watch the full tutorial on YouTube, Tony runs a disciplined side-by-side comparison of three cameras that dominate the hybrid market right now: the Nikon Z6 III, the Sony a7S III, and the Canon R6 Mark II. He’s not doing a spec sheet reading. He’s running actual tests with actual footage, counting frames, and pulling numbers into a spreadsheet. That’s exactly the kind of rigor I respect, because it mirrors what I do when I’m evaluating budget glass or a $40 stabilizer. The methodology matters as much as the conclusion.
What follows is a structured walkthrough of how Tony conducts the comparison and what you should actually take away from each test category. Whether you’re deciding between these three bodies or just want a framework for evaluating any hybrid camera purchase, this is worth sitting with.
Step 1: Establish What “Hybrid” Actually Means in This Context
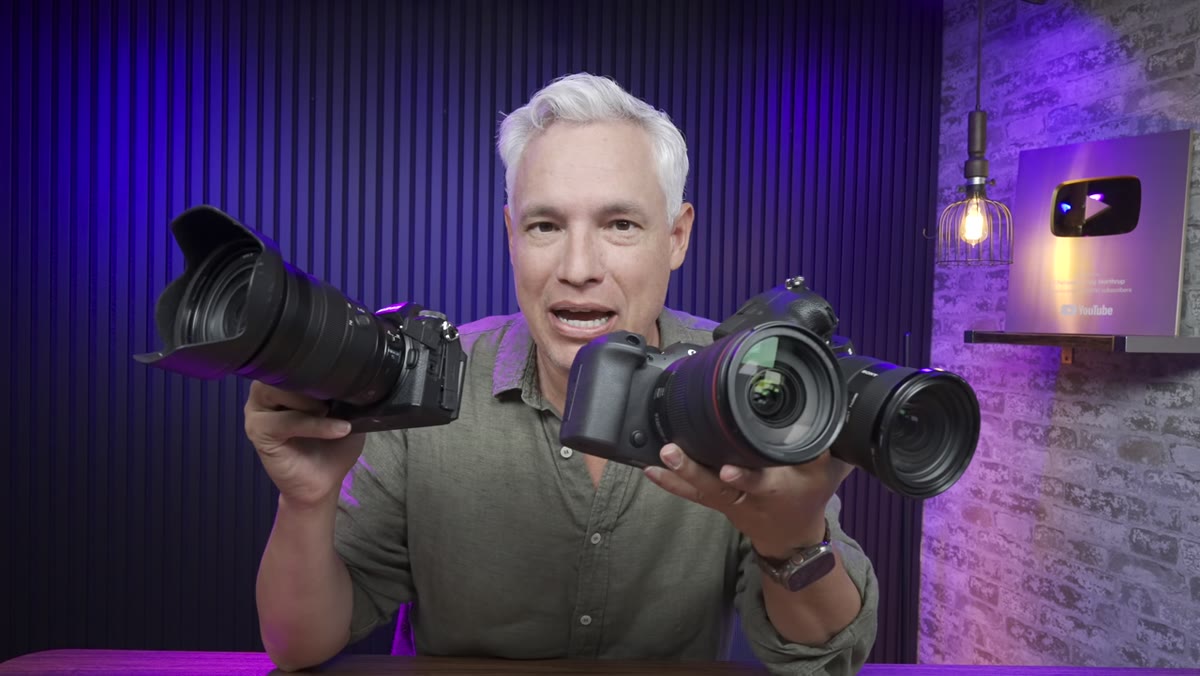 Three cameras displayed side by side on screen
Before running a single test, Tony defines the playing field. These are not dedicated video cameras or dedicated stills shooters. They are hybrid cameras, meaning they need to perform well in both disciplines. That framing matters because it immediately disqualifies certain tradeoffs. A camera that shoots gorgeous 8K video but struggles with continuous autofocus in stills mode does not belong in this comparison.
Three cameras displayed side by side on screen
Before running a single test, Tony defines the playing field. These are not dedicated video cameras or dedicated stills shooters. They are hybrid cameras, meaning they need to perform well in both disciplines. That framing matters because it immediately disqualifies certain tradeoffs. A camera that shoots gorgeous 8K video but struggles with continuous autofocus in stills mode does not belong in this comparison.
Know what category your camera is supposed to serve before you start testing. If you are shopping, write down the three or four real-world scenarios you shoot most often. That list should govern every test you run or read about.
Step 2: Compare Resolution and Crop Flexibility
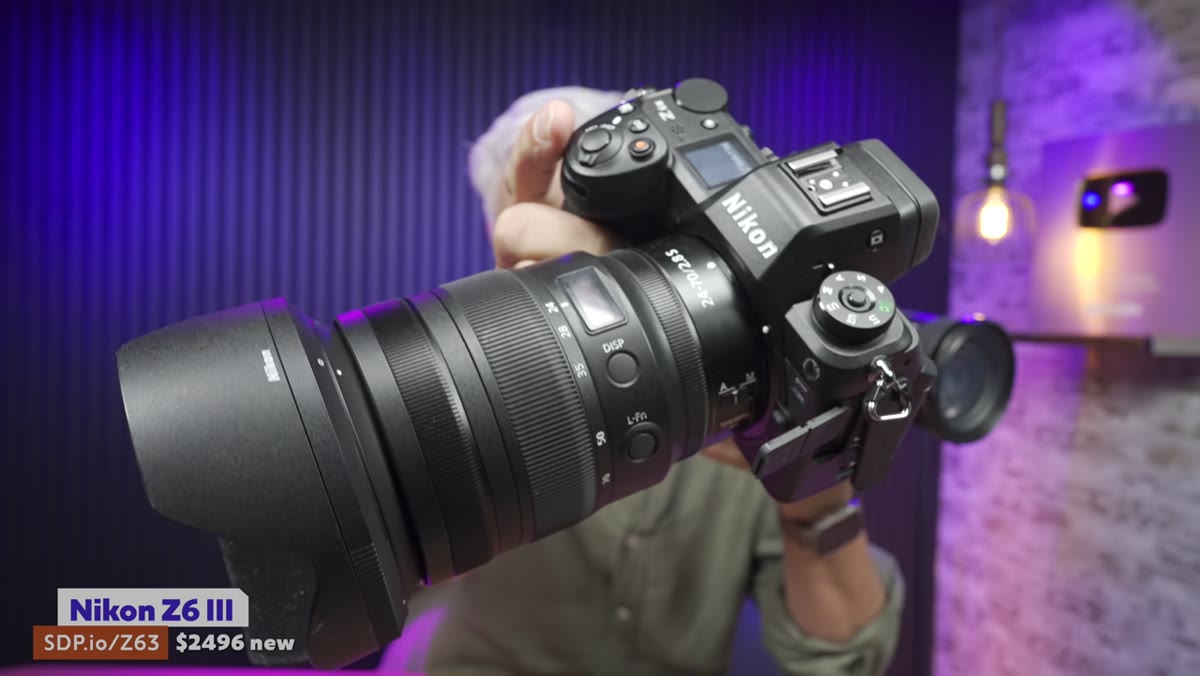 Nikon Z6 III 6K 60fps spec displayed on screen
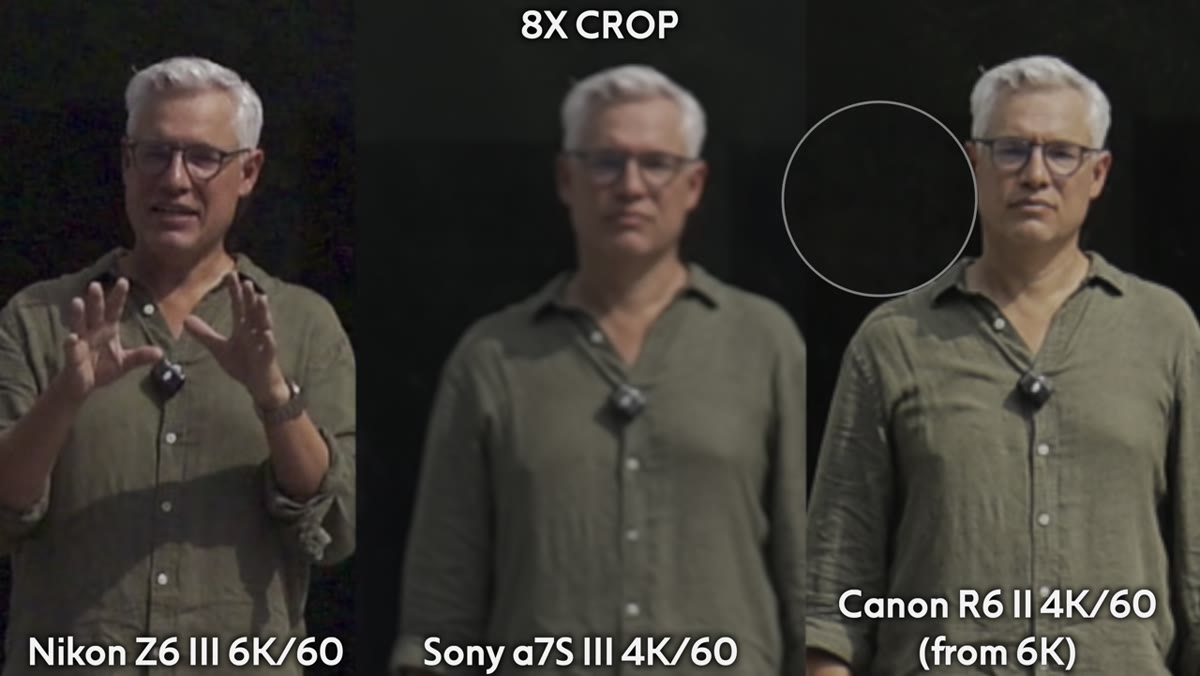
The Nikon Z6 III shoots 6K at 60 frames per second. The Canon R6 Mark II also captures 6K sensor data but downsamples it to a 4K output. The Sony a7S III tops out at a lower native resolution. Tony demonstrates this with cropped footage comparisons, and the gap is visible, not theoretical. When you crop into the Nikon or Canon footage to simulate a longer focal length or to reframe in post, the image holds together. The Sony, with its lower megapixel sensor, degrades faster when you push the crop.
Nikon Z6 III 6K 60fps spec displayed on screen
The Nikon Z6 III shoots 6K at 60 frames per second. The Canon R6 Mark II also captures 6K sensor data but downsamples it to a 4K output. The Sony a7S III tops out at a lower native resolution. Tony demonstrates this with cropped footage comparisons, and the gap is visible, not theoretical. When you crop into the Nikon or Canon footage to simulate a longer focal length or to reframe in post, the image holds together. The Sony, with its lower megapixel sensor, degrades faster when you push the crop.
For wildlife or sports videographers who need post-production reframing flexibility, resolution headroom is a practical tool, not a vanity spec. If you never crop, this matters less. But if you shoot fast-moving subjects and rely on digital zoom or post-crop, the Nikon’s 6K capture gives you a real working advantage.
Step 3: Evaluate Dynamic Range Through Shadow Noise
 Shadow noise comparison between Canon and Nikon footage
Tony pushes the exposure in shadow regions across all three cameras and examines what comes back when you lift the shadows in post. The Canon R6 Mark II produces clean shadow recovery with minimal noise. The Nikon Z6 III shows considerably more shadow noise in the same test. This is a dynamic range difference that shows up in practical shooting, not just in lab conditions.
Shadow noise comparison between Canon and Nikon footage
Tony pushes the exposure in shadow regions across all three cameras and examines what comes back when you lift the shadows in post. The Canon R6 Mark II produces clean shadow recovery with minimal noise. The Nikon Z6 III shows considerably more shadow noise in the same test. This is a dynamic range difference that shows up in practical shooting, not just in lab conditions.
If you shoot in high-contrast environments, like outdoor events with harsh midday sun or interior spaces with mixed lighting, shadow recovery is something you will use constantly. Test this yourself before buying. Shoot a scene with deep shadows and bright highlights, expose for the highlights, and then push the shadows up 3 to 4 stops in your editing software. What you see in that lifted shadow region is your real-world dynamic range indicator.
Step 4: Weigh the System Weight Advantage
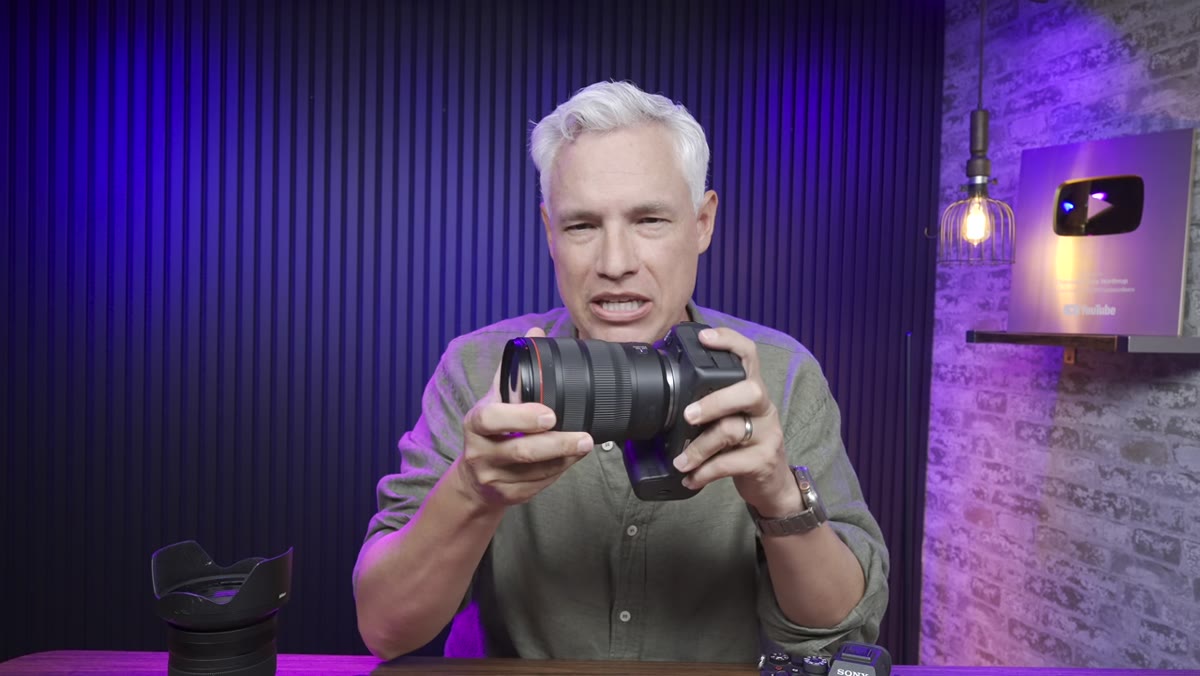 Weight comparison of cameras with 24-70mm f/2.8 lenses
Tony pairs each camera with its native 24-70mm f/2.8 lens and compares the total system weight. The Sony a7S III with its equivalent lens comes in roughly a pound lighter than the Nikon or Canon setups. That might sound trivial until you’ve held a rig overhead for thirty minutes at a wedding reception or been hiking with a gimbal for four hours.
Weight comparison of cameras with 24-70mm f/2.8 lenses
Tony pairs each camera with its native 24-70mm f/2.8 lens and compares the total system weight. The Sony a7S III with its equivalent lens comes in roughly a pound lighter than the Nikon or Canon setups. That might sound trivial until you’ve held a rig overhead for thirty minutes at a wedding reception or been hiking with a gimbal for four hours.
Lighter systems are not just about comfort. On a gimbal, lower payload means better balance, longer battery life for the motor, and smoother operation on smaller rigs. If you are shooting run-and-gun video, documentary work, or anything that requires mobility, system weight deserves a line in your decision spreadsheet. The Sony’s weight advantage is consistent across its lens ecosystem, not just this one comparison.
Step 5: Run an Autofocus Speed and Behavior Test
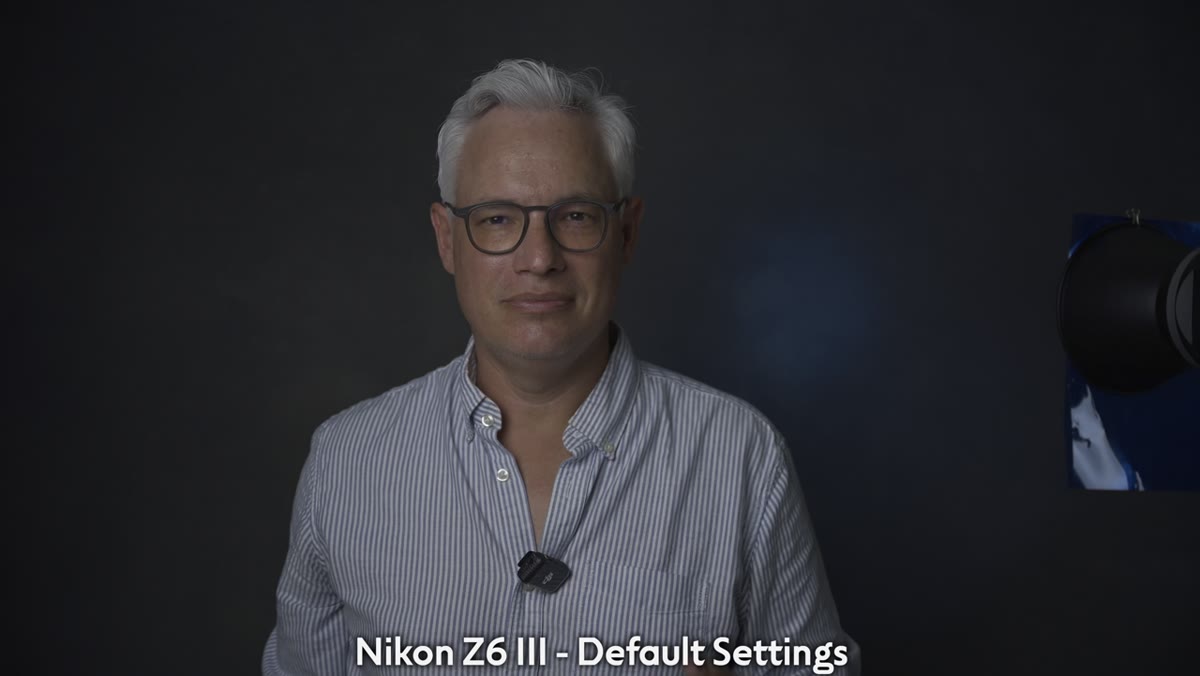 Autofocus frame-count test between camera and nearby subject
This is where Tony’s methodology gets specific in a way I really appreciate. He films himself switching focus between his face and a nearby subject, then counts the exact number of frames it takes for each camera to lock focus in 4K 60fps. He logs minimums, maximums, and averages. Then he slows the footage down 10x and analyzes how the focus transition behaves, not just how fast it lands.
Autofocus frame-count test between camera and nearby subject
This is where Tony’s methodology gets specific in a way I really appreciate. He films himself switching focus between his face and a nearby subject, then counts the exact number of frames it takes for each camera to lock focus in 4K 60fps. He logs minimums, maximums, and averages. Then he slows the footage down 10x and analyzes how the focus transition behaves, not just how fast it lands.
The Nikon Z6 III in its default settings is too slow. After Nikon’s recommended adjustments, the speed improves, but the focus transition itself becomes jerky, pushing in and out before snapping abruptly to the eye. The Sony a7S III, using factory defaults with no tuning, averages a similar frame count but transitions smoothly. It accelerates gradually, decelerates near the point of focus, and locks on cleanly. The Canon R6 Mark II lands in the middle. Faster than the Nikon but not as smooth as the Sony in transition behavior. That smoothness distinction matters in finished video far more than a raw frame-count number.
Step 6: Factor in Actual Street Price, Not MSRP
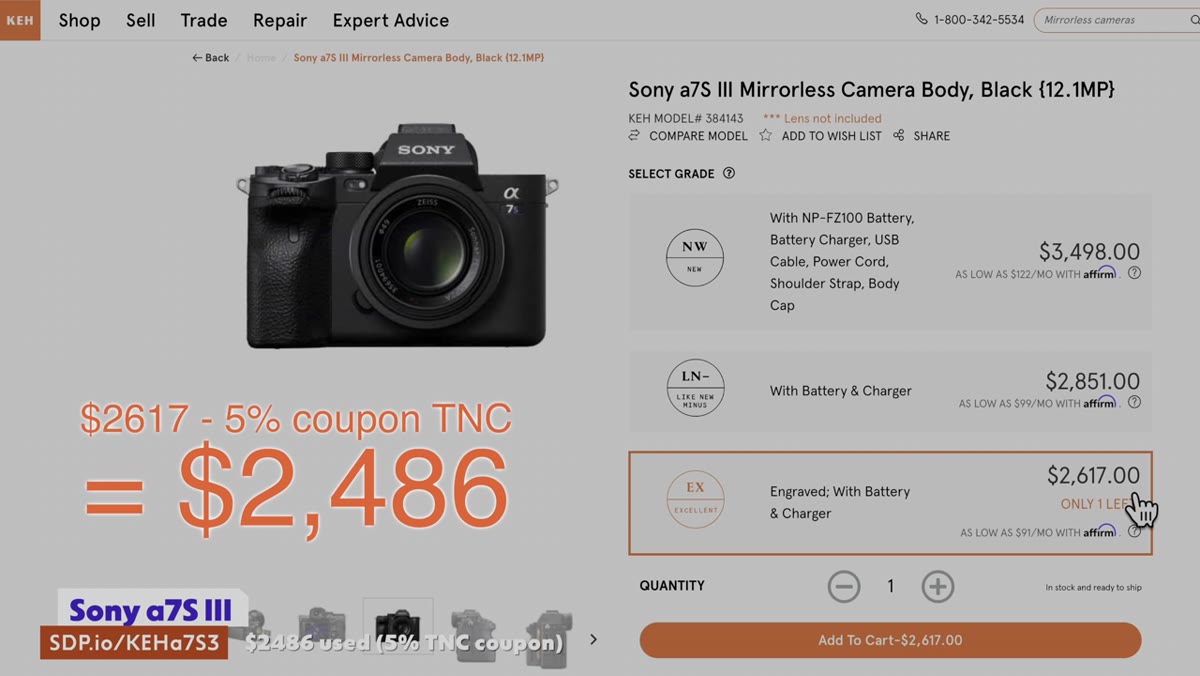 Used price comparison shown for Sony a7S III
The Sony a7S III lists for around $3,500 new, which puts it above the Nikon and well above the Canon. But Tony points out that used market pricing brings the Sony much closer to the others. A used a7S III can land near $2,000 in good condition, which reframes the entire value equation.
Used price comparison shown for Sony a7S III
The Sony a7S III lists for around $3,500 new, which puts it above the Nikon and well above the Canon. But Tony points out that used market pricing brings the Sony much closer to the others. A used a7S III can land near $2,000 in good condition, which reframes the entire value equation.
When you are doing a camera comparison, build your own price comparison using current used listings from reputable sellers, not manufacturer MSRP. The real cost difference between these three cameras may be smaller than the spec sheets suggest, especially if you are open to buying used.
What I’d Add: Test It in Your Actual Shooting Conditions
I’ve done blind tests with photographers at local meetups using cameras at very different price points, and people consistently struggle to identify which footage came from which camera when the shooting conditions are controlled. The lesson I keep coming back to is that camera differences are real but they are also situational. The Nikon’s 6K headroom doesn’t help you if you never crop. The Sony’s weight advantage is irrelevant if your camera never leaves a tripod.
Before committing to any of these bodies, rent one for a weekend and shoot your actual work with it. Not a test scene. Your real subjects, your real lighting, your real workflow. That test will tell you more than any comparison video, including this one.
The single most important takeaway from this comparison is that autofocus behavior matters more than autofocus speed. A camera that locks on smoothly in 28 frames is more usable in finished video than one that snaps on in 24 frames but hunts awkwardly getting there. Sony wins this shootout for most hybrid shooters, but the Canon is a legitimate alternative if dynamic range and color science are priorities for your workflow.
Watch the full tutorial on YouTube to see the side-by-side footage comparisons and frame-by-frame autofocus analysis. Tony’s visual examples make the differences far more concrete than any written description can.
Comments (1)
Printing this out and pinning it next to my monitor. That good.
Leave a Comment