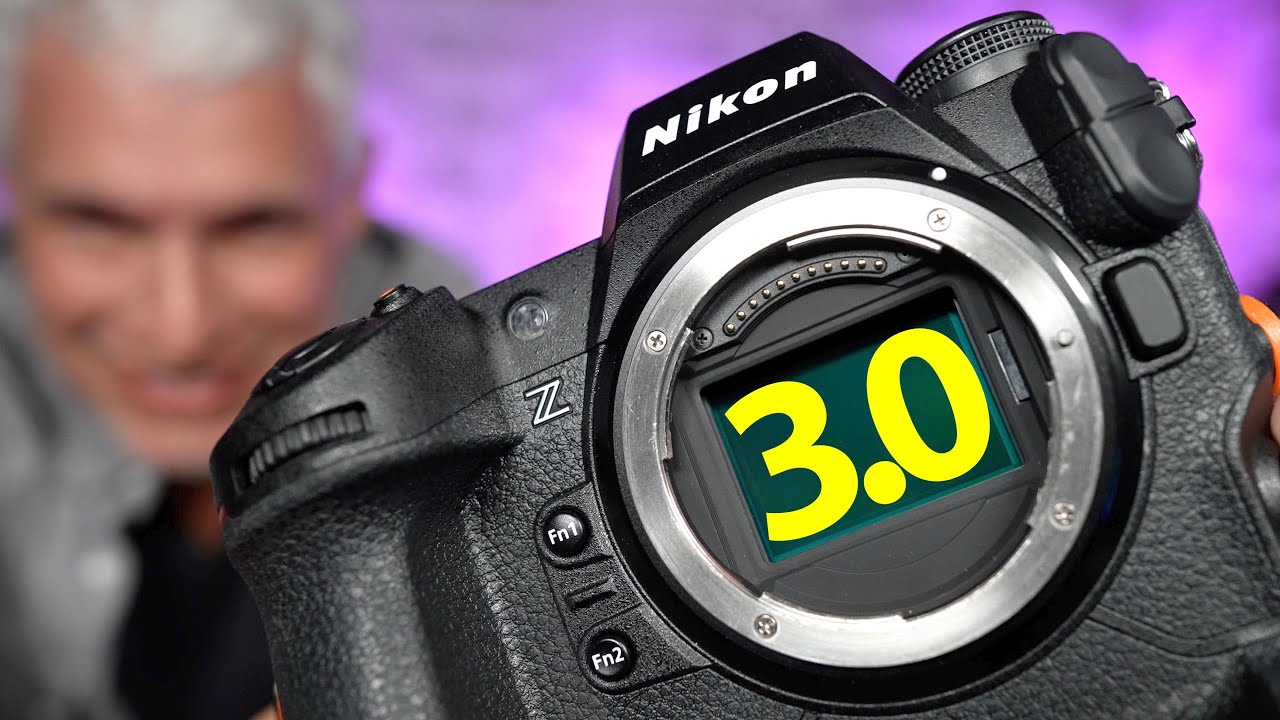
I’ll be straight with you: I don’t cover $5,500 cameras very often. That’s not exactly the deals-hunter beat. But firmware updates are a different conversation, because a major update on a camera you already own is essentially free gear. And if you’re shopping the used market, knowing what firmware version a body is running can be the difference between a frustrating experience and one that punches well above its price. That’s what pulled me into this review.
In this Tony & Chelsea Northrup tutorial, Watch the full tutorial on YouTube, Tony takes the Nikon Z9 out into the field after Nikon dropped firmware version 3.0, and the results are genuinely surprising. The update doesn’t just patch bugs. It adds capabilities that change what kind of camera the Z9 actually is. If you shoot video, sports, or wildlife, at least two of these features will matter to your workflow directly.
What struck me most watching this is how much it mirrors the logic I use when evaluating budget lenses. The question isn’t “is this good?” It’s “does this solve a real problem?” Firmware 3.0 answers that question clearly, and Tony’s field testing makes the practical impact easy to understand. Here’s how the key features work and what to actually do with them.
Step 1: Enable the Virtual Zoom for Video
 Virtual zoom demo on prime lens in live video
If you shoot video with prime lenses, the lack of zoom flexibility is a constant tradeoff. Firmware 3.0 adds a virtual zoom function that lets the Z9 crop digitally from full frame up to a 2x factor, and it transitions smoothly rather than jumping. To access this, you’ll find the zoom option in the video shooting menu once you’re recording or ready to record. The crop-in is gradual enough that you can use it mid-shot without it looking like a cut.
Virtual zoom demo on prime lens in live video
If you shoot video with prime lenses, the lack of zoom flexibility is a constant tradeoff. Firmware 3.0 adds a virtual zoom function that lets the Z9 crop digitally from full frame up to a 2x factor, and it transitions smoothly rather than jumping. To access this, you’ll find the zoom option in the video shooting menu once you’re recording or ready to record. The crop-in is gradual enough that you can use it mid-shot without it looking like a cut.
The catch is real: this only works at 4K 30fps. If you’re shooting at higher frame rates or need slow motion, this tool isn’t available. For event videographers or documentary-style shooters working at standard frame rates, though, this is a meaningful addition. One prime lens now behaves more like a short zoom range, which matters when you can’t physically move your position.
Step 2: Switch to 60fps Mode for Wildlife and Sports
 Frame rate menu showing new 60fps APS-C option
The new 60 frames per second burst mode sits between the existing 30fps and 120fps options in the shooting menu. To enable it, go into your photo shooting menu and select the high-speed frame rate option. Here’s the important context: when you switch to 60fps, the Z9 automatically shifts from its full 45-megapixel full-frame sensor to a 19-megapixel APS-C crop. You’re also locked into JPEG output. No RAW files at this setting.
Frame rate menu showing new 60fps APS-C option
The new 60 frames per second burst mode sits between the existing 30fps and 120fps options in the shooting menu. To enable it, go into your photo shooting menu and select the high-speed frame rate option. Here’s the important context: when you switch to 60fps, the Z9 automatically shifts from its full 45-megapixel full-frame sensor to a 19-megapixel APS-C crop. You’re also locked into JPEG output. No RAW files at this setting.
For sports photographers used to delivering full-resolution RAW files, that’s a hard no. For wildlife shooters, it’s worth a serious look. Wildlife work almost always involves heavy cropping in post anyway, so starting from an APS-C crop isn’t the penalty it sounds like. You’re still getting 19 megapixels of resolved detail, which is more than enough for most editorial and print uses. The tradeoff is worth understanding before you commit to a shooting day in this mode.
Step 3: Use Pre-Capture to Eliminate Reaction Time
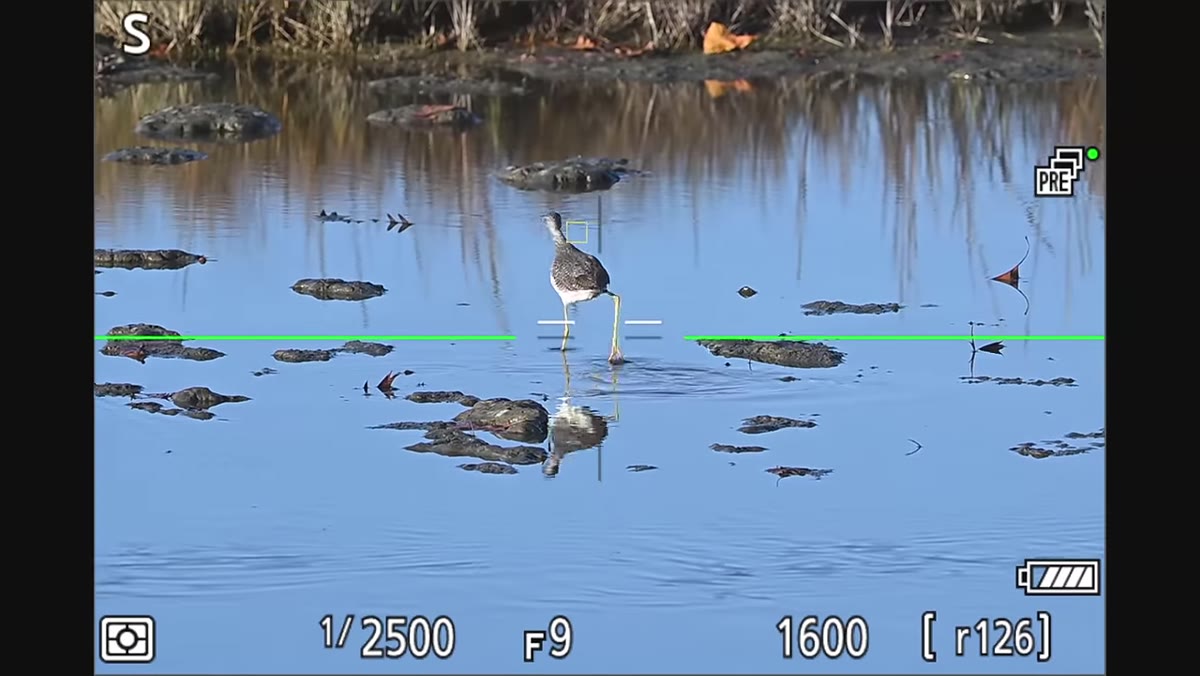 Pre-capture buffer setting in camera menu
Pre-capture is the feature that will get the most use in the field. When enabled, the camera continuously buffers frames before you actually press the shutter. When you do press it, the camera includes images from the moments before your trigger press, effectively going back in time by up to a second or so. You enable this in the high-speed shooting settings, and you can configure how far back the buffer reaches.
Pre-capture buffer setting in camera menu
Pre-capture is the feature that will get the most use in the field. When enabled, the camera continuously buffers frames before you actually press the shutter. When you do press it, the camera includes images from the moments before your trigger press, effectively going back in time by up to a second or so. You enable this in the high-speed shooting settings, and you can configure how far back the buffer reaches.
Tony demonstrates this with shorebirds fishing, which is one of the hardest subjects to time precisely. Human reaction time is roughly a quarter second, which is enough to miss a bird catching a fish entirely. With pre-capture running at 60fps, you press the shutter when you see the result you want, and the camera has already captured the peak moment. This isn’t a gimmick. It’s a genuinely different relationship between the photographer and the decisive moment. Any fast-action shooter dealing with unpredictable subjects should test this before writing it off.
Step 4: Compare Autofocus Performance Between 20fps and 60fps
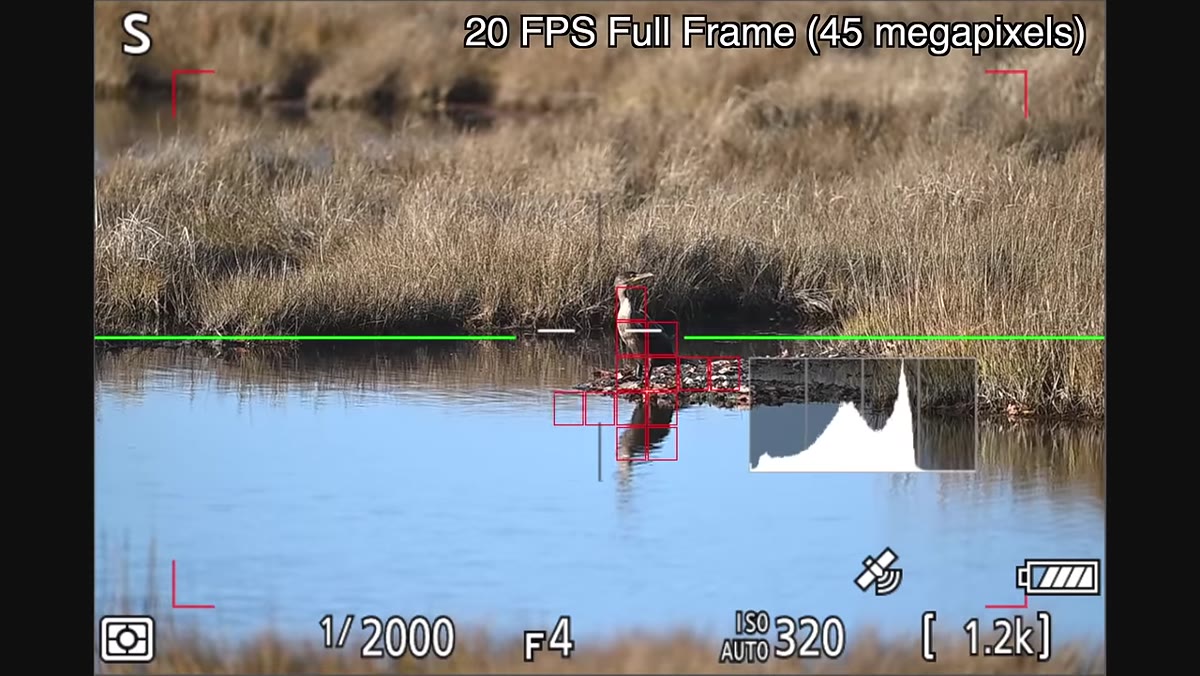 Subject detection box appearing in 60fps vs absent in 20fps
This is the part Tony flags as an undocumented bonus, and it’s the most interesting technical finding in the review. At 20fps full-frame mode, subject detection on small or fast-moving animals can struggle. In the field test, the yellow subject detection box simply wasn’t appearing consistently. Switching to 60fps APS-C mode produced immediate, reliable subject lock.
Subject detection box appearing in 60fps vs absent in 20fps
This is the part Tony flags as an undocumented bonus, and it’s the most interesting technical finding in the review. At 20fps full-frame mode, subject detection on small or fast-moving animals can struggle. In the field test, the yellow subject detection box simply wasn’t appearing consistently. Switching to 60fps APS-C mode produced immediate, reliable subject lock.
The likely explanation is sensor readout speed. In APS-C mode at 60fps, the camera is reading less than half the data and doing it twice as fast, which gives the autofocus system fresher, more frequent information to work with. The practical instruction here is simple: if you’re shooting wildlife and your autofocus is hunting or failing to lock in 20fps mode, try switching to 60fps before assuming it’s a lens or technique problem. The autofocus performance Tony describes at 60fps is competitive with the Sony A1, which is a significant claim that the field footage backs up.
Step 5: Review Your 60fps Sequences in Lightroom Methodically
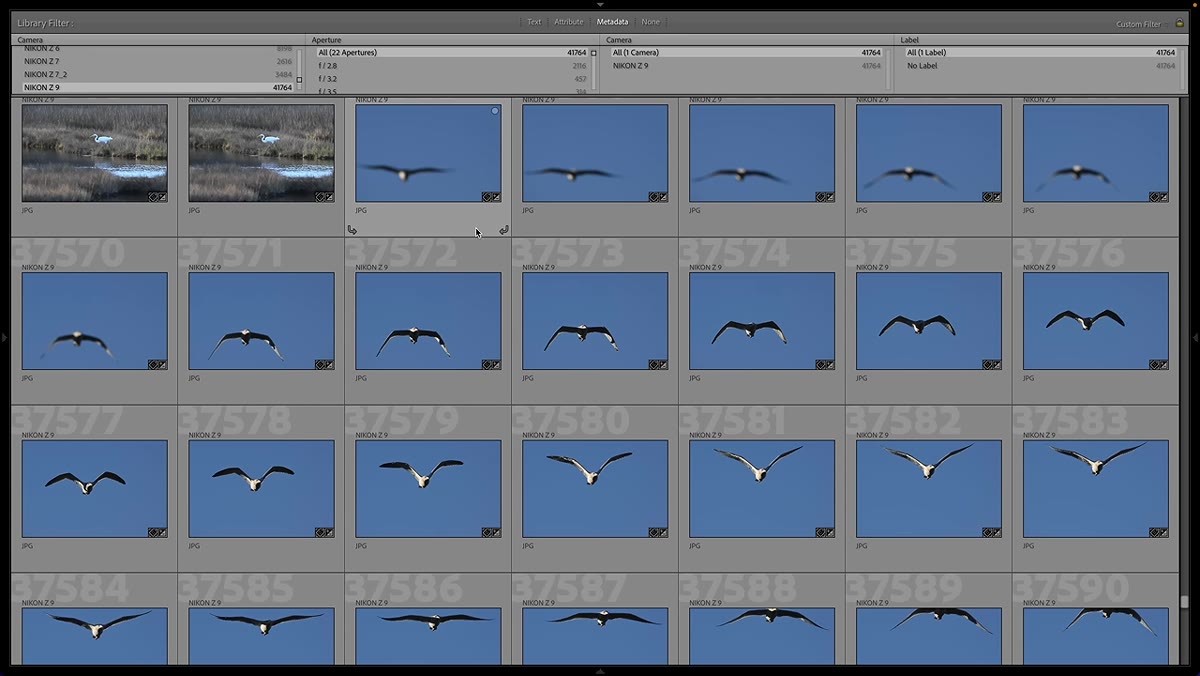 Long burst sequence in Lightroom grid showing focus shift
At 60 frames per second with pre-capture enabled, a single wildlife encounter can produce hundreds of images. Tony showed a library with nearly 42,000 frames from Z9 testing alone. The workflow discipline required here is separate from the camera skill. In Lightroom, use the survey mode or flag-pass method to move through sequences quickly. Don’t evaluate single frames in isolation. Look at where focus lands across a sequence of 10 to 20 frames to understand what the camera was actually tracking.
Long burst sequence in Lightroom grid showing focus shift
At 60 frames per second with pre-capture enabled, a single wildlife encounter can produce hundreds of images. Tony showed a library with nearly 42,000 frames from Z9 testing alone. The workflow discipline required here is separate from the camera skill. In Lightroom, use the survey mode or flag-pass method to move through sequences quickly. Don’t evaluate single frames in isolation. Look at where focus lands across a sequence of 10 to 20 frames to understand what the camera was actually tracking.
One thing Tony points out that you need to know going in: when pre-capture pulls frames from before your shutter press, some of those early frames may be soft, because the camera hadn’t acquired focus on your subject yet. This is expected behavior, not a defect. The in-focus frames will be further into the sequence. Culling with this in mind saves a lot of second-guessing during editing.
What This Means If You’re Not Buying a Z9
I’m not in the market for a $5,500 body. But watching this review reminded me of something I keep coming back to: the features being added to flagship cameras through firmware eventually filter down. Pre-capture, faster sensor readout modes, and virtual zoom for video are all features that will appear in mid-range bodies over the next few product cycles.
Understanding how these tools work at the flagship level means you’ll know exactly what to look for when they show up in a $1,200 body two years from now. And if you’re buying used, the Z9 with firmware 3.0 is a fundamentally different camera than the one that launched. That’s the kind of version history detail that belongs in any serious used-gear evaluation.
The single most important takeaway from this review is that 60fps APS-C mode isn’t just a frame rate option. It’s a different autofocus system, a different cropping philosophy, and a different relationship with timing. If you shoot wildlife or any fast-moving unpredictable subject, that mode alone justifies learning this camera.
Watch the full tutorial on YouTube to see Tony’s field footage and the side-by-side autofocus comparisons firsthand. The visual evidence on the autofocus difference between modes is worth seeing before you make any decisions.
Comments (2)
Printing this out and pinning it next to my monitor. That good.
Never thought of approaching it this way. Really creative.
Leave a Comment