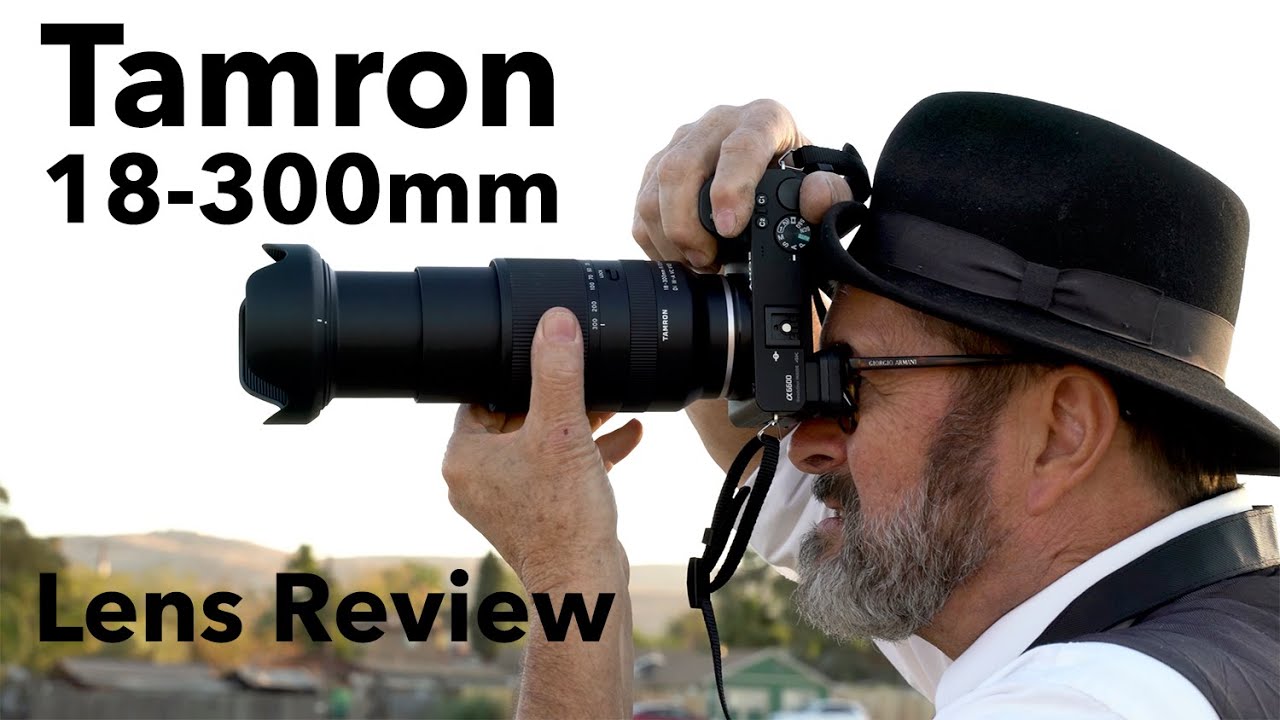
I’ll be honest: superzoom lenses have a reputation problem. Photographers who’ve spent years chasing prime sharpness tend to dismiss them as a compromise. But when you’re trying to cover a wide-open festival, portrait setups, street scenes, and low-light architecture all in the same afternoon, hauling a bag full of primes is its own kind of compromise. The question worth asking isn’t “is this lens perfect?” It’s “does this lens solve a real problem?” That’s exactly the framing Jay P. Morgan brings to his field test in Watch the full tutorial on YouTube, where he takes the Tamron 18-300mm for Sony E-mount out to a dusty small-town festival in Taft, California and actually shoots with it all day.
What I find valuable about this particular test isn’t the spec breakdown. Morgan barely touches specs. Instead, he builds a real-world case for why the focal range matters, how to use it as a creative tool rather than just a convenience, and where the lens actually delivers. As someone who’s tracked budget glass obsessively and built a lot of my content around proving that affordable gear can produce professional results, this kind of field-first review is exactly the format I trust.
I got into gear content after realizing I was spending more time researching prices than actually shooting. That habit turned into a discipline, and this lens is one I’ve had on my radar. Morgan’s test gave me a sharper picture of where it earns its place in a kit.
Step 1: Understand What the Focal Range Actually Means on APS-C
 Side-by-side perspective shift from 300mm to 18mm at tank
Before you buy any superzoom, do the crop factor math. On a Sony APS-C body, the Tamron 18-300mm becomes a 27-450mm equivalent. That’s not a minor detail. You’re covering wide-angle environmental shots all the way to serious telephoto reach in one lens, on a body that’s probably under 400 grams. For festival shooting, event coverage, or travel, that range means you can leave the bag in the car.
Side-by-side perspective shift from 300mm to 18mm at tank
Before you buy any superzoom, do the crop factor math. On a Sony APS-C body, the Tamron 18-300mm becomes a 27-450mm equivalent. That’s not a minor detail. You’re covering wide-angle environmental shots all the way to serious telephoto reach in one lens, on a body that’s probably under 400 grams. For festival shooting, event coverage, or travel, that range means you can leave the bag in the car.
Morgan makes a specific point here that’s worth internalizing: 450mm equivalent reach on a lightweight kit that fits in a small shoulder bag is genuinely rare. Most lenses that reach 450mm are heavy, expensive, and need a monopod. This one weighs just under 22 ounces. That changes what you can do in a day.
Step 2: Use Focal Length Changes to Shift Perspective, Not Just Zoom In
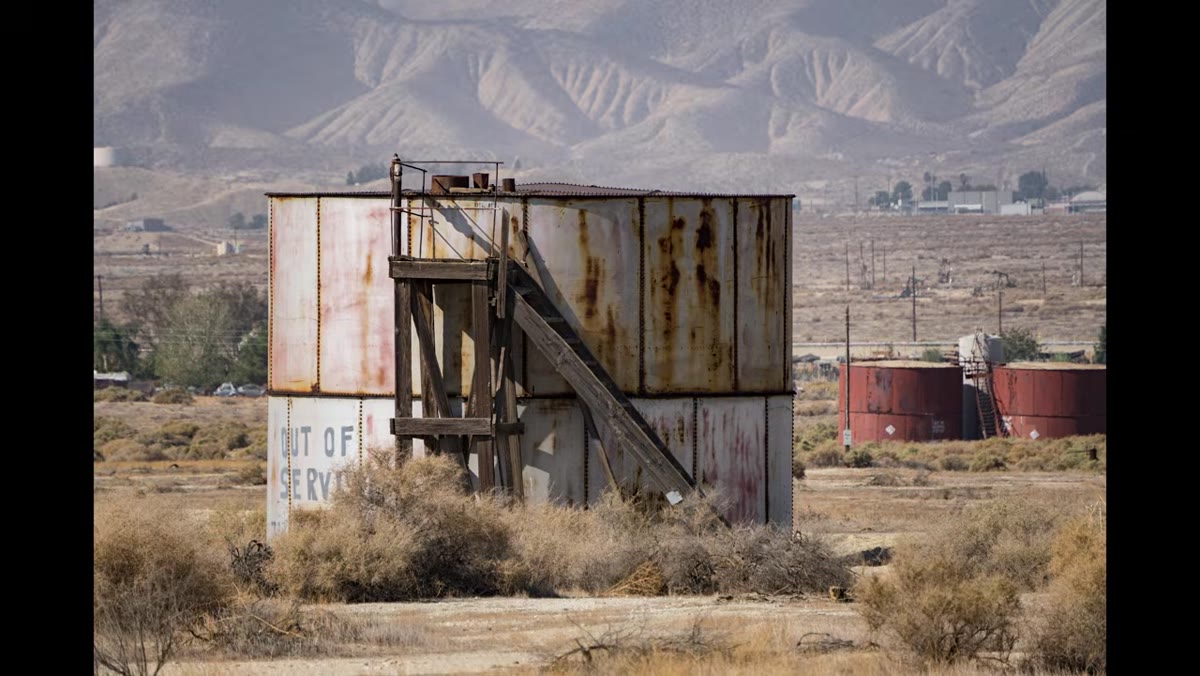 Tank shot at 300mm with compressed mountain background
This is the most important creative lesson in the whole video. Morgan demonstrates it clearly with an old tank he found on location. At 300mm (450mm equivalent), the mountains behind the tank look close and the background feels compressed and dense. As he physically walks toward the tank and drops to 18mm, the mountains recede, the background opens up, and the tank reads as isolated against open sky.
Tank shot at 300mm with compressed mountain background
This is the most important creative lesson in the whole video. Morgan demonstrates it clearly with an old tank he found on location. At 300mm (450mm equivalent), the mountains behind the tank look close and the background feels compressed and dense. As he physically walks toward the tank and drops to 18mm, the mountains recede, the background opens up, and the tank reads as isolated against open sky.
That’s not a zoom effect. That’s perspective control. Zooming while standing still only crops the frame. Walking while adjusting focal length actually changes the spatial relationship between subjects and their environment. It’s a technique portrait photographers use intentionally, and it works just as well for documentary, street, and editorial work. Practice it deliberately: pick a subject, shoot it at max telephoto from far back, then walk in and shoot at wide while keeping the subject the same size in the frame. The two images will look like they were taken in completely different places.
Step 3: Get Close With the Minimum Focus Distance
 Extreme close-up of tank hardware at near-minimum focus
The Tamron 18-300mm has a minimum focus distance of about five and a half inches. Morgan uses this to his advantage on the same tank, getting close enough to isolate a single bolt while still on the same lens he used for the wide landscape shot moments before. That flexibility matters when you’re working fast.
Extreme close-up of tank hardware at near-minimum focus
The Tamron 18-300mm has a minimum focus distance of about five and a half inches. Morgan uses this to his advantage on the same tank, getting close enough to isolate a single bolt while still on the same lens he used for the wide landscape shot moments before. That flexibility matters when you’re working fast.
In practice, this near-macro capability means you don’t need a dedicated macro lens for product details, textures, or close-up editorial shots on a travel or event day. It’s not a replacement for true macro glass, but it covers a lot of situations where a second lens would otherwise be required. Try combining the close focus with the wide end of the zoom to get dramatic foreground-to-background shots with environmental context still visible.
Step 4: Lean Into the Size and Weight as a Creative Advantage
 Lens mounted on compact Sony APS-C body, shade removed
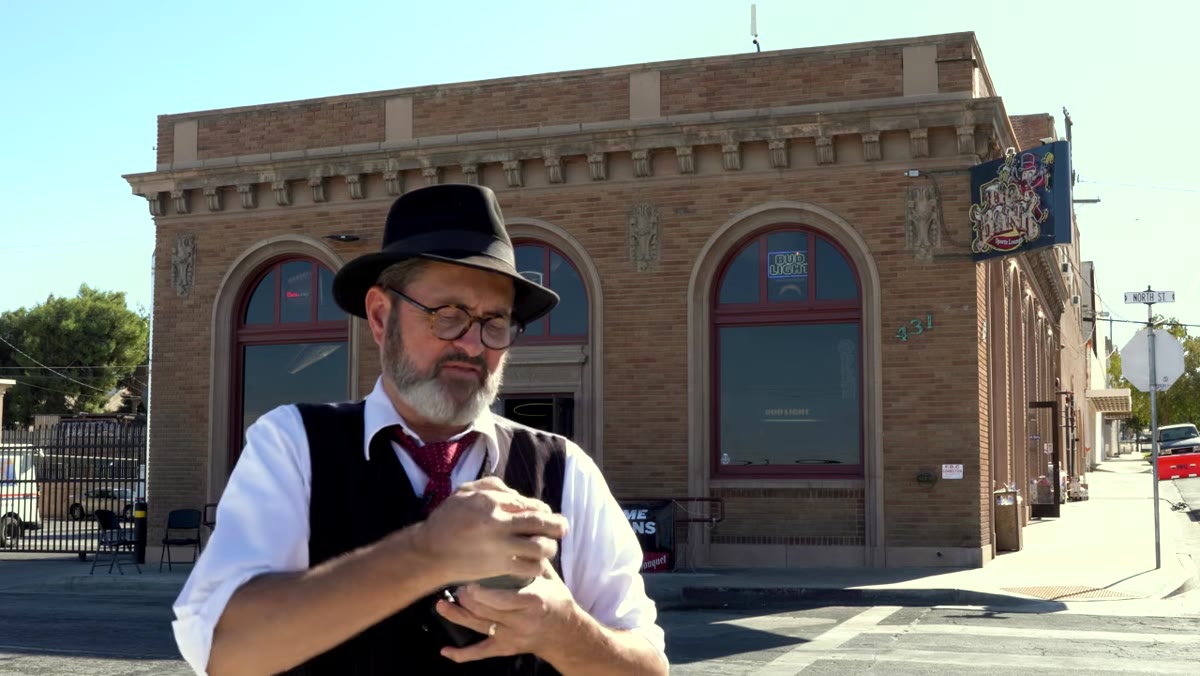
Morgan pulls the lens hood off at one point just to show how compact the package is. That visual makes the argument better than any spec sheet. A 27-450mm equivalent lens that doesn’t visually dominate the camera is significant. It changes how people interact with you when you’re shooting in public, and it changes how long you can comfortably shoot before fatigue sets in.
Lens mounted on compact Sony APS-C body, shade removed
Morgan pulls the lens hood off at one point just to show how compact the package is. That visual makes the argument better than any spec sheet. A 27-450mm equivalent lens that doesn’t visually dominate the camera is significant. It changes how people interact with you when you’re shooting in public, and it changes how long you can comfortably shoot before fatigue sets in.
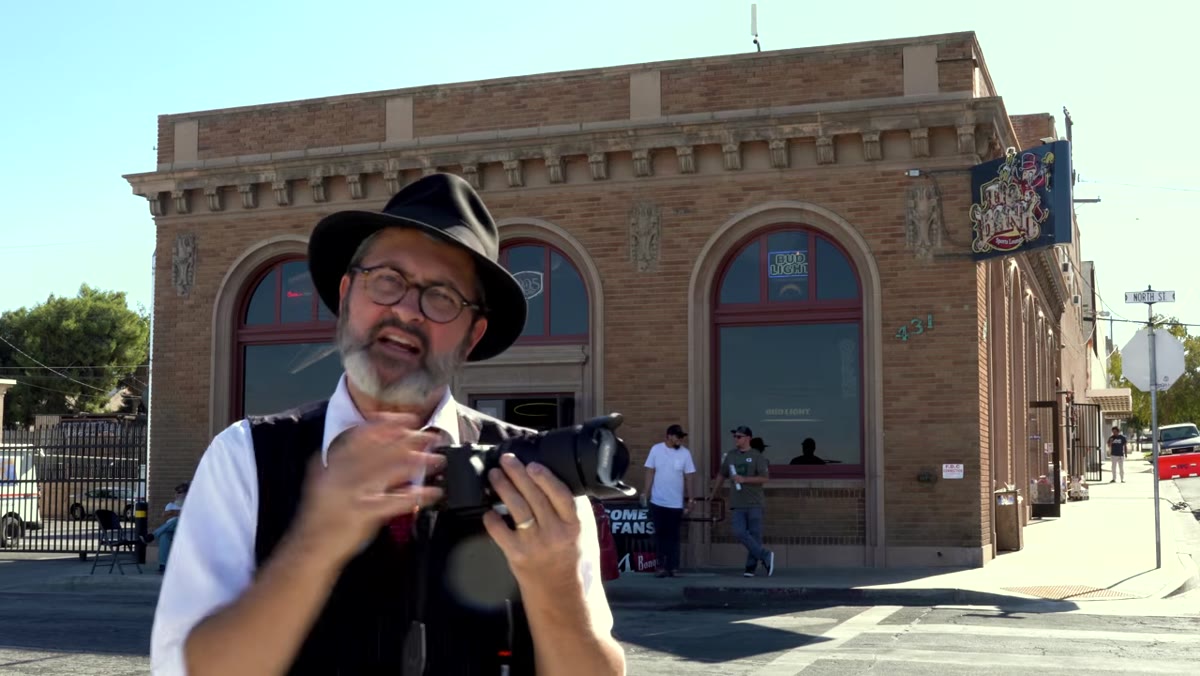
He pairs the lens with a Sony a6600, which is a deliberate choice. Putting a large, heavy lens on a small APS-C body defeats the purpose of the system. The Tamron 18-300mm keeps the whole kit balanced and unobtrusive. For street shooting, that matters a lot.
Step 5: Use Vibration Compensation at the Long End
 Handheld telephoto shooting at festival crowd
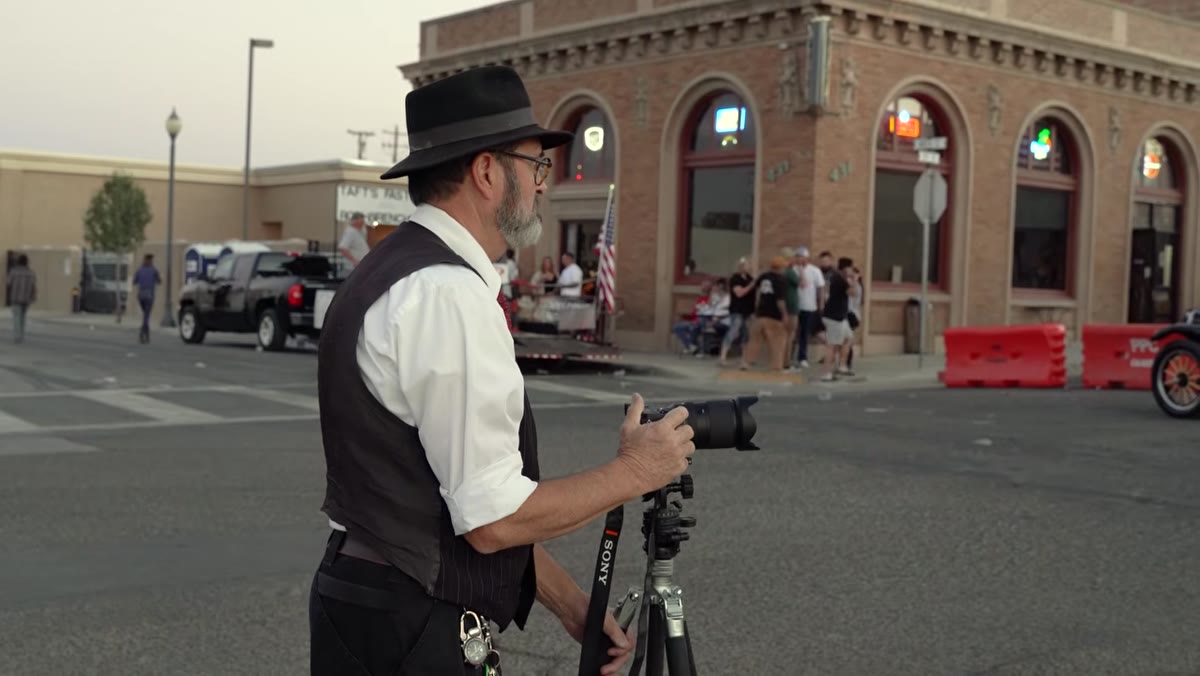
At 450mm equivalent, you cannot handhold reliably without stabilization. Morgan flags the built-in Vibration Compensation as a non-negotiable feature for this focal range. It’s easy to overlook on a spec sheet, but in the field it’s the difference between usable shots and a card full of blur at the long end.
Handheld telephoto shooting at festival crowd
At 450mm equivalent, you cannot handhold reliably without stabilization. Morgan flags the built-in Vibration Compensation as a non-negotiable feature for this focal range. It’s easy to overlook on a spec sheet, but in the field it’s the difference between usable shots and a card full of blur at the long end.
When shooting handheld at telephoto, brace your elbow against your body, exhale before pressing the shutter, and let the VC do its job. Morgan uses it throughout the festival coverage and the night photography segment, keeping the camera off a tripod for most of the event while still pulling sharp frames.
Step 6: Test It in Low Light and at Night
 Night street photography on tripod in downtown Taft
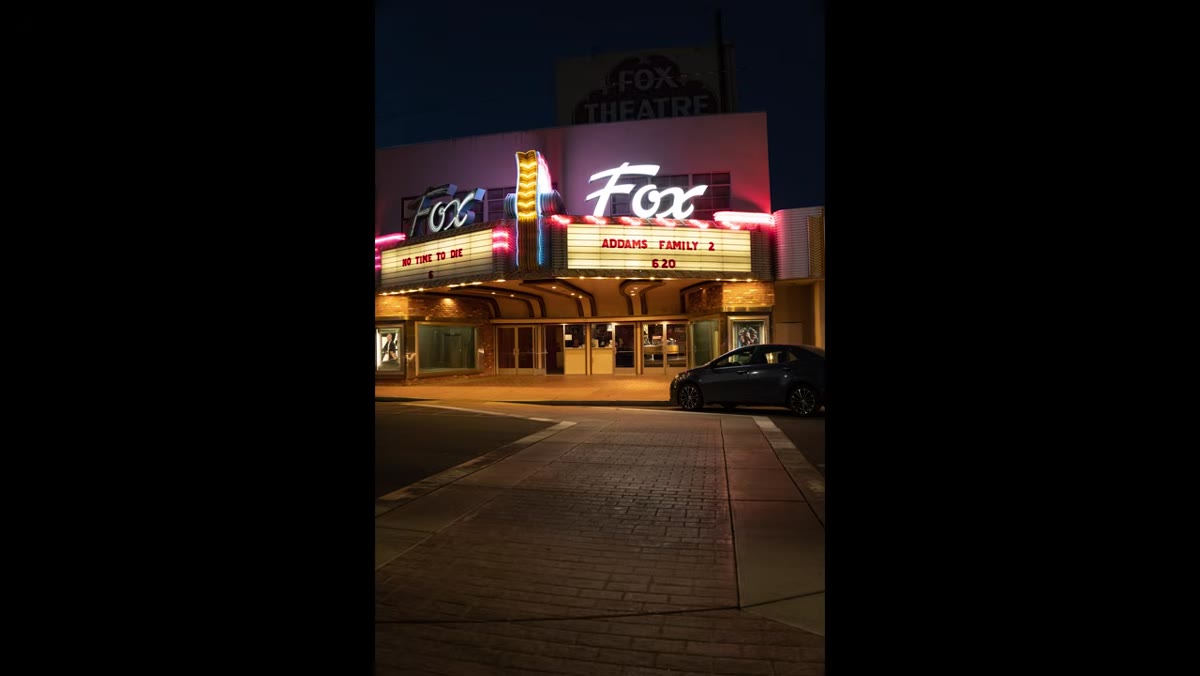
Morgan closes the field test with night photography around the festival, using a tripod for the longer exposures. The f/6.3 maximum at the telephoto end is a real limitation in low light, and it’s worth being clear-eyed about that. This lens is not a low-light hero at 300mm. But paired with a body that handles high ISO well, like the a6600, you can still get usable results.
Night street photography on tripod in downtown Taft
Morgan closes the field test with night photography around the festival, using a tripod for the longer exposures. The f/6.3 maximum at the telephoto end is a real limitation in low light, and it’s worth being clear-eyed about that. This lens is not a low-light hero at 300mm. But paired with a body that handles high ISO well, like the a6600, you can still get usable results.
At the wide end, f/3.5 gives you workable handheld street shots at dusk. Lean on that range when the light drops. Save the tripod for anything requiring the long end after dark.
What I’d Add: The Value Equation Is the Real Argument
Where I’d push back slightly on the format of this test is that Morgan doesn’t address price directly. At around $800 street price, this lens sits in the middle tier. It’s not budget, but it’s replacing three or four lenses for a certain type of shooter. If you’re covering events, traveling, or shooting documentary work where you need to move fast and carry light, the math works out clearly in the Tamron’s favor. Compare it against the cost of a 70-300mm, a 16-50mm kit lens, and a close-focus option, and the superzoom starts looking like the efficient choice rather than the compromise.
The single biggest thing to take away from Morgan’s test: the Tamron 18-300mm earns its place not through raw optical superiority but through flexibility and system coherence. It keeps your APS-C kit small, fast-moving, and capable of more shot types than most shooters will use in a full day out. That’s worth a lot more than most gear reviews give it credit for.
Watch the full tutorial on YouTube to see the complete set of festival images and night shots that Morgan pulled from this lens.
Comments
Leave a Comment