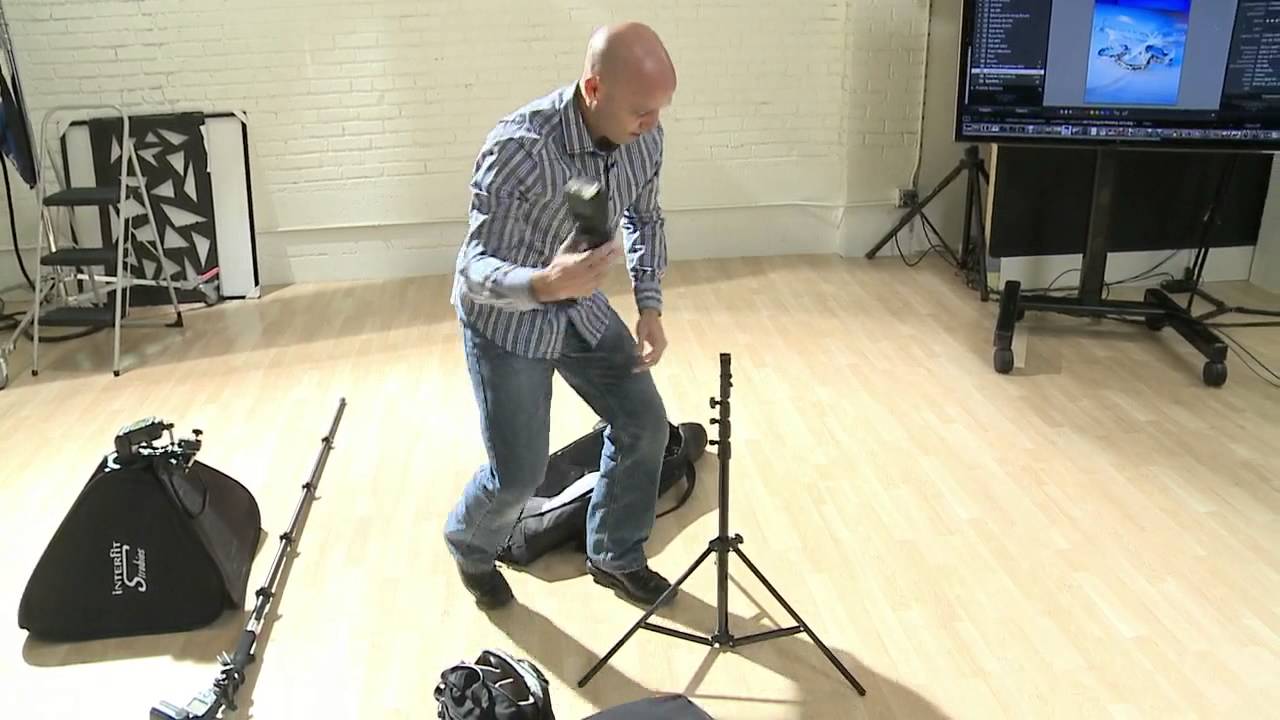
If there’s one thing that kills your post-production speed before you even open Lightroom, it’s chaotic gear. Wrong light modifier for the location. Missing a cable because it lives in a different bag. Showing up to a shoot and realizing your flash setup requires 80 pounds of sandbags just to stay upright in a mild breeze. I’ve been there. I’ve also watched plenty of photographers spend twice as long in post trying to fix light they never had proper control over in the first place. The real efficiency gains don’t start at your editing desk. They start with how you pack.
That’s the core argument in this CreativeLive tutorial on efficient lighting gear for location work. Watch the full tutorial on YouTube. The instructor walks through a real working kit that fits into three bags, rolls or carries without an assistant, and covers everything from quick event work to more involved flash setups. What struck me most is how clearly the system is designed to reduce decisions under pressure. Fewer decisions on location means fewer mistakes to fix later.
Step 1: Understand the Three-Bag Philosophy
 Three bags laid out: camera bag, flash bag, stand bag
Before you look at any specific piece of gear, understand the structure. The instructor travels with exactly three bags: one for cameras and essentials, one dedicated to flash units, and one stand bag. That’s it. The entire kit. More importantly, all three can be carried or rolled by one person, which matters enormously when you’re navigating a venue, a parking garage, or a tight stairwell alone.
Three bags laid out: camera bag, flash bag, stand bag
Before you look at any specific piece of gear, understand the structure. The instructor travels with exactly three bags: one for cameras and essentials, one dedicated to flash units, and one stand bag. That’s it. The entire kit. More importantly, all three can be carried or rolled by one person, which matters enormously when you’re navigating a venue, a parking garage, or a tight stairwell alone.
The discipline here is restraint. Most photographers accumulate gear into a sprawling mess that requires multiple trips or a second person just to get it inside. This system forces you to make every item justify its place in the bag before it earns a slot.
Step 2: Make the Camera Bag Fully Self-Contained
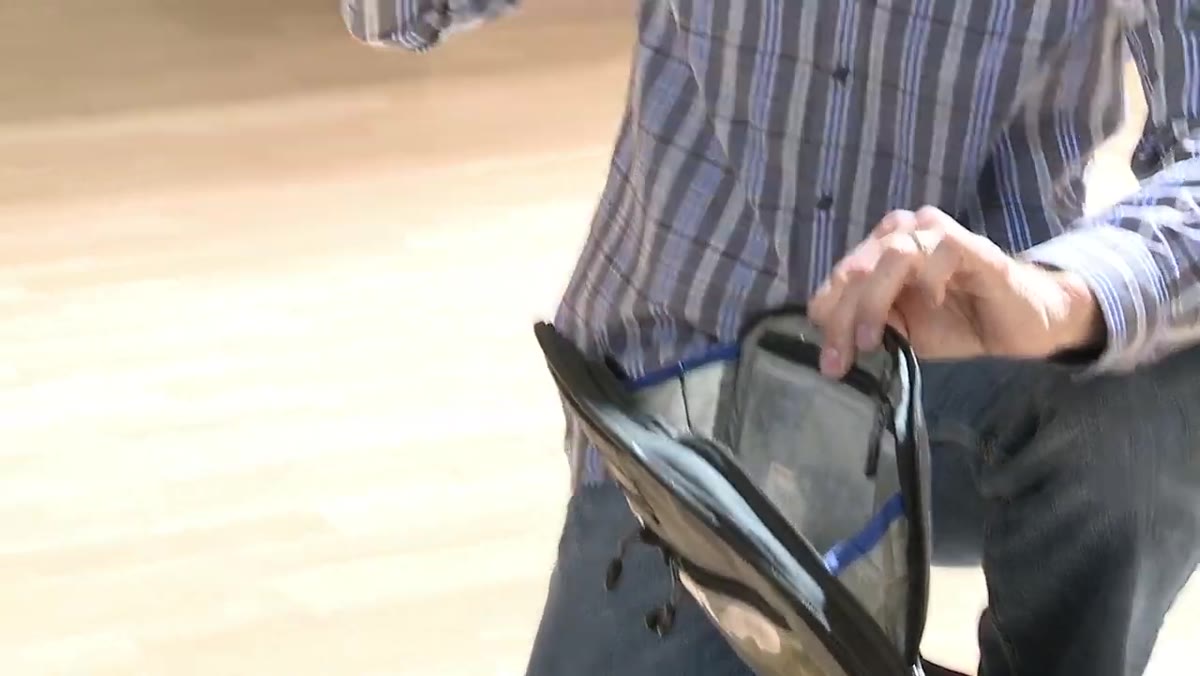
 Camera bag open, showing layered organization from top to bottom
The most important design principle in the camera bag is that it works independently. If you only grab that one bag, you can still execute a shoot. There’s no scenario where you need to also grab the flash bag just to get basic functionality. This matters for jobs like a quick baby portrait at someone’s house or a low-key event where flash would be overkill.
Camera bag open, showing layered organization from top to bottom
The most important design principle in the camera bag is that it works independently. If you only grab that one bag, you can still execute a shoot. There’s no scenario where you need to also grab the flash bag just to get basic functionality. This matters for jobs like a quick baby portrait at someone’s house or a low-key event where flash would be overkill.
Practically speaking, this means your camera bag needs more than just a camera. Think shutter release cables, a screwdriver, a lens cloth, batteries, and yes, even coins for a parking meter. The instructor keeps all of this in the top compartment so it’s accessible without digging. Small stuff, but losing 15 minutes hunting for a quarter before a timed street shoot is the kind of thing that throws off your whole setup rhythm.
Step 3: Keep Emergency Supplies in a Fixed Location
 Top compartment contents including small accessories and emergency items
Every working photographer has been on a shoot where something stupid almost derailed the day. The key word is “almost” - because the ones who stay cool are the ones who packed for it. The instructor keeps a small flashlight, AAA batteries, a compass (as a backup when phone GPS scrambles), vitamin supplements, and a few other small items in the same spot every time.
Top compartment contents including small accessories and emergency items
Every working photographer has been on a shoot where something stupid almost derailed the day. The key word is “almost” - because the ones who stay cool are the ones who packed for it. The instructor keeps a small flashlight, AAA batteries, a compass (as a backup when phone GPS scrambles), vitamin supplements, and a few other small items in the same spot every time.
This isn’t about being precious about your kit. It’s about building muscle memory so you never have to think about where the backup batteries are. You just reach. On a fast-moving wedding day or a location editorial, that automatic reach saves real time and mental energy you need elsewhere.
Step 4: Use Identical Camera Bodies Across the Bag
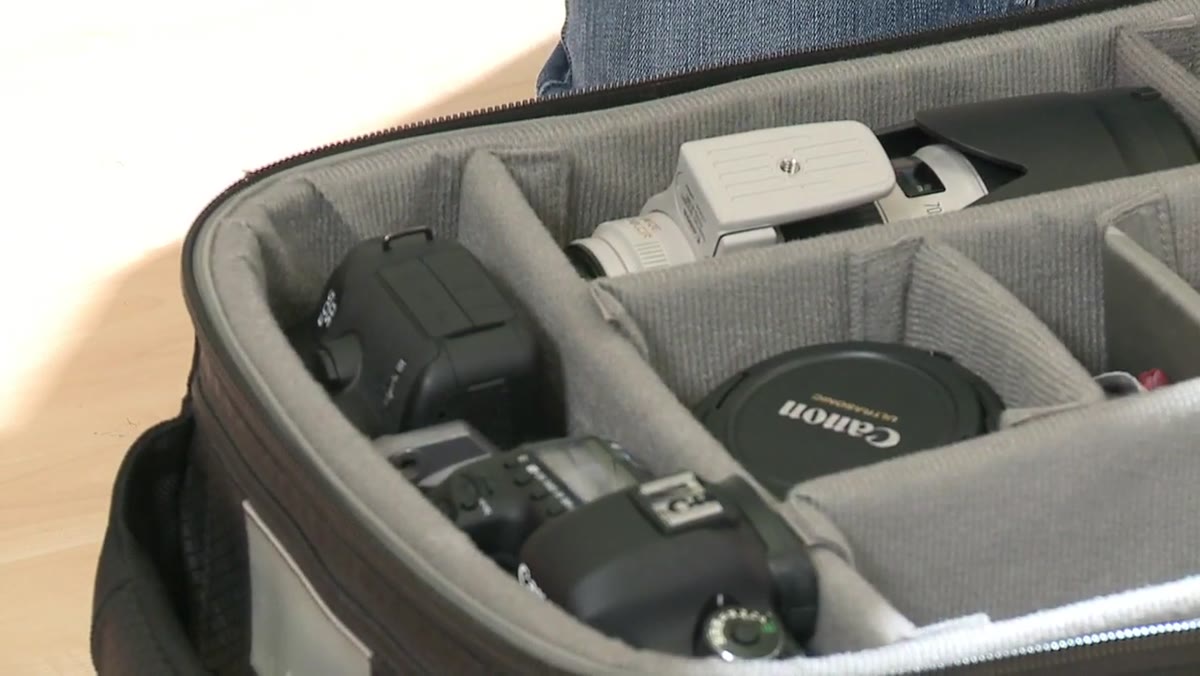 Two identical Canon 5D Mark III bodies side by side in the bag
The instructor runs two of the same camera body, both configured identically. Not just the same brand or the same generation - the exact same model, with the same custom button assignments, the same menu settings, the same everything. One has a battery grip and a spider holster clip. One doesn’t. But operationally, they’re clones.
Two identical Canon 5D Mark III bodies side by side in the bag
The instructor runs two of the same camera body, both configured identically. Not just the same brand or the same generation - the exact same model, with the same custom button assignments, the same menu settings, the same everything. One has a battery grip and a spider holster clip. One doesn’t. But operationally, they’re clones.
The reasoning is simple and I completely agree with it: in a high-pressure situation, you cannot afford a half-second of confusion about where the exposure compensation button is. If you’re switching between bodies mid-shoot, your hands need to work on autopilot. Running mismatched bodies, even from the same manufacturer, introduces just enough friction to cost you shots. If budget forces you to use an older body as a backup, at minimum, practice with it enough that the differences are automatic.
Step 5: Keep Flash Gear in Its Own Dedicated Bag
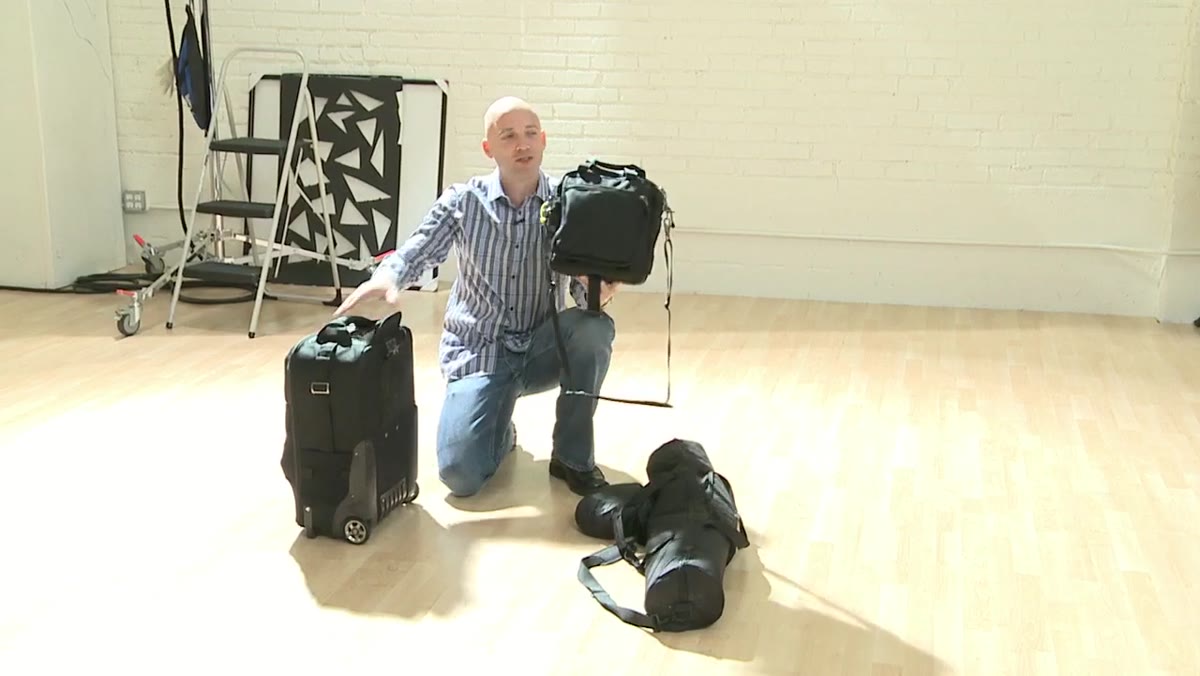 Flash bag closed, described as holding four flash units
The flash bag holds four units and nothing else that doesn’t belong to the flash system. Gels, triggers, any modifiers that attach directly to the flash head - these all live here. The instructor mentions transitioning from older gel styles to newer ones, which is worth paying attention to: gel systems have gotten dramatically more convenient in recent years, and the right gel on a speedlight can match your ambient in seconds rather than minutes of post correction.
Flash bag closed, described as holding four flash units
The flash bag holds four units and nothing else that doesn’t belong to the flash system. Gels, triggers, any modifiers that attach directly to the flash head - these all live here. The instructor mentions transitioning from older gel styles to newer ones, which is worth paying attention to: gel systems have gotten dramatically more convenient in recent years, and the right gel on a speedlight can match your ambient in seconds rather than minutes of post correction.
Separating flash gear into its own bag also means you can hand the bag to an assistant or a second shooter without confusion about what’s in it. Everyone knows what the flash bag contains. There’s no cross-contamination with camera gear.
Step 6: Carry Stands in a Dedicated Roll Bag
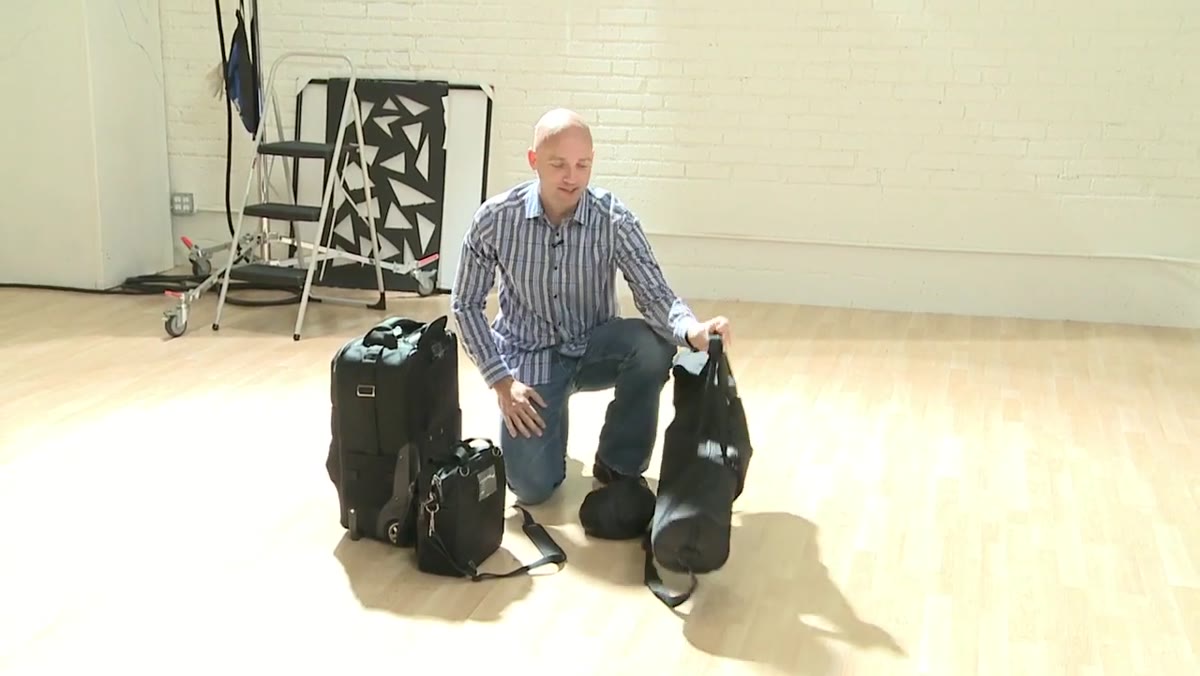 Stand bag shown alongside the other two bags
Stands get their own bag, and that bag is designed to roll. This is a practical detail that’s easy to overlook but makes a huge difference on long venue walks. The stand bag stays on the ground and rolls behind you while the flash bag goes over your shoulder and the camera bag rolls on its own. One person, three bags, no trolley, no assistant required.
Stand bag shown alongside the other two bags
Stands get their own bag, and that bag is designed to roll. This is a practical detail that’s easy to overlook but makes a huge difference on long venue walks. The stand bag stays on the ground and rolls behind you while the flash bag goes over your shoulder and the camera bag rolls on its own. One person, three bags, no trolley, no assistant required.
If you’re building this system from scratch, look for a stand bag with a shoulder strap option. You want flexibility depending on terrain.
What I’d Add From My Own Experience
The self-contained bag principle is genuinely smart and I’d push it one step further: document what goes in each bag and laminate a checklist inside the lid. I started doing this after I left a set of triggers in my flash bag during a shoot where I only grabbed the camera bag, and then spent 20 minutes improvising with on-camera flash when I should have been shooting. A printed checklist takes 10 minutes to make and costs nothing. It’s the kind of boring solution that actually works.
Also worth noting: the three-bag system works because the instructor has already made hard decisions about what gear he trusts and standardized around it. That’s the real lesson underneath the gear talk. Standardization is a workflow strategy, not just a packing preference.
The single biggest takeaway from this tutorial is that post-production efficiency starts with how organized and intentional your gear is before the shoot. Clean light from a controlled, well-prepared setup gives you less to fix and more to work with. Get the system right and Lightroom becomes a finishing tool, not a rescue operation.
Watch the full tutorial on YouTube to see the full bag breakdown and the instructor’s lighting philosophy in action.
Comments (2)
Bookmarked. Coming back to this one for sure.
Great breakdown. The step-by-step approach really helps.
Leave a Comment