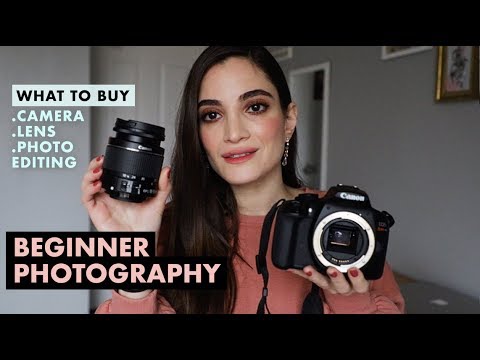
Every few months I get the same message from someone just getting started: “I bought the kit and now I have no idea what I’m doing.” They spent $700 on a camera-and-lens bundle, the lens is already collecting dust, and they’re frustrated. I’ve been there. I started with a $300 camera kit and somehow shot a wedding that ended up in a local magazine, so I know the gear is rarely the actual problem. What usually is the problem is buying the wrong stuff at the start because nobody gave them a clear framework.
In this Jessica Kobeissi tutorial, she lays out her personal recommendations for beginner camera bodies, lenses, and editing software, and the advice is refreshingly practical. Kobeissi has eight years of experience across senior portraits, weddings, and fashion work, and she’s been deep in Photoshop since she was twelve. She’s not selling you the most expensive path. Watch the full tutorial on YouTube if you want to see her walk through the gear herself, but I want to unpack the actual reasoning here because there’s more to it than a gear list.
Step 1: Understand Why the Reviewer’s Style Matters Before You Take Their Advice
 Jessica explaining why she shares her photography background
Before Kobeissi names a single piece of gear, she makes a point that most gear videos skip entirely: the reviewer’s photographic style should match yours, or at least overlap enough to be useful. A wildlife photographer’s lens picks are basically useless to someone shooting portraits in a studio. She lays out her own background up front so you can calibrate her recommendations accordingly. Her world is fashion and portrait work, mostly in natural light.
Jessica explaining why she shares her photography background
Before Kobeissi names a single piece of gear, she makes a point that most gear videos skip entirely: the reviewer’s photographic style should match yours, or at least overlap enough to be useful. A wildlife photographer’s lens picks are basically useless to someone shooting portraits in a studio. She lays out her own background up front so you can calibrate her recommendations accordingly. Her world is fashion and portrait work, mostly in natural light.
This is something I genuinely wish more reviewers did. I run a spreadsheet comparing budget lenses I’ve personally tested, and one thing that becomes obvious fast is that a lens that’s excellent for street photography can be mediocre for tight headshots. Before you take anyone’s advice, including mine, figure out what you’re actually trying to shoot. That single decision will filter out half the gear options immediately.
Step 2: Buy the Camera Body Separately, Skip the Kit Bundle
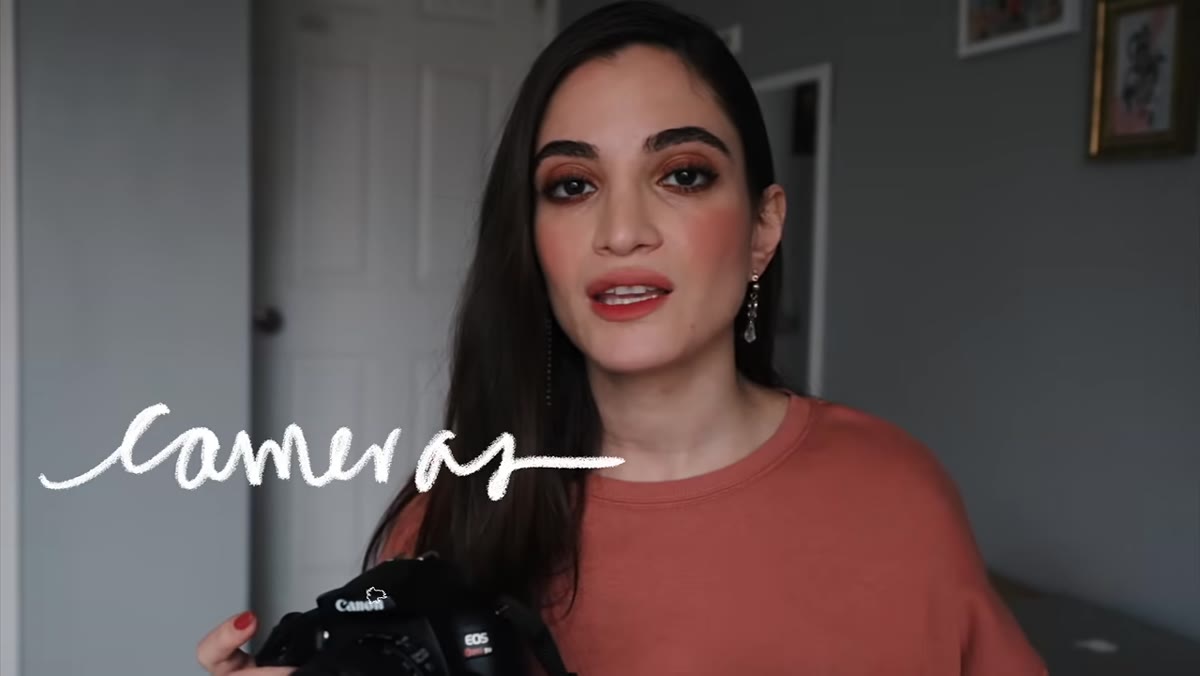 Jessica holding up a camera body with no lens attached
Kobeissi’s most concrete piece of advice is this: buy the camera body alone, not as a kit. Kit bundles come with a lens pre-selected by the manufacturer, usually a mid-range zoom, and that lens is built to be inoffensive rather than excellent. It works for everything and excels at nothing.
Jessica holding up a camera body with no lens attached
Kobeissi’s most concrete piece of advice is this: buy the camera body alone, not as a kit. Kit bundles come with a lens pre-selected by the manufacturer, usually a mid-range zoom, and that lens is built to be inoffensive rather than excellent. It works for everything and excels at nothing.
The body-only route is cheaper up front, and it forces you to choose a lens that actually fits how you shoot. DSLRs use interchangeable lens systems, so the body is really just your foundation. She compares it to buying a makeup palette without the brushes so you can pick your own, which is a good analogy. You’re not locked into the default. The money you save skipping the kit lens is money you can put toward glass that will actually teach you something.
Step 3: Start With the Canon Rebel T6 If You’re on a Tight Budget
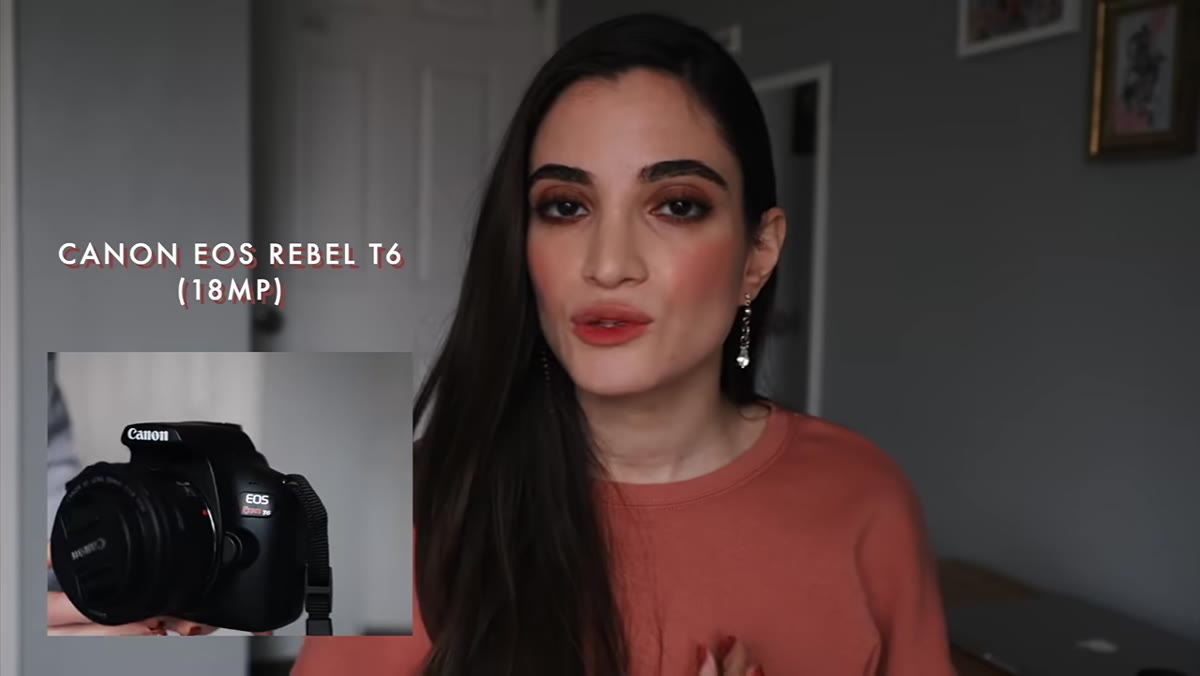 Jessica recommending the Canon Rebel T6 at around $350
For the camera body itself, Kobeissi recommends the Canon Rebel T6 as a solid entry point. At roughly $350 new, and considerably less used, it’s a real camera with real capabilities. It’s not a toy. She’s clear that the right lens matters more than the body at this level, and she’s right about that.
Jessica recommending the Canon Rebel T6 at around $350
For the camera body itself, Kobeissi recommends the Canon Rebel T6 as a solid entry point. At roughly $350 new, and considerably less used, it’s a real camera with real capabilities. It’s not a toy. She’s clear that the right lens matters more than the body at this level, and she’s right about that.
From my own testing, the Rebel T6 and cameras in that same tier perform well in decent light, and the image quality gap between this and a $2,000 body narrows fast once you add a good prime lens. I’ve run informal blind comparisons at local meetups and the results are consistently humbling for people who assume they can spot the expensive camera’s output every time. Buy used if you can find a clean body. The sensor doesn’t wear out the way mechanical parts do, and you can usually save another $80 to $100 going that route.
Step 4: Choose Your Lens Based on Your Shooting Style, Not Default Recommendations
 Jessica swapping lenses on camera body to demonstrate interchangeability
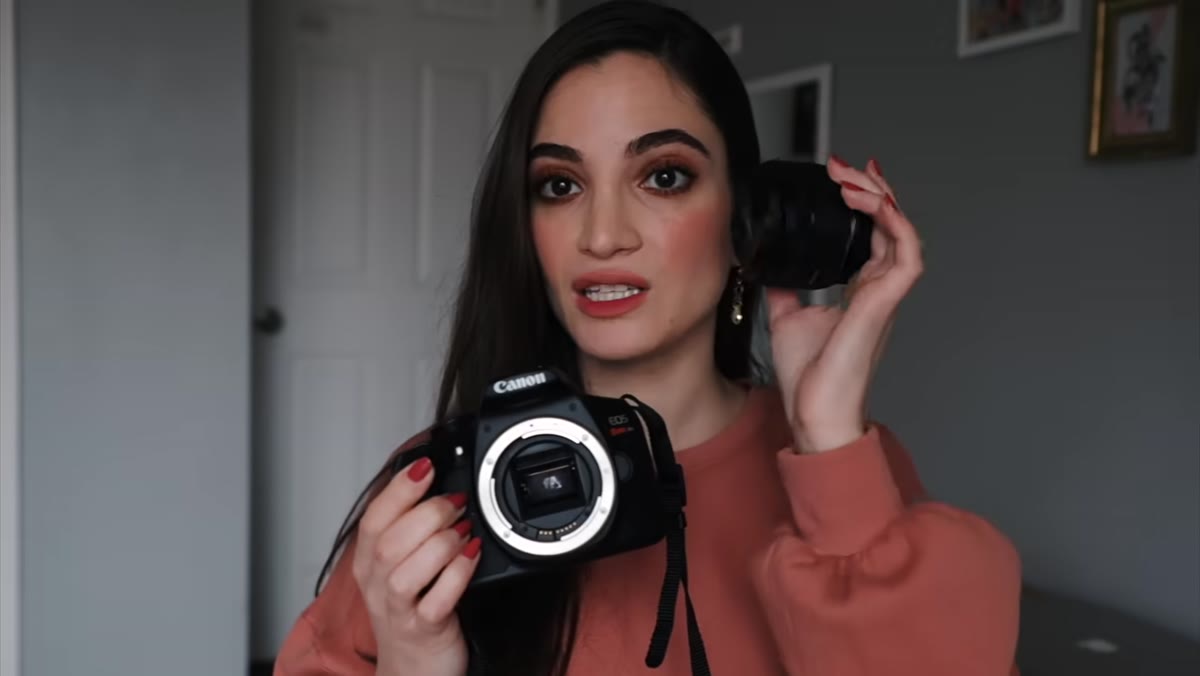
Kobeissi walks through the physical process of swapping lenses to show beginners that the system is designed for flexibility. Different focal lengths produce dramatically different results. A 50mm lens renders scenes close to how the human eye perceives them. An 85mm compresses the background and flatters portrait subjects. A wide angle like a 24mm is useful for environmental shots or interiors.
Jessica swapping lenses on camera body to demonstrate interchangeability
Kobeissi walks through the physical process of swapping lenses to show beginners that the system is designed for flexibility. Different focal lengths produce dramatically different results. A 50mm lens renders scenes close to how the human eye perceives them. An 85mm compresses the background and flatters portrait subjects. A wide angle like a 24mm is useful for environmental shots or interiors.
The key practical point here is that you should decide what you’re shooting before you buy a lens, not after. If you’re doing portraits, a nifty fifty or an 85mm prime is almost always the move. Both are available in budget-friendly third-party versions from brands like Yongnuo or Rokinon that perform well above their price point. I have entries for both in my lens spreadsheet, and they punch well above their cost on the used market.
Step 5: Take Editing Seriously From Day One
 Jessica mentioning photo editing programs as part of the beginner setup
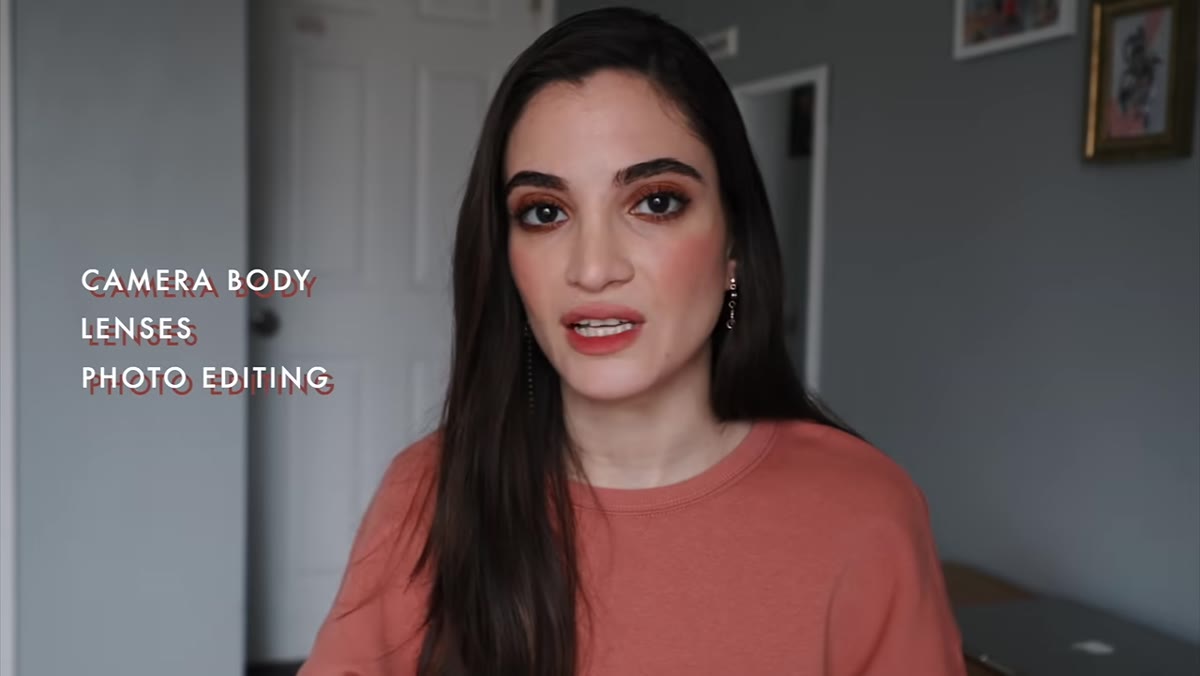
Kobeissi includes editing software in her beginner setup recommendations, and I think this is actually underrated advice. Most beginner content treats editing as an afterthought, something you figure out later. Kobeissi frames it as part of the core toolkit from the start, which reflects how professional photographers actually work.
Jessica mentioning photo editing programs as part of the beginner setup
Kobeissi includes editing software in her beginner setup recommendations, and I think this is actually underrated advice. Most beginner content treats editing as an afterthought, something you figure out later. Kobeissi frames it as part of the core toolkit from the start, which reflects how professional photographers actually work.
Her background is in Photoshop, and she mentions color grading specifically as a skill worth developing early. Adobe Lightroom is where most people should start because it’s nondestructive, it handles RAW files well, and the learning curve is manageable. If the subscription cost is a barrier, Lightroom Classic on a plan shared with a friend, or Darktable as a free alternative, both get the job done. The point is to develop an editing workflow alongside your shooting practice, not six months later.
My Extension: Used Gear Changes the Math Entirely
I want to add something Kobeissi doesn’t cover in depth, which is how much the used market changes these recommendations. Every camera body she mentions can be found used in good condition for 30 to 50 percent less than retail. eBay, MPB, and local Facebook Marketplace are all worth checking. The budget you free up by buying a used body can go straight into a better lens, and the lens is where the real image quality lives at this level.
I check deal sites before most people have had their morning coffee, and the honest truth is that a used Canon Rebel T6 body plus a used 50mm prime lens can come in well under $300 total. That combination will outshoot a $700 kit with the stock lens in almost any portrait or low-light situation. Do the math before you buy new.
The single most important thing Kobeissi gets right in this tutorial is that your lens choice matters more than your camera body at the beginner level. Buy the body alone, pick a lens that fits your actual shooting goals, and treat editing as a skill you build from day one.
Watch the full tutorial on YouTube to see Jessica walk through the gear in person, including her full lens and editing recommendations beyond what I’ve covered here.
Comments
Leave a Comment